Materials Monday: Closed-Cell Foam
Michael MacWolff
Welcome back to another Materials Monday session at Mikey Does Cosplay! This week we're talking about one of the materials I've been using longer that anything: closed-cell foam!
What is closed-cell foam? Well I could get technical but that's probably not going to be useful for anyone, so let's just discuss the two types we use most often for cosplay: Craft foam and EVA foam.

Craft foam, which you'll usually see brnaded as "Foamies" for kids crafts, is something I've been using for years. They're great because they are lightweight, versatile, easy to use, and come in lots of great colors (which only matters about half the time since usually you'll end up painting over them anyway). The only real downsides with craft foam is that it's not the most durable material, and it's not rigid. This is only an issue if you're making larger things out of it, as it'll be harder to get it to keep it's shape. Fortunately there are plenty of things you can do to compensate for that, which I'll get to later.
You can generally find foamies in 2mm, 3mm, and 6mm thicknesses. I tend to use the 2 & 3mm most often because they're the most readily available and they tend to suit my needs. If you want to build a whole prop out of foam though, you're probably best off using the 6mm just so you don't have to cut out as many layers. You can also find foamies with adhesive backing, which is very convenient for smaller details, since they'll stick on their own without needing glue.
Here are some of the things I've done with craft foam (and the overall ways which it can be used).

For smaller, planar props (by that I mean props that have flat surfaces), craft foam works great. I made my Godot mask out of fraft foam, with a layer of posterboard on the outside to add stability. This is one of the simplest ways to add stability to your foam. I did the same thing with my first attempt at armor. The whole thing is made from craft foam with poster board glued to the outside.
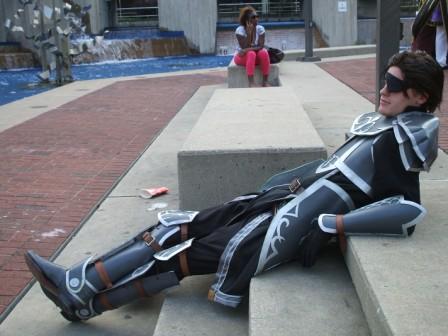
The layer of cardstock/poster board helps the foam keep its shape, particularly on the curved pieces. The way you do it is by cutting out your shape from the foam, painting a layer of mod podge or your preferred adhesive on the foam, then sticking it to the cardstock. If you need a curve, like with my Godot mask or certain parts of Haar's armor, you can wrap the piece around a tube of the appropriate size and ribber-band it so that it;s held in that shape while the glue dries. Once the glue is dry, it'll stay that shape permanently. Unfortunately I don't have any photos of that process since it's been a while since I've done it. If you're thinking of making something that way and need additional details, let me know!
Craft foam is also super useful for making small raised details and/or layered levels on props and armor.

These are some accessories I made for an FF XIV black mage, you can see how I layered the craft foam to pull out certain details. Here's how they look all finished:

This same concept is a method I use most frequently these days in conjunction with worbla. When I'm making a piece that will be covered in worbla, I use craft foam to get all of the raised details. It works beautifully, as you can see on the young Genji armor I made.
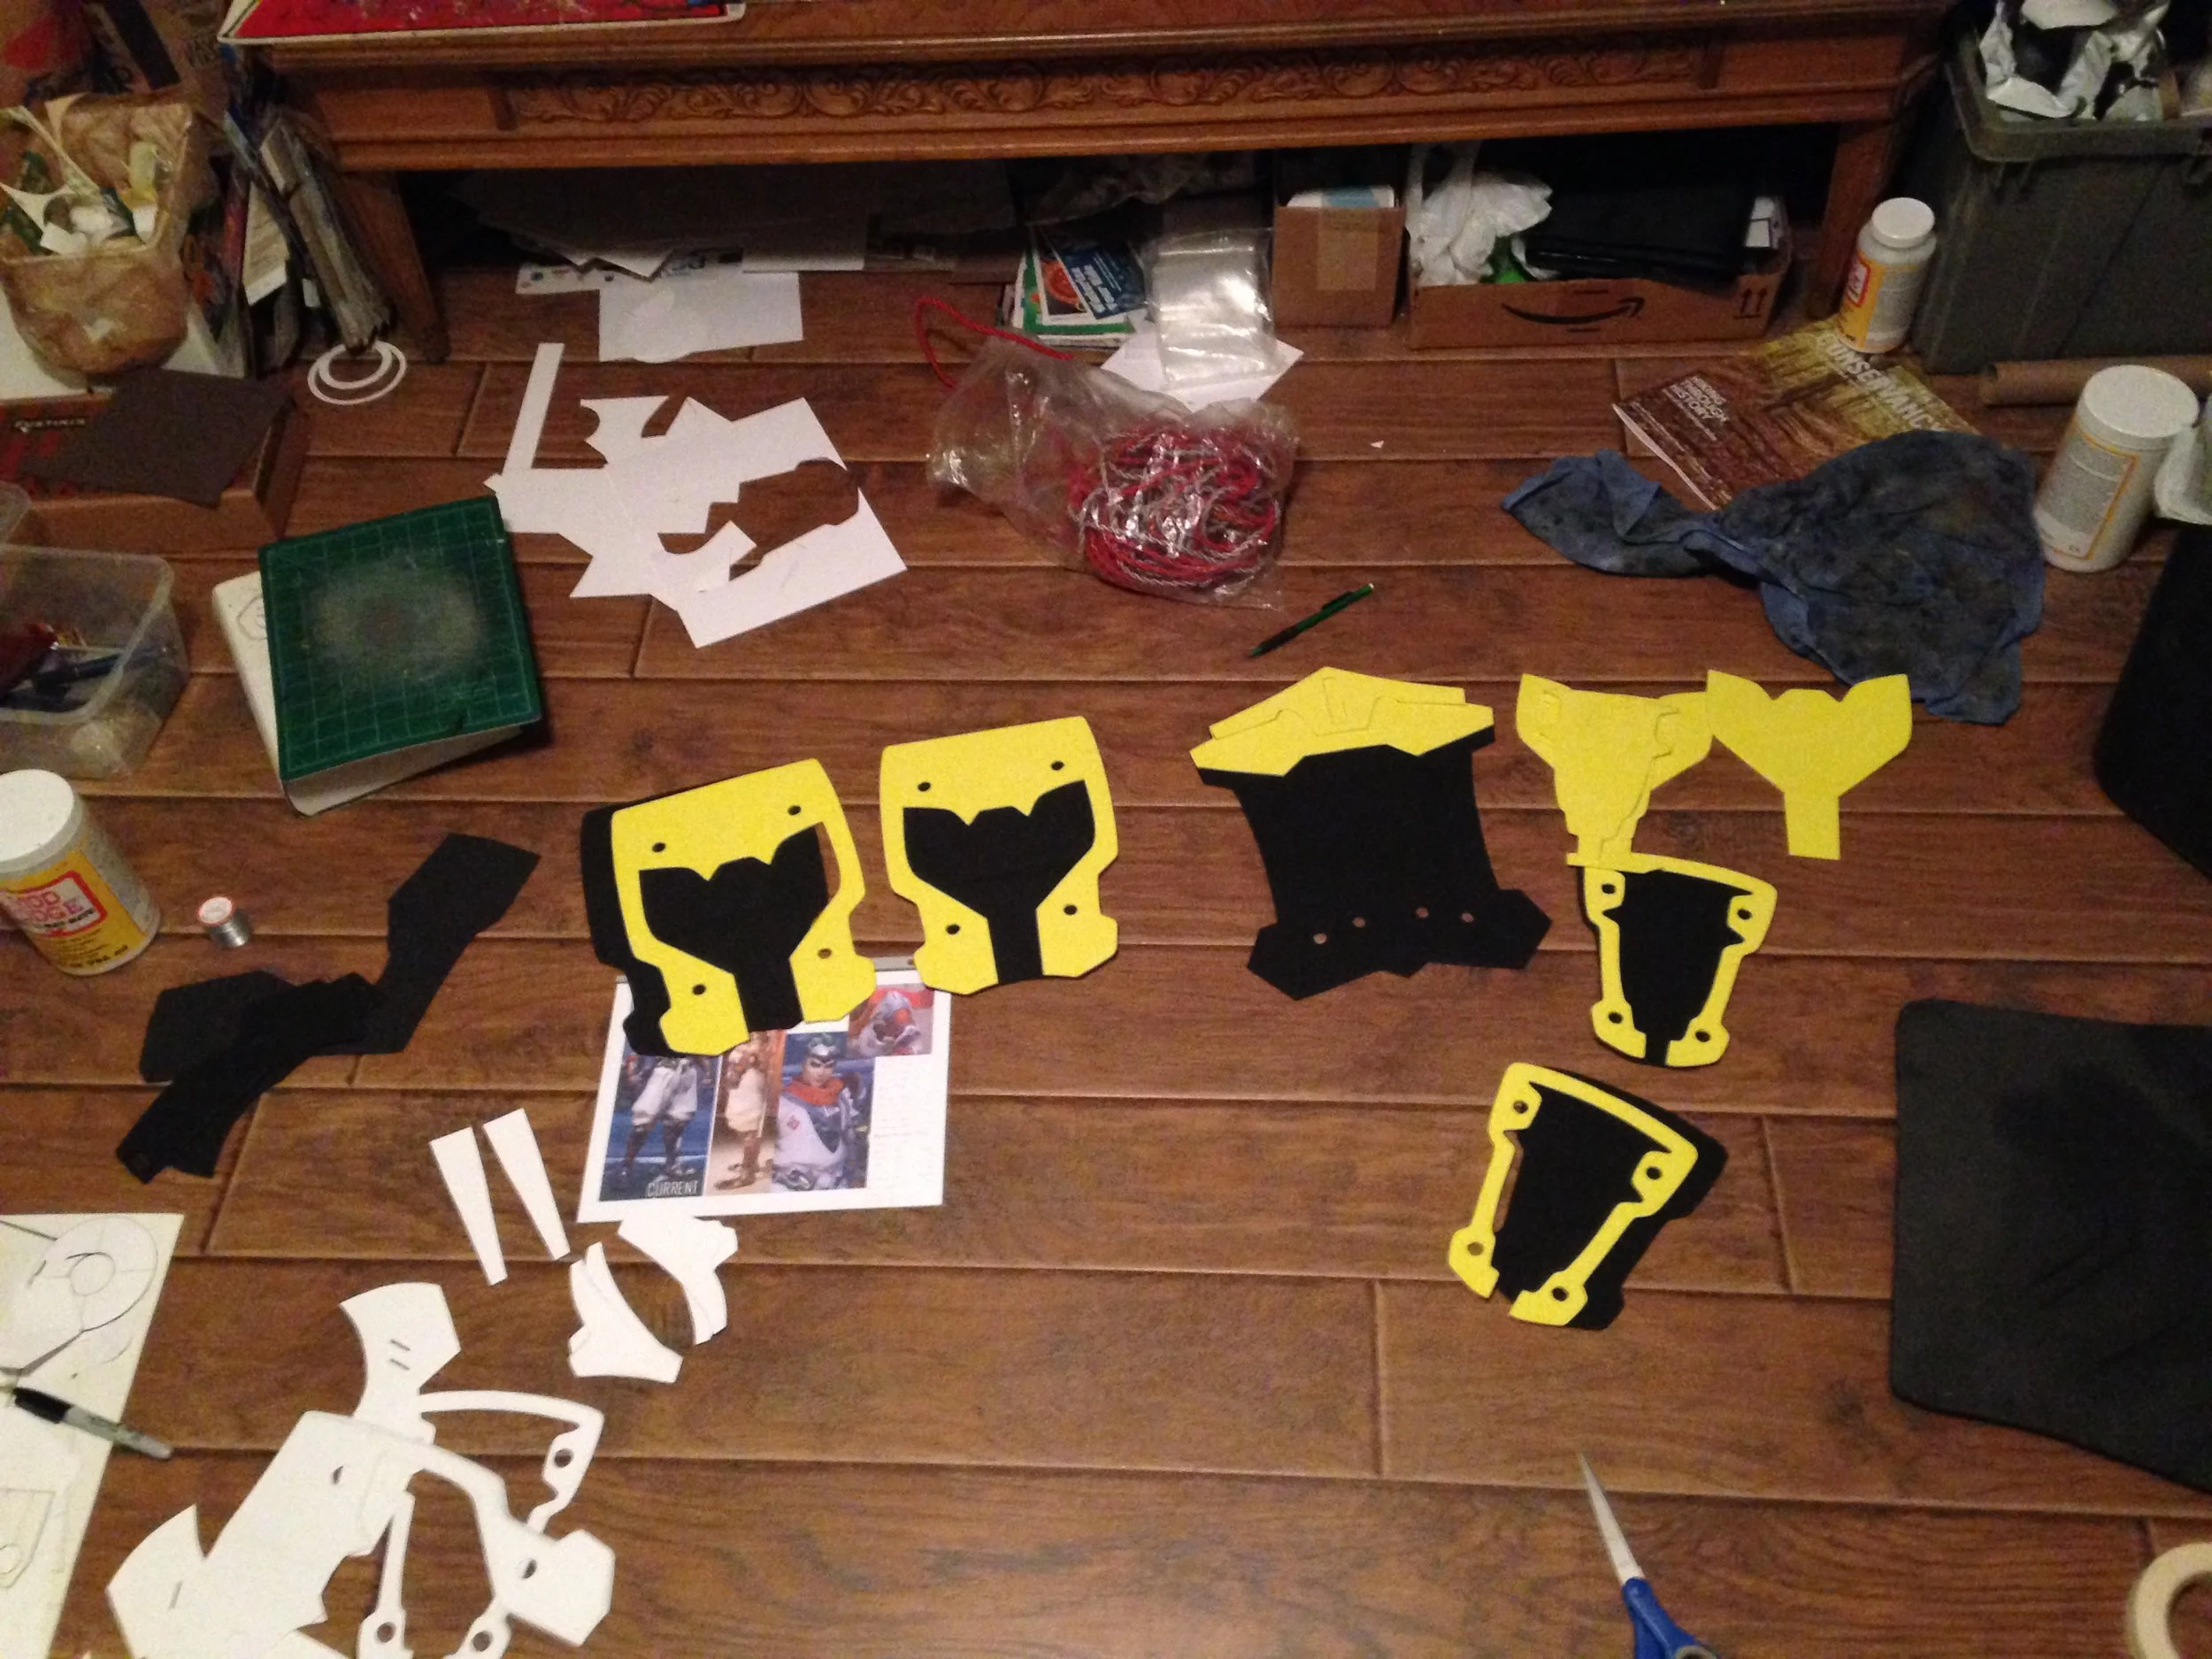
In this photo, the black pieces are the base layer and the yellow are the raised details. When you cover it in worbla you get a nice 3-dimensional landscape. This also makes painting the details easier than if the whole thing was flat and you just free-handed them.
Craft foam can also be used on its own for props and accessories, but you should keep in mind that it's not overly durable so you'll want to be careful with things you make that don't have any protective layers. My Volug hip armor (or whatever that thing is supposed to be) is just made with craft foam glued together, there's no sealant layer or paint on it at all!

Like I said, as long as you're careful it's fine. My Volug pieces have held up so far (granted I've only worn the costume a few times).
Here are a few tutorials on using craft foam, since there's even more cool stuff you can do with it that I don't have great examples of in my own work.
- How to make a full suit of armor using craft foam
- Tooling your craft foam (i.e. engraving designs into it)
- Texturing craft foam to make it look like leather
- Using foam and worbla together

The other type of foam most often used in cosplay is EVA foam. It's very similar to craft foam in texture, the main difference is that you can find it much thicker and therefore it'll be much more durable than the thin craft foam. This makes EVA foam more useful for larger projects like armor and big props since it'll be sturdier and hold it's shape better. Also, because of it's thickness it can be useful for larger or more unusually-shaped details.
You generally find EVA foam in two shapes: tiles as pictured above, and rolls as pictured below. Generally speaking, the tiles are going to be thicker than the roll, so depending on what you're using it for you may want one or the other.

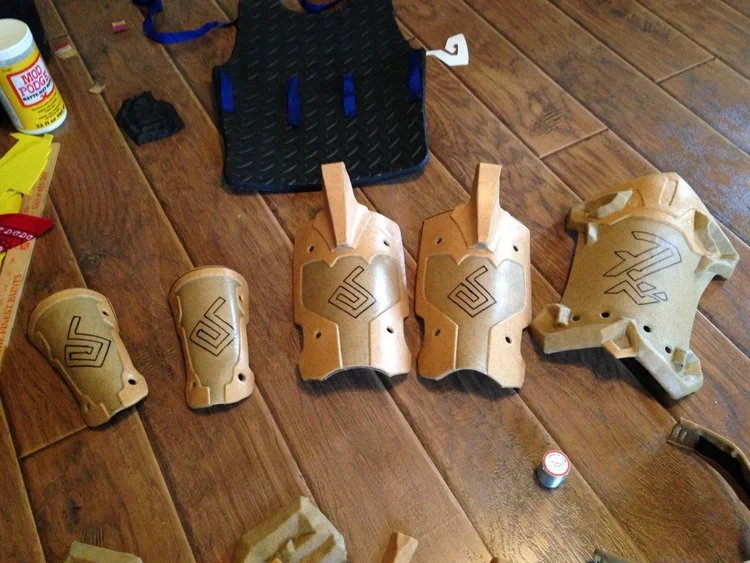
EVA foam is a very popular choice for making armor because it's lightweight, inexpensive, and sturdy. You can also use a heat gun to help shape it however you need to, and a dremel to essentially "carve" out details. I used EVA foam for my Masrur cuirass and needed to do both of those things: shape it into a curve to go around my torso, and then carve out the musculature with my dremel and a sanding bit.

EVA foam can also be used for details that won't work as well in craft foam. Craft foam is great for layering but if you have details that come to a point it doesn't work as well. For example, this piece that's a part of Genji's shoulder pauldron would not have been easy to make with craft foam because it's not thick enough and the detail is not layered. So instead I carved it out of EVA foam.

It works great as a base for worbla too. I used the craft foam, plus some EVA detail to make that pauldron, and then covered the whole thing in a layer of worbla. Here's the result:

This is a great example of using both craft foam and EVA foam for different types of details!
If you want some help with making things out of EVA foam, here are a few great tutorials from people who are better at explaining things than I am ^_^
- This tutorial has a lot of great info from where to get EVA to how to use it to make armor and other things.
- Shaping your EVA foam
- Beveling EVA foam (getting an angled edge, like on the Genji armor details)
- Adding detail lines to EVA foam
That's all for now, I hope these Materials Monday posts are helpful for you guys. As always, if you're making stuff with these materials I'd love to hear about it and see what you're making. I'm also happy to offer my thoughts on what sort of materials would work best for the types of projects you're doing, so don't be shy!