CAW-CAAAW
Michael MacWolff
It's time to show off my newest cosplay! Ok, sort of. Mostly just regale you with tales of how I constructed it because I don't really have many photos of the whole thing yet, those will come when we get proofs back from out awesome Phantom Thieves photoshoot at Youmacon!

So first things first, let's take a moment to appreciate how ridiculous this outfit is. For those of you unfamiliar with the Persona 5 universe, the Phantom Thieves' costumes manifest themselves when they are in the Metaverse (the supernatural portion of the game world) and are based off of that person's idea of what a revolutionary/subversive hero would look like. So apparently Akechi sees a revolutionary as a super gay drum major with a crazy bird beak...
I can't get over it.
Anyway, let me regale you with the tale of how I put this bad boy together. I actually started with the accessories before I put any of the outfit together.

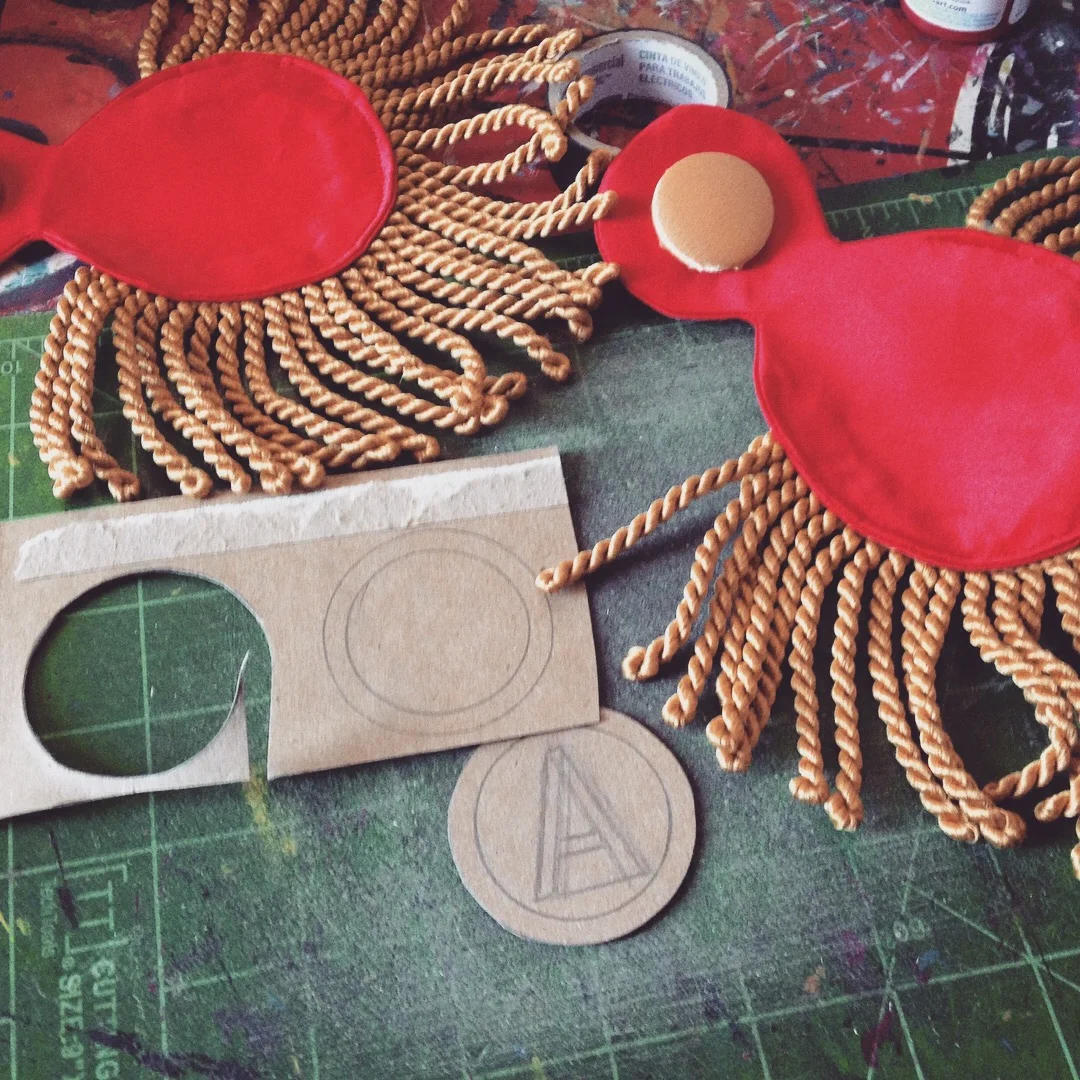
I patterned out the mask on cardstock, then transferred it to craft foam and did my usual worbla-wrapping method, mushing the center seam together to get the mask. You can see the first iteration above. I liked it, but I overdid the beak a little, so I trimmed the bottom, re-mushed the wworbla, and go this much more acceptable beak.

Then it was time for.... you guessed it: Mod Podge-Mania! Several coats later, we were ready to paint. I sprayed it white to start, then sprayed the bright red over it, then brush painted the parts around the eyes with a darker red. Not to brag but I think the fruits of my labors were pretty damn juicy.

Next up was the sword, because of course this flamboyant young man would never weild a normal sword, he has to carry a freaking lightsaber.

Well, fortunately for me, I had a few extra lightsaber blades from my commission a while back (I made a lightsaber based on the 10th Doctor's sonic screwdriver) and a flashlight that fit perfectly on the end of it. I also had some tubes that fit just the way I needed them to, so constructing the hilt was actually quite easy. I used the rigid tube, some craft foam, and a bunch of E-6000 to attach the flashlight to the blade. Also, I should note that I put 2 layers of blue plastic folder on the end of the flashlight to give the light a blue tint.
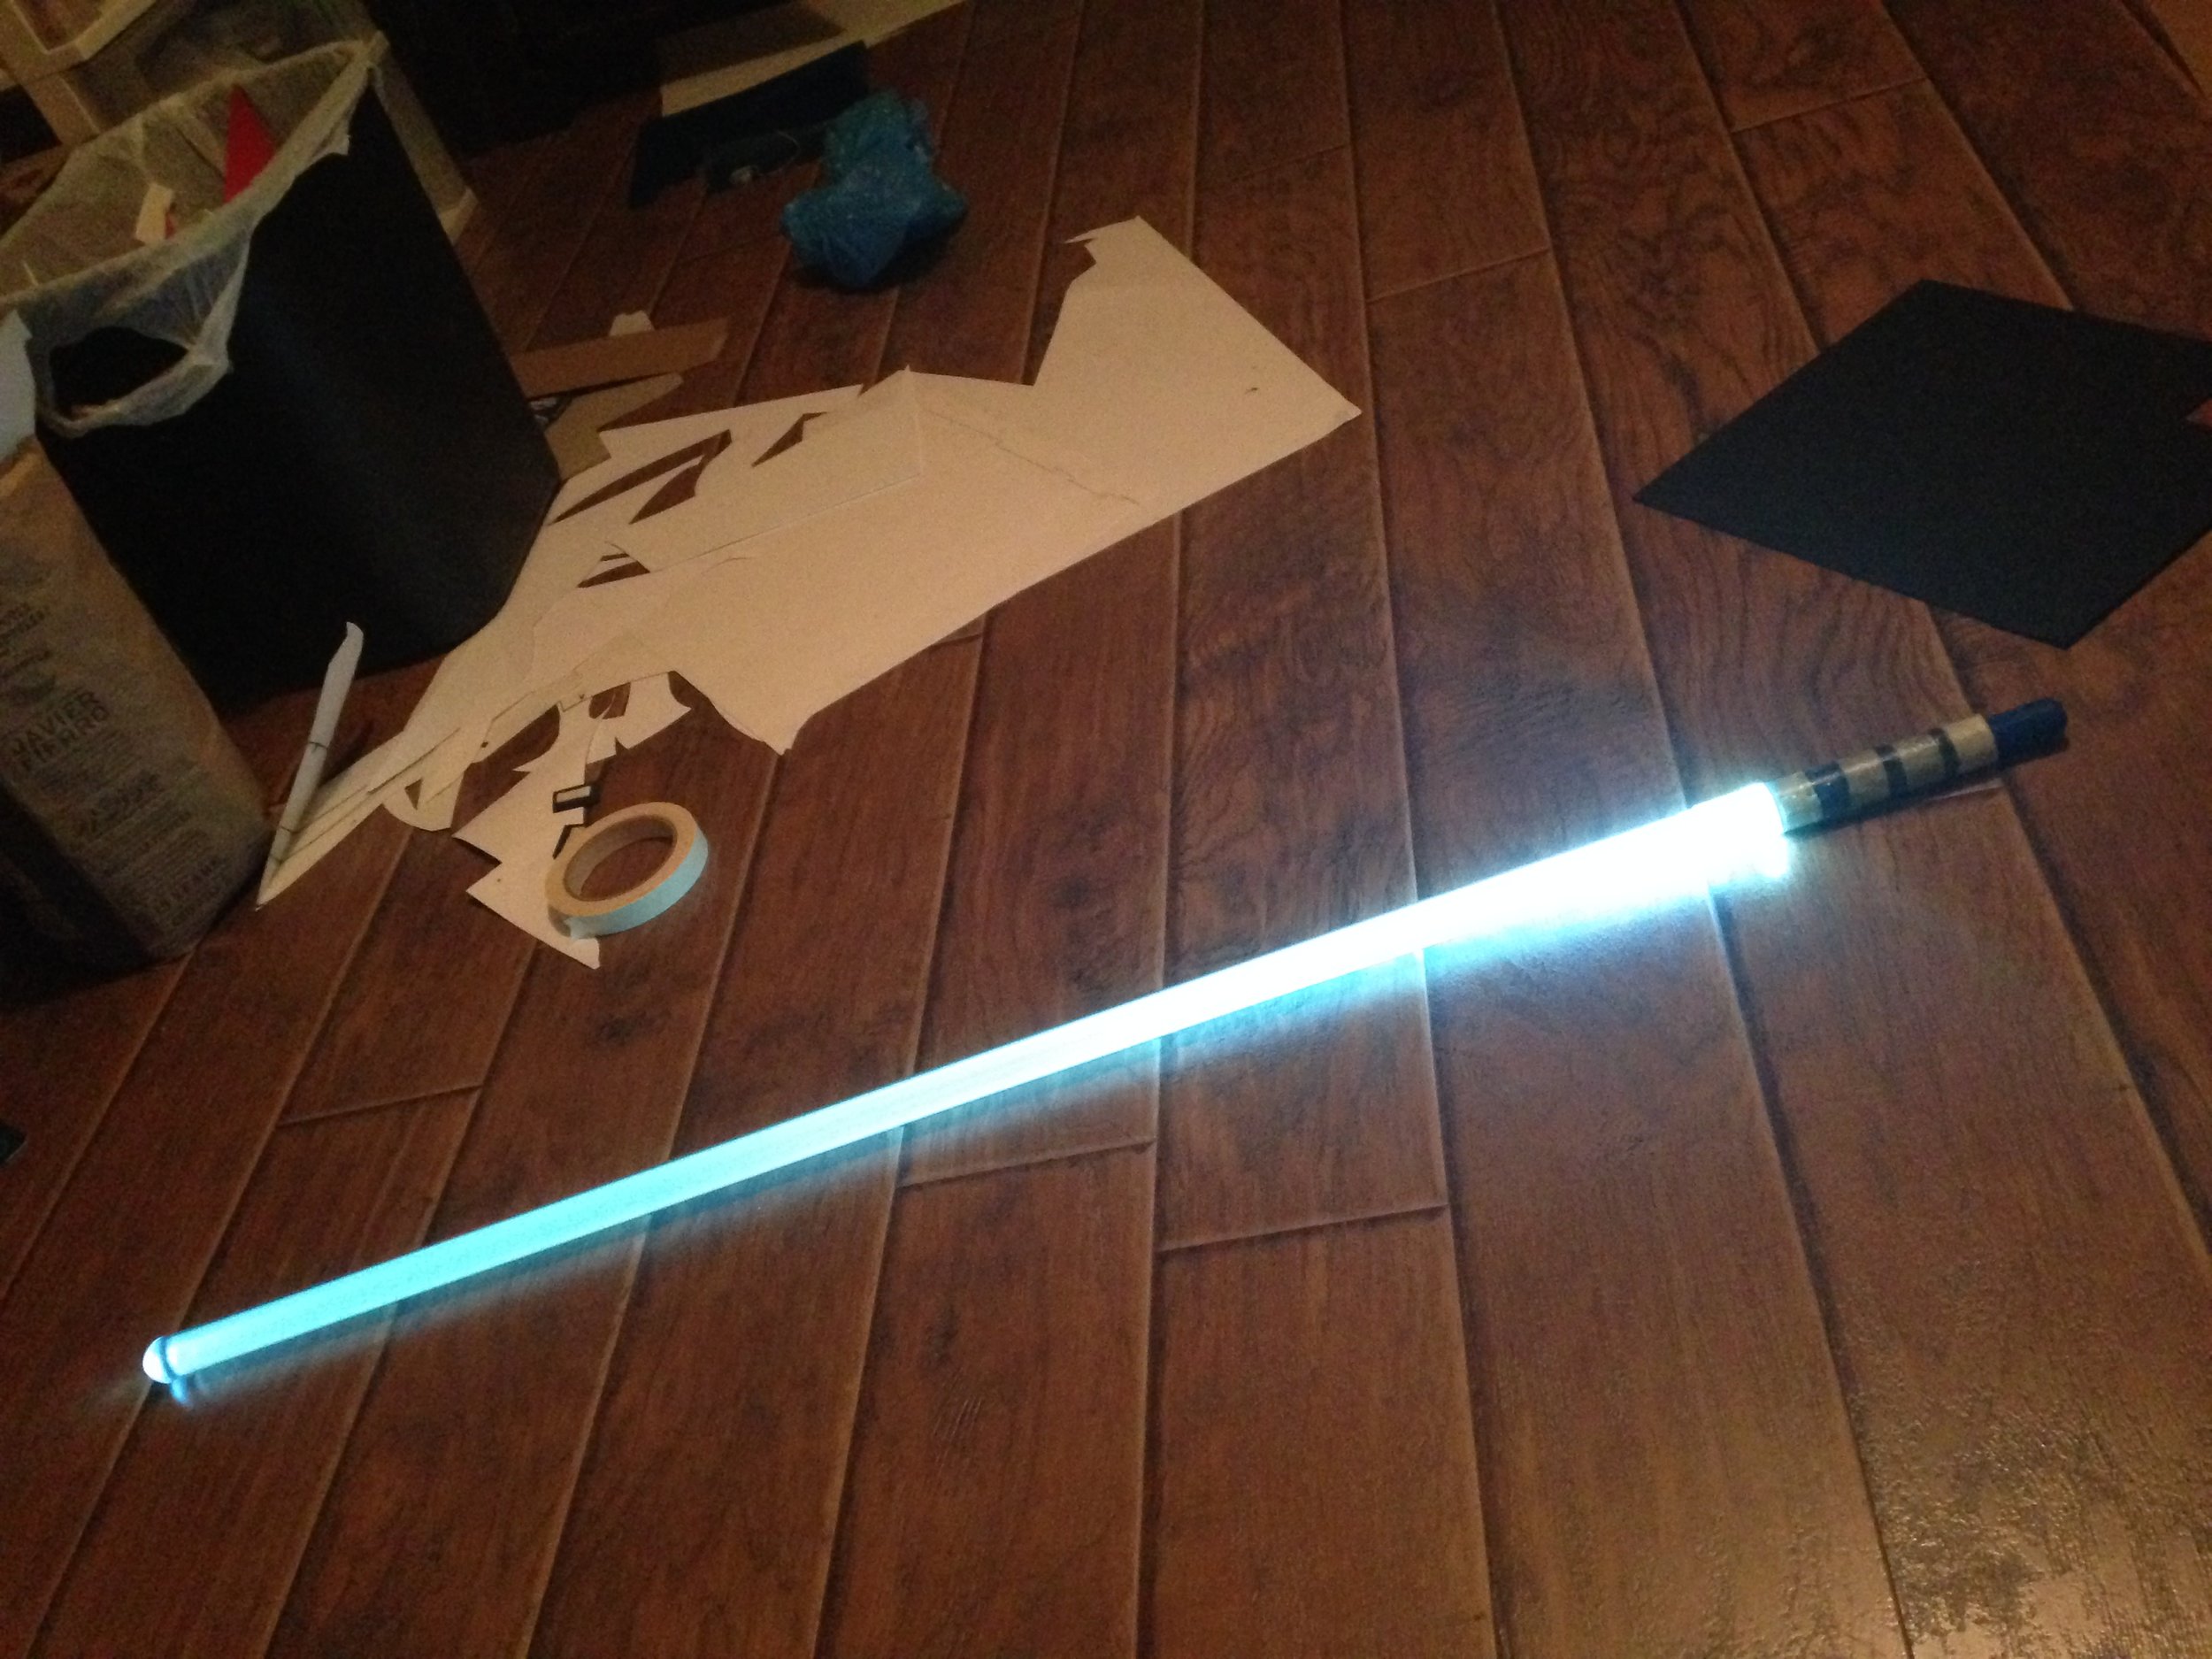
I guess a fair amount of masking tape was also involved...
The guard was all just card stock and worbla, though getting the right curvature took a few tries. The back end was actually the plastic wheel from a roll of scotch tape, which miraculously fit perfectly on the end. The thin hand guard it thin vinyl tubing with heavy gauge wire in it. Put it all together and you get...

Apparently I also added an extra layer of craft foam on the grip...
We have once again come to the mod-podging stage, along with painting. I'll spare you the boring and repeptitive details.

Now that the props were done, I felt a little better, because nothing else involved several coats of paint and having to wait for things to dry... Oh wait.

The belt buckle originally had a butterfly on it with some rhinestones. I covered it with craft foam & worbla for Goro's iconic "A."
The "A" pieces on his epaulets were just layers of cereal box coated in mod podge & then painted.
Which brings us to one of the most frustrating things in shopping for this costume, because I had a hell of a time finding satin, braided chord, and braid fringe that were all the same freaking color. Fortunately I got close enough but there was lots of profanity flying around the trim isle at Joann's.
So, time to start on the jacket. I patterned it off of an athletic jacket I found at the thrift store which fit me about how I wanted it to. It's not as tailor-fit as it could have been, but it's comfortable and I can raise my arms without my belly showing so that was the important thing.
I used a white bottomweight for the base fabric, I believe it was Target or possibly Rodeo, I don't really remember. I got a bottomweight partially because I was hoping not to have to line it, but that didn't work out, and I had to line it anyway because f*** white fabric.
After cutting out all of the pieces, it was time to add the weird white mountain-trim bits to the front. Little did I know this trim would be one of the most frustrating parts of making this costume. Each strip had to be about a yard long, and each one took an inordinate amount of time to sew together because of all of the stupid little mountain peek things every 3/4"
And, let's take a look at that reference artwork again...

Excuse me, I need to make HOW MANY OF THOSE?!?! 2 for the front of the jacket, 2 for each sleeve, and two for each pant leg is a total of 10 of this f***ing mountain trim. I was annoyed, but I made the first two so I could continue working on the jacket.

So let's take a quick second to talk about what making and attaching this trim entailed, in case any of you guys are looking at this to help you make your own flaming drum major costume. You stitch along the marked lines, trim the inside so you can flip it & flatten it out, but not so close that your fabric frays along the stitch line and you have to start over again (FML WE'RE NOT GONNA TALK ABOUT IT). Once it's successfully flipped, which I had to use a mechanical pencil point to get all of those little peaks pushed out, you'll want to press it flat, and then line it up & pin it onto the outside of the coat.
IMPORTANT NOTE: With the way I'm doing this, you want the peaks to be facing the opposite direction that they're supposed to point when you're done, because we're going to fold the trim over after we stitch it.
Once it's in place, you'll do a zig-zag stitch along the raw edge. Here's why I did a zig-zag stitch: the fabric will fray a little bit, but with a zig-zag it'll keep that to a minimum and make sure you have a nice, tight seam line on the trim.

Once you've stitched it to the front, take it back to your iron, fold the trim over your zig-zagged edge, and press it flat. So now our raw edge is hidden under the trim and the peaks are pointing the proper way.

Now that they're pressed, you'll want to stitch them down. You can do this on your machine by running a top stitch along the edge of your trim, though with the weird shape of the trim, it'll take while. On the other hand, if you are a masochistic perfectionist like I am, you can hand stitch it down.
Thankfully, the base came together nice and easily, and I did a pretty good job sticking to my pattern so there weren't any weird spots between the lining and the outside. After the excruciating process adding the trim to the front I needed this part to go well for the sake of my sanity.

Once this part was done, I decided not to immediately attach the sleeves, because they were going to need that stupid mountain trim added to them too. Instead I decided to put together the cape.
Construction on the cape was fairly easy, I simply patterned it straight from the pieces of the jacket I tore apart to make the rest, I just had to add the standing collar, which wasn't particularly difficult, but it did turn out a bit big for my neck.
The most time consuming part was hand-stitching the gold braid along the top, but even that wasn't that bad, and I got through a few Tiger & Bunny episodes as I worked on it.


The epaulets are just as absurd as the rest of this cosplay, but thankfully they were pretty easy to put together, and I could machine-stitch the chord fringe to them, which was nice since I had to hand-sew all of the gold chord. The center thing is a cover button with gold satin on it, and the "A" embellishments, as I stated earlier, are made from cereal boxes.

With the cape done, it was time to delve back into trim hell and repeat my mountain trim 4 more times for the two sleeves. I made it through and the rest of the sleeve construction was surprisingly unproblematic (sleeves often give me trouble, too so this was a welcome surprise).


Of course in the references there are two different types of gold trim on the sleeves, so I used satin ribbon for the flat part, and more of that gold braid.
Well, things are looking up at this point, as all I had left was the gold braid closures on the front. Little did I know that that aspect alone would take just as much time as putting together the entire rest of the f***ing costume.

3 days later I'm down to my last 3 sections of braid and my fingers can barely hold a needle, I've lost several mL of blood from stabbing myself so many times with my needle, and I am desperately trying not to just bleed all over my pristine white costume, so instead I'm just sobbing onto it because I can't help myself and I'm supposed to be leaving for Detroit in 24 hours. Hell, I'm about ready to just set my whole sewing room on fire and just be done with it.
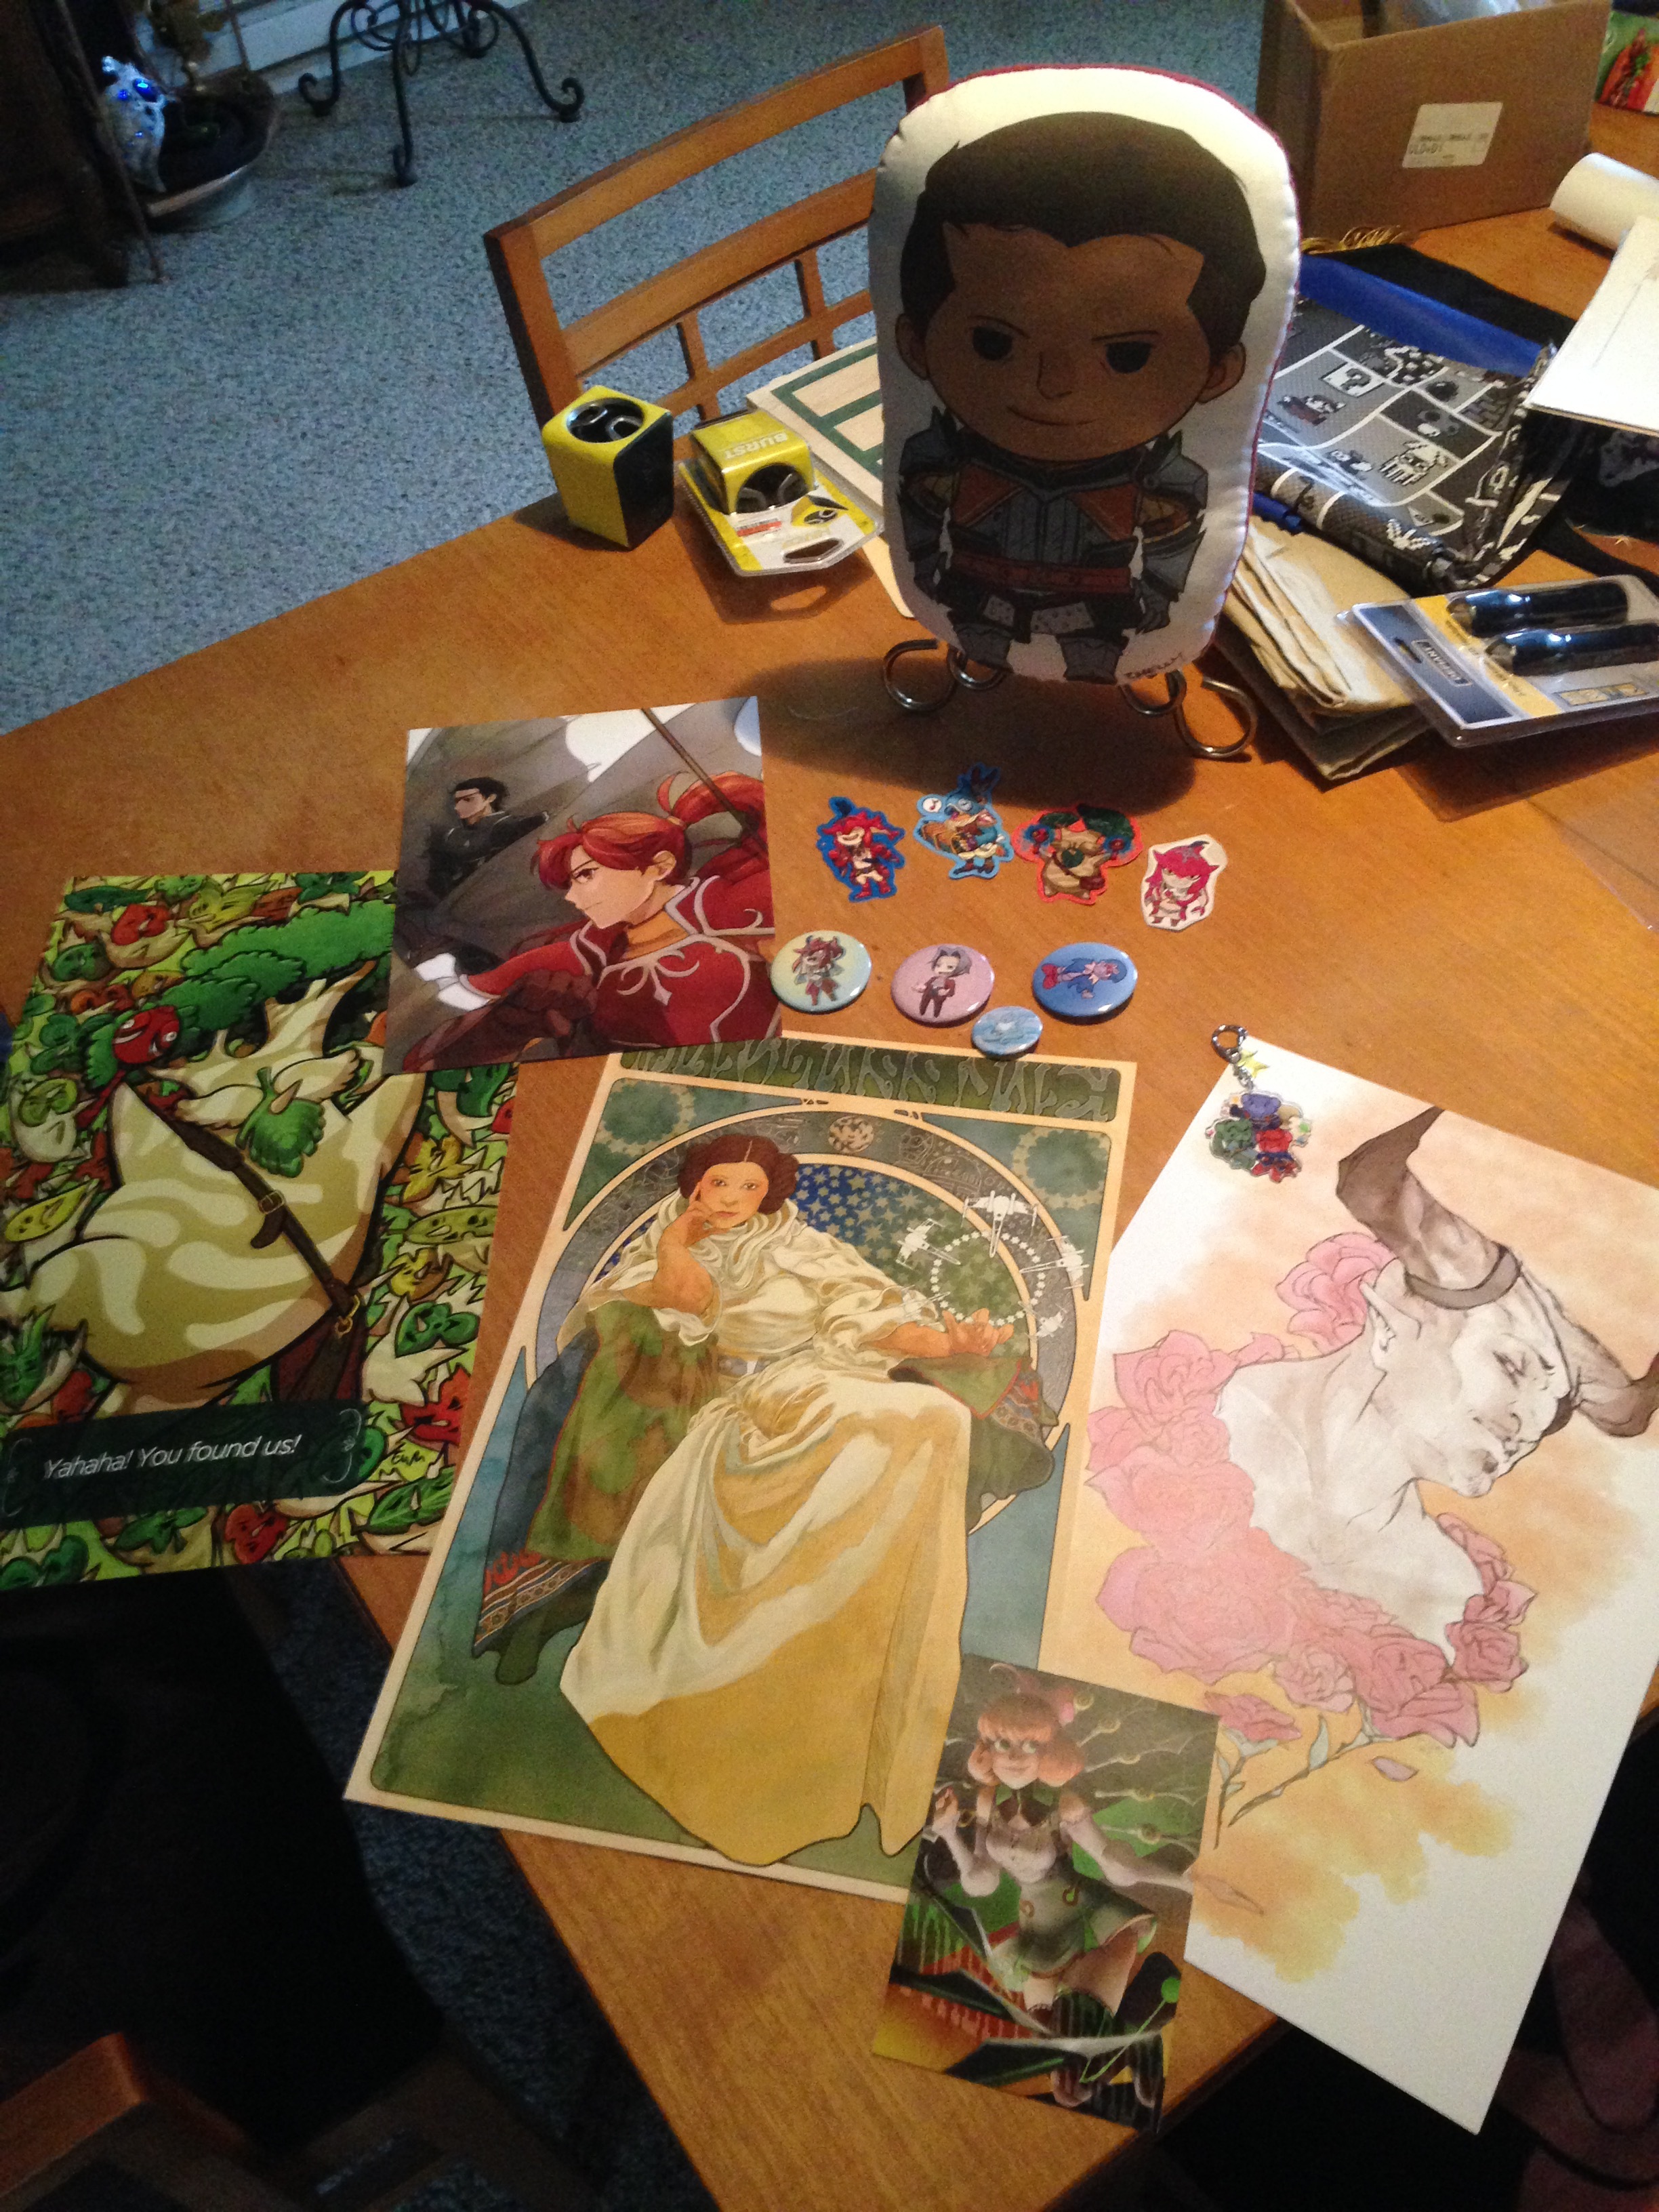
It is at this point that something miraculous happened. As I was listening to my nerd music playlist, Prince Sidon's theme came on. Now, for those of you who haven't played Breath of the Wild and are unfamiliar with the Zora prince, he is a treasure. He is very affectionate and encouraging with Link. Now, at Tekko this year I met an awesome artist named voidbug who made this fantastic print of Sidon.

Coming home from Tekko, I immediately hung this print up in my sewing room to give me encouragement while I'm working on cosplay and let me tell you , IT WORKED. The combination of hearing his theme music and looking up at this print with my 8ft tall fish boyfriend giving me encouragement... I continued crying but they weren't tears of frustration any more. This art actually got me through this cosplay; it's a miracle.
So I buckled down, grabbed a pair of pliers (since my fingers were all sore at this point) and stitched the last sections of braid down.

I was so happy to get it done, and I absolutely love how it turned out. There are a few things I could do to make it a little better, but none of them are that important and frankly I think it looks awesome as is.
The best part about all of this was that I got to be part of a full group photoshoot at Youma, with a bunch of really good cosplayers (like, REALLY GOOD. Two of them won a Hall competition trophy that weekend for other cosplay they had). Here's the photo we have now, the rest will come later, when our photographer has a chance to go through and edit them.

Photo courtesy of back_of_beyond_cosplay
Not sure how often I'll end up wearing this, but I do know several friends want to do P5 cosplays too, so I'd fit right in. I have no intention of cosplaying any other version of him though, this one is just too fabulous.