Pew Pew! Gotcha.
Michael MacWolff
Welcome back to more Pandemic Props with Mikey! So delighted to continue showing off the fun stuff I made during quarantine ^_^
Let’s get right to today’s feature, another gun (since guns and swords… and gunswords, seem to be my specialty) from AI: the Somnium Files. Which, if you haven’t played this game, it’s great and you should and I believe they announced a second game recently! The particular gun in question is Kaname Date’s “Evolver.”
One of the interesting things about this gun, is that it actually has two modes: one that looks like a classic snubnose pistol, and one that looks like scifi nonsense. Blessedly, I didn’t have to engineer a way for the but to transform, we just went with the fancier scifi version because it looks cooler, and has glowy bits!
For the most part, this was a fairly standandard build for me, using MDF as a base and building out with foam and some worbla details. The most interesting and challenging bit of course was the barrel with various glowing sections. Fortunately, the solution was fairly simple and I already had the materials to accomplish it! If you remember waaaay back in my prop career, I made a mashup sonic screwdriver/lightsaber. This one, to be exact.
While parsing out how to make this thing, I ordered a couple of lightsaber blades from Ultrasabers.com which work beautifully! Since I got a bit of a grab bag from them, I still had an extra blade laying around, with the thought that maybe I’d make myself a lightsaber some day… which of course never happened ¯\_(ツ)_/¯
On the bright side, I had a leftover lightsaber blade to use for other things… like the barrel of the Evolver!
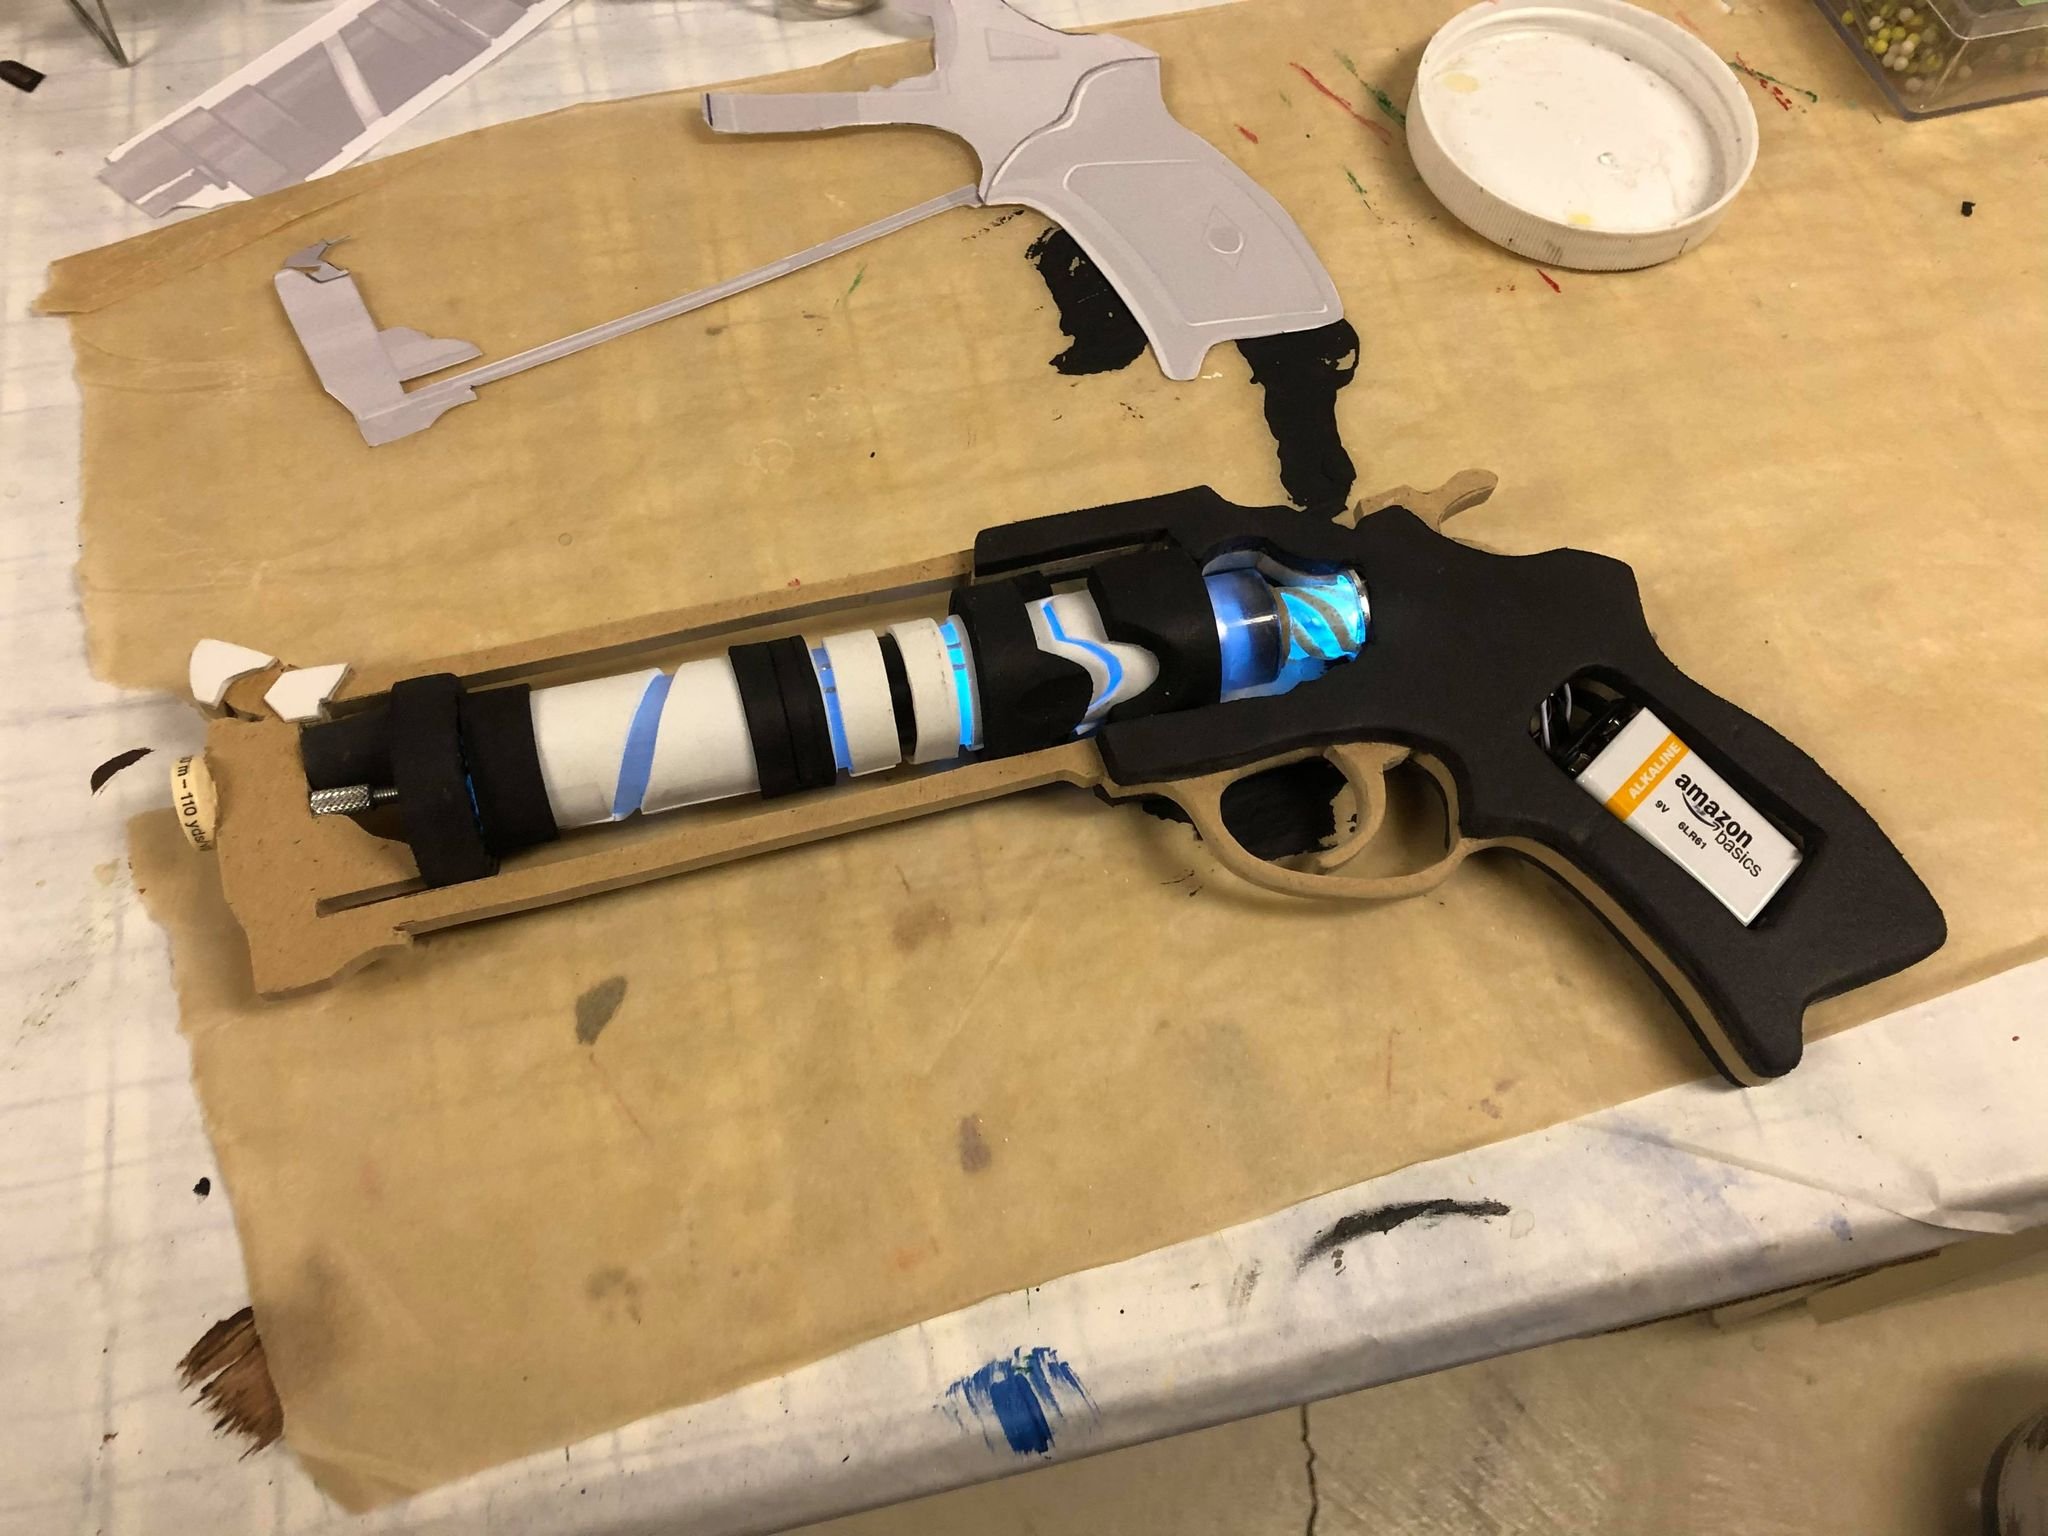
Here you can see the very skeleton of the gun, along with the barrel without any of its details, and the simple lighting setup I used. You can also see the giant empty space in the grip area that will eventually house the battery!
Since I only needed a select few spots on the barrel to actually glow, the rest of the details were built up from there to keep the light from showing through. It’s mostly craft foam, with a few small spots where I used puff paint to get some small details. There’s also a small section near the base that has worbla details too.
The barrel was definitely the most complicated part to detail, mostly because wrapping foam around round stuff is harder than you might think! Keeping things lined up and spaced correctly is a giant pain in the butt, and if you don’t measure and cut carefully, you’ll end up with weird gals. fortunately on this thing, I could easily hide most of my minor sins because any gaps were facing down, where the bottom strut of the gun frame would hide them!
And now, with the light on! Since the wiring is threaded through the base of the gun, it needed to be installed as I was building out the frame’s foam details and as such, the lights were functional well before the gun was complete!
This is also a good moment to take a look at some of the weird junk I used in my construction! You knew there’d be at least some, because it wouldn’t be a Mikey prop if there weren’t at least one random piece of trash involved XD
There’s only two salvaged bits in this one, and they’re both at the front of the gun. The light blue should be fairly easy to identify if you do any sewing, particularly because of the “110 yds” printed on it. It’s the end of a small spool of Gutermann thread! The red bit might be trickier to place, but if you do any cross-stitching or embroidery, I guarantee you’ve used the thing I ripped that bit off of!
It’s actually the tightening screw on an embroidery hoop! It might seem like a weird choice, but the texture on the knob was perfect for that little detail, and since I do a lot of embroidery these days, I had plenty of hoops lying around that I could harvest one from.
The last relevant detail before I could start priming and painting was the panel to cover the battery well, which I made from foam and pressed paperboard (for rigidity and sturdiness) and used magnets to secure in place. I normally use velcro to hold these sorts of removable sections in place, but because the panel is so thin, the magnets were easier to use in this instance.
And with that done, we move on to priming and painting and having one beautiful piece of hardware!
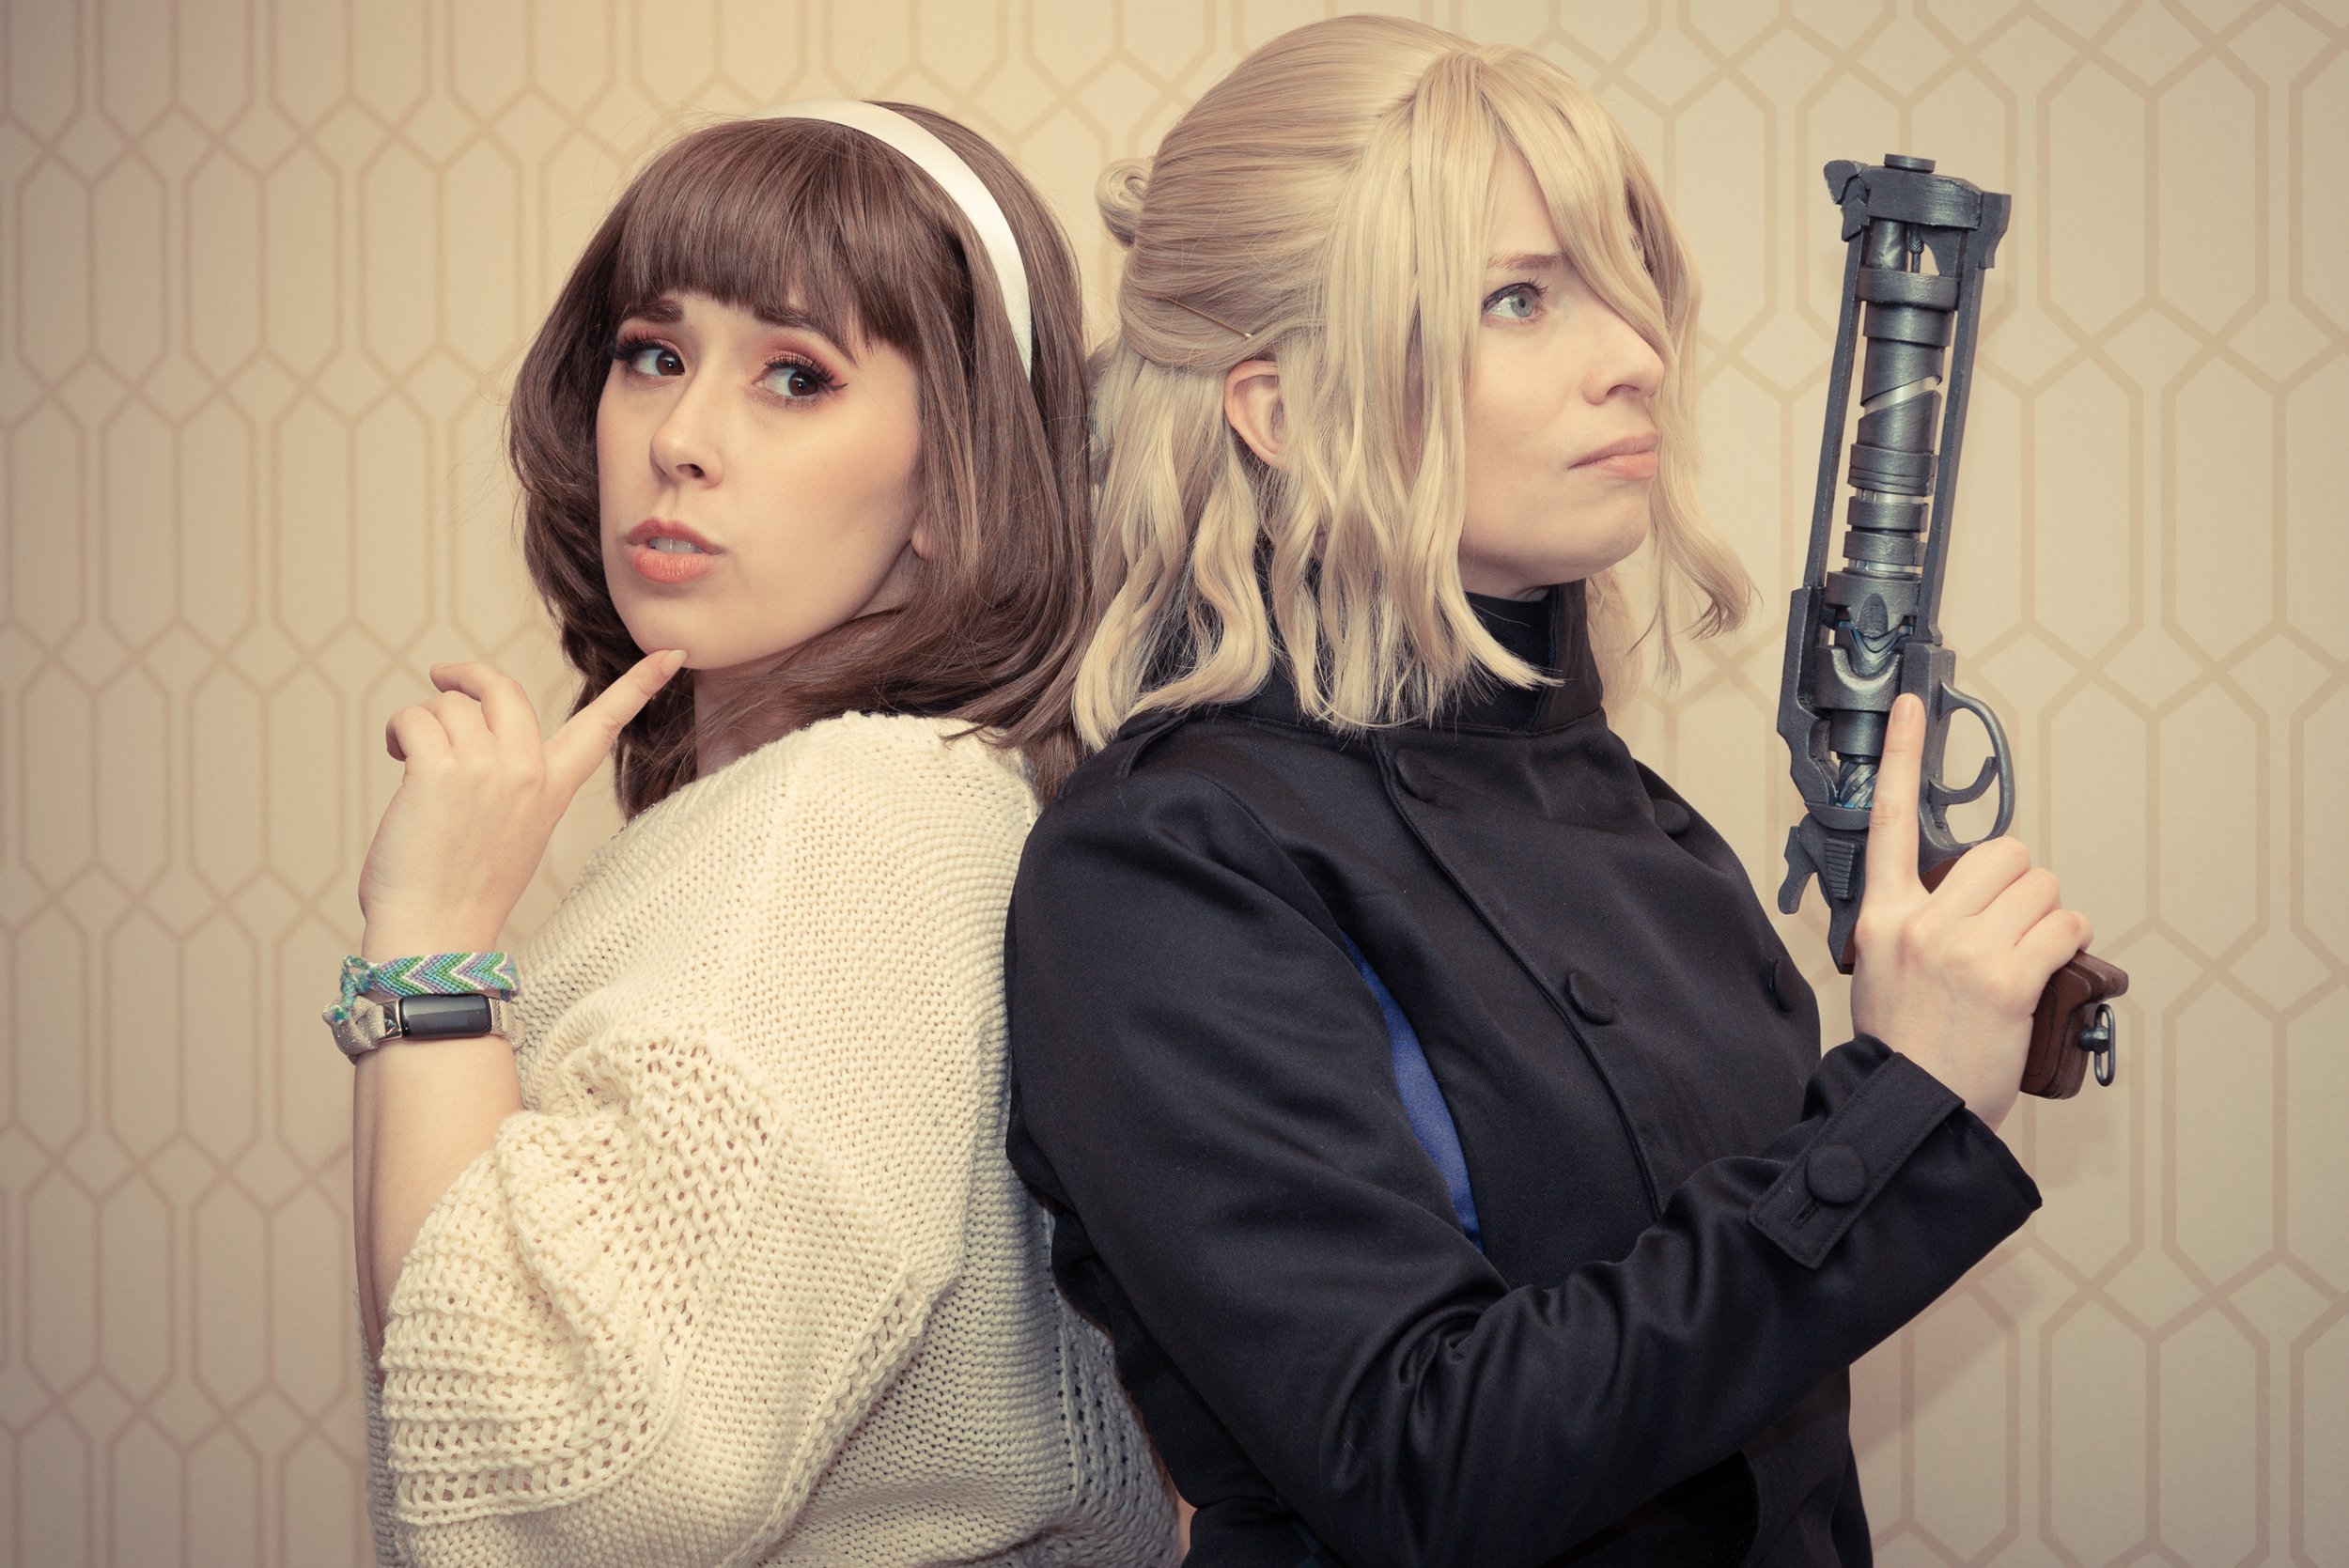
This was definitely one of the most interesting guns I’ve had the privilege of making, and I even have an extra treat for all of you with this one. Since I’m friends with the new owner, and she actually has photos posted of her cosplay with the new gun, this is one of my few opportunities to share one of my commissions in the context of the cosplay it’s meant to go with!
Feytaline looks amazing in her cosplay and I’m so glad one of my props got to be a part of it <3
Date’s wig was done by Ligerscout, the first photo was taken by Fey’s partner and edited by Feytaline herself! The second photo was taken by John Fascetti /FPS Photography, and the last two photos were taken by Iroun.Photos and feature Trickssi as Hitomi! All of these lovely folks are amazing and you should absolutely follow them on social media, I even made it easy for you by linking them to their names above so you have no excuse not to ;-P
That’s all for this round, but I still have plenty of props to catch up on so I’ll see you next time!


