Contact Us

Questions? Comments? Concerns? Suggestions? Submissions? Shout-outs?

Whatever you want to tell us here at Mikey Does Cosplay, we're always happy to hear your thoughts and feedback!


123 Street Avenue, City Town, 99999

(123) 555-6789

email@address.com


You can set your address, phone number, email and site description in the settings tab.
Link to read me page with more information.

reflection.jpg

Blog

Here's where the magic happens. I'll be posting about all of my experiences and experiments (both failed and successful ones), introducing you to my costumes, sharing fun stories, linking tutorials and useful products, and who knows what else!


'Sup Players

Michael MacWolff

That's right, it's Thursday again and I thought it made the most sense to throwback to the reaper who greets you on this blog every visit, Koki 'Lollipop' Kariya.

The World Ends With You is definitely a game that's made a huge impact on my life and anyone whose played it has probably had a similar experience. I actually first heard about this game at MBLGTACC, which is the Midwest Bisexual, Lesbian, Gay, Transgender, and Ally (and everyone else in the alphabet soup) College Conference at a panel about LGBT representation in video games. In that panel I heard about Joshua, who was pinned as being an openly gay character. Since it was one of the few games addressed in the panel that was actually on a system I owned, I decided to buy it the next time I was at GameStop.

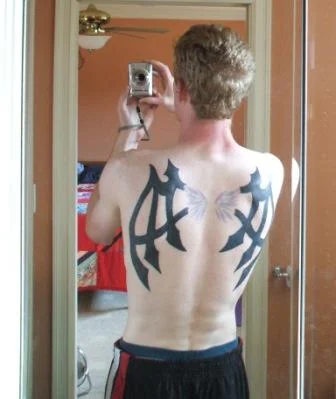
Boy am I glad I did. Besides the amazing storytelling, the wonderful characters, the awesome art direction and music, and the interesting game mechanics, I thought the viewpoints expressed by the characters and the lessons about life and human interaction were really intriguing and spoke to me as a person. I could definitely relate to the loner attitude of Neku and his blossoming into a fully-realized kid (it reminded me a bit of Cloud from FF7). I loved the unique personalities in the cast and the heart-wrenching moments (SPOILER ALERT: I definitely cried when Rhyme was erased by the shark noise). This game was so impactful that I even got a pair of reaper wings permanently affixed on my body.

twewy-wings

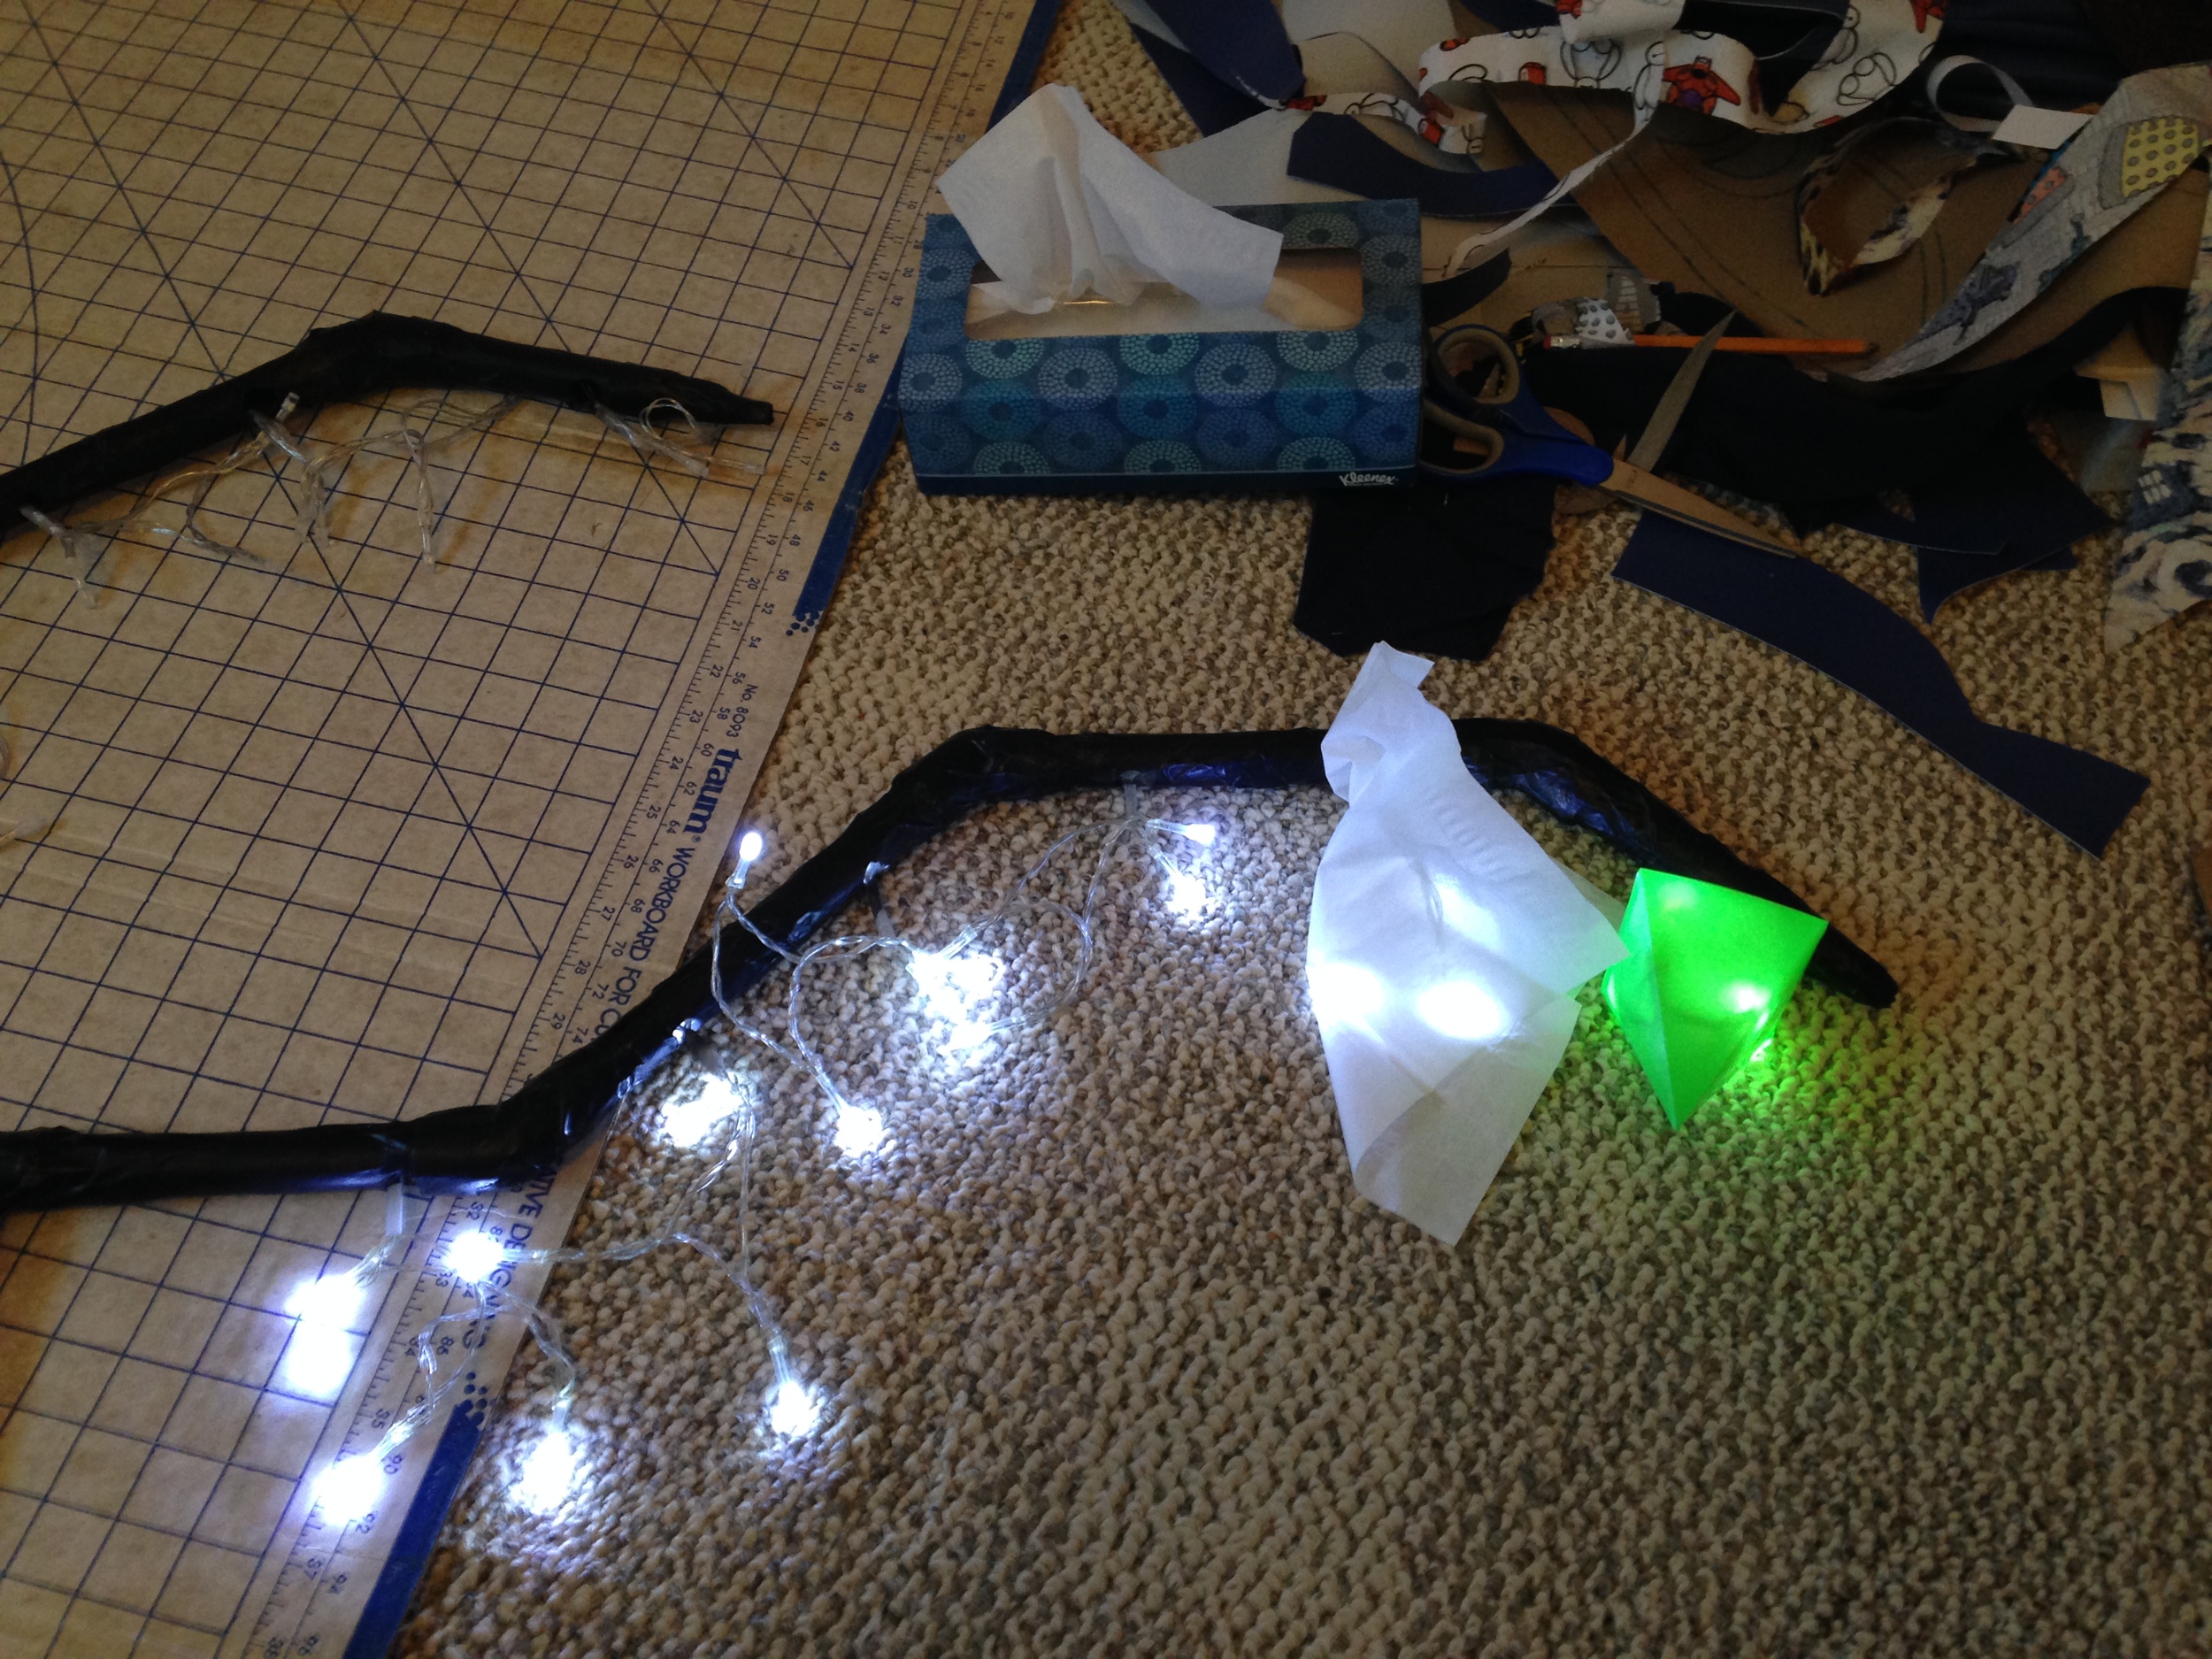
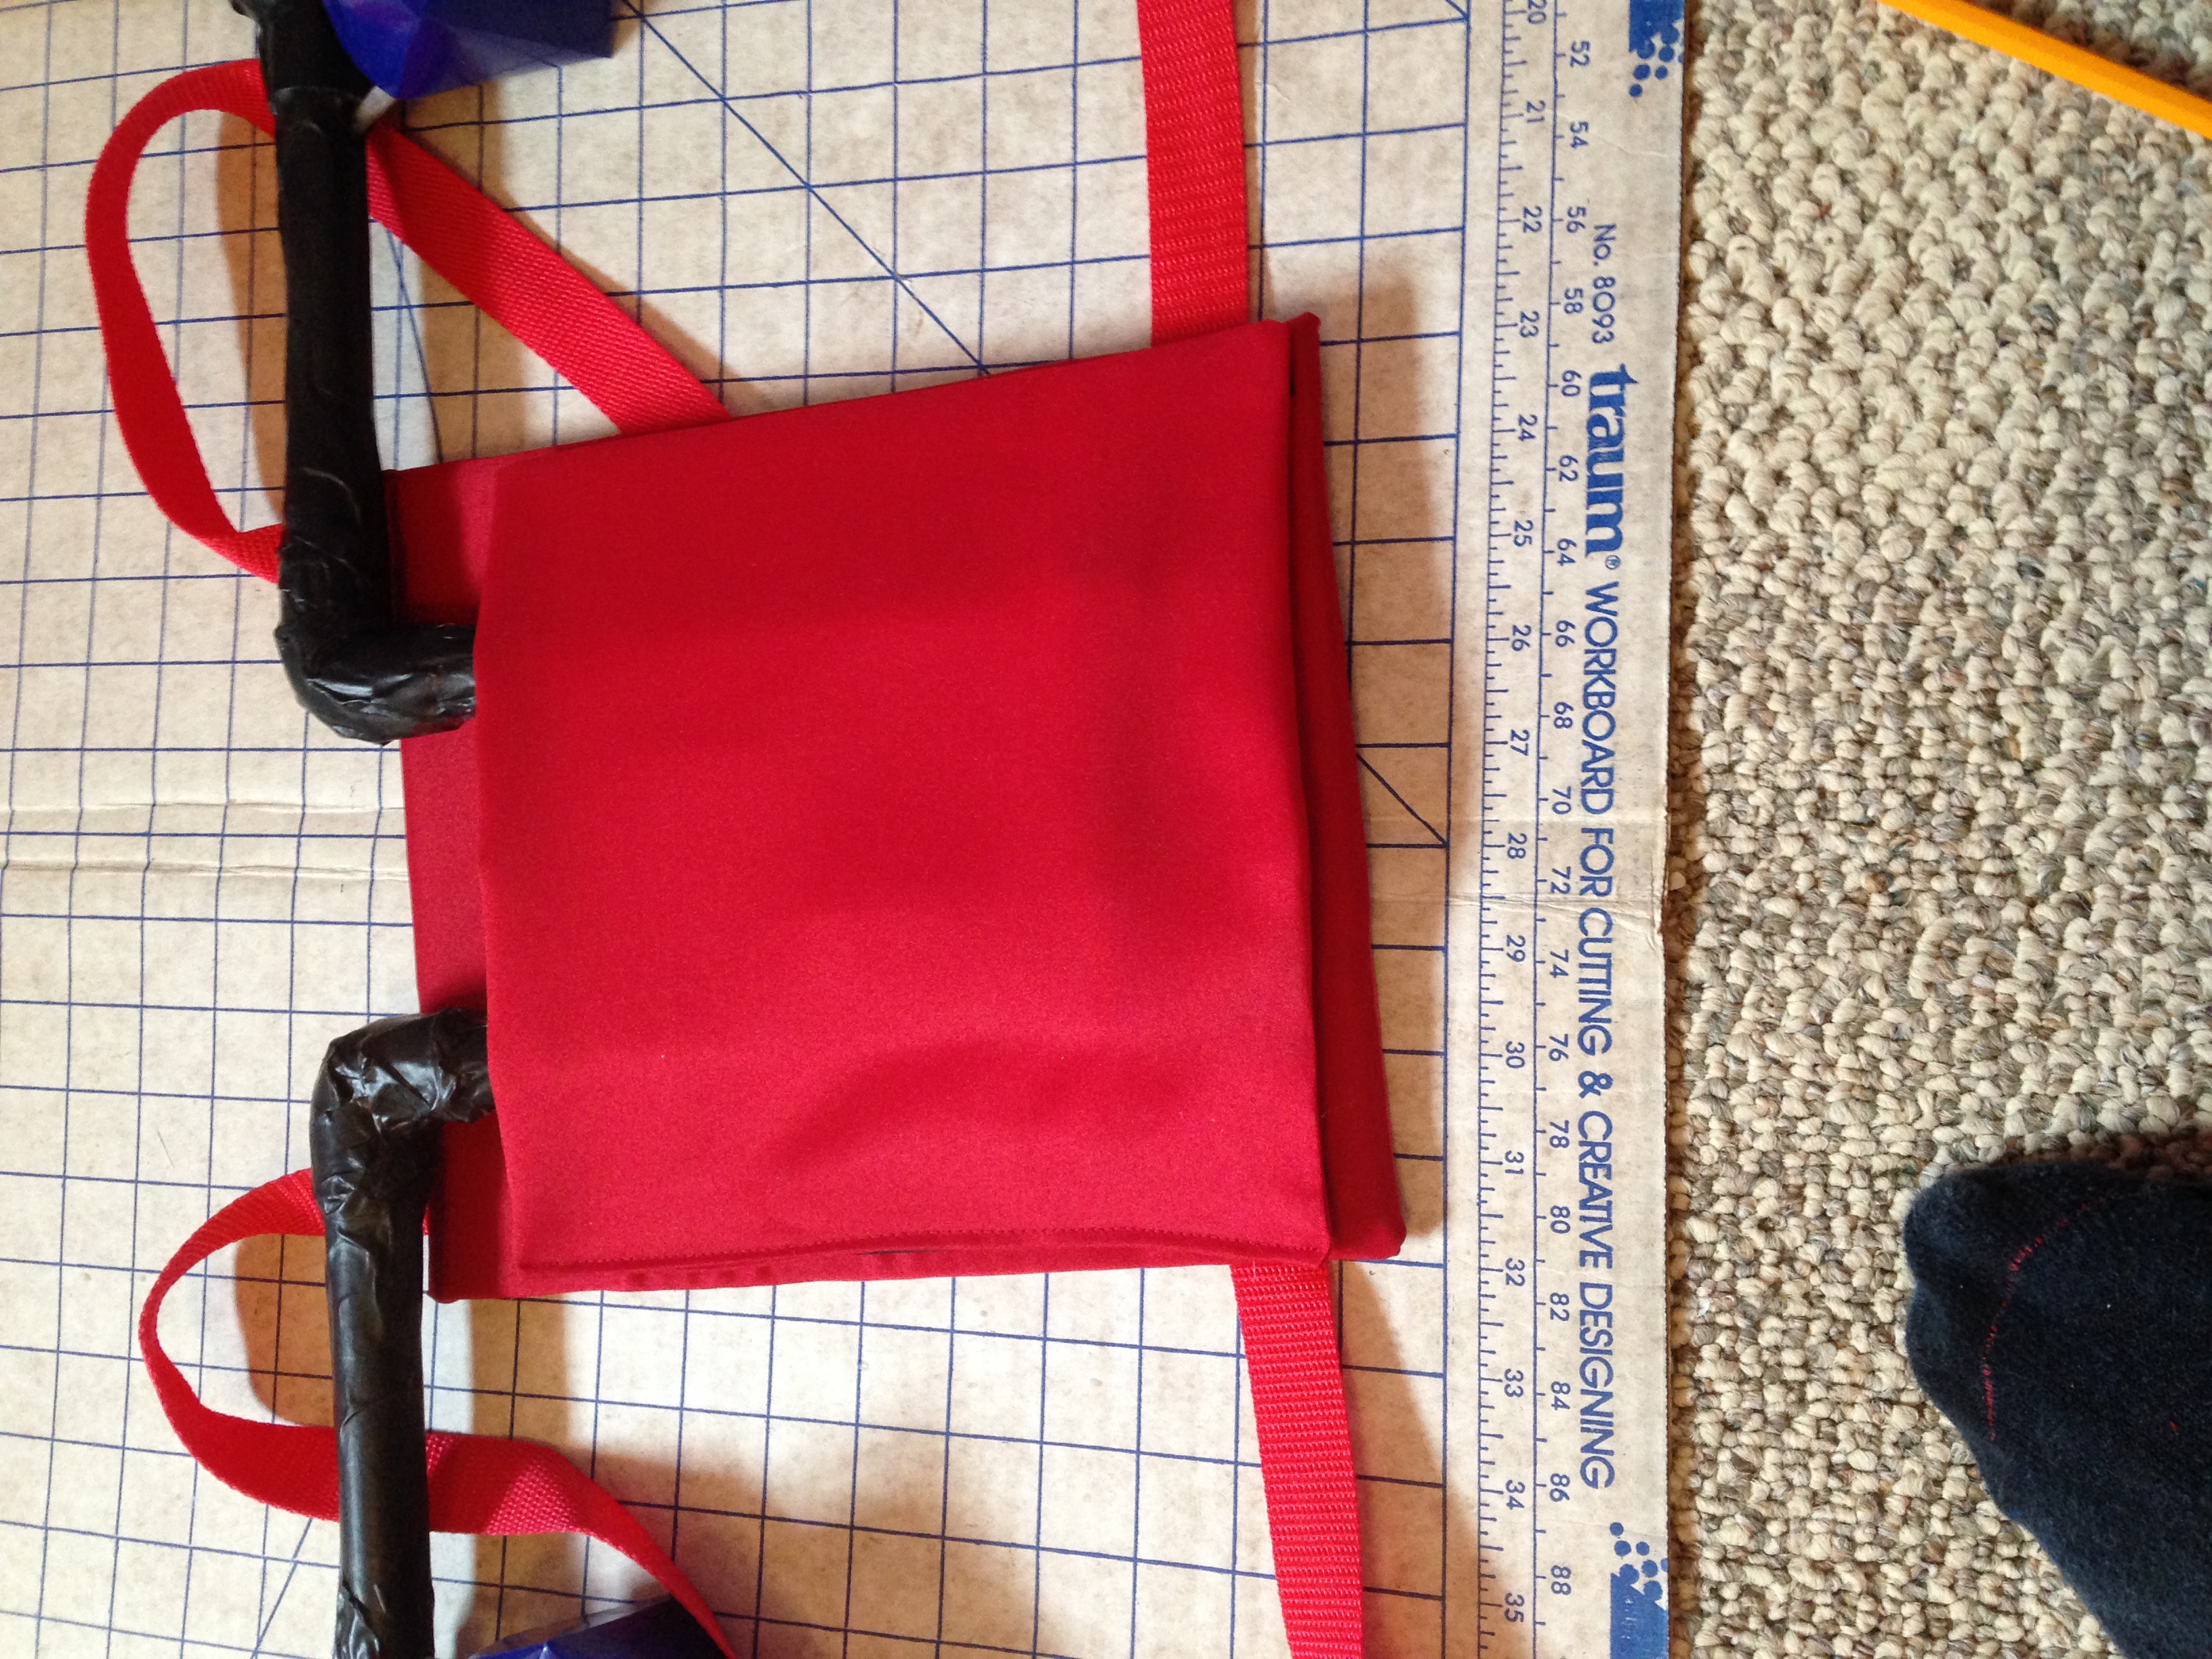
So it didn't take long to decide I wanted to cosplay from this game, and while I loved pretty much every character in the game, there was an obvious choice for me: the lollipop-loving, under-motivated harrier reaper that can kick some serious butt. And to top it off, he's a ginger so my thoughts at the start were that I wouldn't need a wig. Which, while not a terrible idea, I'm very glad I did get a real wig for him.

Definitely a rad reaper but my hair is not nearly as fiery as the real thing.

Definitely a rad reaper but my hair is not nearly as fiery as the real thing.

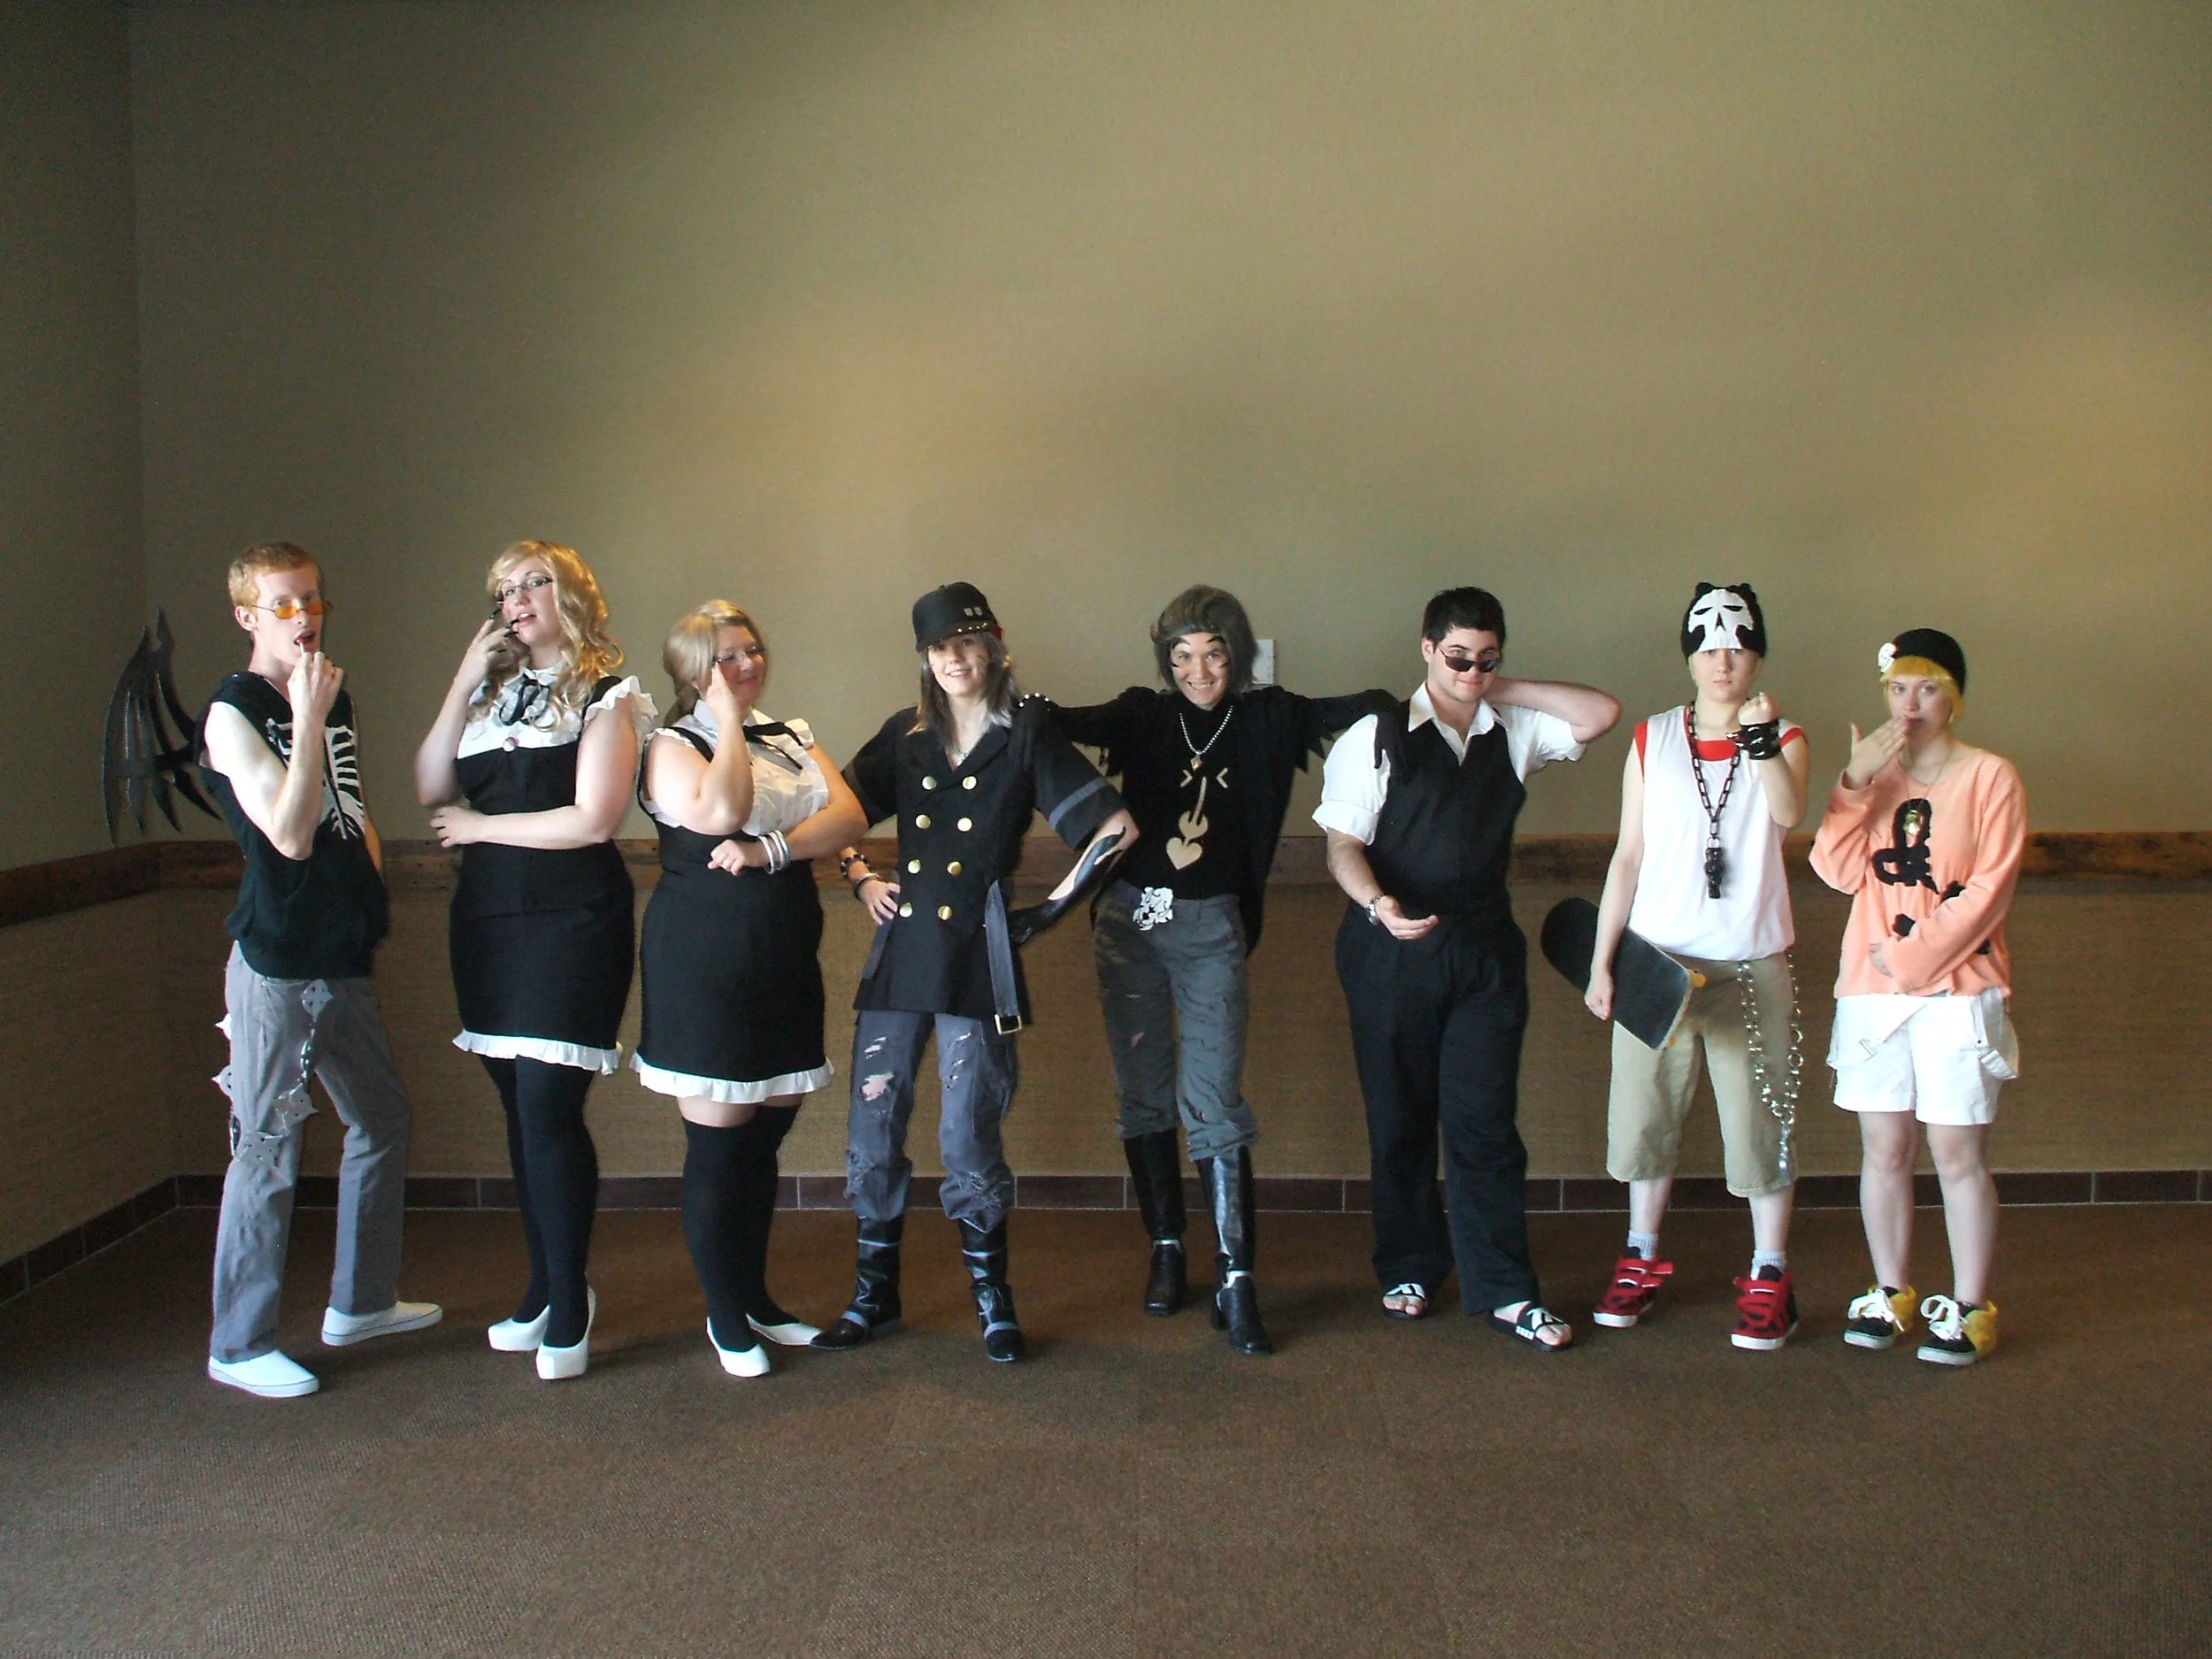
I debuted my Kariya costume at Ohayocon 2011, but it wasn't until Colossalcon later that year that I really got into the groove with this character. Much like Edgeworth, I associate Kariya with a lot of great friendships that I still maintain today, and Colossalcon 2011 is where a lot of those started. Shout out to Kaishun, Genki, Droguza, Daruchai, Legendarie, Rightfulkinginigo, Andrew, and all the other wonderful TWEWY cosplayers that have made being the sassiest reaper around so much fun.

Rightfulkinginigo is the greatest partner a guy could ask for!

Rightfulkinginigo is the greatest partner a guy could ask for!

Another lovely part about Kariya is it's pretty much normal clothing so it's super comfortable. Ok, the wings sometimes make it hard to get through doors, but the rest of the outfit I can wear all day and not have any cramps, bruises, or blisters (unlike some of my more elaborate costumes).

twewy-group
Apparently I'm the only one who like suckers... BJ is not impressed.

Apparently I'm the only one who like suckers... BJ is not impressed.

The best part about this awesome group of folks is the ridiculous fun I have when I'm with them. We're not afraid of shipping (which there are lots of great pairs in this game), and we pretty much just goof around which leads to some fantastic candid shots.

the-proposal
booty-bump
TWEWY dance par-tay!

TWEWY dance par-tay!

I don't even know...

I don't even know...

Some time soon I'd love to get the whole gang back together, and we have high ambitions to do a full reaper cast, which would be awesome. Really, I wish there were more TWEWY in my life because the game, the fandom, and the cosplayers are all wonderful.

Keep it real, players. And don't work too hard.
With much love & til next time,
Kariya

kariya-valentine

Glimmering Wings

Michael MacWolff

As many of you are probably aware, I take commissions for cosplay props. That's a big part of the reason I have a whole separate gallery just for prop photos. I love doing commissions for people because I get a chance to make a lot of things that I wouldn't have a chance to do otherwise, and it gives me a lot of good experience with new materials and ways of approaching different types of props. My most recently finished prop gave me just such an experience.
Someone asked me about making a pair of wings, which I've done a few sets before between Tibarn and Kariya, but these particular wings are definitely in a league of their own.

Scarlet Flandres from Touhou project is not a character I'm very familiar with, but I immediately fell in love with the design of her wings... however the task of actually constructing them was a bit more daunting than many of my projects.

The first step with any of my props is to figure out what type of materials would be best suited for the project. I knew my client wanted the crystals to light up as well, which provided an added layer of complication. The base of the branch-like wings was fairly simple to decide on: I needed something hollow, sturdy, lightweight, and able to accomodate the shapes that I needed to achieve. The obvious way to go was with PVC, as it fit all of the necessary criteria for this particular project. The next challenge was the lights themselves; I've never incorporated lights into any of my costumes or props before, so I went searching for tutorials online to get some ideas. That's when I discovered Kamui Cosplay. After looking at just a few photos I fell in love with the precision, detail, and all-around gorgeousness of her costumes. And it just so happens she does a lot of tutorials, and even has a few books that she's done. Lucky for me, she has one such book on cosplay lighting! I immediately bought it and and read through it. If any of you out there are trying to light your cosplays, I definitely recommend checking out her Book of Cosplay Lights which is only $5 for an electronic copy; well worth the money! Because this was my first time using lights and I needed quite a few over a fairly wide wingspan, I purchased two strings of battery-powered LED christmas lights rather than trying to wire my own, though I will be wiring some of my own with a few upcoming projects.

The last trick was figuring out what to make the crystals out of. My initial thought was using transparency sheets because I needed them to be transparent or translucent and I needed to be able to color them. So, off to Office Max I went. I found that transparencies, while they would probably work fine, were a bit thinner and flimsier that I really wanted, so I ended up getting some translucent poly pocket folders instead... though it was after about an hour wandering around the store grumbling about the fact that none of the multi-packs had a full ROYGBV color scheme (thankfully the store was not too busy so no one else had to deal with my fuming). Eventually I found a pack that had ROGBV, a clear one that looked similar, and a yellow sharpie marker. Voila~ yellow folder!

poly-folders

Now, on to the making!

I started with the wing shapes themselves, which I used several small pieces of .75" PVC with 75* angled connectors to get the shape I needed. I drilled 6 large holes along the lengths of PVC where the lights could come through (so the chords wouldn't be visible inside the piping) and threaded the lights through 1 piece at a time (if you're trying this at home, I don't recommend putting it all together first, then stringing the lights... I tried to do than and just ended up yelling at no one in particular, so save yourself my frustrations and string your lights as you build)

Now, to give the wings a better texture, I decided to paper mache over the PVC. This also let me get them to a sharper point on the end, and make the joints a bit less obvious.  Before applying the paper mache, however, it's probably a good idea to put some hot glue on all of the spots where the joints and pipes meet, so they don't wiggle around on you while you're trying to put the paper mache on... again, learn from my frustrations. After it dries I gooped on a few layers of mod podge and painted them!


Next comes the construction of the crystals. I worked out a pattern first on some cardstock (I knew geometry class was going to come in handy some day) and fit it all together to make sure my shape worked the way I needed it to.

Now that we know the shape will actually fit together properly, it's time to trace it onto my translucent plastic! Once things were traced on, I scored them along the fold lines and glued them together (except for the top part so I could fit my lights in).

Once they were all put together, I wrapped each bundle of lights in a kleenex (the tissue helps scatter the light so it's not just intensely bright in the 3 spots where the lights are shining, and it also gives some interesting texture), stuffed it in the crystal, and glued the last few tabs in.

Now that the wings themselves were finished, I had to move on to the harness. I started with two layers of cardboard, some small bolts, a sheet of adhesive-backed craft foam, and some red fabric. Put it all together and you get this...

The bolts are positioned such that they attach some metal brackets that clamp around the PVC and hold the wings in place. The next, and most important part is adding the straps. The way I did it was by using a D-Ring belt across the midsection and two straps that go over the shoulders and have adjustable loops that the central belt fits through. Most people just make loops that go around your arms for wings, which is ok when they're lightweight, but I find this way to work a lot better because it's more sturdy against your body and it keeps the wings from pitching back while you're wearing them. I developed this method for my Kariya wings because they would always hang back too far when I'd wear them. I intend to change my Tibarn wings too when I get a chance. 

From this point, it's all a breeze! All that's left to do is add some velcro for the battery boxes, sew a little rectangular pattern with more velcro to cover the back panel, and put it all together!

The velcro along the sides is for the fabric panel that covers all of this so you don't see the metal brackets and battery boxes.

The velcro along the sides is for the fabric panel that covers all of this so you don't see the metal brackets and battery boxes.

Now we have a beautiful, glowy pair of wings! I hope this has been enlightening for any of you folks with similar projects. If you have any questions about certain steps I'd be happy to give you more details, just send me a message by clicking on the little envelope in the top right corner!

Stay tuned for some more awesome prop creations here at Mikey Does Cosplay, and in the meantime check out the Prop Gallery to see some of the other fun things I've made. Also, if you're interested in commissioning a prop from me, send me a message on here or on my Etsy Store.

OBJECTION!

Michael MacWolff

So my intention is for most of what goes into this blog to be new stuff, but I figure Throwback Thursday is a great way to introduce some of the stuff I've already made & debuted.

So welcome to Round 1 with my very favorite prosecutor: Miles Edgeworth.

While he may not have been my first Ace Attorney cosplay, Edgeworth definitely holds a special place in my heart. I've been madly in love with this fluttery, foppish, snooty man since I first met him in Phoenix Wright: Ace Attorney.

The perfect prosecutor (at least before Franziska appears on the scene), Edgeworth first comes off as a cold-hearted, arrogant know-it-all, and let's be honest, he really is. But as the story unfolds, you learn more about his history and he slowly becomes the cuddly, lovable man who clearly has a special place in his heart for our blunderous title character, Phoenix.

One of the first cosplay friends I made was himself a Phoenix cosplayer, and this in part motivated me to ultimately make an Edgeworth outfit (<3 you Rion). And it's actually the Ace Attorney cosplay community that has become my favorite cosplay group because there's so much personality among the characters and the cosplayers. Also, I feel like we have the most fun with out photoshoots. People are almost always up for anything because everyone is really passionate about the series. That's where we get lovely shipping pictures, goofy crime scenes, having the entire cosplay group briefly causing a fire hazard (I have many fond memories cowering in fear on the floor of that elevator), and Gumshoe submitting himself before me.

Besides making so many awesome friends, becoming a known member of the community was incredibly satisfying. It was the first time I'd really gotten any recognition for any of my costumes, and coming from other such great cosplayers it meant a lot. 

back-to-back

Construction-wise, Edgeworth is not exactly the best costume in the world, it certainly isn't going to win any craftsmanship competitions. I am pretty proud of myself for how I put it together though. First of all, it's made from satin... which if I walked around in a satin suit that would look even more ridiculous that Edgeworth should. That's why I used the wrong side of the fabric. It has just the right amount of sheen to it without being too shiny. The pattern I actually found at the thrift store, in the form of a suit jacket and pants. I ripped all the seams, traced the pieces onto the fabric, and put it all back together in the same manner I pulled the original apart. I even managed to use the lining of the original jacket. While I might not have done the best job of this the first time, it is a great way to create patterns for costume pieces if you don't know much about draping. The part of the costume I'd like the most to replace is the wig... it was my very first attempt at cutting and styling a wig and... you can really tell. Fortunately, I commissioned a new wig from a friend of mine so hopefully by the next time I wear it, I'll have a lovely new one!

So, to make a long story short, I adore this costume and I need to wear it again soon, as it's been far too long. So, fellow cosplayers, ta ta for now, and in the Ace Attorney spirit, OBJECTION!