Just keep crafting, just keeeeeeep crafting
Michael MacWolff

SO this doesn't actually have anything to do with Finding Nemo, it just seemed appropriate for my random collection of recent commissions and new projects I have in my queue.
HOKAY, SO, the first finished project in my recent collection is actually a mask I've made before, and I actually made it for the same person. The first one was a bit different that she was expecting/intending so while I offered to make her a new one she could essentially trade in for the old one at no charge, she offered to just straight up buy the new one and keep the old one. Bless her.
I'm not sure if any of you remember the Wolverine-esque claws I made for a Toakaka cosplayer a while ago, but the mask was for the same customer.

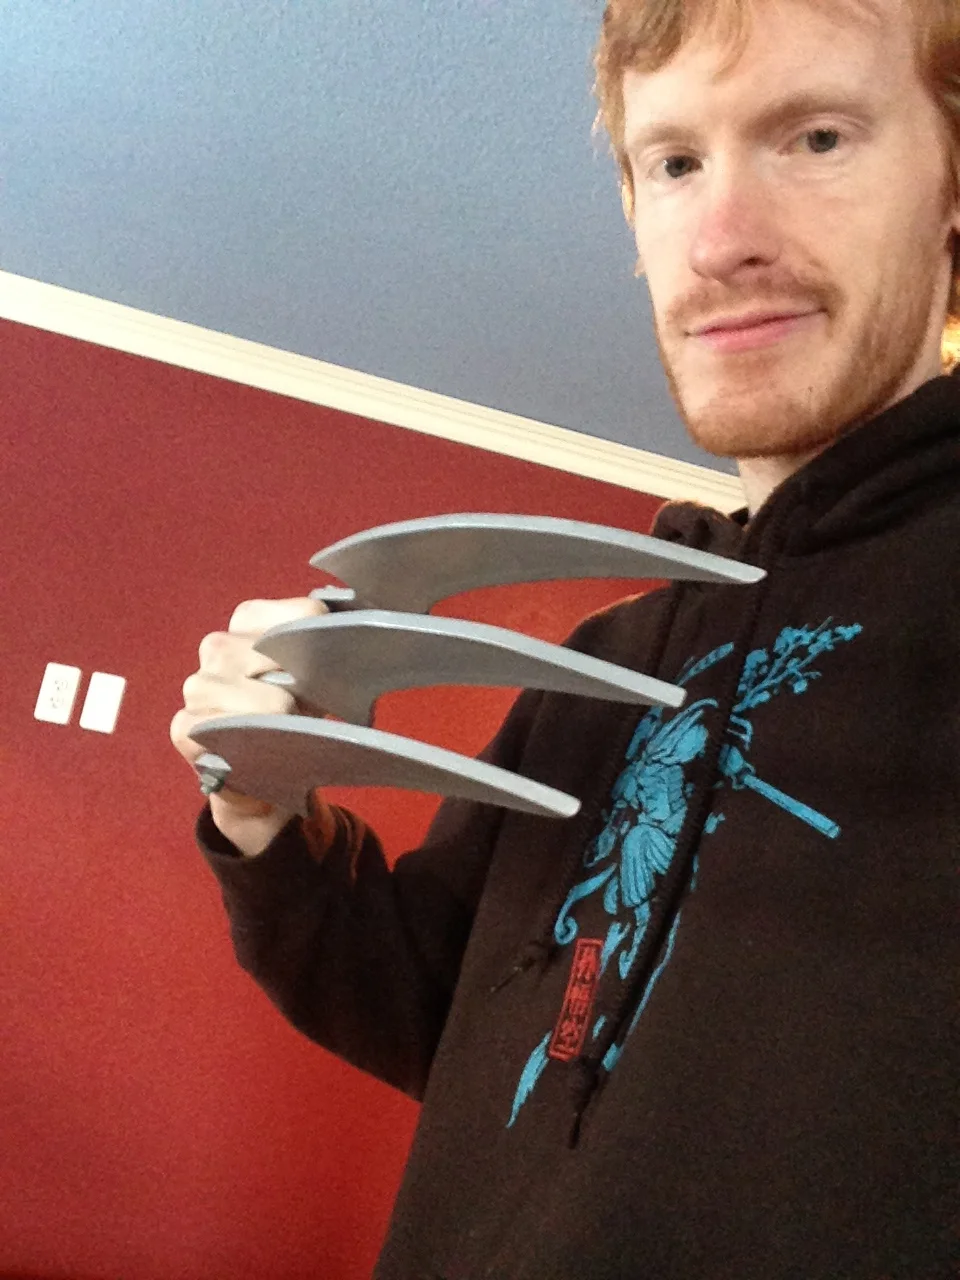

The claws turned out really well but the mask ended up being a different shape that it's really supposed to be, so I ended up making a more half-spherical one with the help of a lovely styrofoam half-ball and some paper mache. Several hours later, with the help of some black knit fabric, white foamies, and red chiffon (which I cut out of some flag poi because I couldn't find the leftovers from my first attempt at making this mask), and we have this lovely new one!
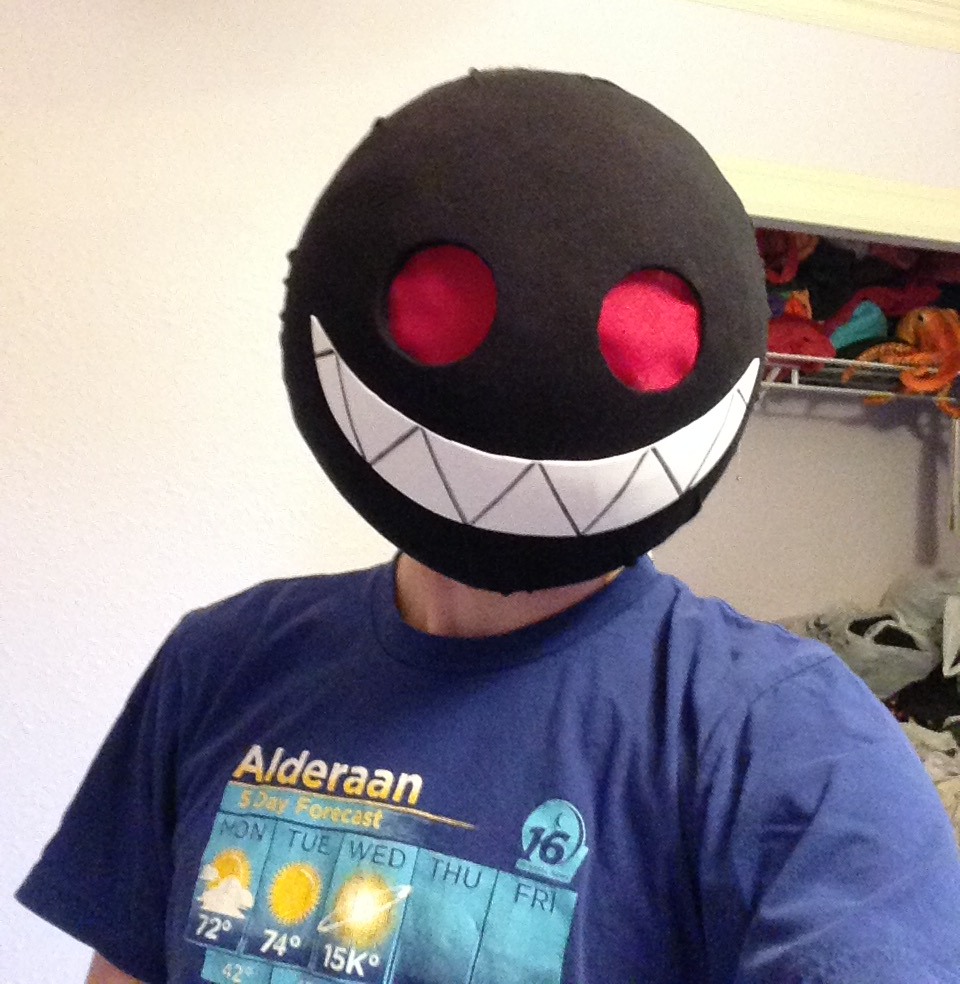
Just as creepy, but a good bit more impressive, and definitely better quality.
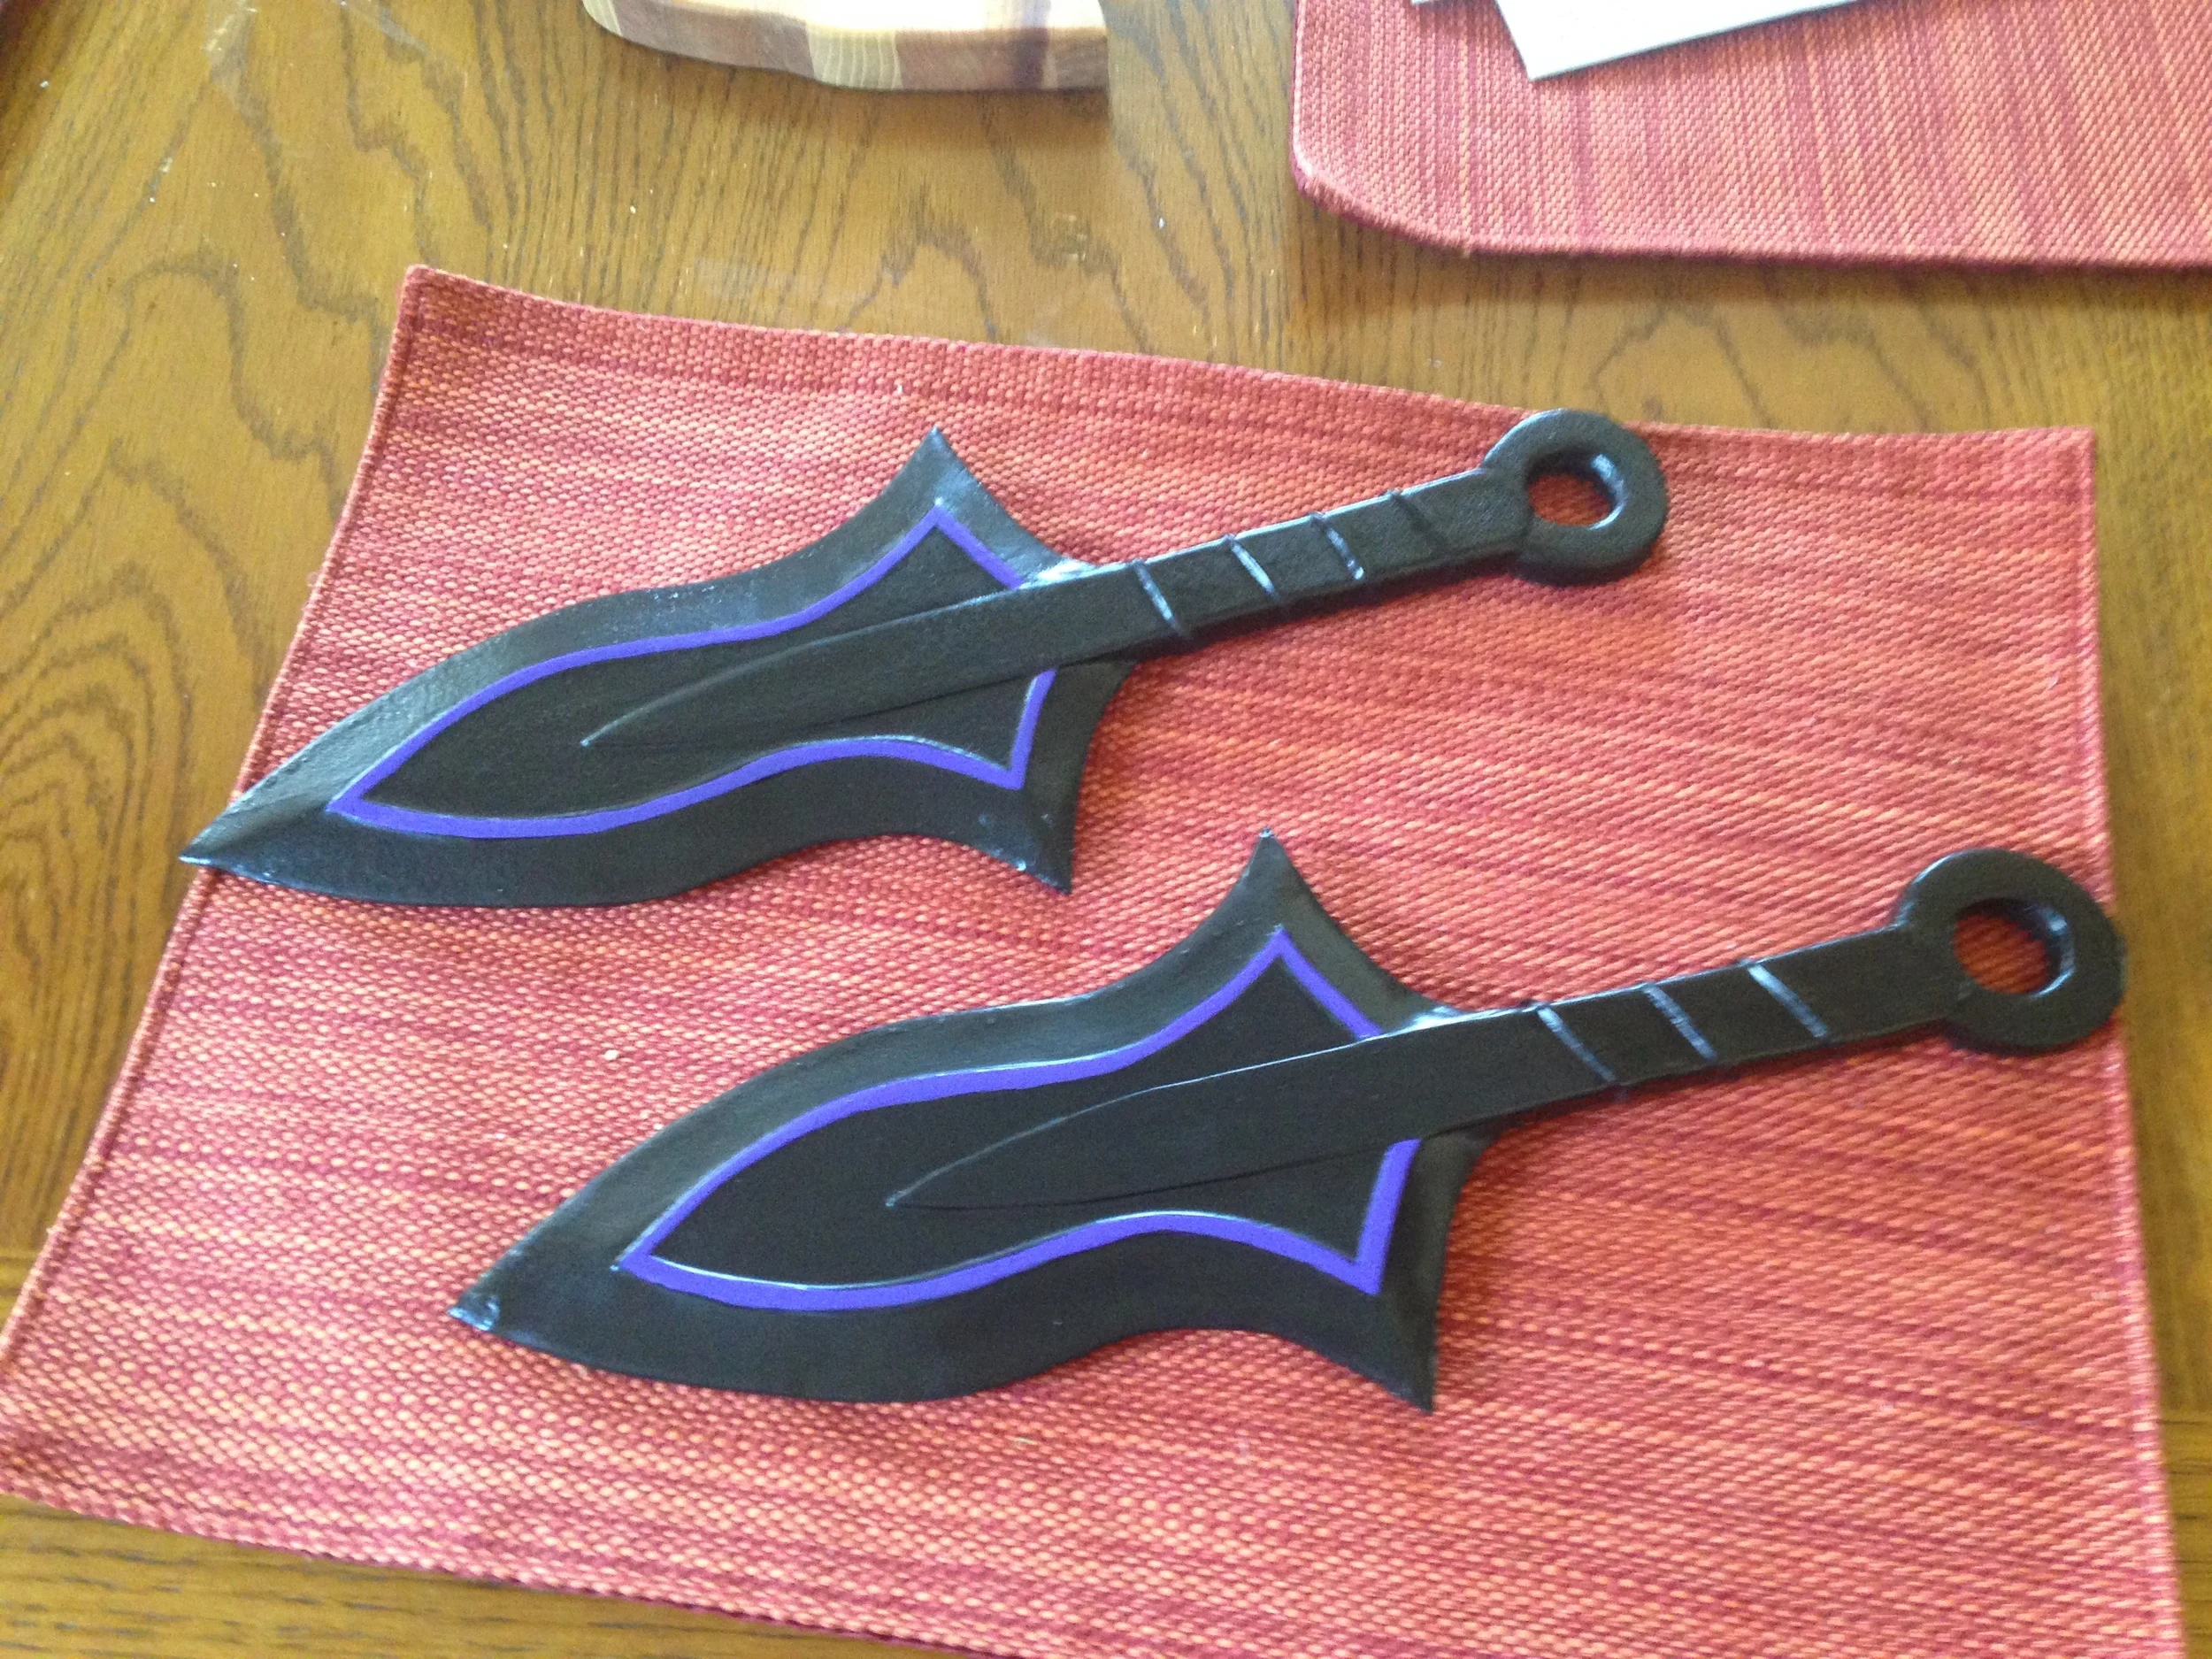
The second of my recent projects was also fairly simple, but I discovered a new way of making blades that I'm very excited about, as I usually make them out of wood and I have a hard time beveling the blade so I usually just don't XD
I was asked to create a pair of Kuni that have a rather more interesting design that the classic Kunai you see in things like Naruto (and therefore can find manufactured versions that are probably cheaper than commissioning me to make them for you). I admittedly don't remember what series they're from, since it wasn't something I'd ever heard of before, but they look like this:
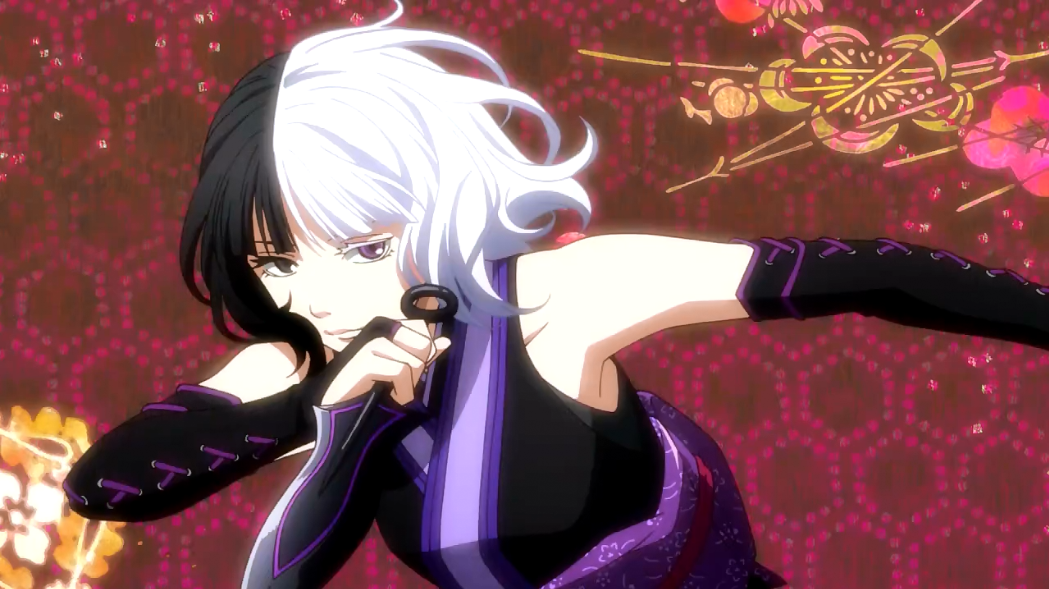
I LOVE THE COLORS!
So, first of all I should say that I love making bladed weapons cause I just think they're fun, and I end up playing with them when I'm finished making them :-D
These ones started with two layers of foamcore board.
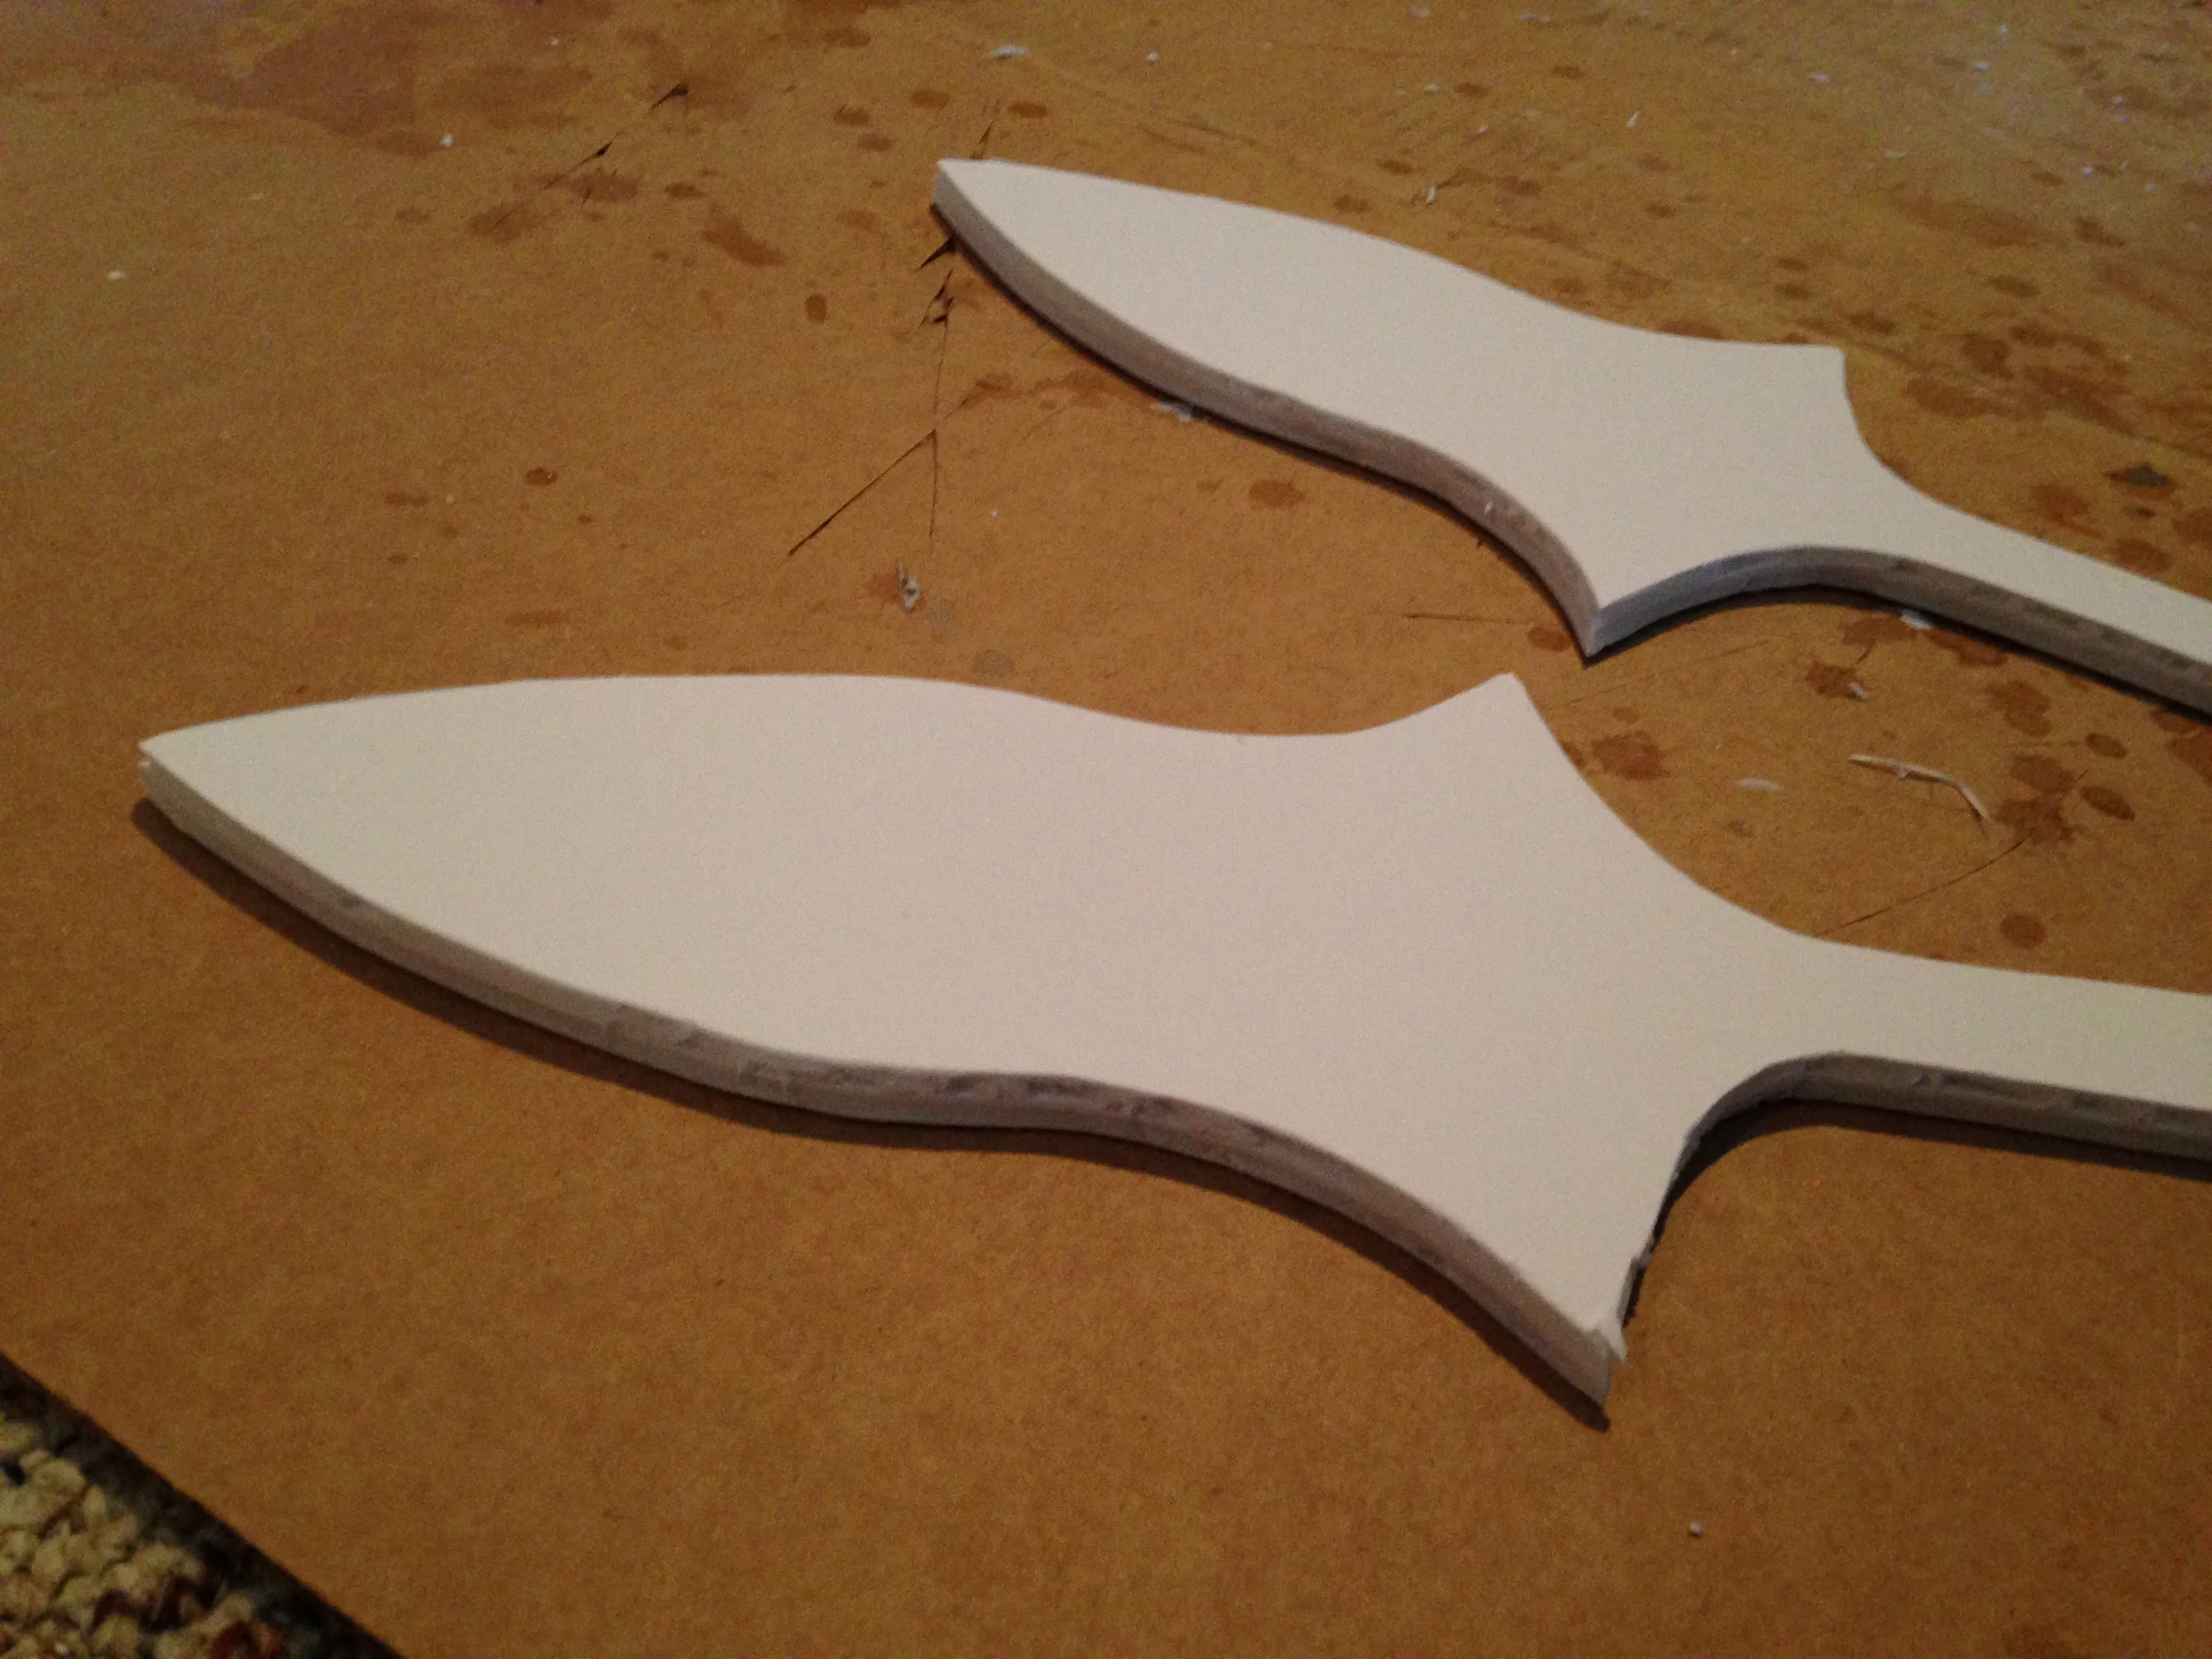
After drawing in the point at which the bevel of the blade would stop, I went over it with an x-acto knife and peeled away the outer layer of paper on the board.
With the paper gone, it was easy to cut the bevel into the foam using a serrated craft knife (I think the one I used was just a steak knife I found at the thrift store. Yay thrift stores!)

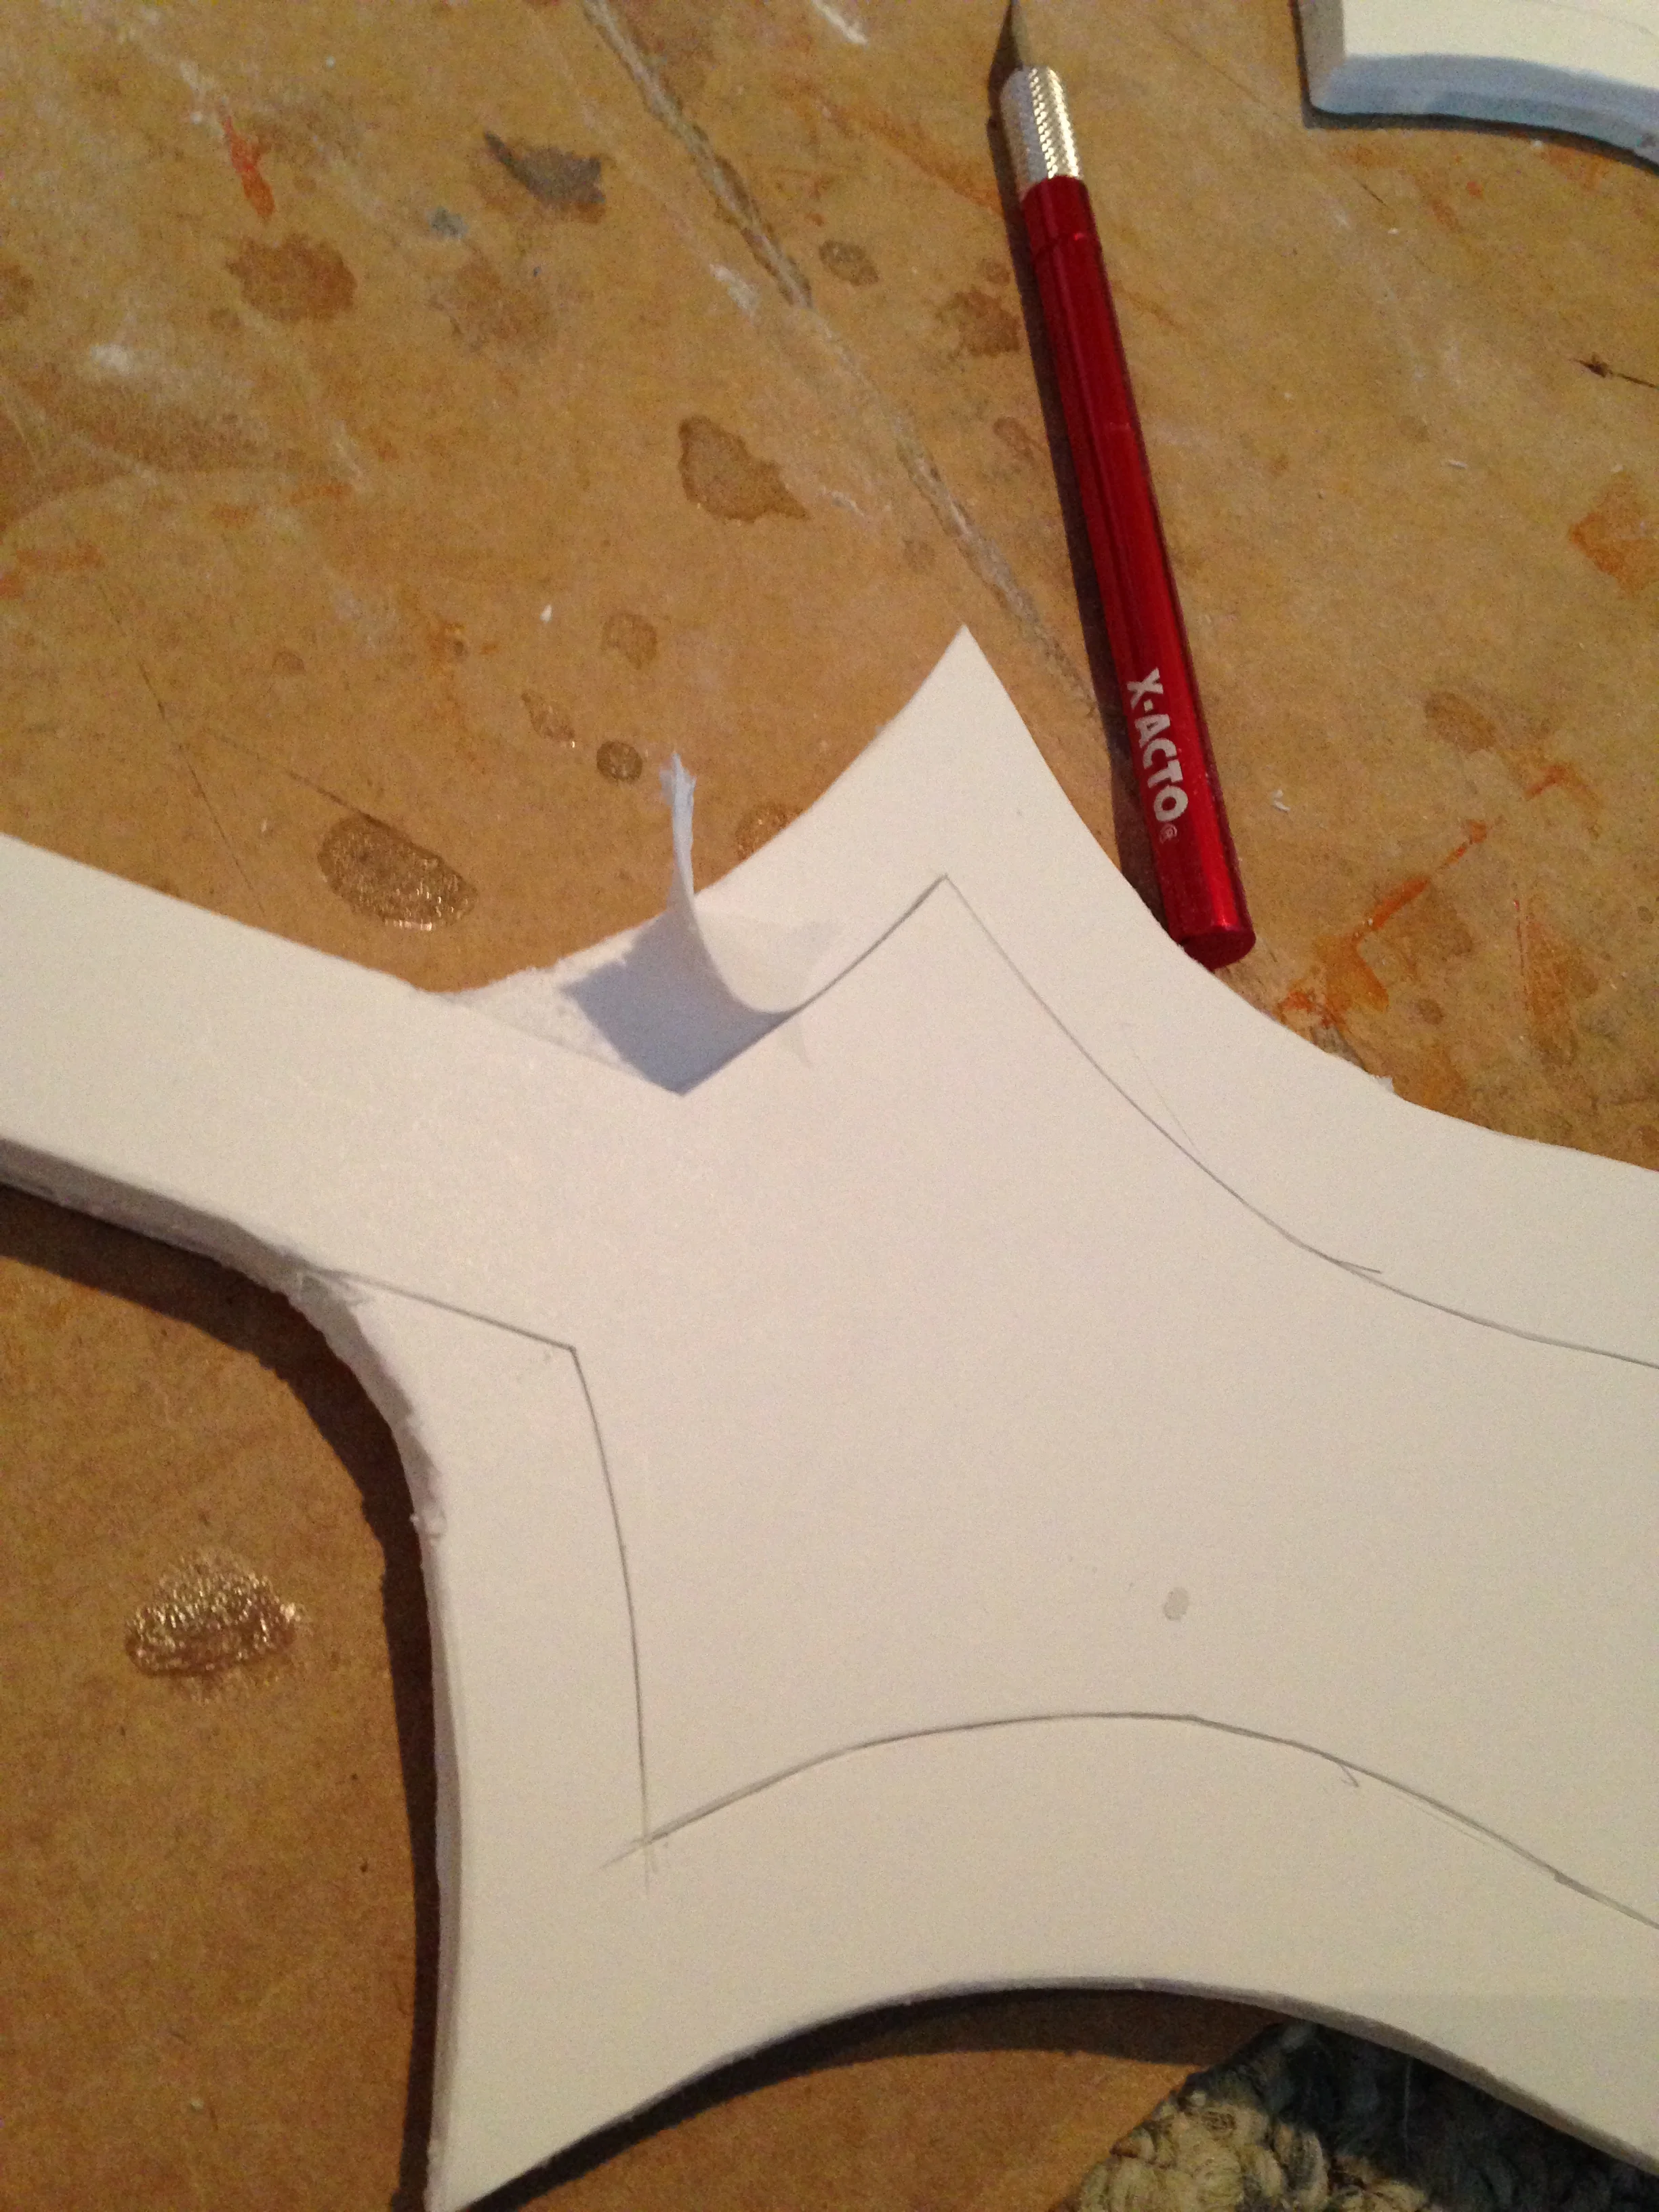
Look how pretty that edge is! The next step is to spackle the exposed foam so it strengthens it and fills in all of the air holes. I usually use this lightweight spackling (and I did for this one too), but next time I think I'm going to use the regular stuff as the lightweight spackling doesn't like to sand very well, it's rather odd. I think it's because it's designed to go on smooth and not require sanding but that doesn't really work with the way I'm using it...
I don't have a photo with just the spackling, but after that I added the detail layers in using compressed paperboard (I assume you all know that means cereal boxes by this point, right? Cause I use them for everything).
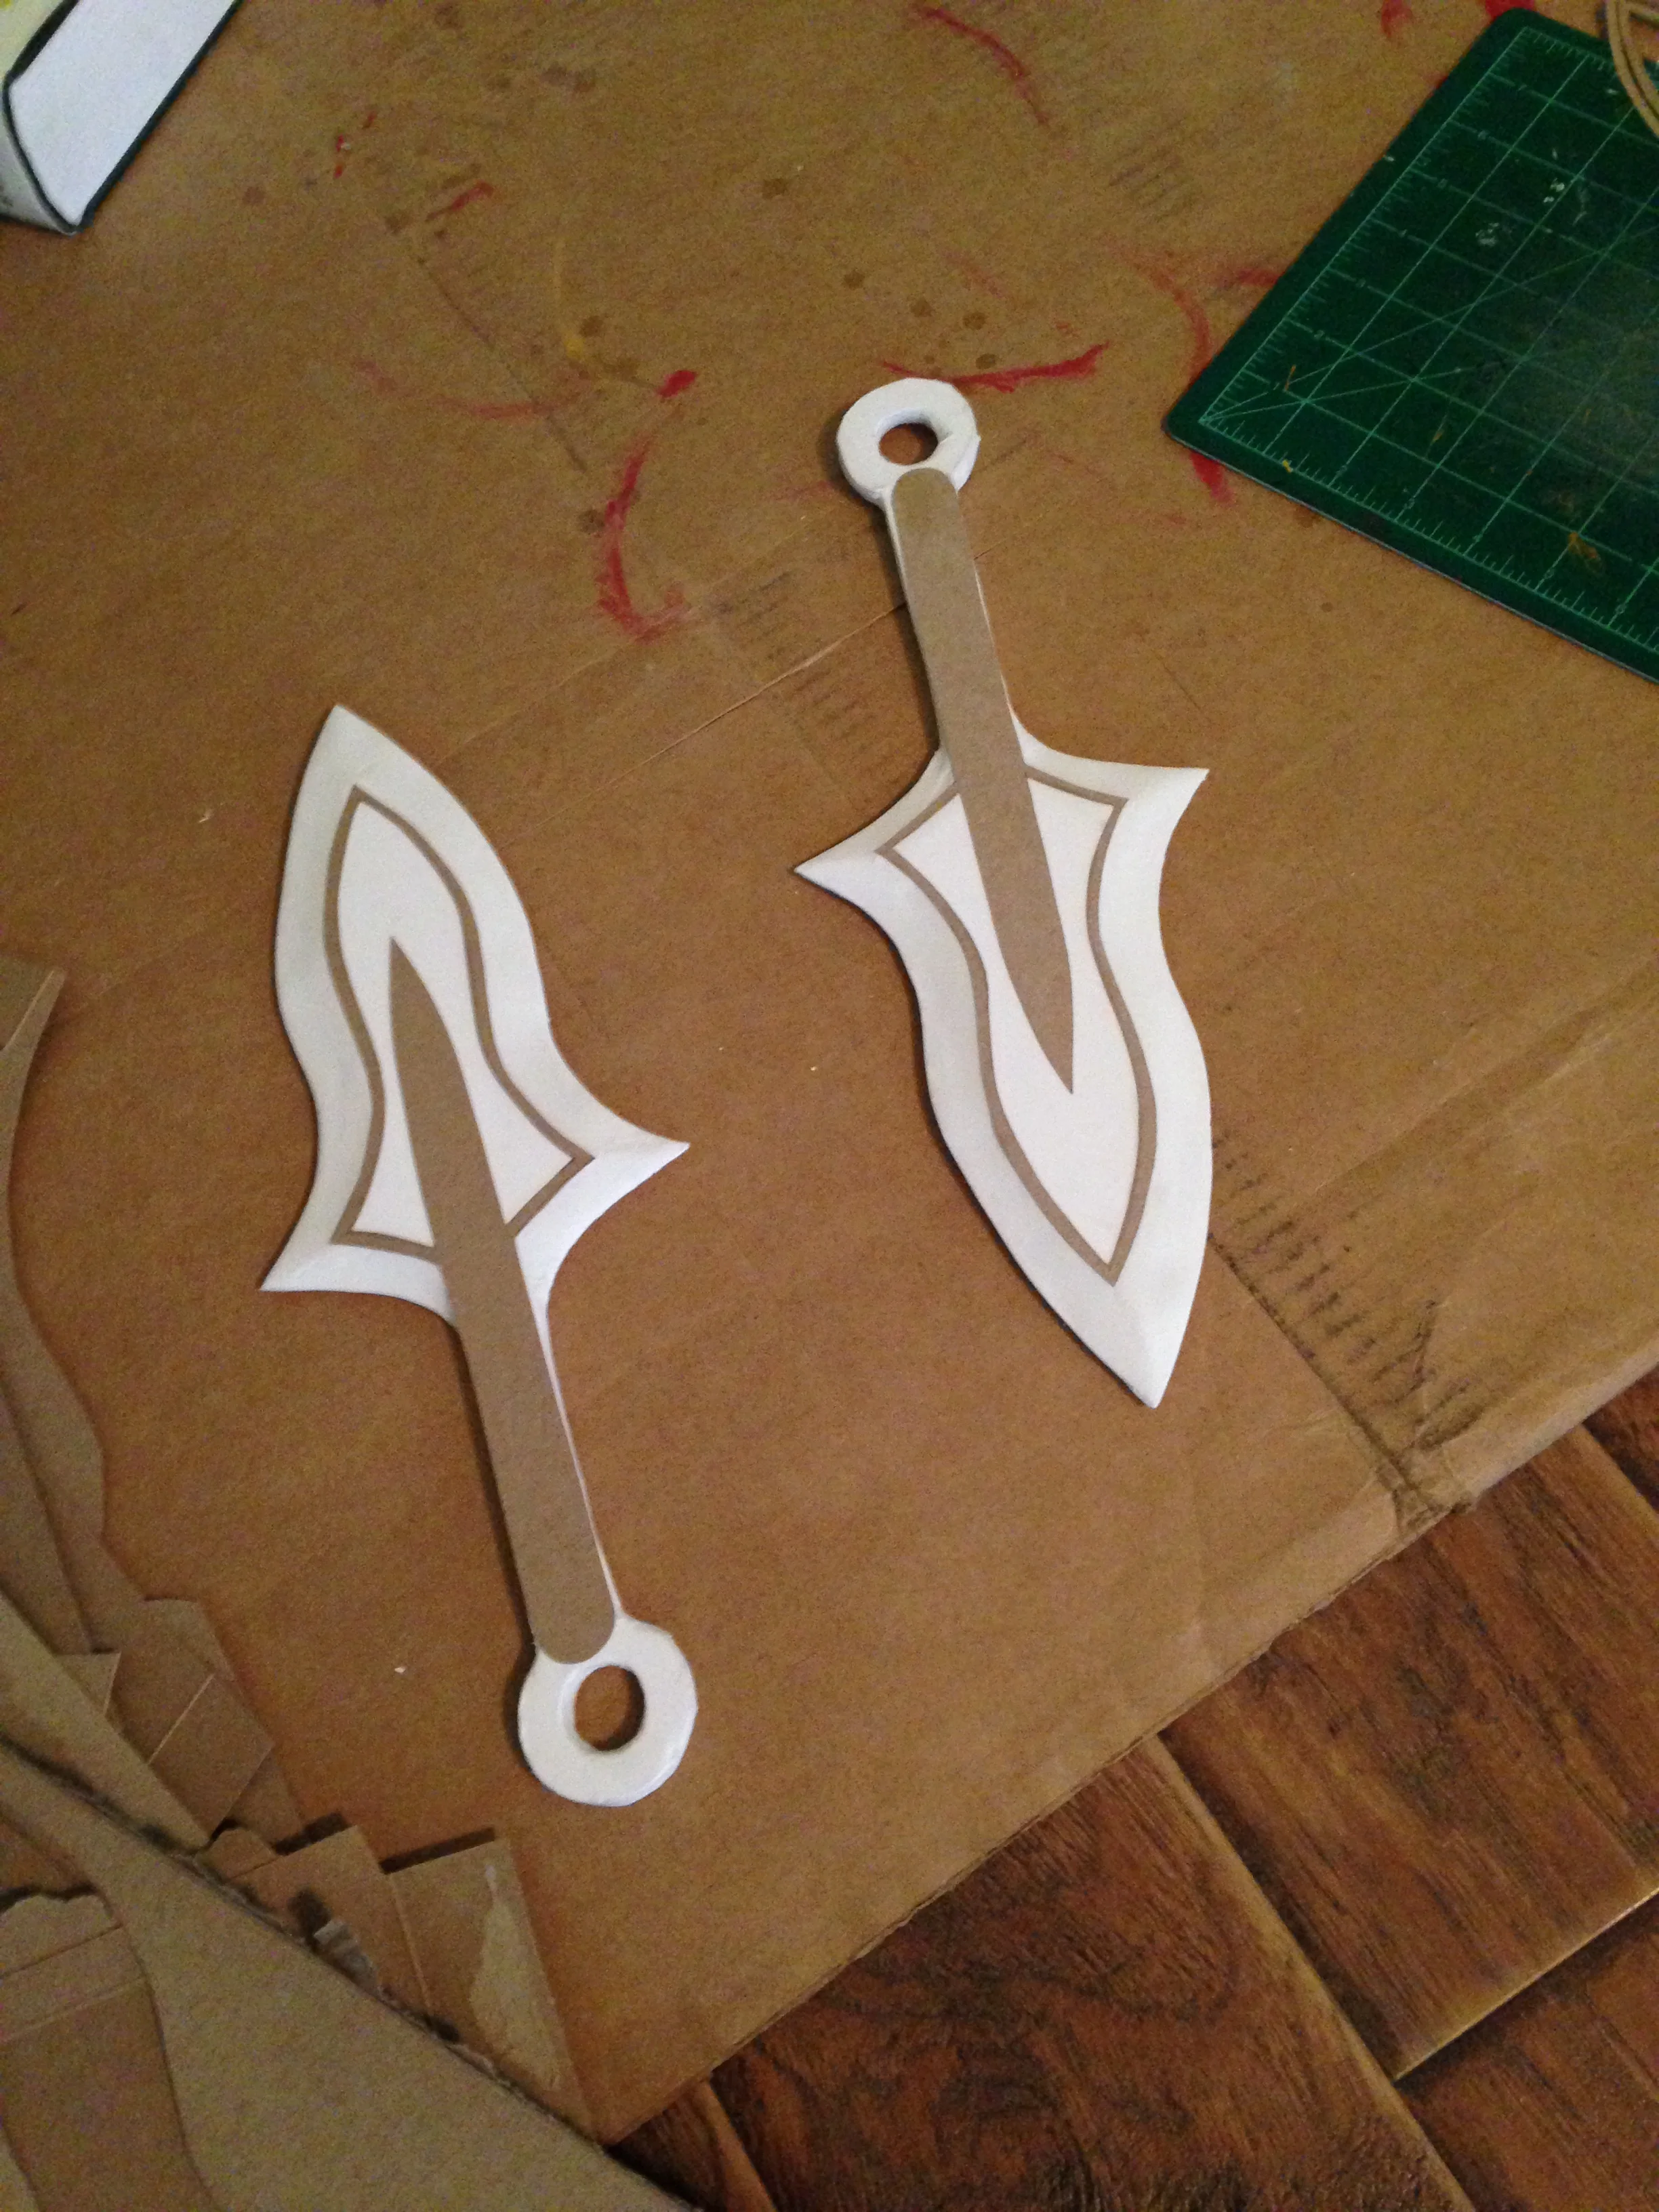
After some sanding, I tried a product I hadn't used before, called plasti-dip. It's supposed to be good for waterproofing things and building up a nice, strong, flexible, rubbery layer on the outside. I know other crafters use it so I tried it. Honestly, I'm a bit on the fence about it, because I never ended up getting a nice smooth surface with it, even after several coats. Thus, I had to put several more layers of gesso on over the plasti-dip to even out all of the little holes. I'm not sure if there is a way around this, so I'm planning on trying again at some point to see if it works out a little better. Anyway, a few coats of gesso, paint, and mod podge later we have some sparkly new blades!
The only other cosplay-related thing I've made recently is an 11th Doctor bow tie for a friend of mine.

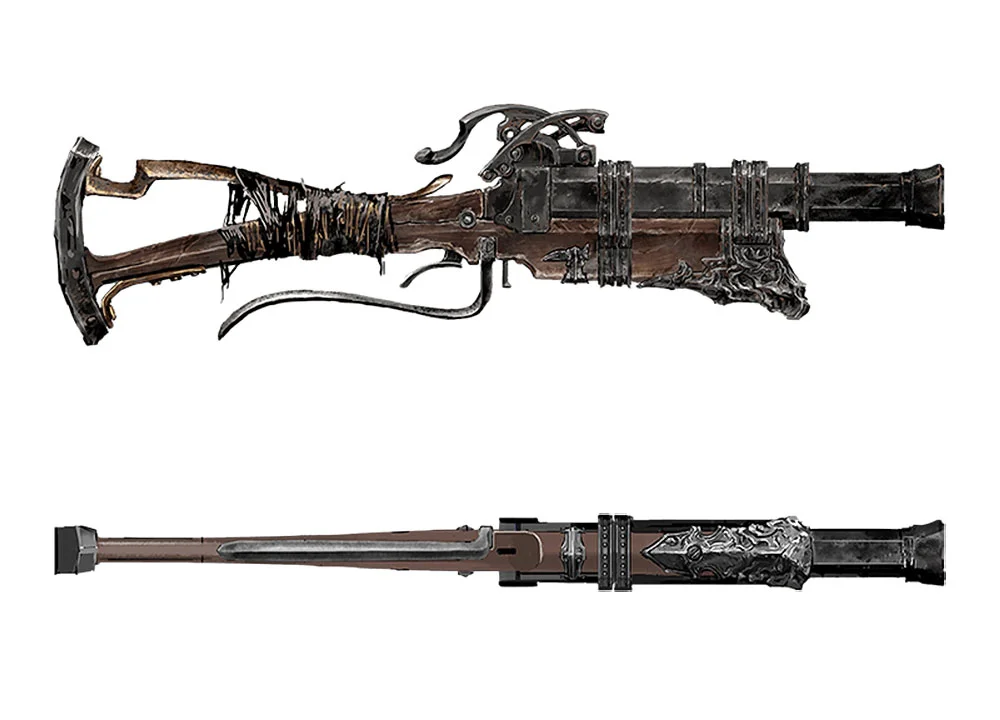
The rest of my projects are new! And I'm really excited about pretty much all of them, though I'm also a but daunted by at least one of them. First up in my queue is the blunderbuss from Bloodborne. I've made a few guns in the past and I always have fun constructing them, and this one is definitely going to be a fun build. The design is pretty intricate, and it's a rather unusual shape, so it'll be really interesting to figure out what different parts are going to need to be constructed out of.
Next on the list is a duo of items from Dragon Age. I'll be making a staff and necklace for a friend of mine who is cosplaying Morrigan.

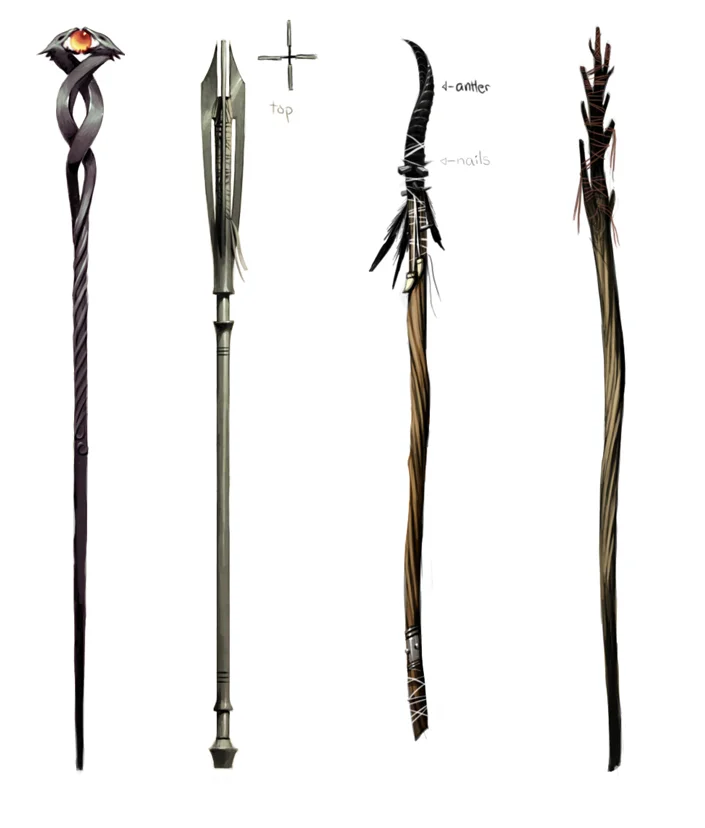
I'm making the one on the far right
Jewelry is fun cause I get to use legit materials sometimes and while I'm making one of her simpler staffs, they're all interesting so it should be a lot of fun to put together.
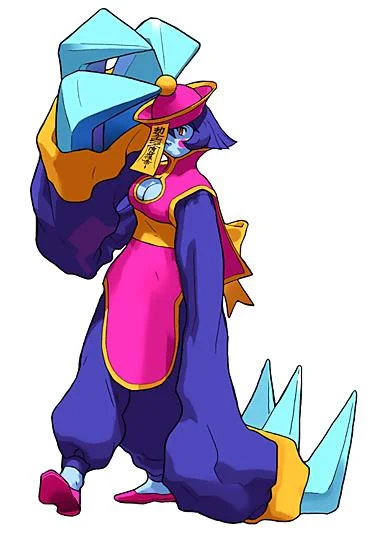
Next on the list is not a formalized request just yet, but will probably get nailed down fairly soon. A friend of mine would like a giant set of claws for Hsien-ko from Darkstalkers. Sounds simple enough, right?
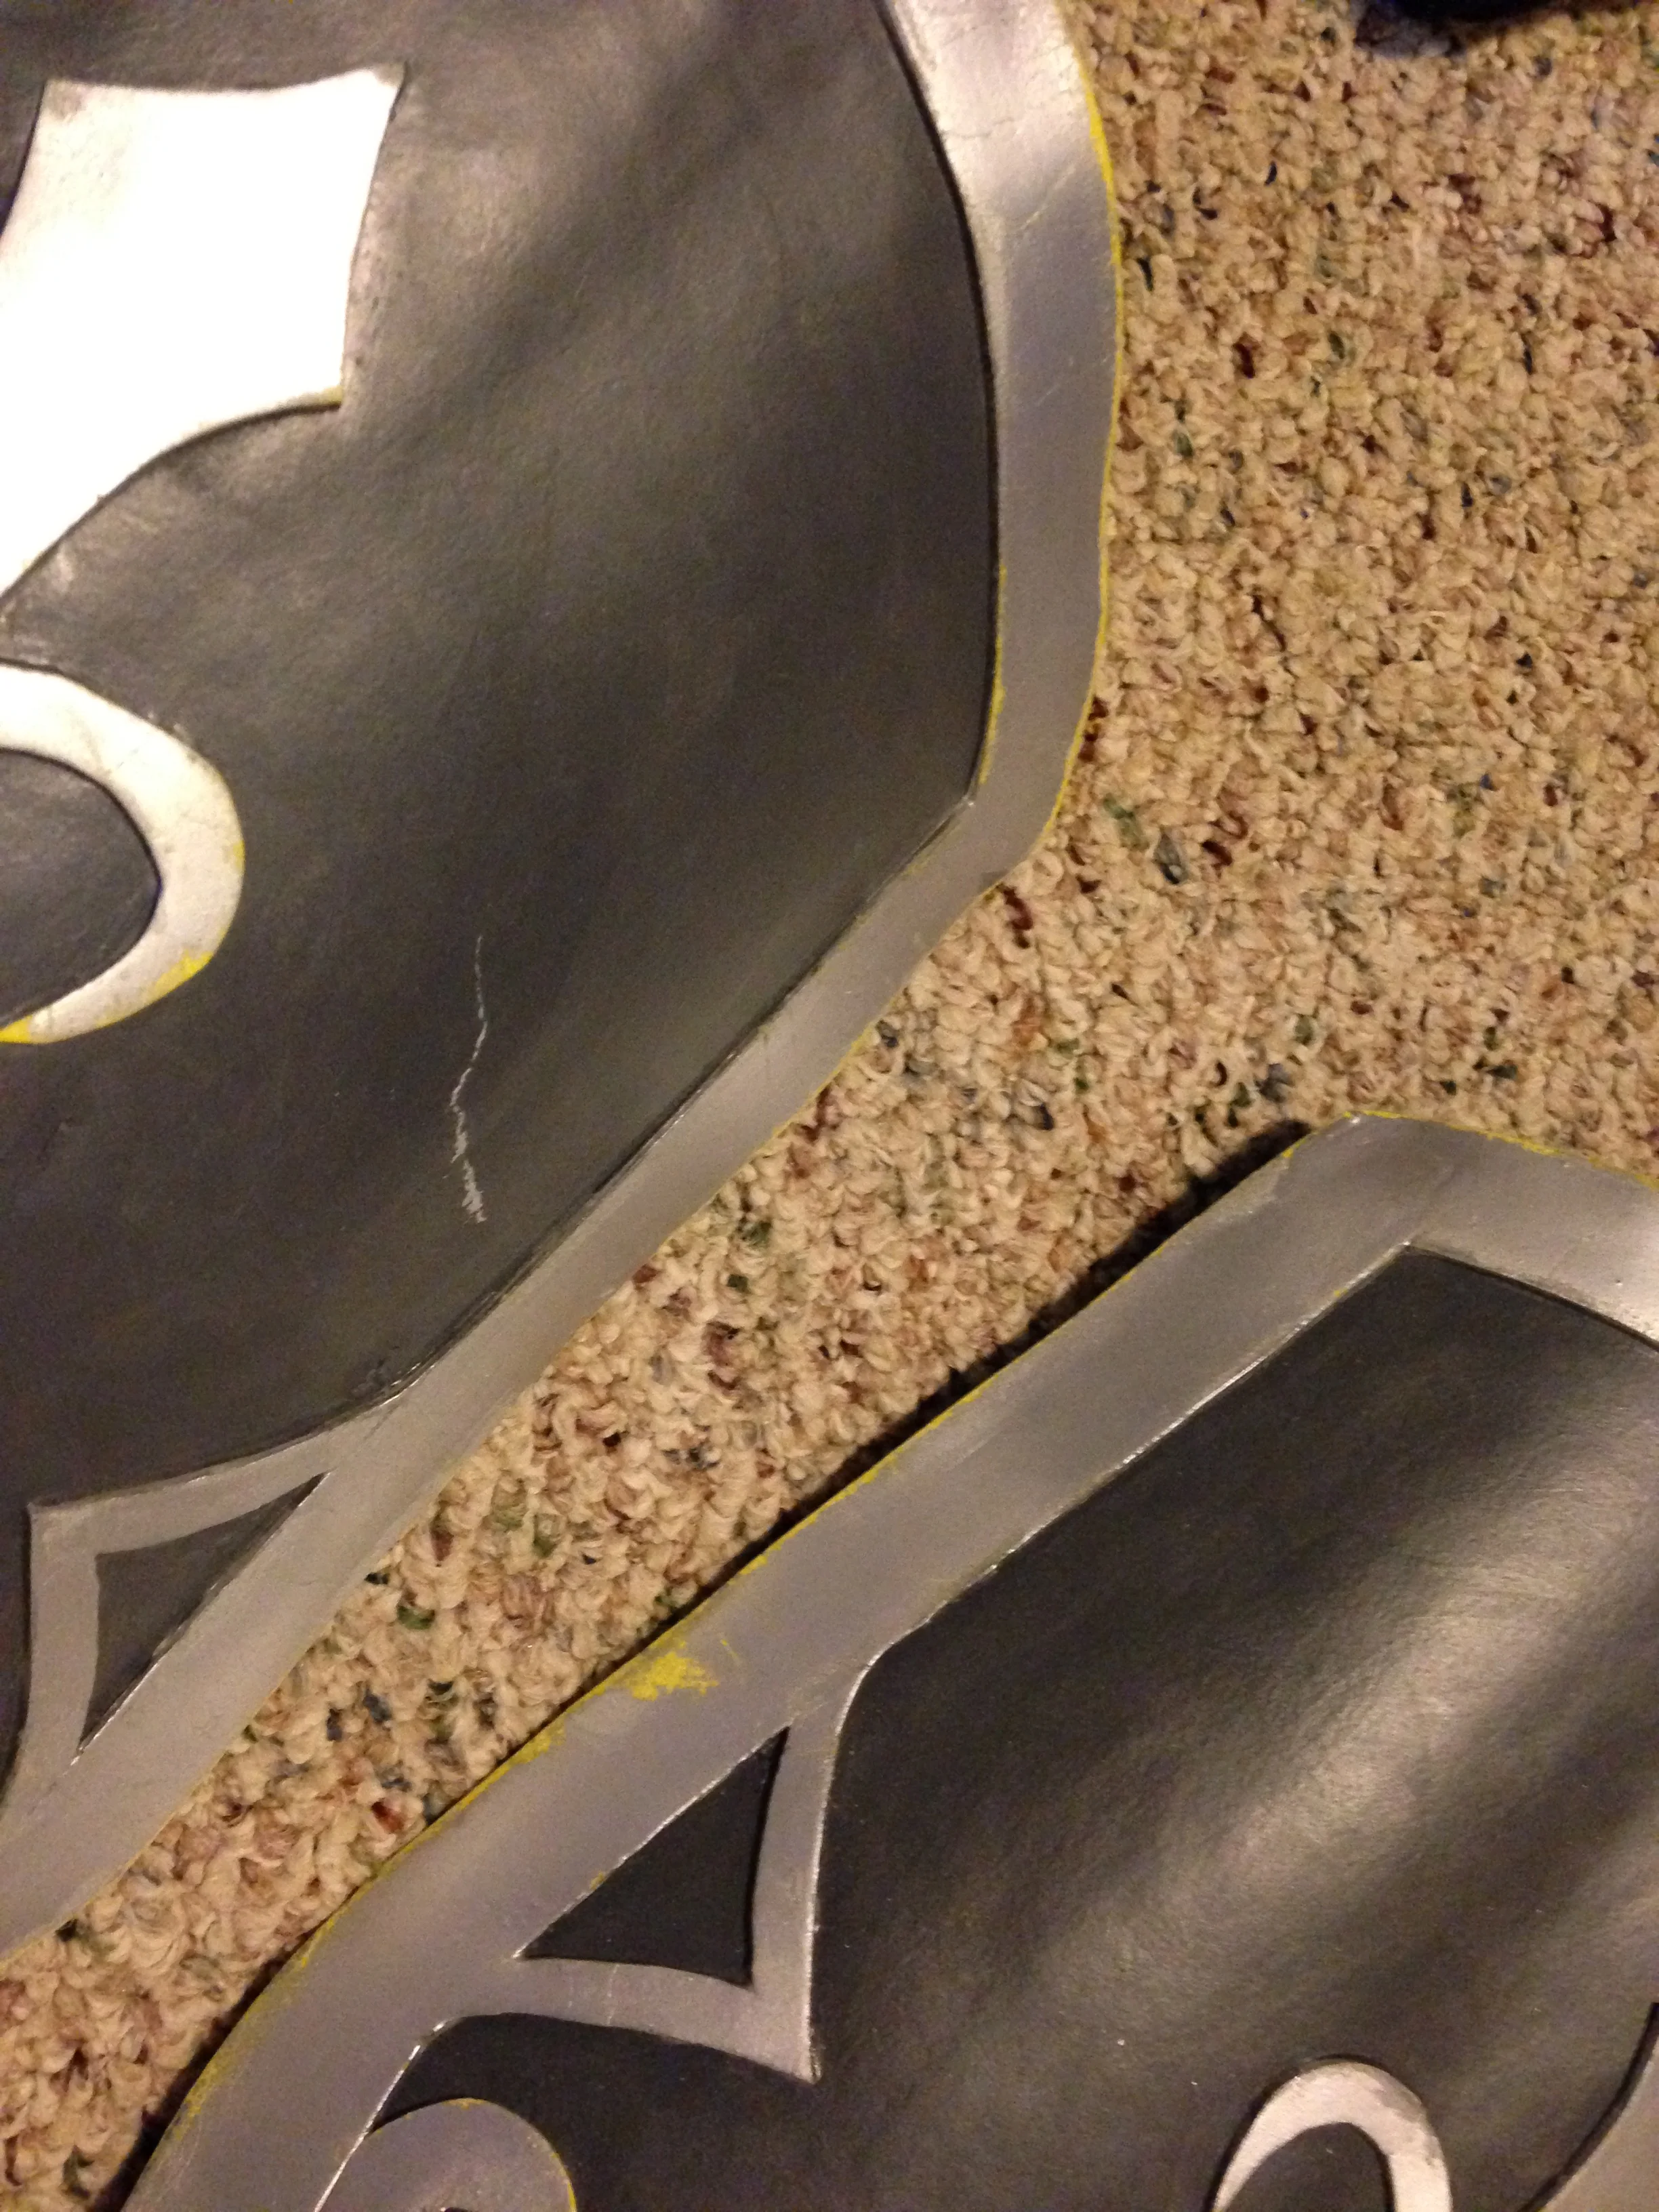
Lastly is the most daunting prospect on my list at the moment, but also one of the most exciting. A fellow Fire Emblem cosplayer has requested a full set of armor for Leo(n) from FE: Fates. By this point I'm pretty sure most of you know my fellings on the current state of the Fire Emblem series, but that's beside the point because getting to make this set of armor would be awesome!
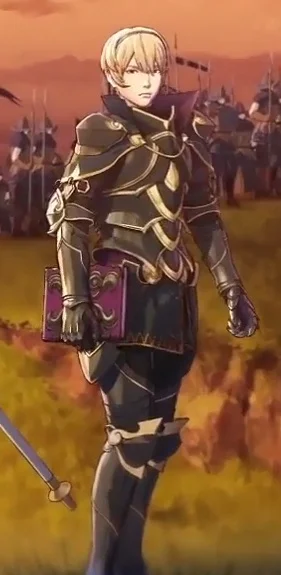
As you can guess, this will be no easy feat. And if you remember my last throwback thursday post, Haar is my only experience with armor to date. His turned out reasonably well given my skill level at the time, but making a suit of faux armor for a client is a bit more stressful because I want to make sure it lasts and needs minimal maintenance to keep it looking nice, not to mention making sure it actually fits the person without having that person around all the time to try things on. This commission is also not a done deal yet as I'm still studying the artwork and researching materials to give an estimate, but I'm staying optimistic at the moment because this would definitely be a new and exciting achievement for me as a cosplayer.
So as you can see, I have my work cut out for me at the moment, so be sure to check back in as I start cranking out some of these awesome projects!
<3