Contact Us

Questions? Comments? Concerns? Suggestions? Submissions? Shout-outs?

Whatever you want to tell us here at Mikey Does Cosplay, we're always happy to hear your thoughts and feedback!


123 Street Avenue, City Town, 99999

(123) 555-6789

email@address.com


You can set your address, phone number, email and site description in the settings tab.
Link to read me page with more information.

reflection.jpg

Blog

Here's where the magic happens. I'll be posting about all of my experiences and experiments (both failed and successful ones), introducing you to my costumes, sharing fun stories, linking tutorials and useful products, and who knows what else!


Have some Death!

Michael MacWolff

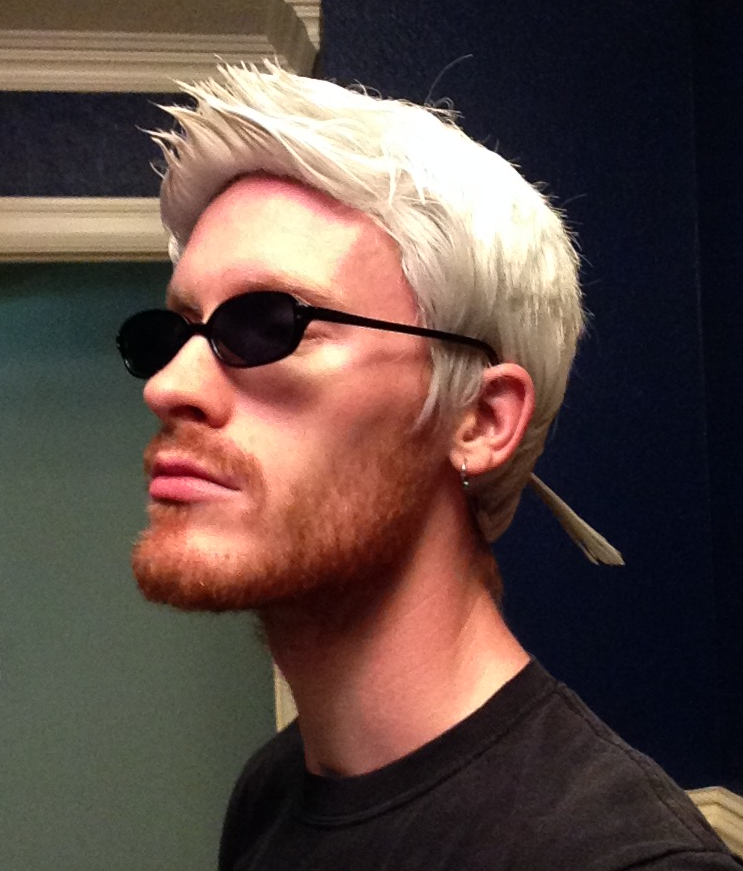
So I originally wrote a post about my Henry cosplay, then my internet decided to die, quite literally at the moment I tried to post it. Of course it is now lost to the aether and I don't have the patience to write everything out again, so here are the highlights. Look, it's Henry!

My wig was a hot mess at this con, and that round gold belt buckle-y thing was made out of a Pringles lid. Blah blah, construction, blah, purple fabric, blah blah.
Look, two Henrys!

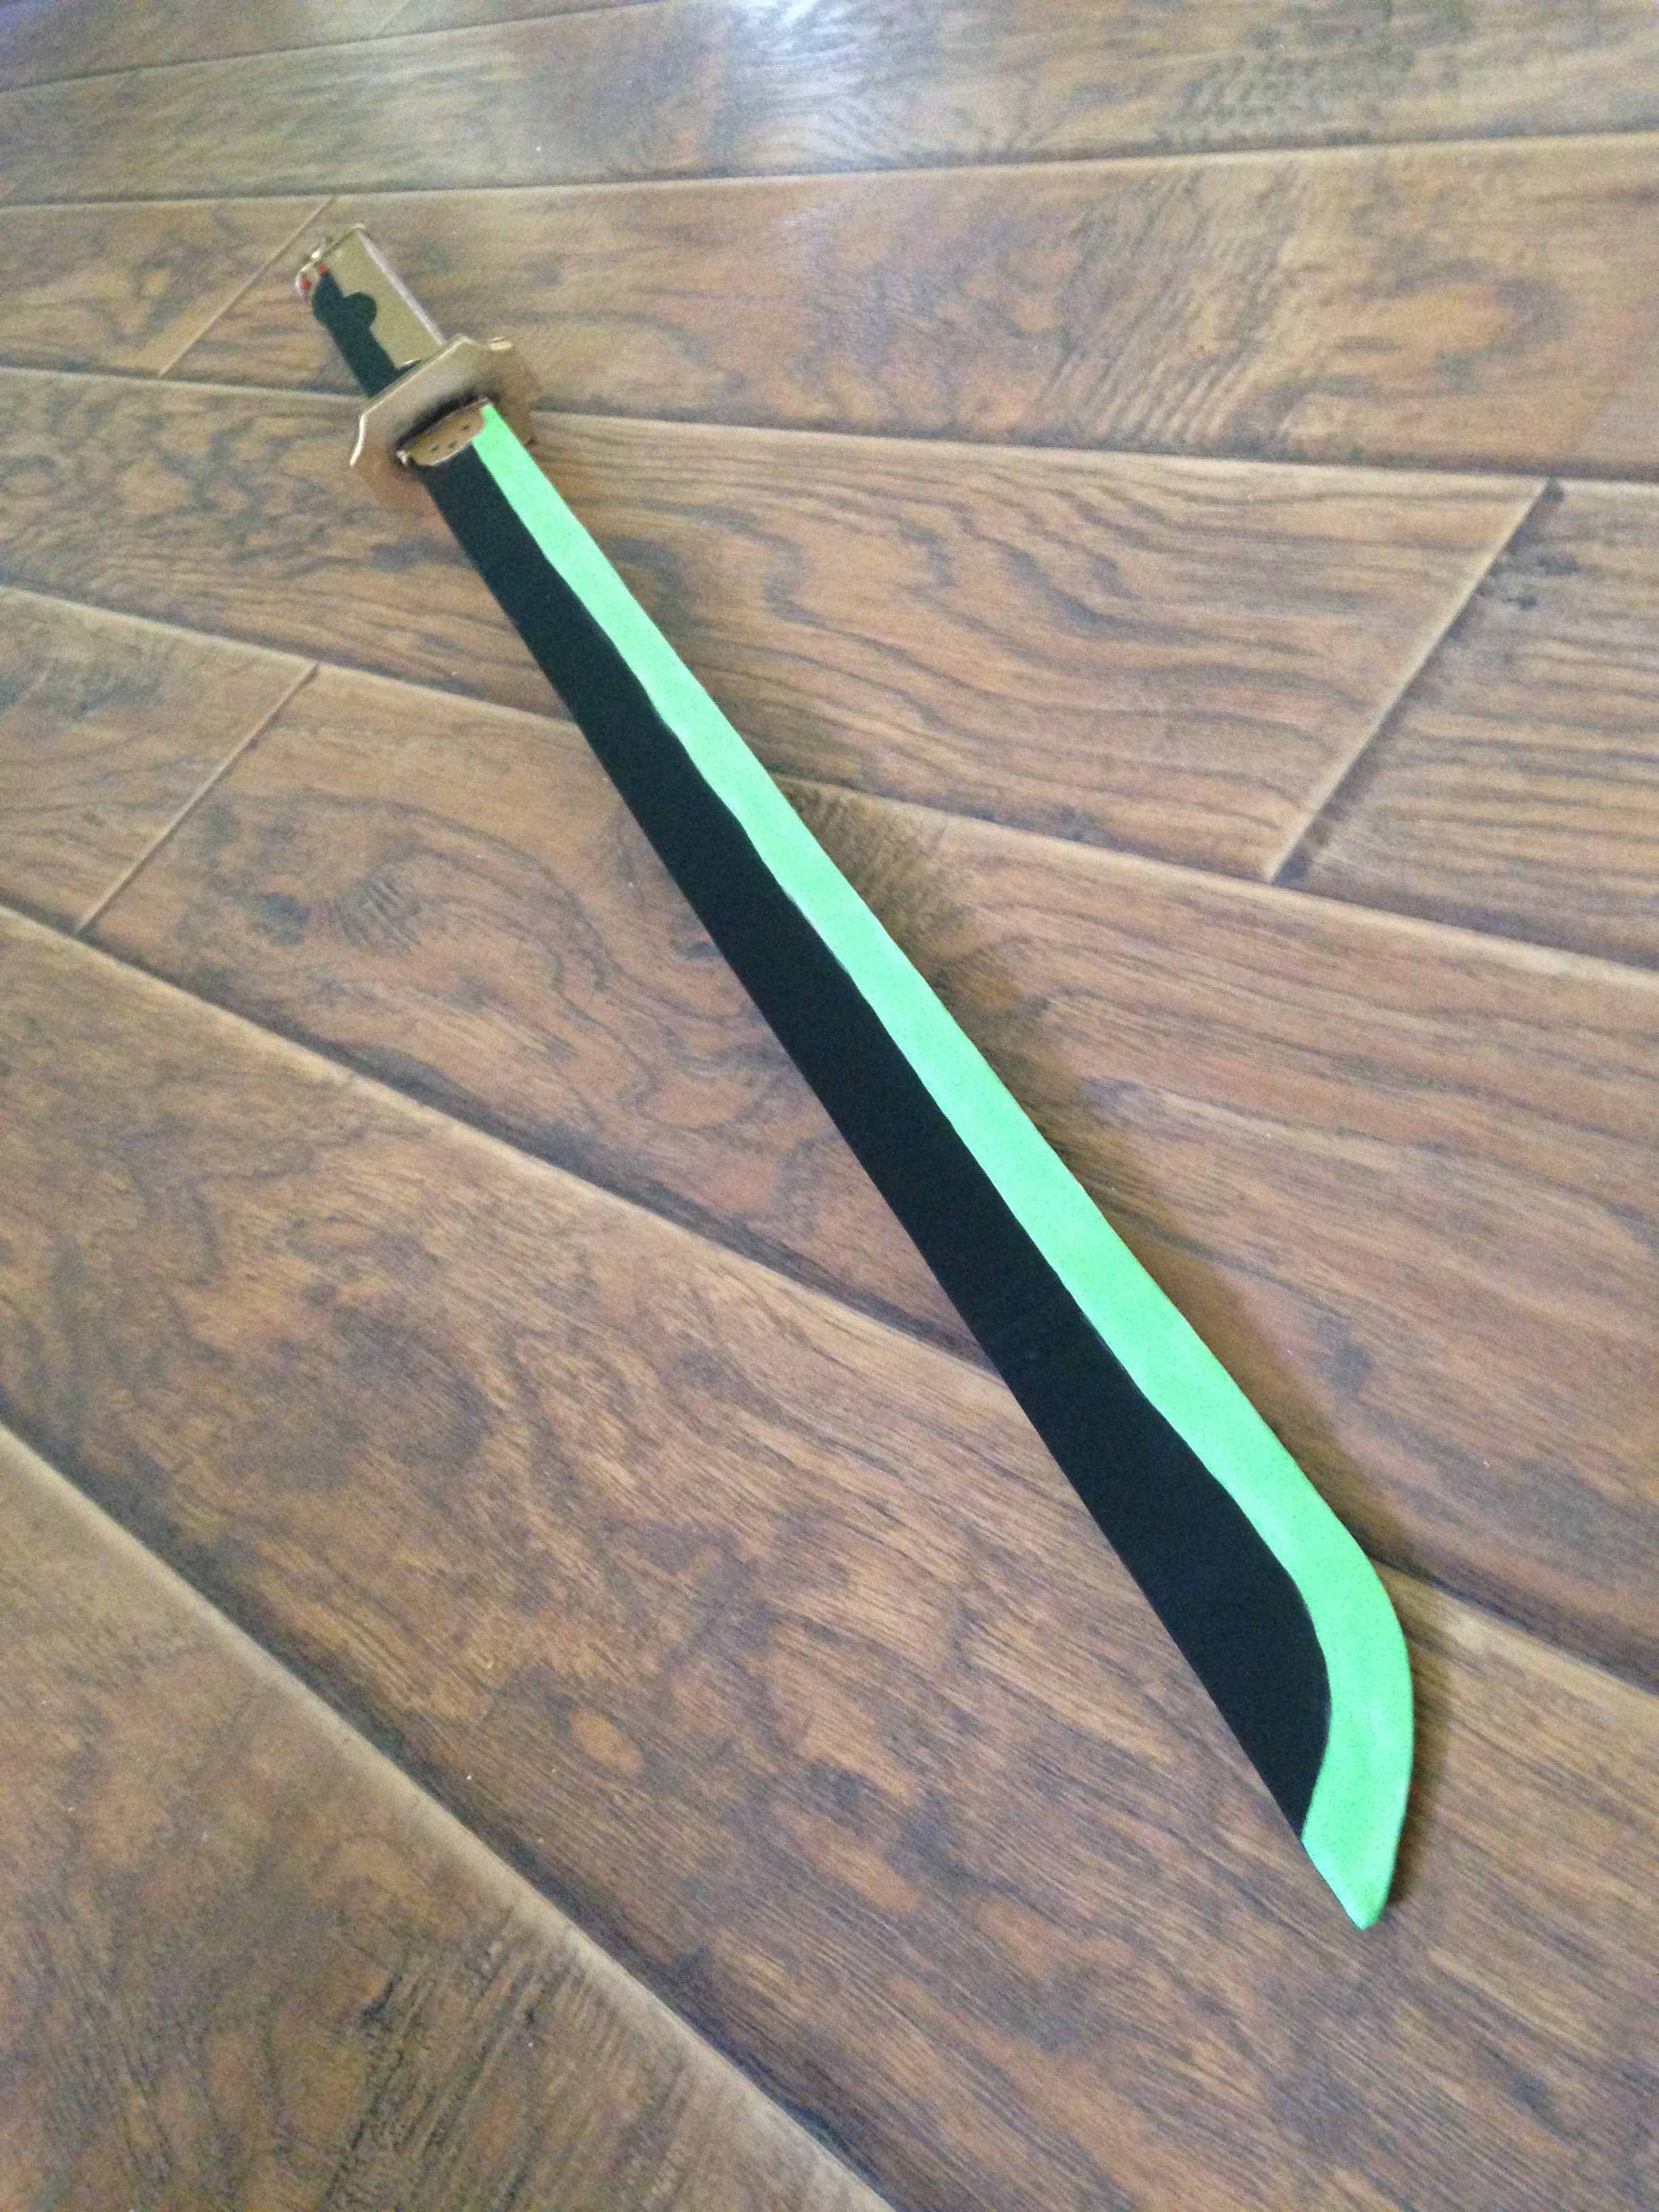
All of his golden bits fell apart last time I wore it, so Henry's going into hibernation for a while until I get off my lazy ass and fix it. Blah blah, that book is actually a light tome but nobody cares, blah blah blah. I don't have enough good pictures of this costume so here's the last one.

That Libra is my friend Josh and I don't know the Donnell but we ran into him at Tekko.

Aaaaaand done. Yay for short posts that you don't have to listen to me rambling on for days. I'd say this should happen more often for all of your sakes but then I'd probably just get mad and drop kick my computer so that's probably not actually a good thing.

Well, later lovelies!

Mod Podge holds my life together

Michael MacWolff

I mean this in about as literal a sense as possible, Mod Podge is probably the most important component to a lot of my props because it holds everything together. And this WIP Wednesday you'll get to see how that all comes together.

So as you probably remember from last week, I've been working on a number of projects and guess what: not much has changed on that front. I've actually finished another of the props I've been working on and made some slow progress on others, just in time to pick up a few new orders, all while trying not to forget that I have a convention I'm attending myself in a little over 2 weeks that I have done tragically little to get my new Tsume cosplay ready besides making some simple little earrings and styling his wig. Though to be fair, the wig did turn out awesome, most of you have probably seen the wig test photo on facebook.

Ok, I guess I have his sunglasses ready too.

Ok, I guess I have his sunglasses ready too.

So yeah,  things are as crazy as ever, but that's just the way it goes. So while I will get to my new projects at some point in this post, I wanted to start with that pair of swords I've been working on, because I've finally finished one of them!

The second one is still in progress, but I've gotten to the point where I can start painting it. This one, however, was a bit simpler of a build because there's wasn't as much in the way of intricate designs and thick raised parts where I had to create a bunch of extra layers in foamcore to get it built.

Here's the beginnings of the sword, bevelled the same way I did with those kunai from about a month ago. To bring Mod-podge into it, as the title suggests, I usually use mod podge as the glue that holds the layers of foamcore together, cause I can take a thick paintbrush and paint a layer on before slapping the layers together. As you can see from the above picture, sometimes the edges don't fuse perfectly so you have to take another, smaller paintbrush and squish some more mod podge between the layers, then clamp them together like I have done in several places here.

 The guard, which you can't see in this photo, is also made from a couple of layers of foamcore with a rectangle cut out of the middle so it can slide down the blade to the base of the hilt. It should be noted that after filling in the raw foam edges with spackle and sanding them smooth, I always coat everything with a few coats of Mod Podge (to bring that back around), to essentially solidify everything into a single thing. It also helps smooth things out further, which a lot of people use gesso for, and I also use a few layers of gesso to that same end, but ultimately I kinda like mod podge better in general for smoothing things out cause I feel like it takes fewer coats but maybe that's just the delusion in my mind because I've been using it for longer.

Sorry for the shitty photo quality here, I thought it was clearer than that.

Sorry for the shitty photo quality here, I thought it was clearer than that.

Here comes my exciting foray into new territory: Worbla! As most of you are aware, I've not used worbla for anything before but since it seemed a very versatile and common material to be used in cosplay, I decided to give it a try.

I was not disappointed. Now i admit, if I were using it to construct an entire suit of armor (as I'll be doing at some point in the not-too-distant future) for my first project, I likely would have had a much longer list of frustrations, but as I was just using it for some details on this sword, I'm pumped about continuing to incorporate this lovely thermoplastic into my projects. You can see all of the sandy brown parts in the photo above were done in worbla. It's super easy to work with, all you need is a heat gun, some scissors, and a pattern. I drafted up all of the pieces with cardstock so I could cut the cardstock out symmetrically to get my pattern even, then you just trace it onto the worbla and cut! The worbla even adheres itself to the other materials once you heat it up and bends pretty effortlessly around any type of curves you're doing. You can even heat up small scraps and squish them into the other pieces to make a pretty seamless transtion.

I even managed to add a line directly into the worbla on the pieces above the guard by just heating it up and pressing a sewing needle into it around the blade part.

You can see it in this picture a little better. I did use black to highlight the divot in the worbla, but it's actually in there too.

Despite the worbla adhering to itself, as well as the foamcore, I still coated everything with a couple more coats of mod podge before I painted the sword just to once again solidify everything. As my first attempt using worbla I didn't want to take any chances. The mod podge also helped smooth out the texture of the worbla a bit which was good.

Then it was off to painting land! I used a grey spray primer for the base coat, then sprayed the gold onto the hilt. Remember, spraying your metallics will say you hours worth of time! The rest was brushed on and I went back over things with a mostly dry brush and some black paint to highlight all of the contours in the designs.

Once the painting was all done, it's time for: you guessed it, more Mod Podge! I always put a top coat of Mod Podge on my props to help protect the paint. Flat paint can easily get scratched and wear quickly if you don't have some sort of protective layer over it. This also gives it a uniform finish so there's not that awkward point at which you shift the sword in the light and it goes from the super-shiny metallic gold straight to the entirely flat black areas. That would look really wierd.

And that's that! Now I get to play with this new guy for the next week or so while I finish its counterpart :-D

Now, a quick jaunt through my other projects...

The blunderbuss is finally moving forward again after a brief hiatus now that the darker iron metallic paint I ordered finally came in. Once this guy is dry I can start painting the rest!

The second sword I'm working on is in the painting stages too!

This looks like a bit of a hot mess right now, but it's the start to Morrigan's staff. I still need the majority of the staff body since the branch I initially intended to use was way too skinny and didn't look right, but I found a better one so I'll have more photos of the progress on this project up soon!

This is my newest commission, the silver disc that Static Shock rides around on. It should be a pretty simple one, but should be fun to continue working on nonetheless.

WIP Wednesday

Michael MacWolff

Hello folks, it's hump day here and I've been knee deep in the projects I've already been hinting at/ shown you all a few photos of. Well, seeing as it's Wednesday and I have a ton of things currently in progress, I thought I'd share more of the actual work I've been doing on these lovely projects.

First up is the giant set of claws I'm making for my dear friend. They're actually nearly finished now, except for some hand stitching to get things a little tighter on the form. They're giant and oh-so-squishy minus the wire in them to help keep their shape. Let's take a look at how I put these puppies together.

It all started with a big block of that green foam you've likely seen at Joann's and other crafting stores or places where they might do upholstery stuff. Or if you've worked at one of these places, had to deal with trying to load them into their retail space and all of them sticking together and not standing straight and being an all-around pain in the ass.

Anyway, this foam seemed to be a good plan for the claw base because they're sturdy while remaining pliable, they can take up a large volume (which is important for these ginormous things). The other part that was great about using the foam for this was getting to use an electric knife to cut the foam and looking like a psychopath in the process.

Don't worry, no limbs, organs, or other body parts (of mine or anyone else's) were harmed in the making of these claws.

So, once we've cut out our lovely claws, it's time to make them posable. Some 16-gauge wire should do the trick for that, which was stitched around the edges of each finger.

The notches, btw, are to give the foam a defined place to bend like a knuckle. And with that, the base for all 6 claws is done! Now it's onto turning them blue. For something like this, the best & easiest way to do that is to make a fabric cover for each of them. Several hours of sewing we have some blue claws!

The interesting part is coming up next, and that's making a stand for all of the claws that my friend can actually hold. And it has to be really long because the distance between her fingers and the end of her giant sleeves is over 20" so the majority of space is taken up by these wood frames.

All that's left to do with these is add the handle part down on the end and to do some hand stitching so the fabric is a bit more taught on the form, then they're ready to go of to a new and beautiful home!

The second item I'd like to show you today is the blunderbuss I'm working on. The main construction is finally done and that means I get to start working on the smaller details now and that's definitely my favorite part. To speed through construction, pretty much everything (minus a few pieces that are obviously wooden) is made from foamcore board that I layered together. There are some details that are made from compressed paperboard that in some spots you can totally tell used to be from cereal boxes. And there are actually some metal detail on there in the form of finishing washers and little metal brads.

The best part is all of the little details that are going to be layered in where the paperboard is. There's a lot of contouring and little intricate shapes in there, as most of that area is metallic in the reference artwork. And what did I use to make those details with, you ask? Puffy paint. If you recall a pair of Mage Mashers I made for a friend of mine a while back, you may remember the raised design along the blades. I tried using puff paint for it and the results were great! I prefer it a great deal compared to hot glue, which you can use to a similar effect. The little Scribblers bottles have a much finer tip for smaller details, and it's easy to clean up if you make a mistake, all you have to do is wipe off that part and try again. Ok, you can do that with hot glue but I'm sure your fingers wouldn't appreciate that. You also have less residue that you would with hot glue. And to top it all off, those little bottles have quite a bit of paint in them and they're cheap! Which is of course my favorite thing ;-)

Here's some of the details I've started to put in. Once everything's done and the base coat is painted I'll post some more photos so you can see what the effect looks like when all is said and done.

And that's the little Scribbler's bottle to the right.

And that's the little Scribbler's bottle to the right.

That's all the progress I've made so far, but I've been getting further and further on it every day. I'm super excited to see how it comes out!

And that's all I'll go into today, even though there are a few more projects in the works. As a last note, since today is all about works-in-progress, the site is also in progress! You might have noticed there are more pages linked in the top navigation bar and I'm working to expand on resources for you guys who are looking for tips on making your own costumes and props. So check out the tutorials section and stay tuned for more exciting updates and additions!