Contact Us

Questions? Comments? Concerns? Suggestions? Submissions? Shout-outs?

Whatever you want to tell us here at Mikey Does Cosplay, we're always happy to hear your thoughts and feedback!


123 Street Avenue, City Town, 99999

(123) 555-6789

email@address.com


You can set your address, phone number, email and site description in the settings tab.
Link to read me page with more information.

reflection.jpg

Blog

Here's where the magic happens. I'll be posting about all of my experiences and experiments (both failed and successful ones), introducing you to my costumes, sharing fun stories, linking tutorials and useful products, and who knows what else!


Mikey Does Some Commissions, Part 4

Michael MacWolff

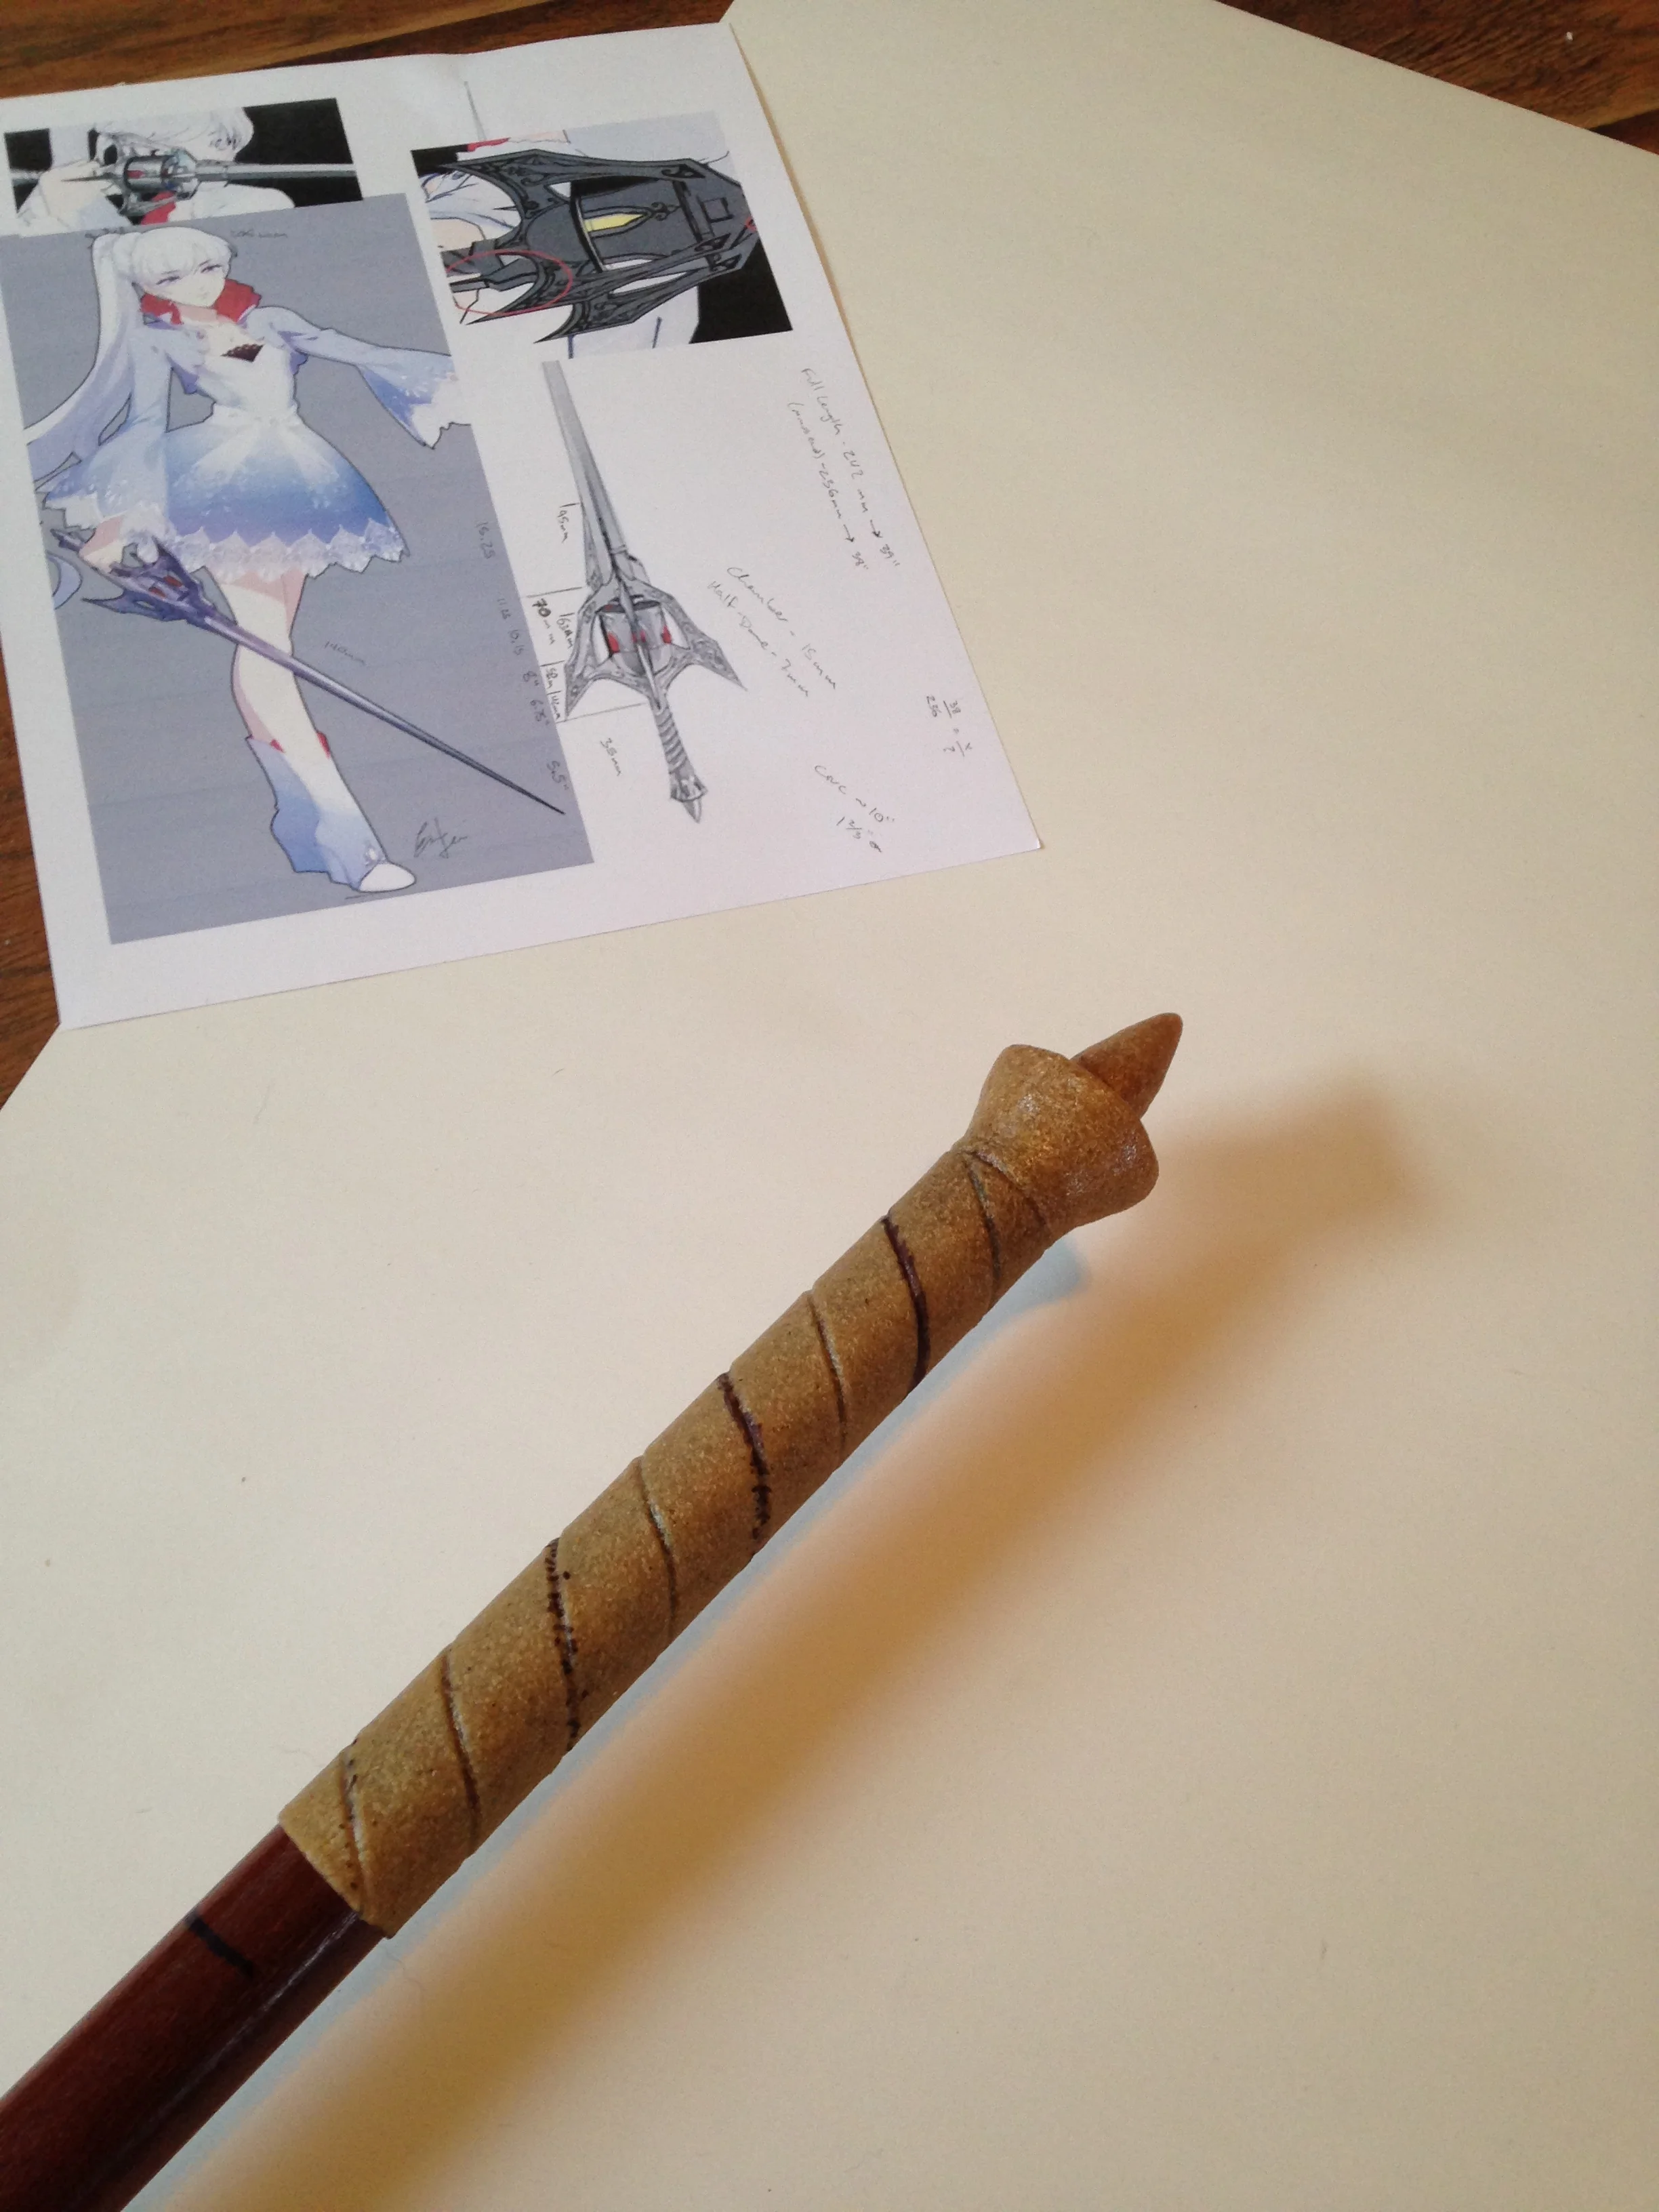
So now for the last secret commission, that I forgot about when I started this series. I made it for my friend who had wanted to commission me for it and then had a lot of bad financial junk happen so wasn't really able to get it. But I knew she wanted it and I wanted to do something nice so I put it together! I give you Myrnaster!

I started with the end of a bo staff, the other end of which I used to make my Mornstar. I used some worbla to make a sturdy, pointed tip, as well as the end of the hilt.

The rotating bit is pretty fancy... for a bunch of pieces of trash cobbled together. I used a spool from some ribbon, the cardboard roll from some duct tape, and the little plastic container from some Airborne.

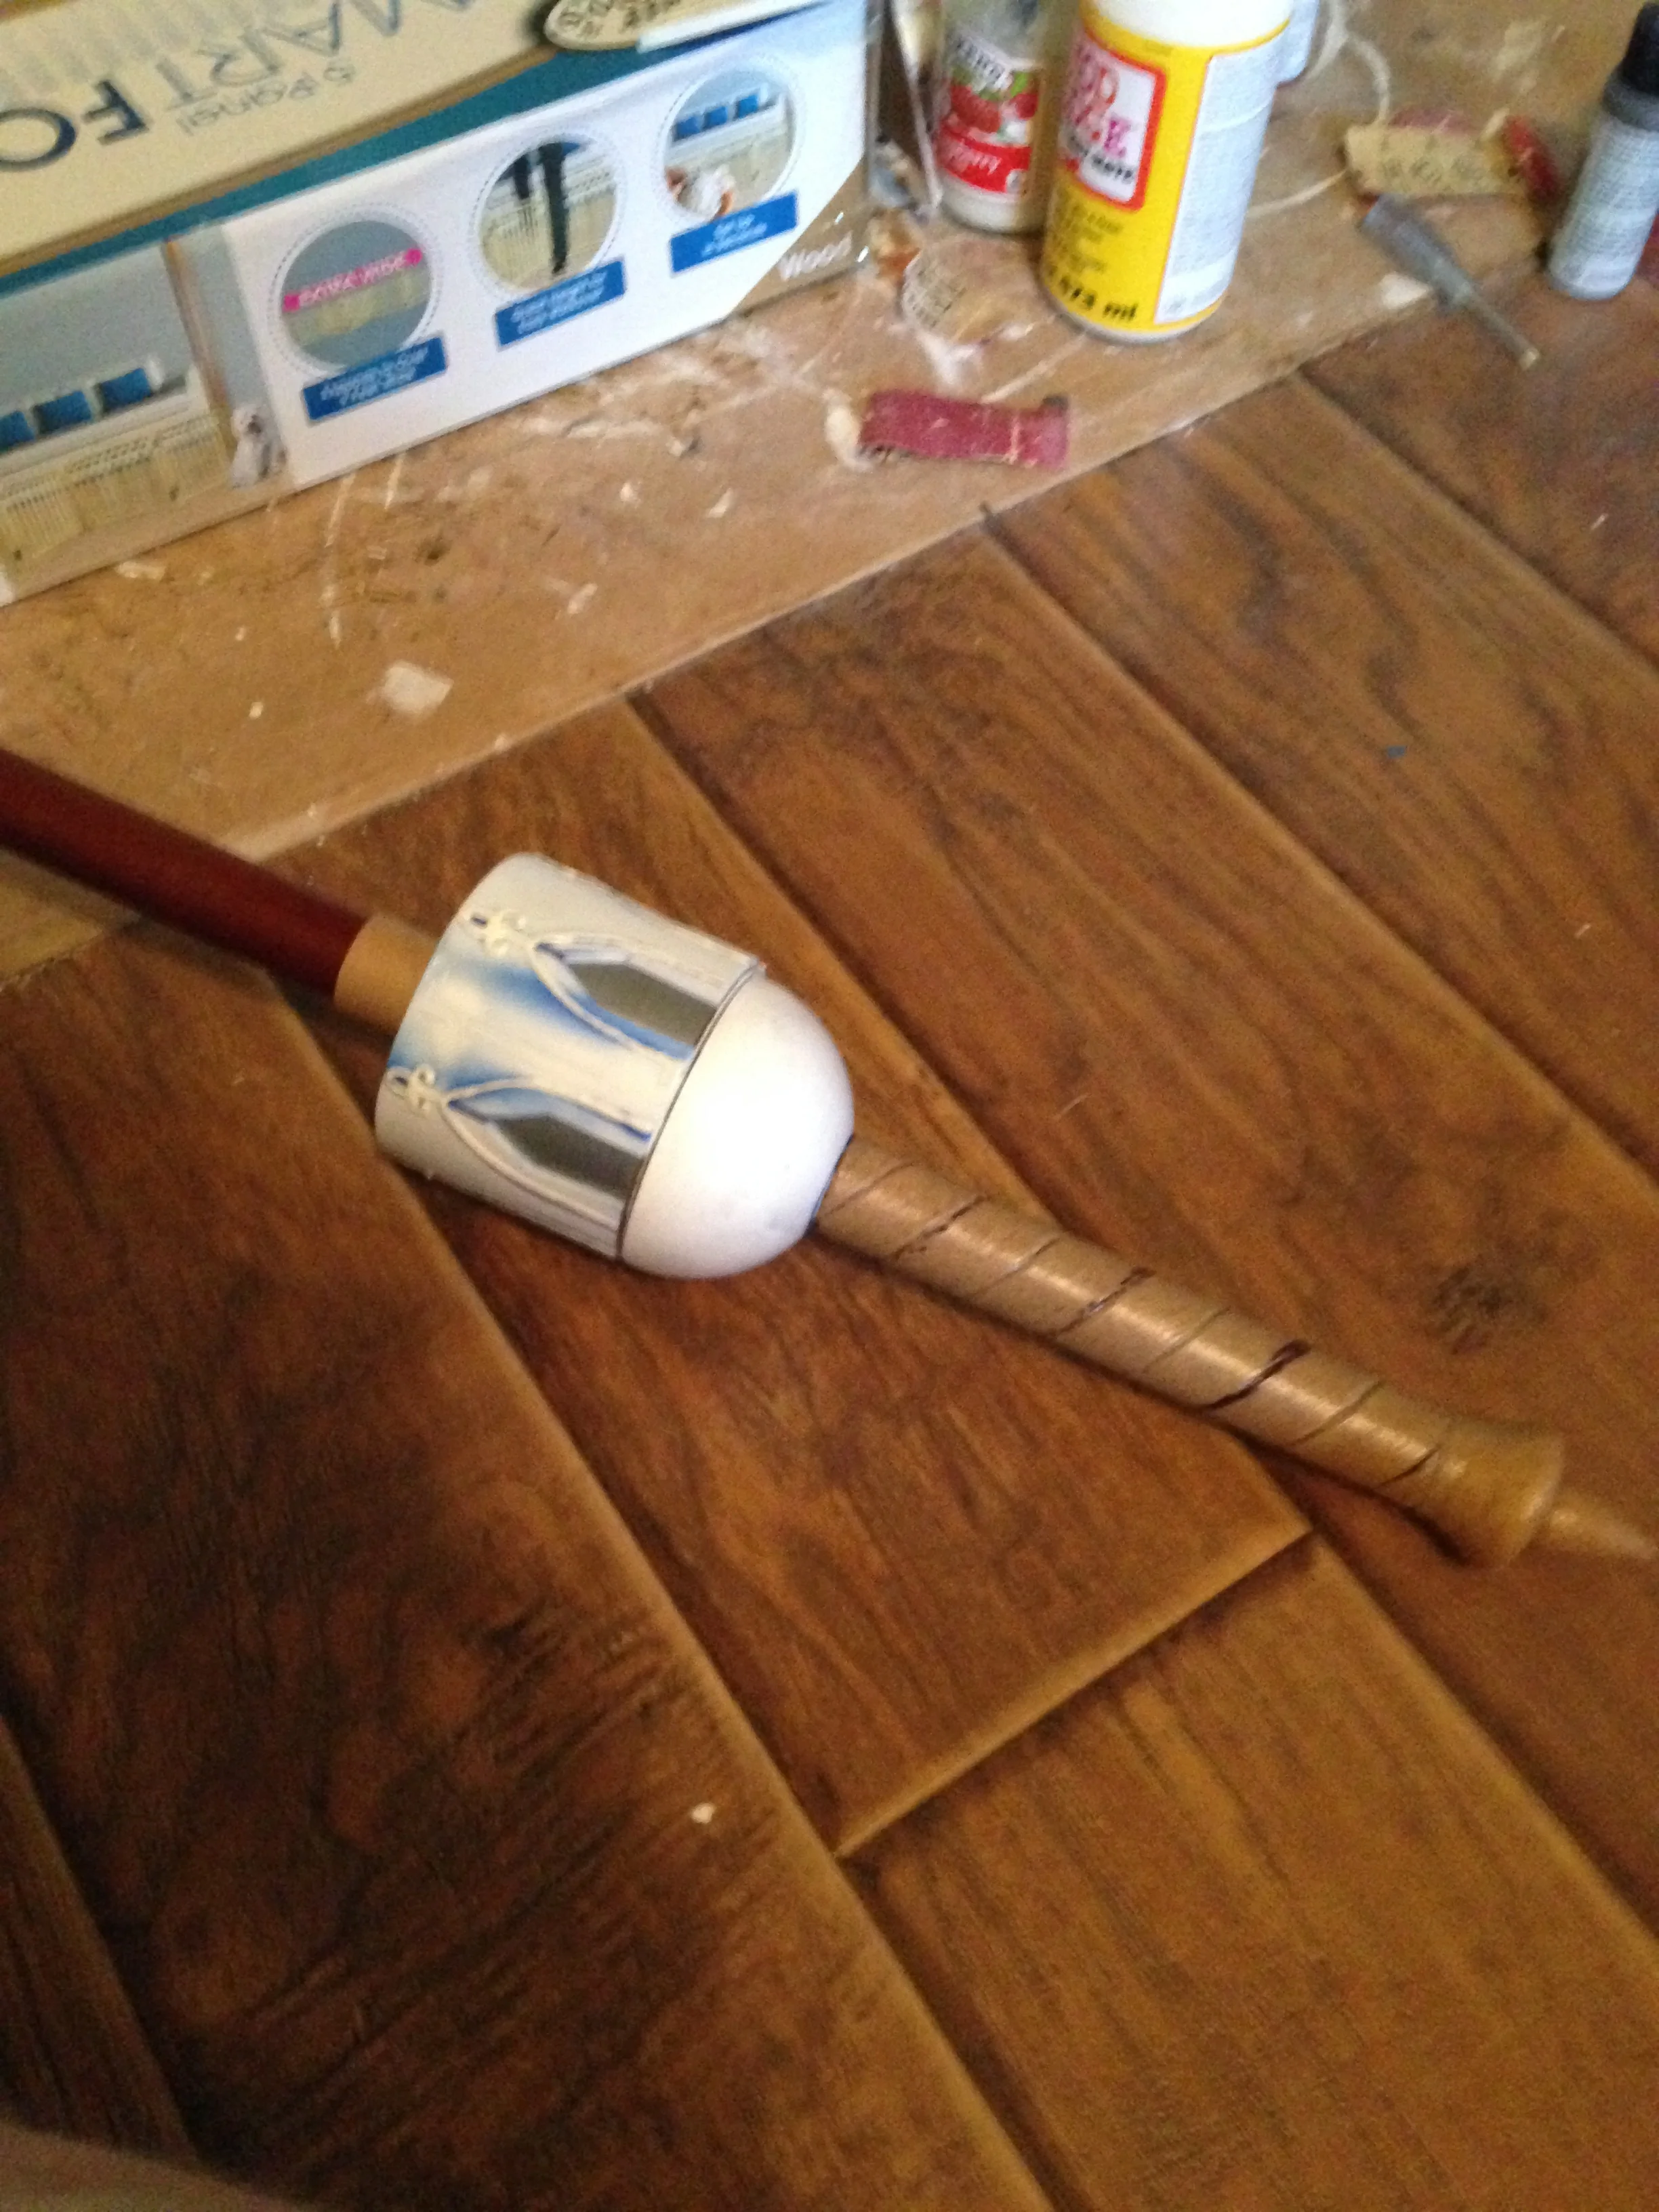
The fancier outside bit is just some craft foam with puff paint designs. The fins are also foamcore with puff paint, glued on to the sides.

A few coats of paint, and here she is! At some point I hope to actually see her with her sword, but sadly that didn't work out so well last time. Anyway, that's all for now folks, see you next time!

Mikey Does Some Commissions, Part 3

Michael MacWolff

Alright everyone, it's time for the final installment here, with my last prop commission! Last up here is Jak's Morph Gun!

Building from front to back, I started with some PVC for the barrels, and some or my favorite material. You guessed it: foamcore board. Add some poster board, craft foam & worbla and we're in business!

I built an understructure with the foamcore. As you can see, I cut holes to slide the PVC through, then wrapped the outside with a layer of poster board and then worbla.

With a few layers of worbla and some craft foam, I made the extra bits. More PVC & craft foam made the handle and the butt of the gun. Blah blah, embellish, and add some more worbla and...

IMG_6378.JPG

The nice thing with this commission, is that my client wanted to paint it herself, so all I had to do was prime, and it's ready to go!

And there you have it! I hope to get some photos of the thing all painted along with her costume, so with any luck I'll be sharing that with you at some point in the future!

Also, I forgot about another prop that's kind of a commission that I made in secret so I'll be adding a special Part 4 to this series!

Mikey Does Some Commissions, Part 2

Michael MacWolff

Welcome back! You know what's going on here, so let's get right into what I've been making! As I told you guys last time, I had another Fire Emblem prop to put together (also for Youmacon, just like the Adam Syringe), and it probably comes as no surprise to anyone that it's from Fates.

Yes, I had the privilege of making Xander's awesome sword of doom, Seigfried!

Ok, well I also have the privilege of making his armor, but that part wont be done for another few months yet. Yay winter when I have nothing else to do but craft for hours on end.

This was a very exciting prospect, because 1) I love making swords and I'm confident in my methodology and 2), this sword is a very interesting shape so while it makes my job more difficult, it also makes the finished product a lot more interesting!

So, how did I do it? Well, it's pretty much the same as most of the other bladed weapons I've made more recently. The first thing we need is a wood core, jigsawed into the shape we need. In the past, I've done blades exclusively out of foamcore, but for this one the wood base is pretty important just because of the shape of the sword, and how thin the blade is in certain parts. I've also been using a wood base a lot more frequently now because it meant the sharp tips of the blades have some structure and won't immediately crush in on themselves if you put the sword down on its tip (not that I recommend doing that anyway)

Of course, as always, I started by patterning out half of the sword (so I could make it smymmetrical), then transferring the pattern to the wood, and jigsawwing away!

Finish it up with some sanding (and by some I mean over an hour's worth with all of those edges), and you're ready to move on to the next step.

Now we take that same pattern, and trace it onto some foamcore board (two pieces, to be exact). Once the whole pattern is put onto the foamcore, use your X-acto knife to cut out the shapes.

You'll probably notice that it's not all one solid piece. I made separate pieces here because of the contours in the hilt. I didn't want to make the hilt overly bulky, so instead of cutting a full layer, then adding the other hilt pieces on top, I just used the wood base and cut the pieces separately to achieve the contouring I needed. Once the beveling was done (by cutting a line, pulling off the paper, and sanding the foam down to a sloped edge), everything went together.

Most of you know by know that for all of the raw foam edges, I smear on a good helping of spackling paste, then sand it smooth once it's dry. This helps get rid of the texture on the foam, adds some stability, and helps seal & protect the foam for our later steps.

The handle details were achieved using craft foam, cut into the raised design, which was then covered with worbla. If you're doing something like this over foamcore, BE CAREFUL! The foam in foamcore board will melt if you apply too much heat, even when it's sealed with mod podge, or has spackling paste on it (you don't have to worry about the craft foam, you can heat it up plenty without it melting, it'll just get droopy when it's hot).

Also, that jewel/dome thing on the hilt was cast in plastic, but you can find oval domes of all sizes by searching for "Oval Dome Cabochon" on Amazon.

The rest is pretty simple, coat in a few layers of Mod Podge (I probably did 3 for this one), prime it (I used black spray paint + primer), then paint away! Another coat of Mod Podge to seal in the paint and give it a nice sheen and you're done!

And that's all there is to it! We have one more installment here since I was working on 3 projects at the same time, so look out for "Part 3" shortly here!