Contact Us

Questions? Comments? Concerns? Suggestions? Submissions? Shout-outs?

Whatever you want to tell us here at Mikey Does Cosplay, we're always happy to hear your thoughts and feedback!


123 Street Avenue, City Town, 99999

(123) 555-6789

email@address.com


You can set your address, phone number, email and site description in the settings tab.
Link to read me page with more information.

reflection.jpg

Blog

Here's where the magic happens. I'll be posting about all of my experiences and experiments (both failed and successful ones), introducing you to my costumes, sharing fun stories, linking tutorials and useful products, and who knows what else!


Matsuricon Commission Progress

Michael MacWolff

Yes, I missed the usual WIP Wednesday by a couple of days but whatever. Here's the stuff I've been working on! It's all commissions since I already have all of my own projects done for Matsuri.

IMG_0864.JPG

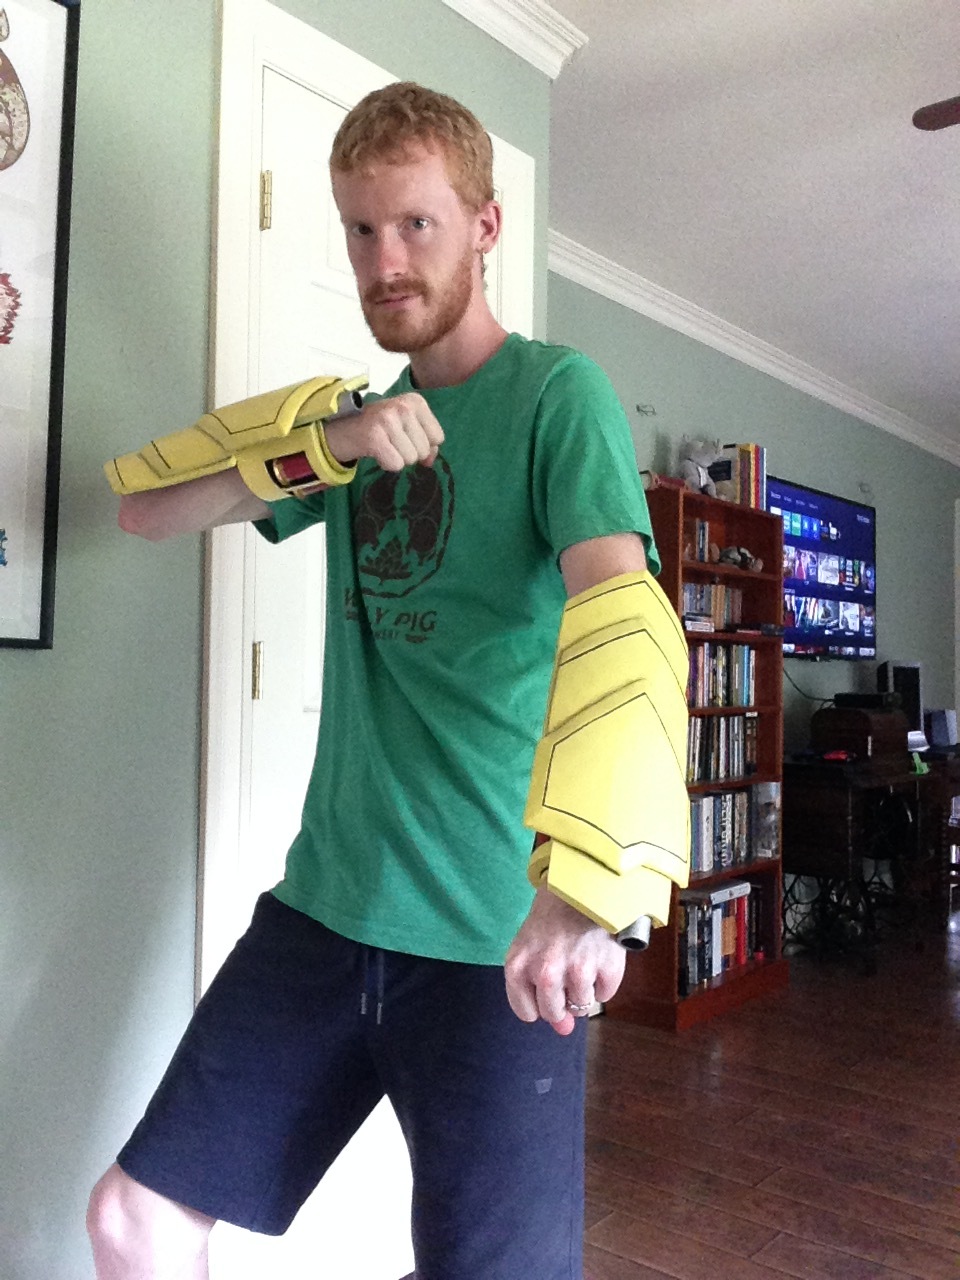
First up is a new Raven Branwen mask. I had to repattern it since I didn't keep the old pattern from the first one i made. This is for a friend who will be cosplaying Raven alongside the Yang for whom I recently finished the gauntlets.

IMG_0879.JPG

The pattern may be new, but the method isn't; I'm making it the same way I madee the first one, with craft foam and cardstock as the base and worbla over top. 

IMG_0887.JPG

The mask is fully constructed at this point, including the raised sections for the red markings, which you can see drafted above. Now it's getting a bunch of mod podge and I'll start the painting this weekend!

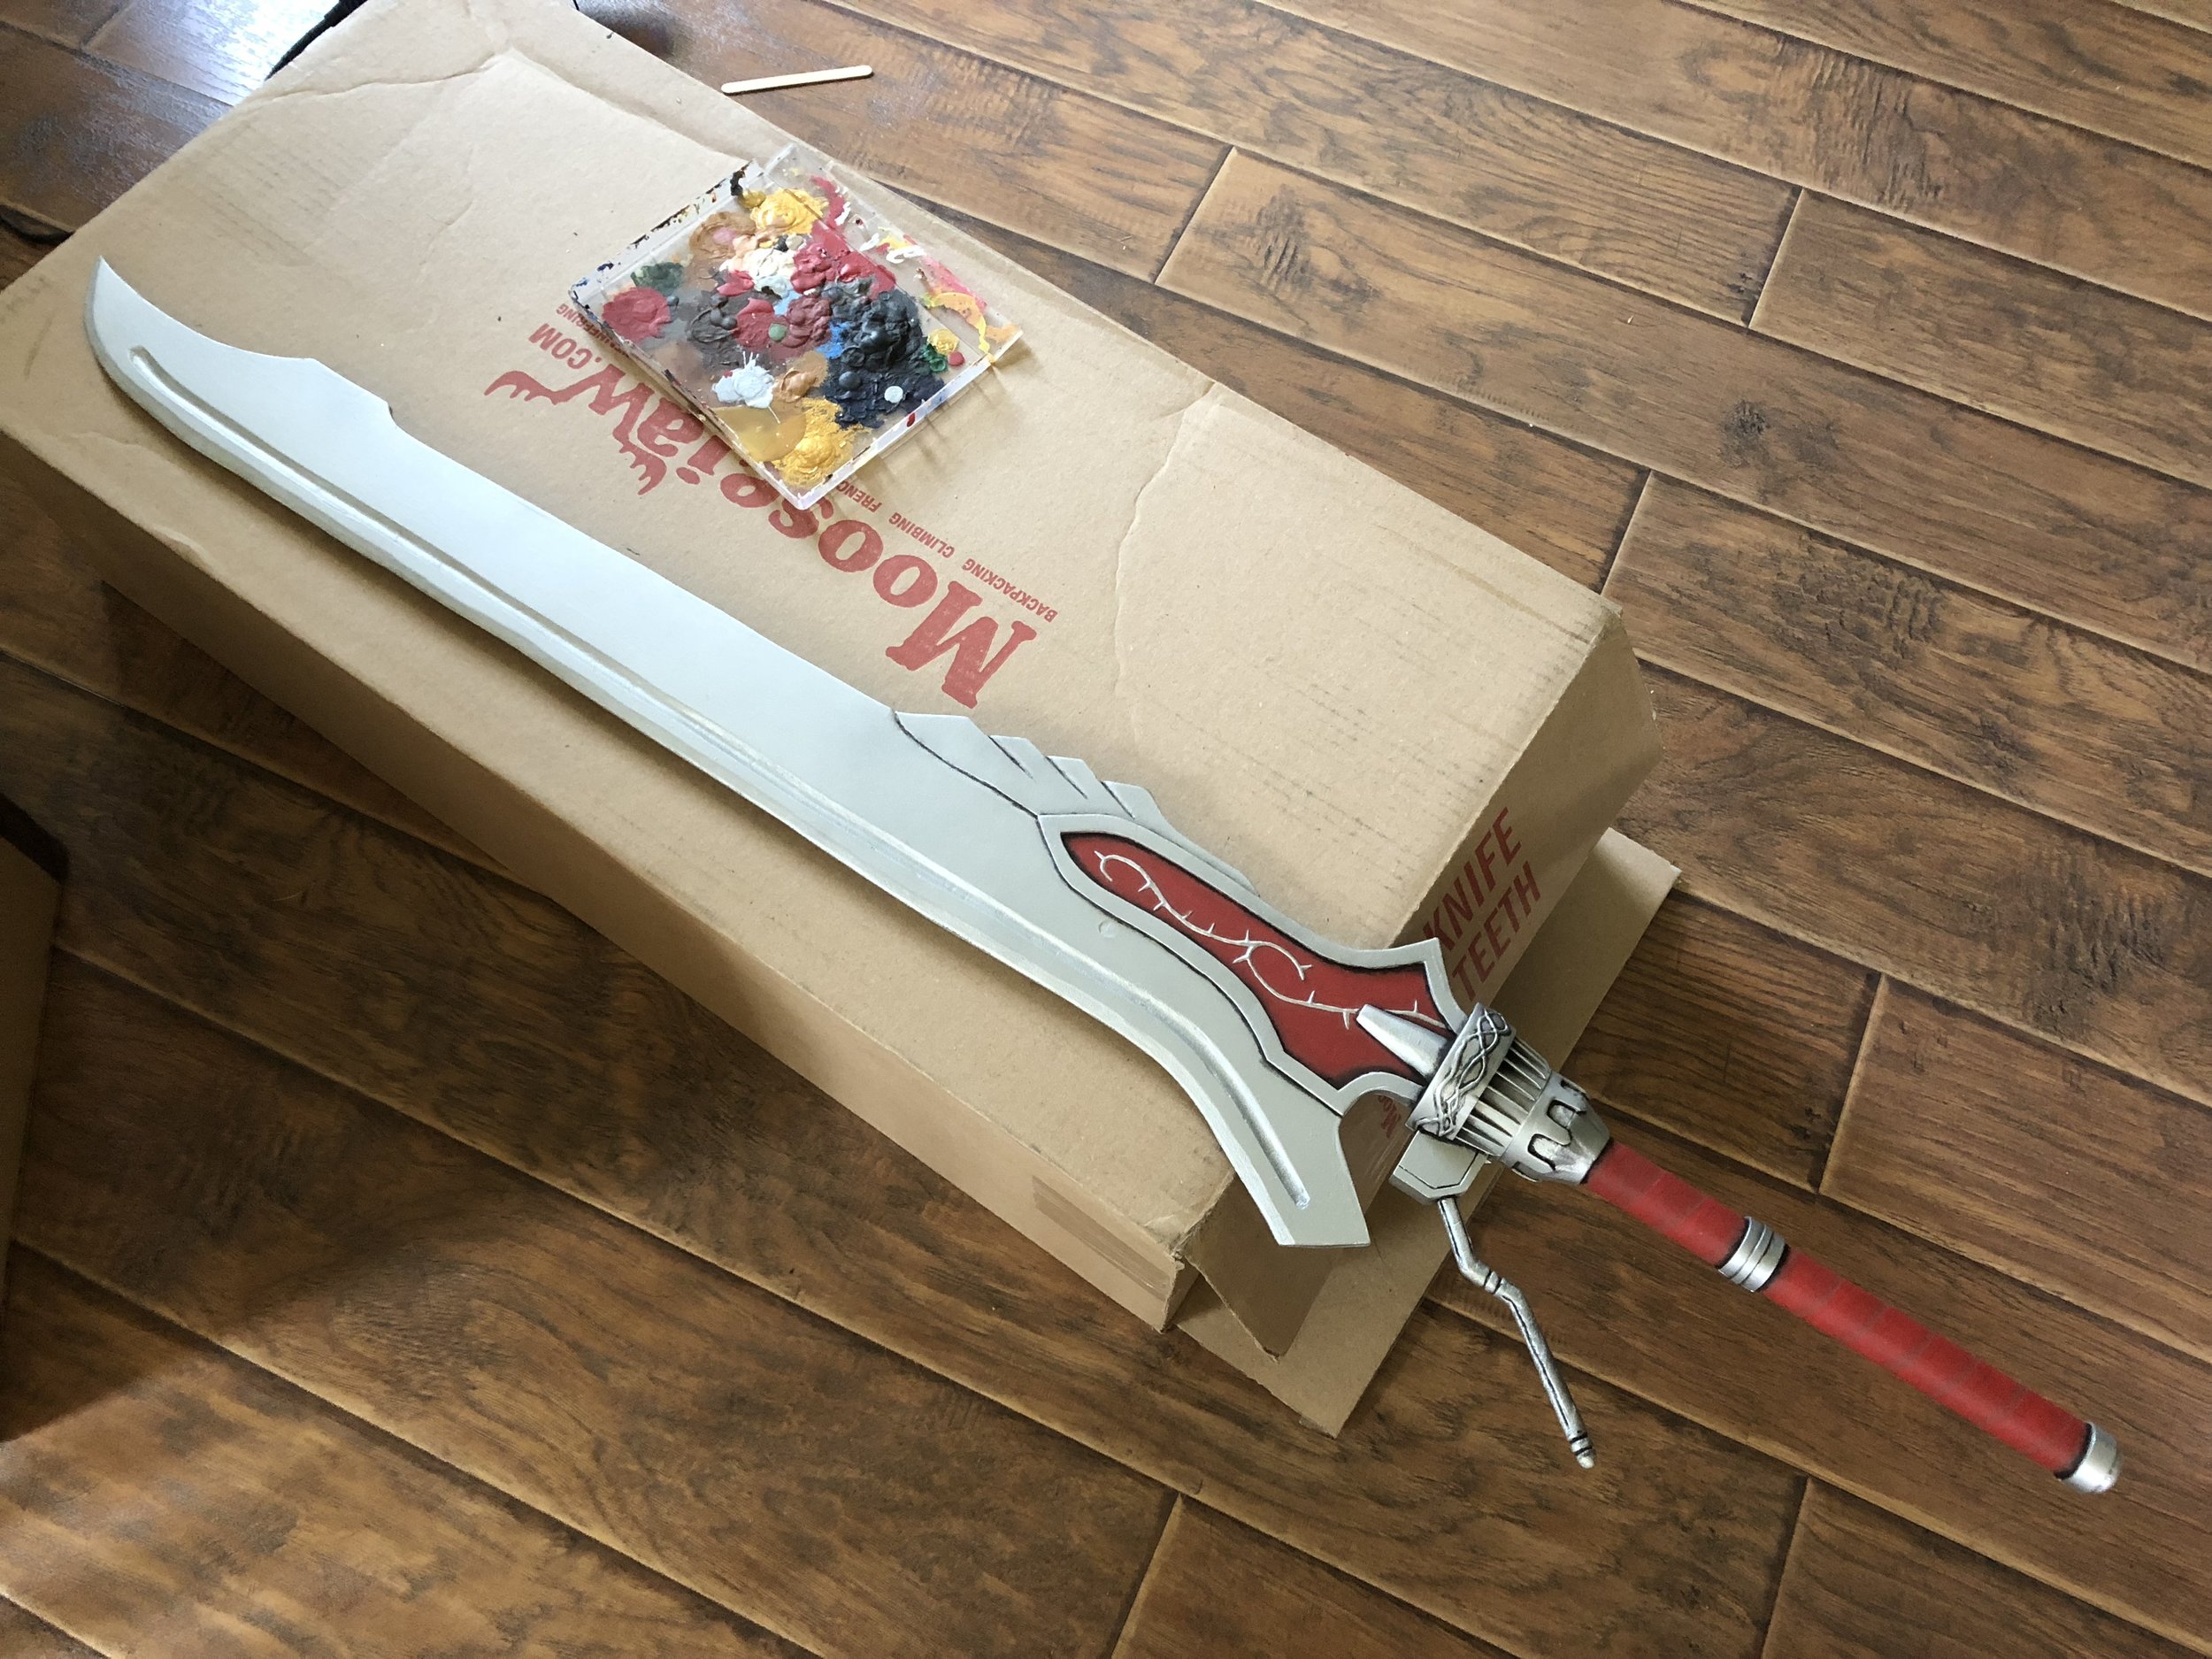
Next up is the companion weapon to the sword I recently finished (you can see it in this blog post), the Blue Rose. It's the gun Nero weilds alongside his sword, the Red Queen.

BlueRose.jpg

Originally I wasn't planning on having this done until Youmacon but things worked out such that I currently have time. 

IMG_0888.JPG

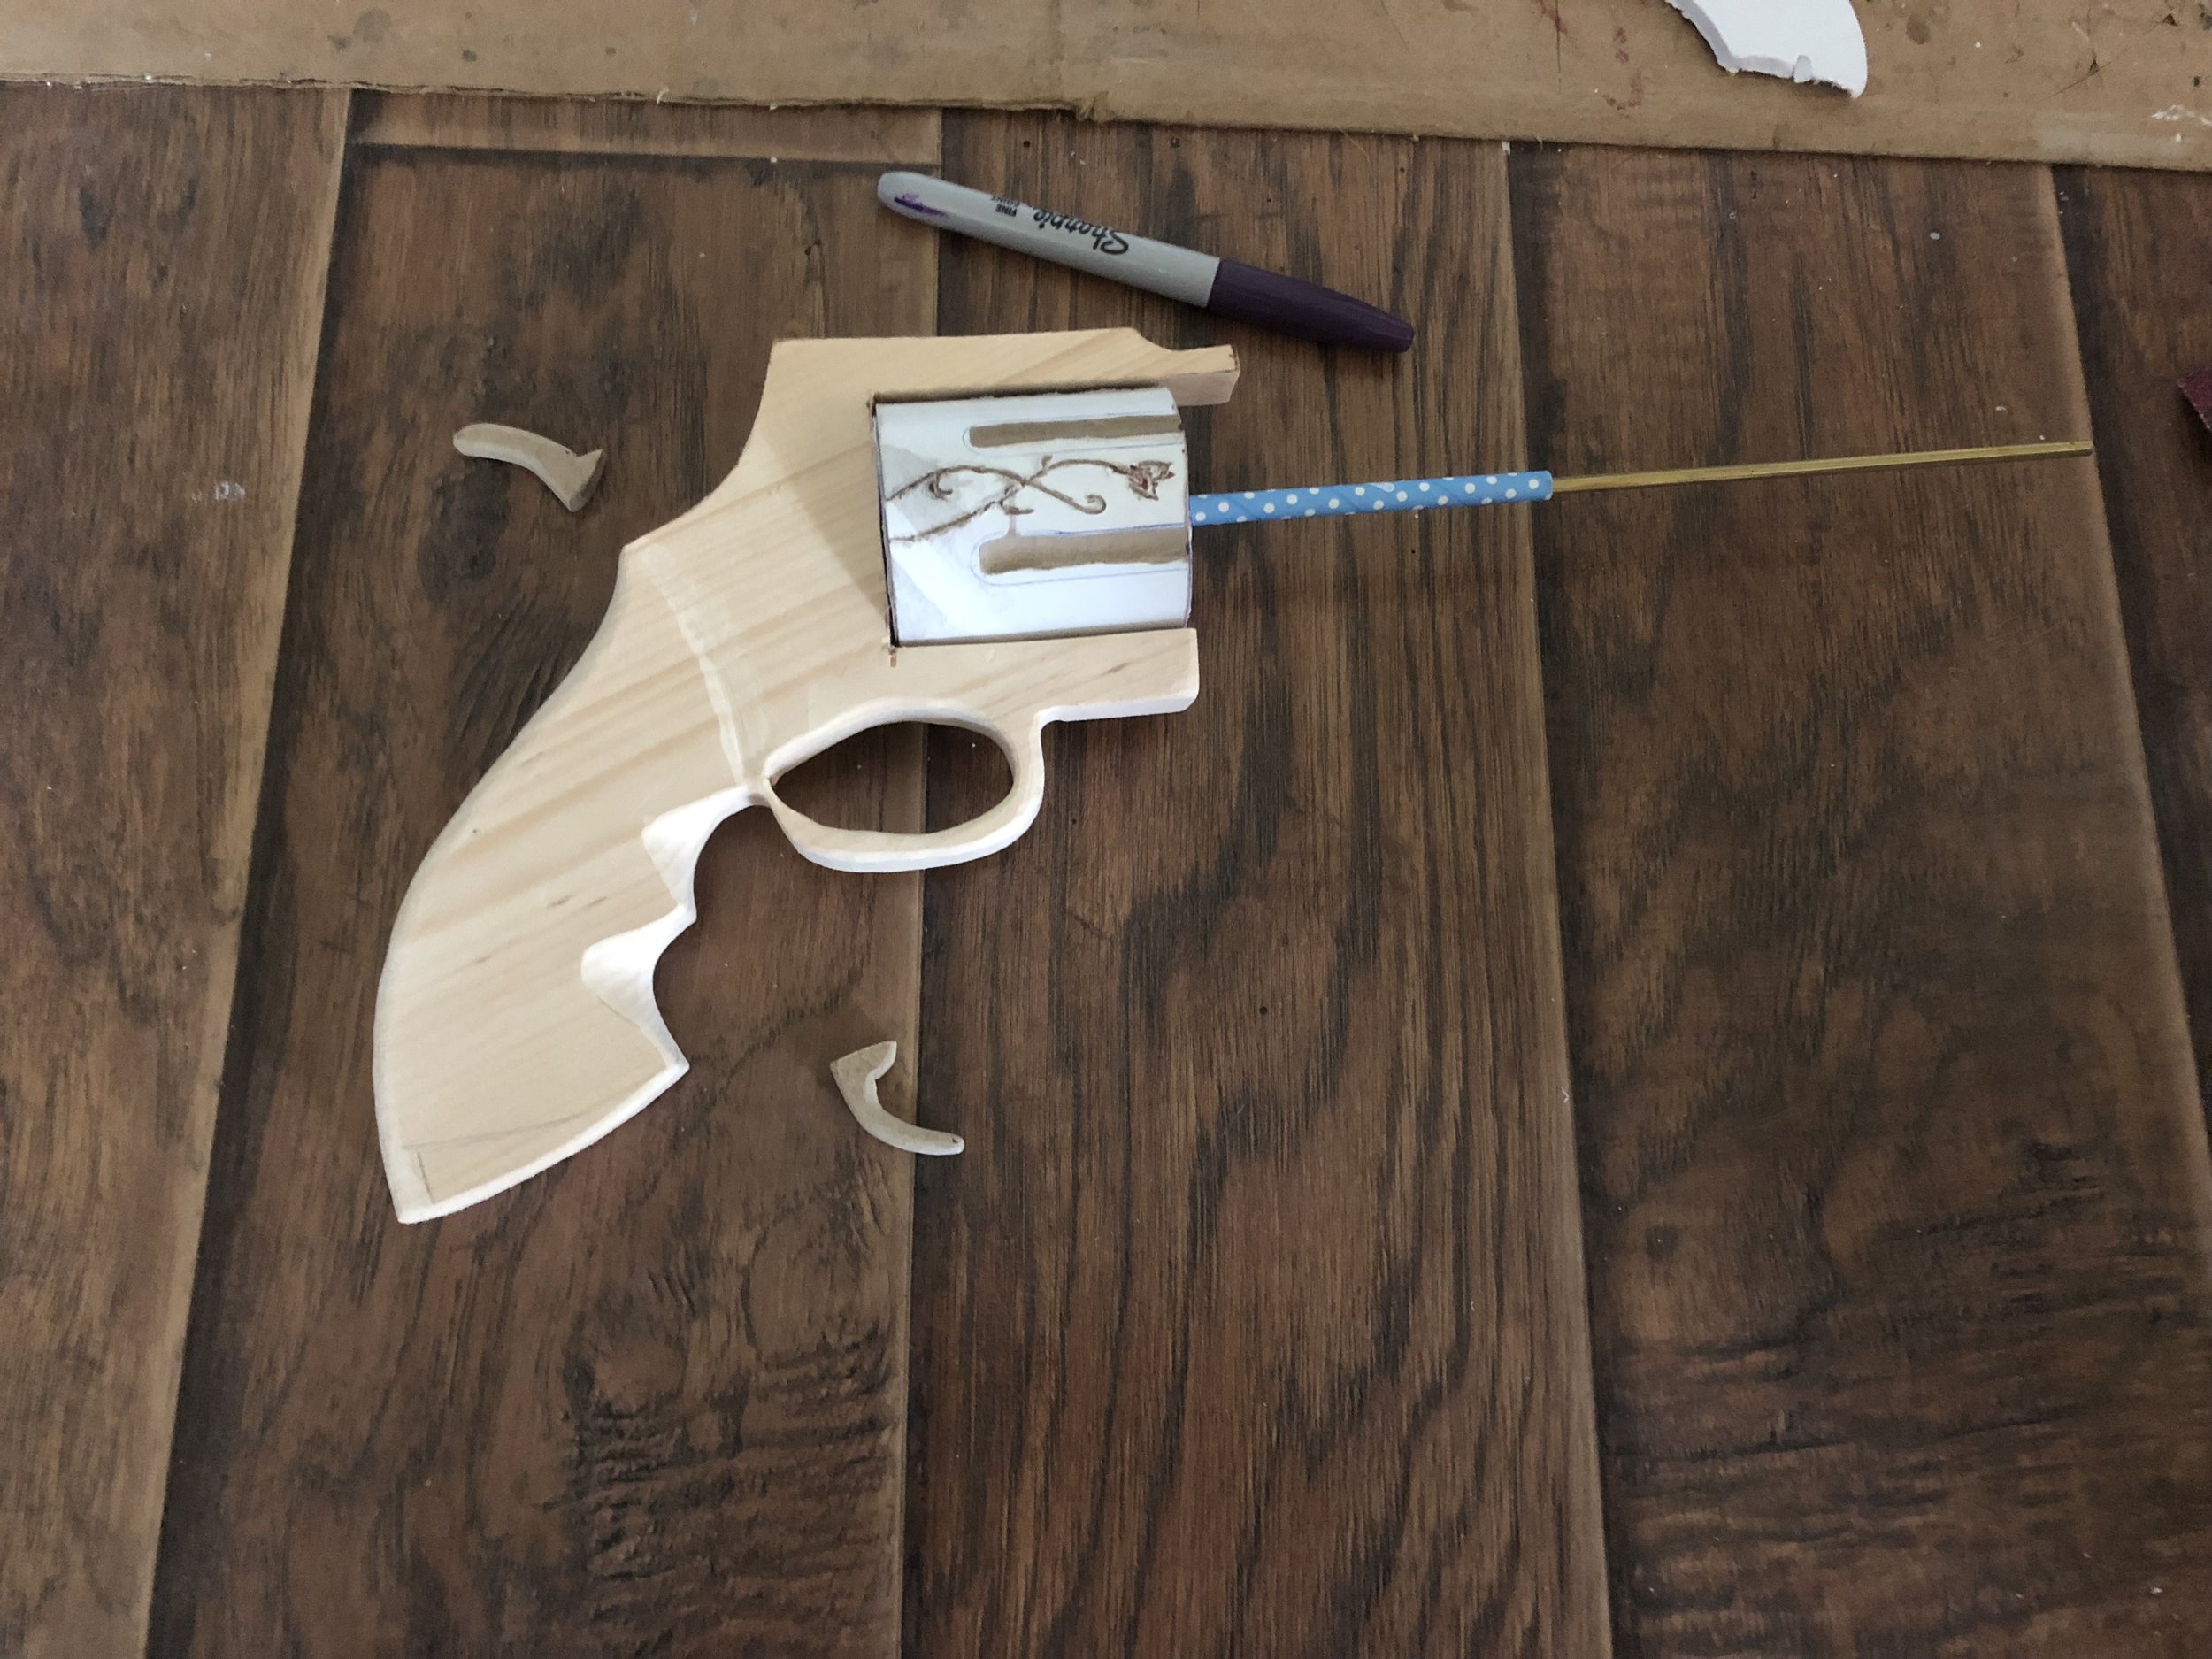
This is as far as I've gotten on the construction but it's coming together pretty nicely. The handle is wood, all cut and dremeled by hand. The cylinder is a section of heavy duty mailing tube that I cut and used the dremel again to make the grooves and the vinet design. The hammer & trigger are both MDF since they needed to be thinner than the rest of the frame. The only other bits that aren't in the photo are the barrels, which are made out of PVC. I still need to do a lot of fine sanding on everything and of course there are sections that aren't even there yet but things are moving along. The engraved details are going to take a long time and there are a lot of them! But it should be really pretty when it's done.

And that's all for now!

Lollipop Lollipop oh Lolli Lolli Lolli

Michael MacWolff

Excuse the dumb name but that's what my brain does.
I have fantastic news, we got photos back from SMZeldaRules and my private TWEWY shoot with Headphone Studios! They came out so well I'm so excited, and we all need more TWEWY in our lives. Now presented with minimal commentary:

This might be the most badass I've ever looked in Kariya

This might be the most badass I've ever looked in Kariya

3fc17433601cd9ef8ffd39dbbc14df98.png
This one is hands down my favorite solo shot. The lighting is so cool and for once I don't look super goofy with the lollipop in my mouth XD

This one is hands down my favorite solo shot. The lighting is so cool and for once I don't look super goofy with the lollipop in my mouth XD

d74a7b0669151d6eff3149eedd1fe95e.png
41891015190_80b441142e_k.jpg

Headphone Studios was such a pleasure to work with, she gave great direction and the photos speak for themselves! I definitely hope I have the opportunity to work with her in the future. And of course the wonderful SMZeldaRules always brings her A game and I'm so glad we got to do this together since we don't get a chance to cosplay together very often! 

More Commissions, More WIPs

Michael MacWolff

Hey everyone! I've been in and out of town a lot with all of my summer trips happening within a couple weeks of each other so I've not been as productive as I would be otherwise. That and I've been playing Horizon Zero Dawn so that doesn't exactly help my productivity XD

Anyway, I wanted to show you all what I've been working on lately!

EmberActive.png

First up is the only project I've actually finished: Yang's Ember Celica from RWBY. I've made quite a few RWBY weapons at this point, both for myself and others, so I'm excited to get a shot to make yet another one!

IMG_0192.JPG

These gauntlets are made almost entirely out of EVA & craft foam of a variety of thicknesses.

IMG_0184.JPG

But of course it wouldn't be a Mikey prop if there weren't some weird pieces of trash incorporated somehow, right? So in this particular instance I used a small cardboard tube that I acquired god only knows where and sawed it in half to get the gun barrels, and I also used four plastic spools sliced down the middle to get the shells for Yang's ammo. Thankfully I've picked up a bunch of random spools of thread at thrift stores and garage sales over the years so I have them in abundance. However, a word of advice to anyone thinking of doing the same thing: remove all the thread first. I was lazy and tried to saw straight through the first one with the thread still on there and it made a tangled mess.

We've skipped a few steps here, but the pieces are all assembled and the plates on the back have a layer of worbla on them. Everything was coated with mod podge a few times and then I sprayed it all yellow! Yellow doesn't cover very well so I sprayed it to avoid having to paint 437 coats to get the color even.

Details are all painted by hand and I did a bit of subtle shading between the plates on the back and on the red shells.

IMG_0756.JPG

And here's everything finished and assembled! The cuffs have velcro on the one end and are permanently adhered on the other so they're nice and stable, but are easier to put on & take off.


Next up is Nero's sword from Devil May Cry: The Red Queen. I'm working on this for my friend Heckin Sleepy Cosplay. He's already put together a lot of the other pieces for the cosplay and has been posting photos on his instagram so you should definitely go check it out cause everything looks awesome so far!

I will be making the gun as well, but not until aster Matsuri.
The blade for the sword is MDF, and the handle actually came from an old rake that broke a while back. 

IMG_0743.JPG

You can see the model in this photo too. It bleongs to Heckin Sleepy, but it's made of metal so it's super heavy and he wouldn't be able to carry it around at a con. I did some extra shaping with my dremel, as well as digging out the channel that run along the edge of the blade. The other details are all made out of a smattering of other things including craft foam, puff paint, masking tape, and worbla. The most interesting piece is the largest part at the start of the hilt. It's a weird plastic thing I found in my stash of stuff that I believe came from one of those giant rolls of paper. It ended up being a good size and the hole in the center fit snugly around the wooden handle so I went with it! Also, the goofy handbrake thing is a paper straw with worbla around it. 

IMG_0746.JPG
IMG_0786.JPG

Those three round, silver things on the blade are actually magnets (the super strong ones you can get at the hardware store) so that hopefully it'll just snap right onto his back to magnets incorporated into the coat. 

IMG_0792.JPG

With everything assembled, it was time to start painting! I sealed the entire thing with a few coats of mod podge, then primed it with black paint. The next layer was the silver spray paint, and then I started adding the red details by hand.

IMG_0812.JPG

And last up is all of the progress I've made so far! It looks done, doesn't it! But I haven't done any of the red details on the other side yet and the whole thing needs mod podge slathered over it so I have about another day or two before it's totally finished.


Last up is a Skyrim shield I'm making for my cousin's kid. Apparently he loves play sword fighting with sticks so his dad decided he needed a legit shield to play with. I had to make the thing pretty heavy duty so it could take the beating without falling apart! As such it's all MDF & hardboard, with worbla for the emblem on the front.

I'm not following any particular design for this guy, my only request was to have the Skyrim symbol on it so there he is smack dab in the middle! I haven't started painting yet but I think I'm going to go with dark blue & silver for the front.

And that's all we have this week! I hope everyone's enjoying their summers and don't forget to put on sunscreen! this has been a friendly reminder from your neighborhood ghostly white ginger.