Contact Us

Questions? Comments? Concerns? Suggestions? Submissions? Shout-outs?

Whatever you want to tell us here at Mikey Does Cosplay, we're always happy to hear your thoughts and feedback!


123 Street Avenue, City Town, 99999

(123) 555-6789

email@address.com


You can set your address, phone number, email and site description in the settings tab.
Link to read me page with more information.

reflection.jpg

Blog

Here's where the magic happens. I'll be posting about all of my experiences and experiments (both failed and successful ones), introducing you to my costumes, sharing fun stories, linking tutorials and useful products, and who knows what else!


Youmacon (at last)

Michael MacWolff

Hello friends!

Sorry for the long hiatus… I realize you’re probably used to that at this point but I’d love for that not to be the case lol. Since I last posted a bunch of stuff has been going on, which is mostly why I haven’t been posting. Youmacon was a couple weekends ago, and it was super fun! I have a couple photos to share from that, and eventually I’ll have my hands on some more when I get photos back from the shoots I was involved in.

The other big thing that’s been going on, and the main reason I haven’t been super active online lately is that Jordan, Donner and I have moved! We didn’t move far, we’re just a few minutes down the road from our old place, but the new house has a bit more room, which will hopefully be filled up in the not-too-distant-future with an expanding family. We’ll see how that process goes. Anyway, things are kind of a mess right now but when I have most of it put away I’ll make another post to show off my new craft areas!

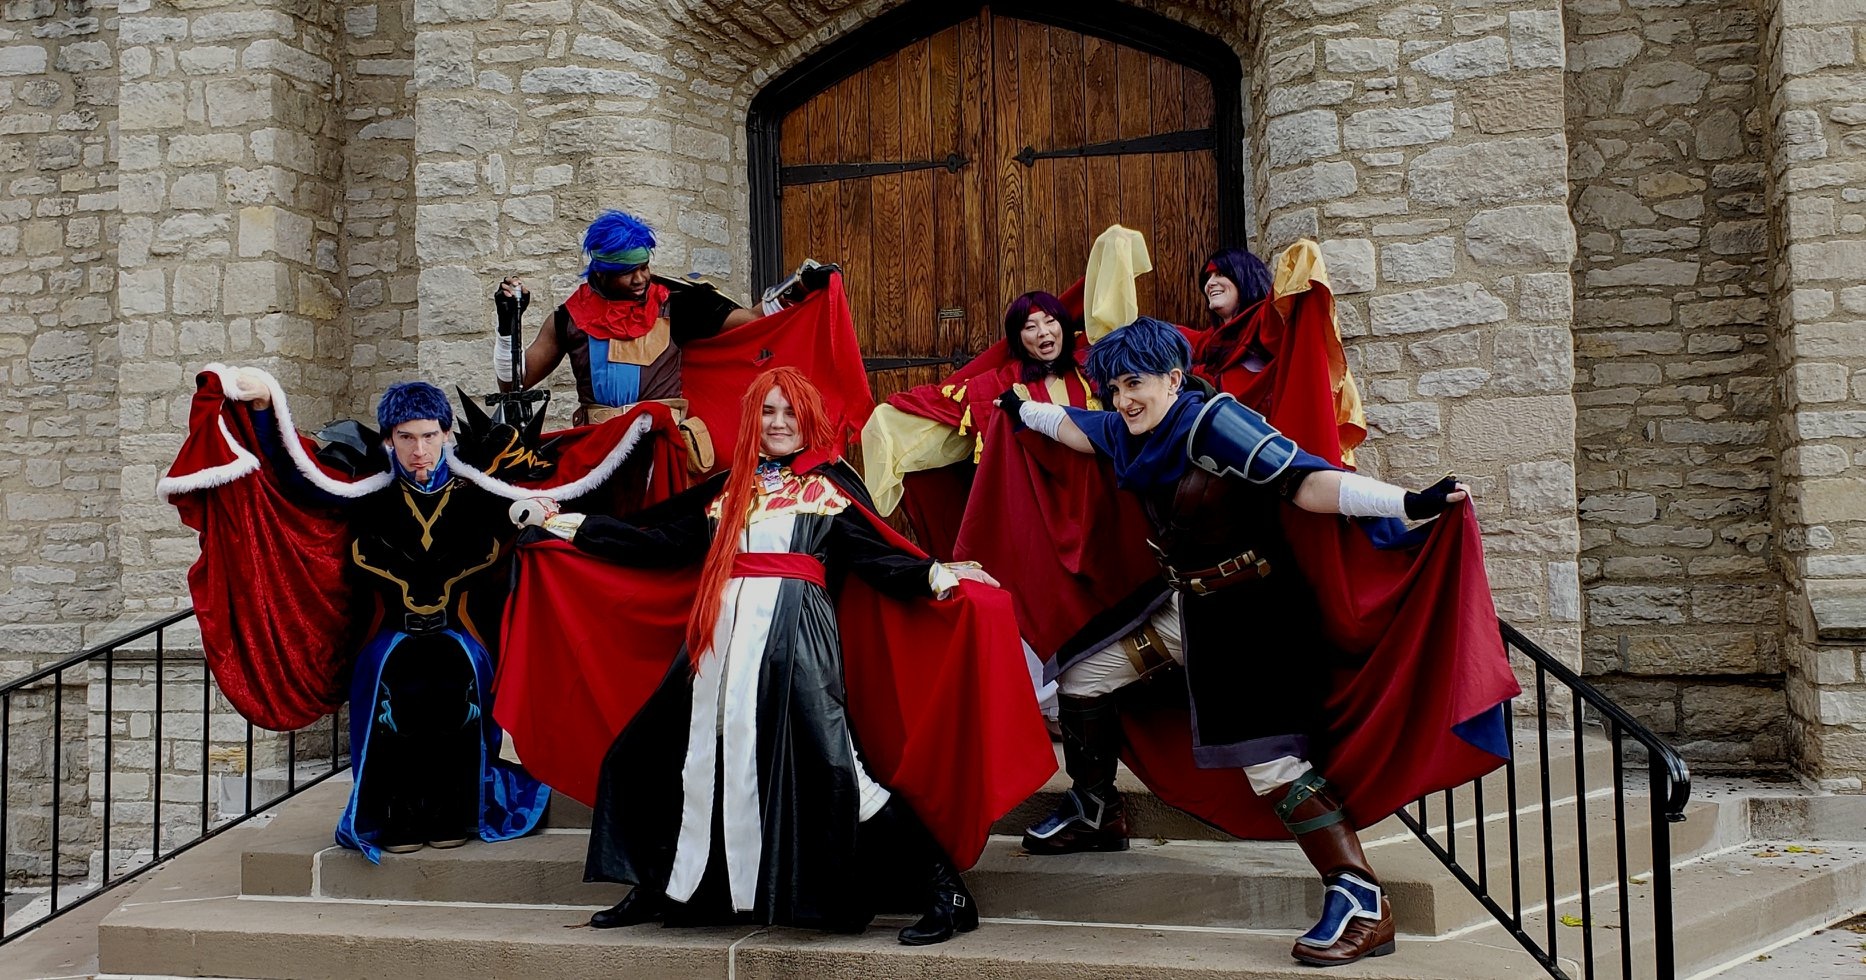
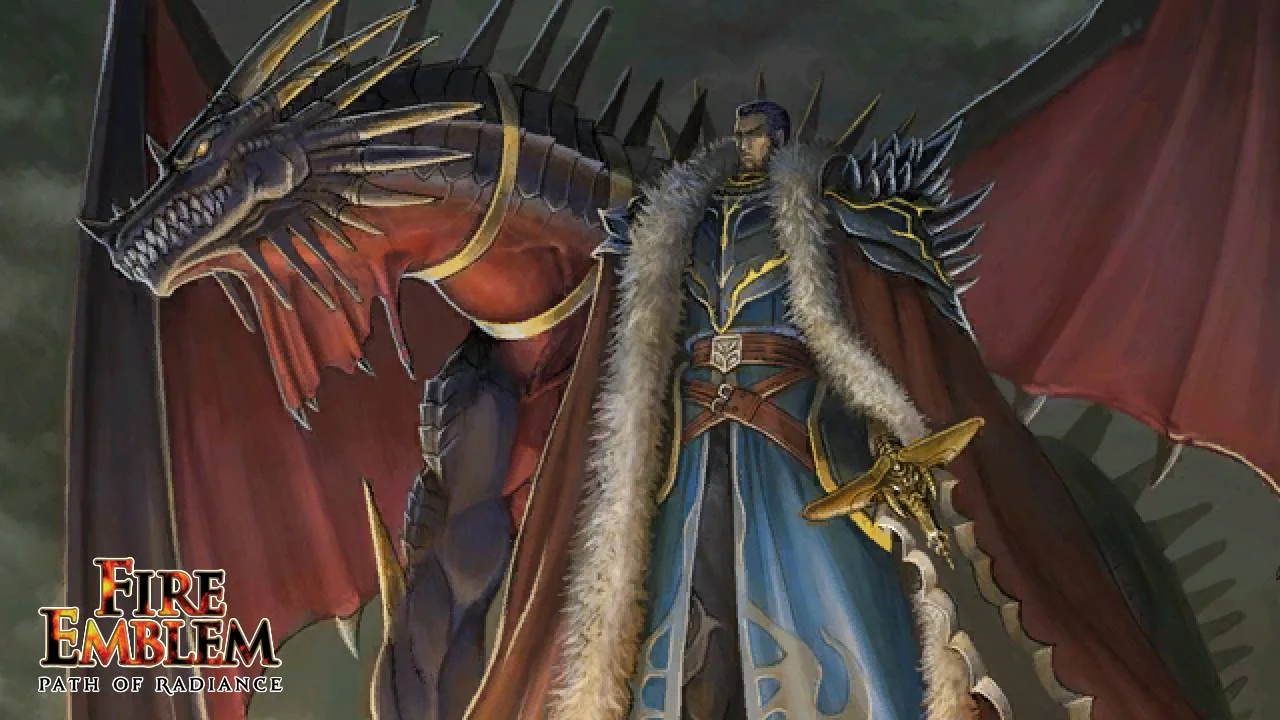
So Youmacon. I had a blast at Youma; despite having a pretty full cosplay schedule it was a pretty chill con, which is always nice. The impromptu Fire Emblem gathering we had was waaaay better attended than I was expecting! Look at all these folks!

IMG_1885.JPG
IMG_1876.JPG

And look at the wealth of game representation we had! We planned the Tellius stuff around my friend’s Lord Ike and my Ashnard, but we got folks from Blazing Sword, Fates, and Geneaology/Thracia too!

IMG_1878.JPG

This is exactly what we’ve been waiting for.

We also got some fabulous derp photos with all of the caped characters (and Rhys (and Reyson)).

Look, a flock of birbs!

Look, a flock of birbs!

IMG_1881.JPG
IMG_1882.JPG
maxresdefault (4).jpg

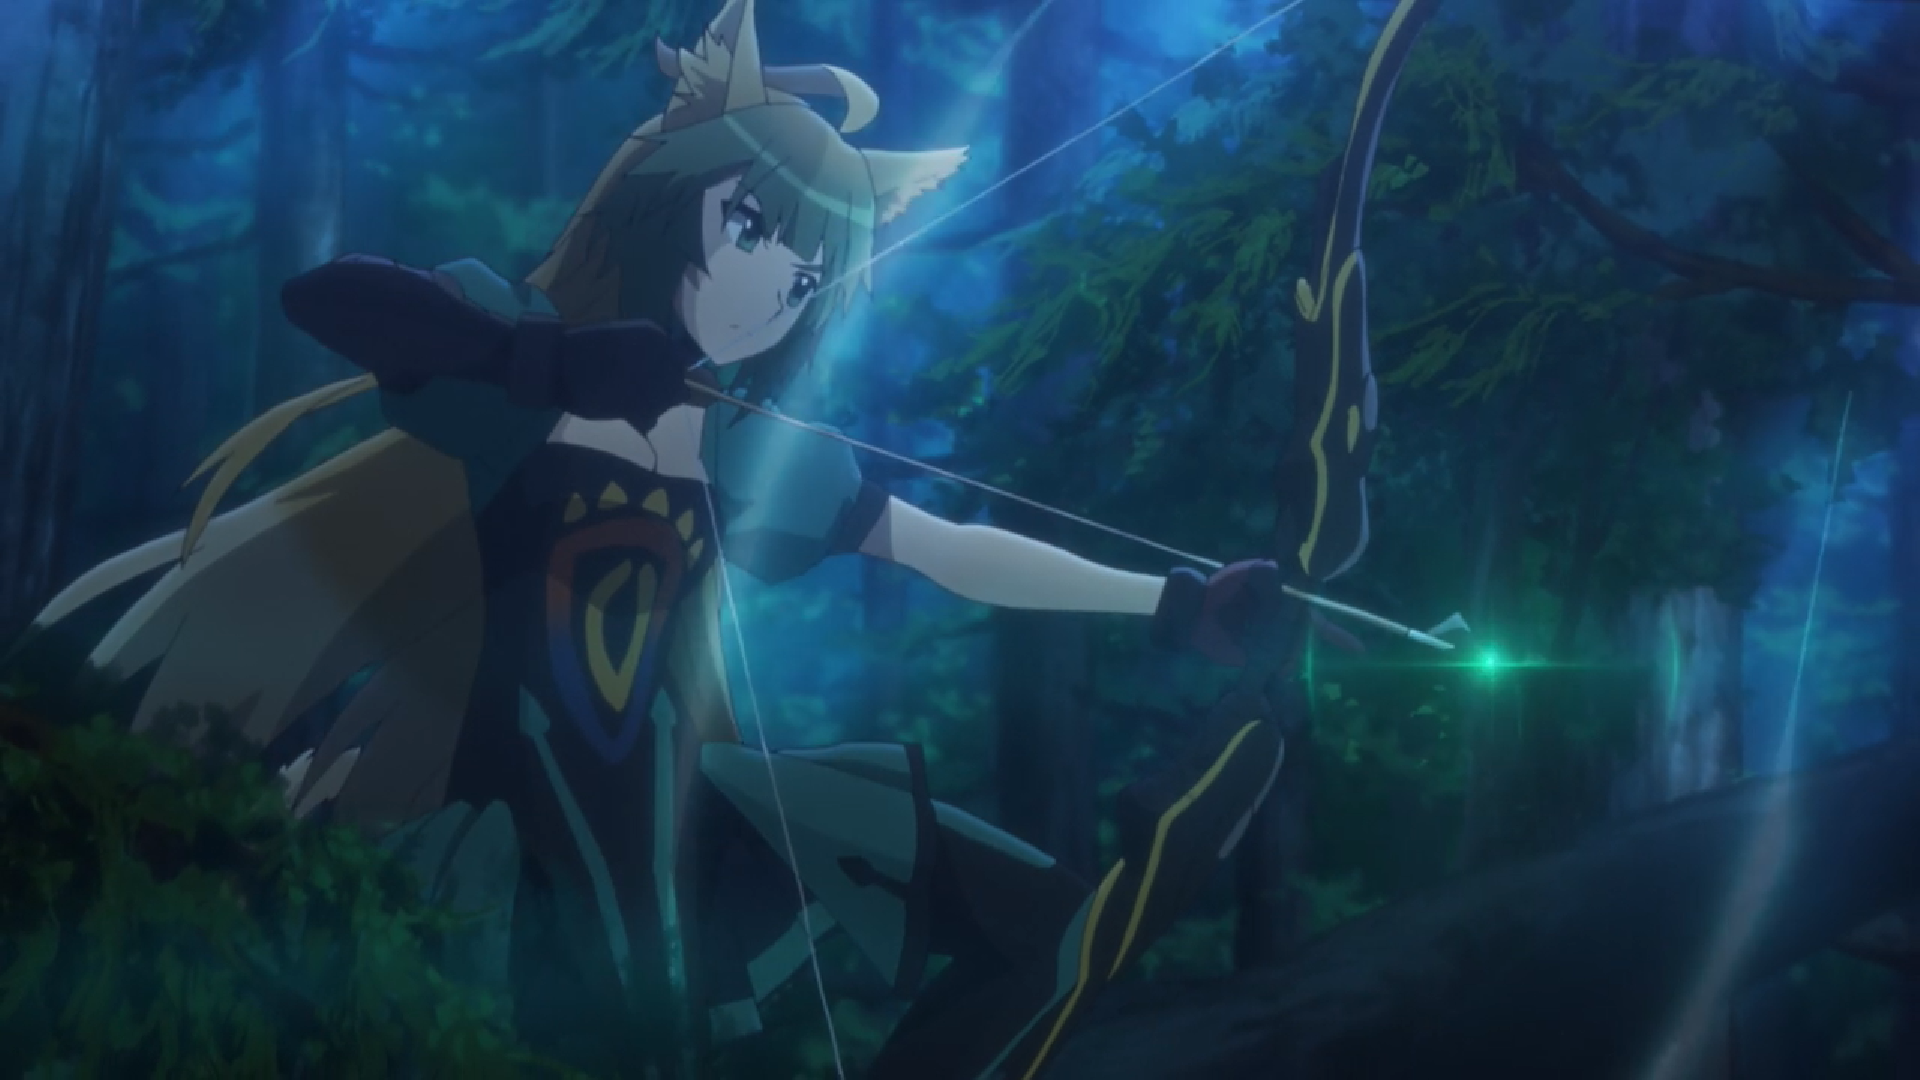
I’ve also wanted to get something resembling this art forever and I finally made it happen!

IMG_1741.JPG

Also, while we were hanging out waiting for the official shoot to start, we got our photo taken by the folks at MLive!

Apparently they think my friend is a very salty solution lol Here’s a link to the article, there are lots of great cosplays to see!

Apparently they think my friend is a very salty solution lol
Here’s a link to the article, there are lots of great cosplays to see!

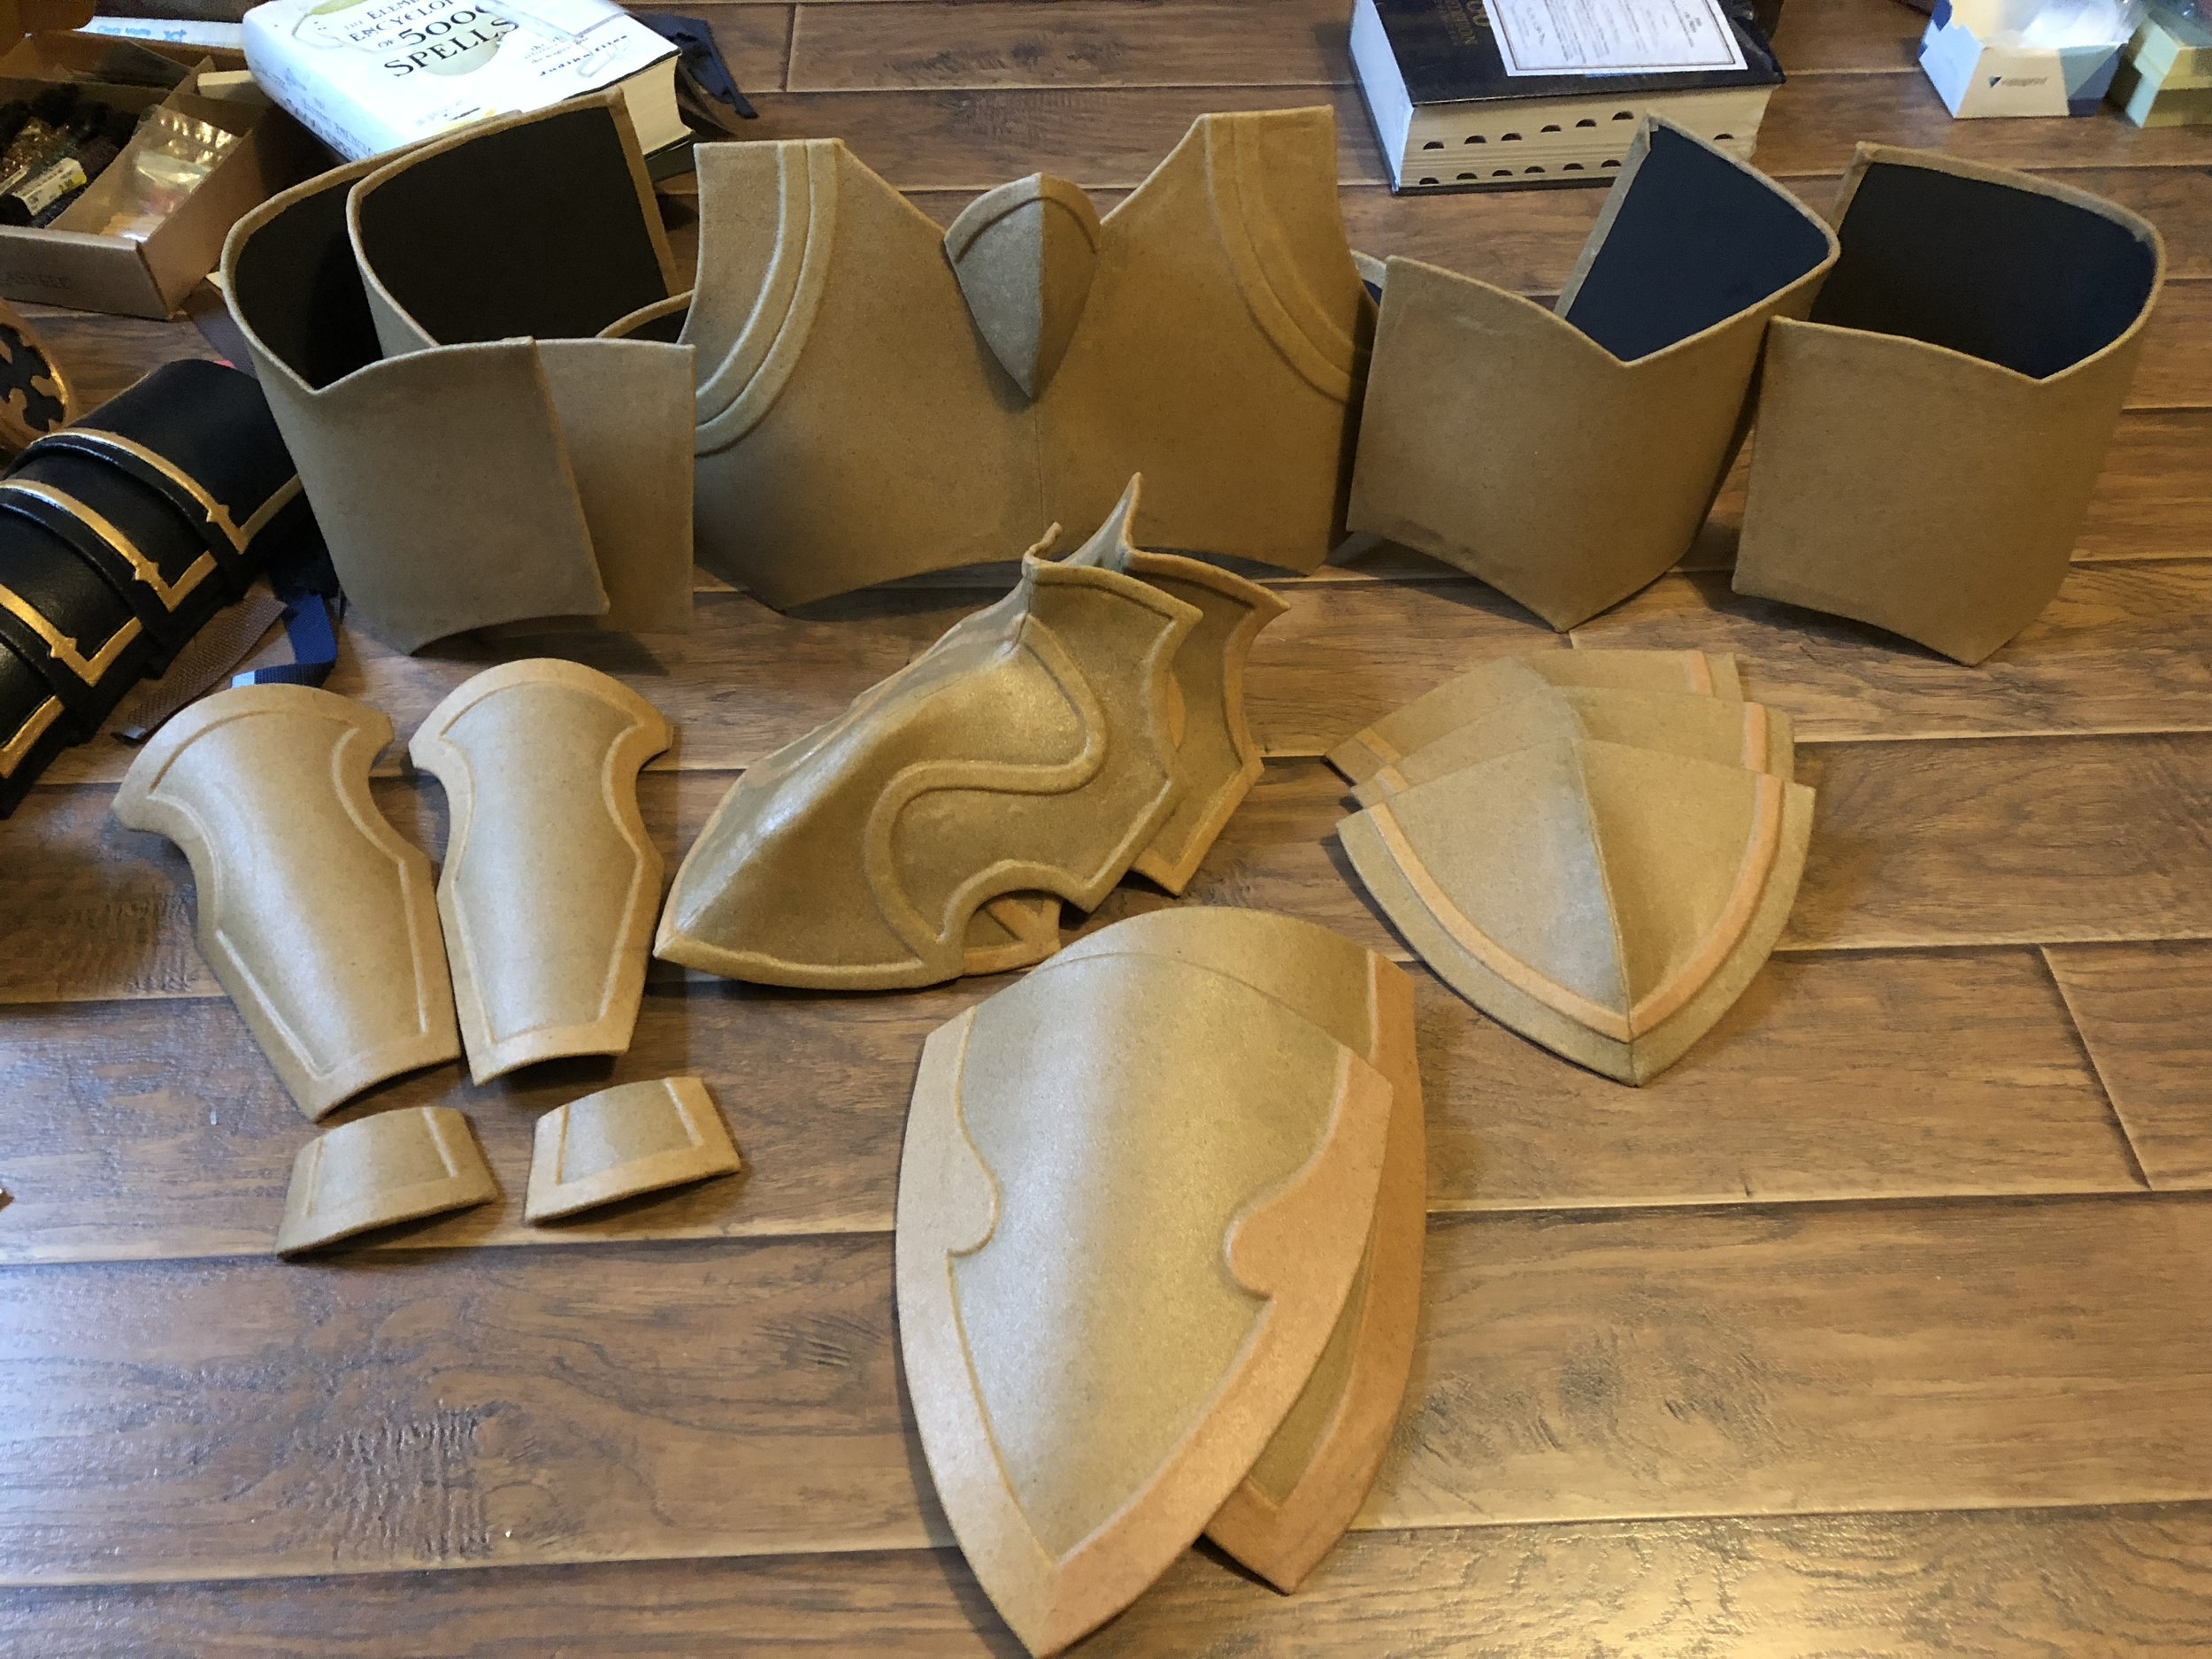
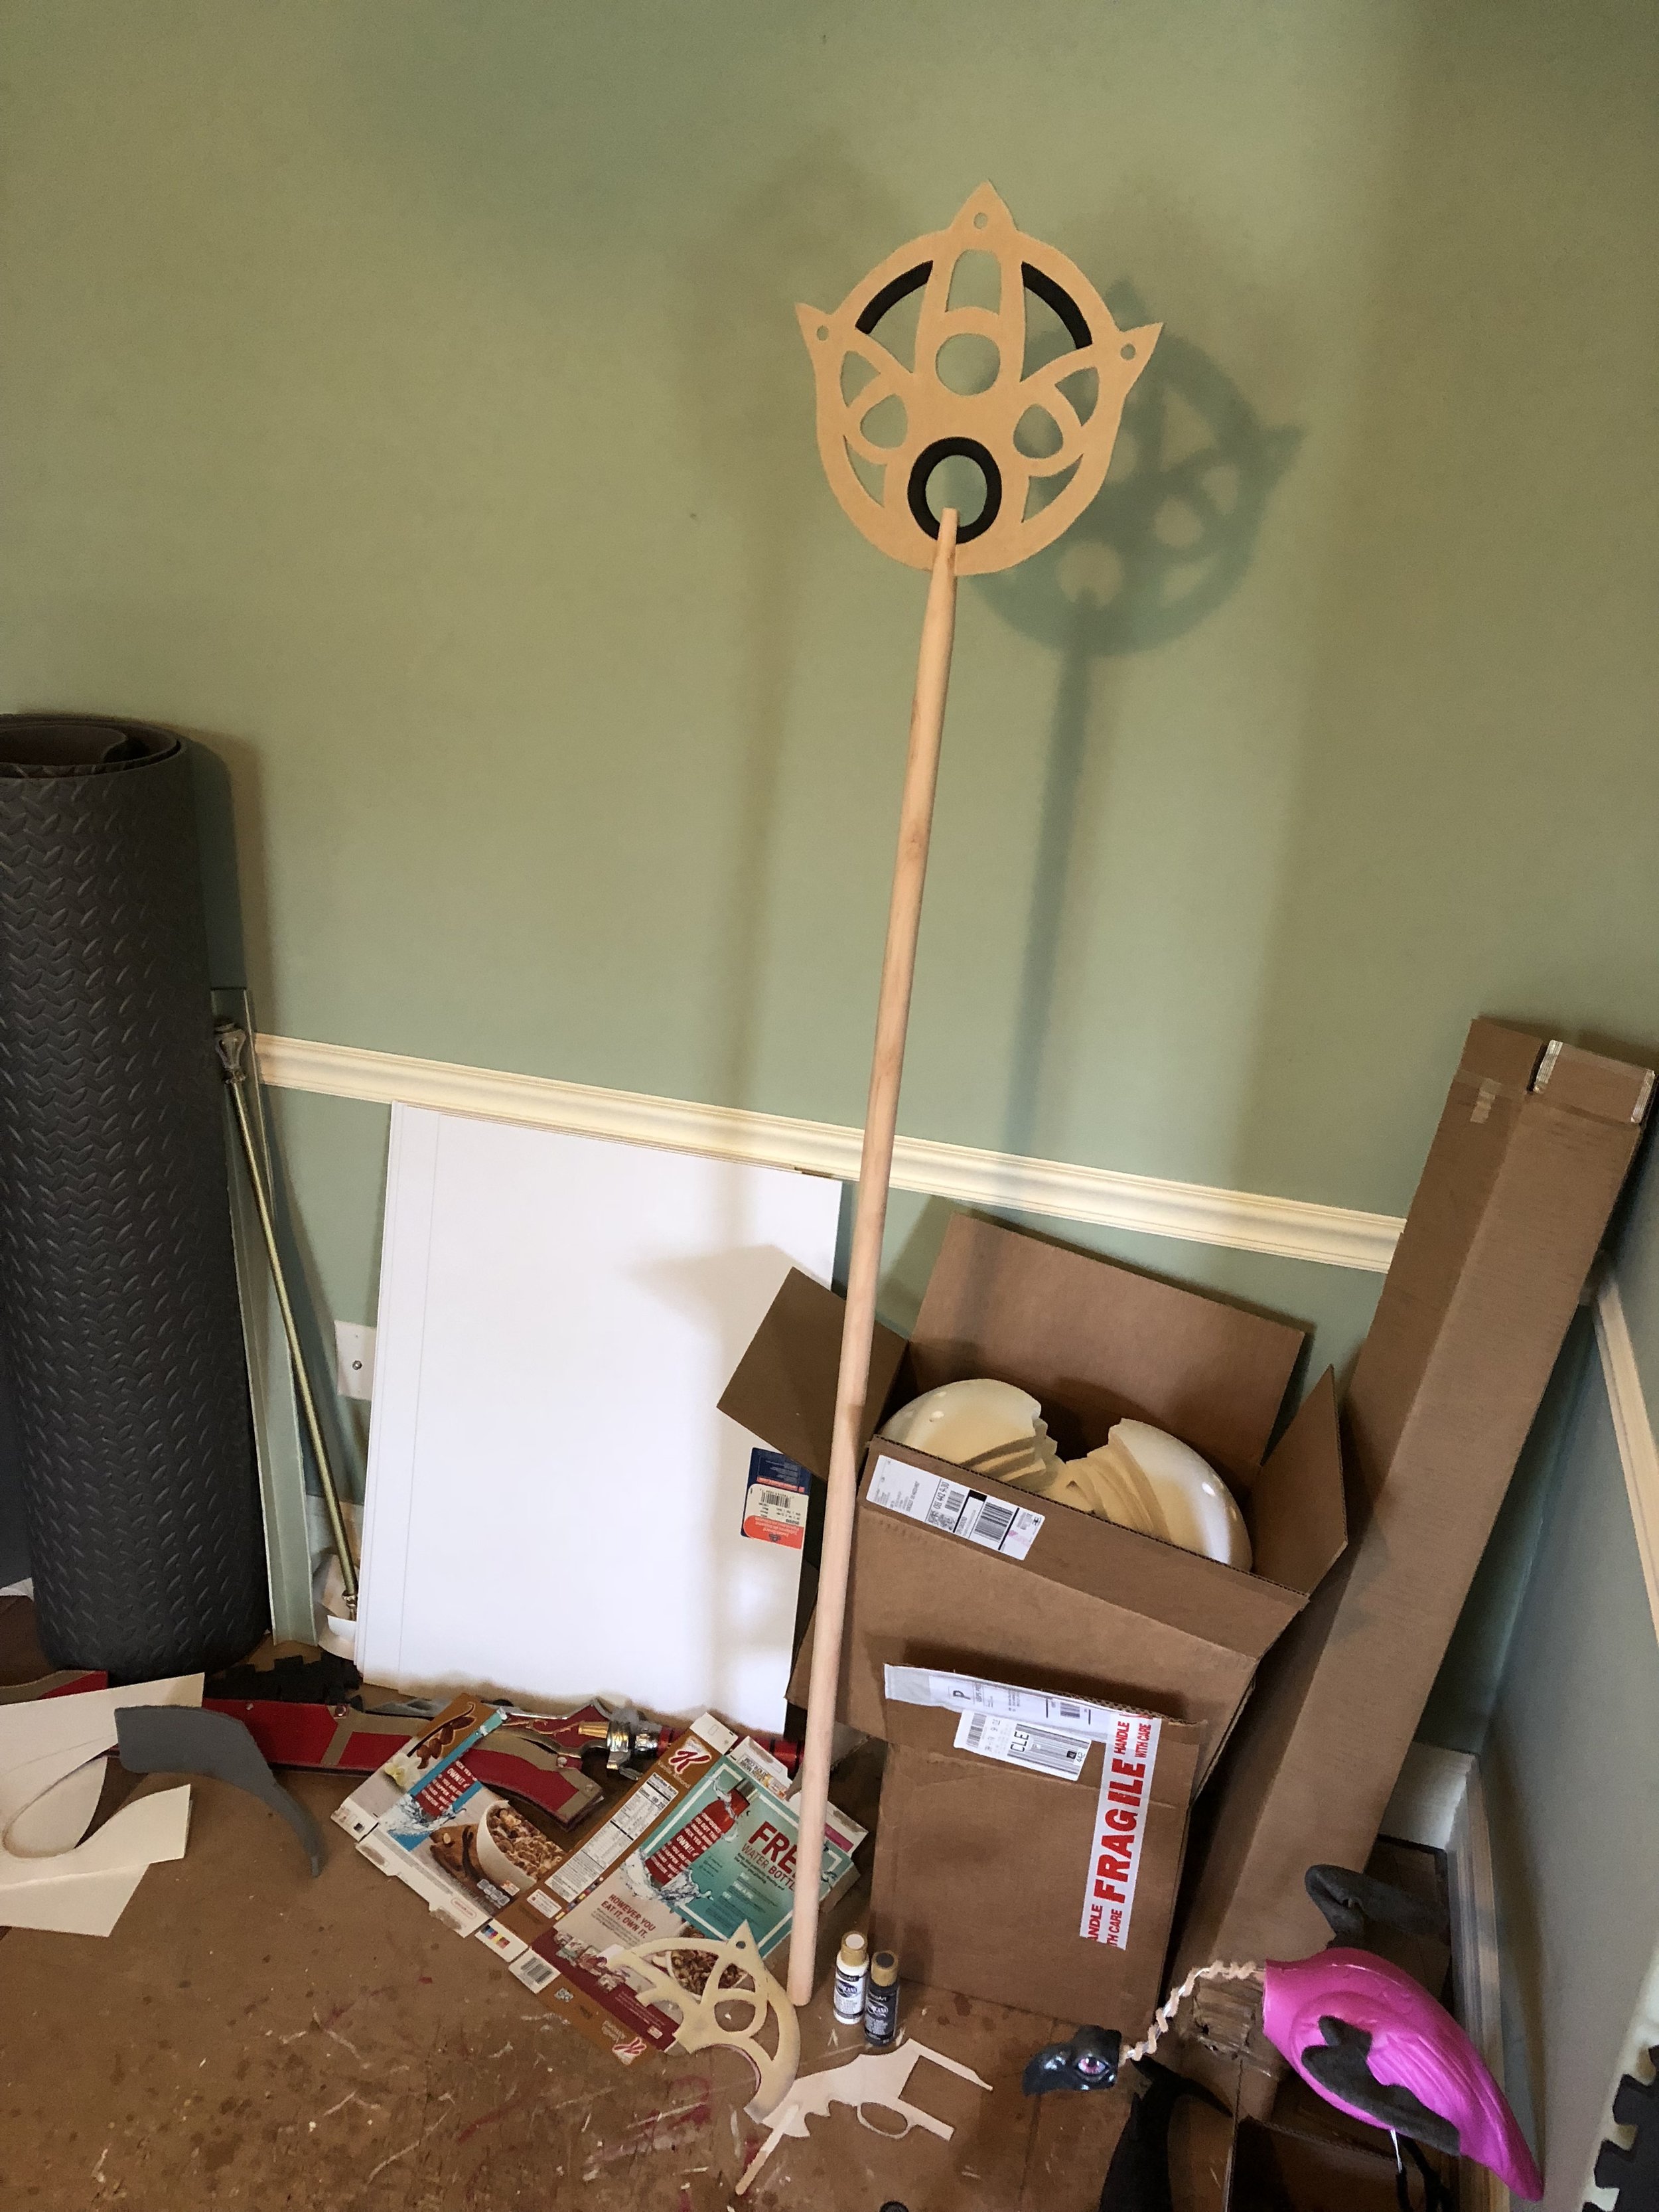
So Ashnard got to have lots of fun this year, and the other major thing was my debut of Fran! I’m so excited with how this cosplay turned out and I love her so much I want to wear this all the time!

IMG_E1743.JPG

I had so much fun wearing this cosplay even though it was a bit of a chore between the somewhat unruly weapon and the giant hoops, but I was so happy it didn’t even matter.

I definitely learned some things wearing it the first time too, so I can improve my experience next time. Mainly that the horn needs to attach to the wig, because as soon as I started sweating a bit the lace front tape just gave way. I’ll still use the tape to keep it in place but I need a strap or something integrated into the wig to keep it on my face when the tape gets loose. I also need a pair of flat shoes because I would have worn this on the con floor way longer if my feet didn’t want to die in those boots after the 5-6 hours I was in them. When I took them off to eat some dinner my feet were so happy lol.

We had an awesome Apocrypha group and did some shooting with Robbie; I’m super stoked to see the results since he always does an amazing job. It was cold as shit out by the river but it was so beautiful! You know I’ll share them as soon as I have them but for now, ta-ta!

A Beautiful Monster

Michael MacWolff

Alright, as promised last week, I wanted to show off the making of my new cosplay for Youmacon. For those of you who don’t already know the details, it’s Berserker of Black (Frankenstein’s Monster/Fran) from Fate/Apocrypha!

Black.Berserker.full.1963299.jpg

Now despite all the cosplays I’ve made in my life, this project was pretty daunting for me. I’ve never really made a dress like this and I wasn’t entirely sure where to start. Thankfully, once I did a little research online and started drafting my patterns, it wasn’t as scary as I thought.

IMG_1070.JPG

I started with the structure that would be underneath the dress: the hoop skirt! This is basically a waistband with some hooks & eyes, several lengths of satin ribbon with loops sewn into them, and some galvanized steel wire. I had to adjust the size of the hoops several times before I was really happy with it, and I ended up using packing tape to keep the ribbon in place with respect to the wire hoops. So yeah, it’s kinda janky but it’ll work. I had some help from this tutorial to get the basics. She uses thin, flexible PVC instead of wire, which probably would’ve worked better but since I already had the wire and I’m a cheap S.O.B. I figured I’d try it this way.

IMG_1079.JPG

With the hoops themselves done, I needed to soften the edge of the lowest hoop a bit so my dress didn’t end up looking like some sort of flying saucer, so I used a loooooooooong piece of tulle that I gathered (by hand, I might add) that falls just beyond the lowest hoop.

I also lucked out in that I already owned this cute white petticoat to use over the hoops and under the skirt of the dress. It’s even the right height, YAHTZEE!

IMG_1069.JPG

Now came the fun part of patterning the dress. I had a decent idea how to do the bodice and the skirt, but I wan’t so sure about the actual breast cups so I cheated and just built them off of an old bra.

Yeah, the UFO shape is what I was trying to avoid. This is from before I added the tulle and reduced the bottom hoop a bit.

Yeah, the UFO shape is what I was trying to avoid. This is from before I added the tulle and reduced the bottom hoop a bit.

With the pattern done and tested (both on my dress form and on my body), I was ready to put the dress together for real!

IMG_1072.JPG

The red details were attached using a satin stitch, the same way I usually do those types of details on my csplays (maybe some day I’ll own an embroidery machine…. yeah I’ll keep dreaming). Also, the center bit is actually lace instead of ruffles because I thought it would look nice. Also I was too lazy to make ruffles and already had some lace trim that would work.

The breast cups are literally attached to the bra you saw in the last photo, and I hand-sewed a bunch of the top part together on the dress form just to get it situated properly. The last bit to add to the dress was the top part with the sheer black fabric and strappy bit… which apparently I don’t have a photo of it after I added that part, oops.

IMG_1074.JPG

The gloves are in two pieces, with the actual gloves parts being an antique pair I found at a thrift store some time ago. The sleeves are a separate piece made from rayon/spandex knit and the red sections are literally from an woman’s t-shirt I thrifted (since they don’t make stretchy enough fabric as Joann’s in this color).

IMG_1100.JPG
IMG_1092.JPG

Next up we have some headware! Yes, those are headphones that I built the ear thingies off of, and the veil actually attaches directly to the band across the top. And the unicorn horn is cardstock with worbla over it, and miraculously enough it’s lightweight enough to stay on my face just using lacefront tape.

IMG_1091.JPG
IMG_1102.JPG

And moving right along we have some legggggggies! The base boots are actually something I’ve owned for a long time because any time I find heels at the thrift store I can actually fit in they refuse to leave my basket. I’ve even performed in drag in those boots, but sadly they’re old enough that the outer layer of the faux leather is literally disintegrating everywhere so they’ve been making a huge mess of the house. I finally chopped the tops off (cause they don’t need to be that tall anyway) and scrubbed as much of the outer layer off as I could manage. The front metallic bits are craft foam that I attached permanently to the front of the shoes (contact cement), because obviously I’m not going to be using these for anything else anyway with shit constantly falling off of them. The legs are metallic 4-way stretch knit (yes, I broke down and bought the Yaya Han shit cause it was the best thing for the job and thank christ I had a coupon). To keep the leggings from riding up, there’s a small piece of velcro that attaches them to the front of the boots. And to keep them from falling down, I pretty much turned my hoop skirt into a garter belt, and there’s ribbon with buttons that goes down the back of my legs, with an little elastic loop to hook around them on the tops of the leggings.

With all that done I was too excited not to try the whole thing on! (sans gloves so I could hit the button on my phone)

IMG_1132.JPG

I’m so pumped to wear this, cause it’s super pretty on it’s own and you’re not gonna see my dumb face most of the time with her hair like that. I do have two details to finish: the egg & the weapon.

The egg is finished I just need to make it attach to my hip somehow (probably velcro).

IMG_1094.JPG

The weapon is gonna take a while longer to finish because I’m a little overambitious with it. I really want the globe at the end to light up, which only makes sense if the plates are extended out. So naturally I’m using giant styrofoam bowls and a translucent globe light fixture to achieve that.

IMG_1095.JPG

Thankfully the rod is fairly straightforward, even though it is rather detailed. Also thankfully I found an actual fixture to attach the globe with, which means it’ll be easy to remove.

IMG_1162.JPG
IMG_1163.JPG

Details on the rod include: cardboard mailing tubes, MDF discs, Foamcore board discs, worbla, wooden knobs, toothpicks, dome stickers, an actual light fixture, and a Mason jar lid. So this is the most “me” part of this cosplay, obviously, given the random trash incorporated into it :-D

That’s all the progress I have, since the plates on the top are nowhere near ready to start painting, but soon I’ll have a fully functional light-up mace! Soooon. Hopefully soon. Dear god I hope it doesn’t take as long as I’m expecting. Pray for me.

Commission Progress (WIP Wednesday)

Michael MacWolff

Welcome back everyone! I know I’m supper sporadic with posting here but I do have some progress updates on the commissions I’ve been working on that I wanted to share!

Let’s start with the projects you’ve already seen the beginnings of:

IMG_1067.JPG

Silas’s armor is coming along nicely, though unfortunately I’ve run out of worbla so I can’t make any more sections until that arrives.

IMG_1160.JPG

Next up, Opal’s bow is done with construction and I’ve started painting. The gradient painting is a huge pain in the ass but it does look pretty cool.

IMG_1316.JPG

Now, on to new projects which I’ve somehow magically gotten further on than the stuff you’ve already seen! I’ve started working on Yuna’s staff from FFX. It’s the staff you traditionally see her with in all of the official artwork.

FFX_Artwork_Yuna.png

For the head, I used 1/4” MDF and thick craft foam to make the little blue details on the gold head. The shaft is a wooden broom handle I got at Home Depot.

IMG_1279.JPG

The blade on my scroll saw broke in the middle of trying to cut the staff head out, which was slightly terrifying. Thankfully neither me nor the prop was hurt, I just had to finish cutting it out with my jigsaw instead.

IMG_1280.JPG
IMG_1314.JPG

Here’s the head all painted! Next step is to paint the shaft blue but I haven’t gotten to that yet.


The last new item on my list is Atalanta’s bow from Fate/Apocrypha! I’m making this for a friend of mine and we’ll be cosplaying together at Youmacon.

2018-09-08 (1).png

Much like Opal’s bow, the base is wood with a section of broom handle as the grip. Despite the overall shape of the bow being a little more intricate, this actually took way less time to put together than the other bow because it didn’t involve two layers of wood together (which took a LOT of sanding to even out) and the weird round spiral bit that also took a lot of time and work to get fit together and looking right.

IMG_1064.JPG
IMG_1068.JPG

The raised details are all made from either craft foam or cereal box… you can probably tell from the photo above which sections are which ;-)
The bits around the grip are covered with worbla scraps that I heated up and mushed together.

With the details done, all there was left to do was paint and add the bowstring. The simple black & gold color scheme is what really made the difference as far as time spent detailing compared to the other bow I’m working on.

IMG_1277.JPG

And that’s all the commission work I’ve gotten done recently. I was out of town all last week visiting friends and going to my brother-in-law’s wedding so I was not as productive as usual. This week I’m aiming to get Yuna’s staff and Opal’s bow done so keep an eye on my instagram to see more progress photos! I’ve also been working on my new cosplay for Youmacon which is mostly done at this point, so I’ll be posting again later this week or some time next week with all the photos and construction notes on that!