Not quite a Sharkzooka, but still pretty rad
Michael MacWolff
So my first experience with LEDs in my props turned out pretty fantastically with the Fishbones rocket launcher from League of Legends. To be quite honest, it's pretty hard to top that, but one of my more recent commissions was pretty intensive and awesome too. I was contacted by a client of mine who I'd made a shield & sword set from Majora's Mask, and she asked if I could make a Clank for her brother. As in the little robot sidekick from Rachet & Clank. I certainly was not going to pass up the opportunity so continue expanding my horizons with this project, despite it being a rather daunting one.

He doesn't look so complicated... right?
My first thought was, this shouldn't be that hard, I've built all kinds of wierd stuff before. Well, that was before I realized that in order to be very effective with him, I'd need to make him posable, as in all of his joints needed to actually work. On top of that, his legs would have to fold up into his body so he could be worn around like a backpack. And the last fun thing: in order to be properly proportional to this Clank, he'd have to be about 3ft tall. Oi.
I had a perfectly good idea how to make most of him right off the bat, carboard and foamcore would be just fine for the body, foam with paper clay over it would work well for the legs, and I could use craft foam for the raised planes. The real trick would be getting the joints to actually move. I had only a vague concept of how that would work and what bit & pieces needed to go together in order to achieve that. So, my first stop after picking up some paint & foamcore: the thrift store.

And I came home with these things.
I know, you think I'm crazy, right? Well that's probably true, but they did actually come in handy for constructing some of Clank's joints. The wierd little alien's legs moved in and out, which I could steal their mechanism to use in his ankles, and their spherical-ish shape worked out quite well for that. That Torx thing I ended up using for the shoulders, since I knew I'd need something that could support the weight of the arms and stay in place, while still being able to turn.


Say goodbye to our little toys, and hello to some useful materials with which to make our little robot move. Now unfortunately, I couldn't find any other joints to harvest, but after seeing how they worked, I felt somewhat (or really not very) confident that I could make some joints of my own for the knees and the elbows.
I started with a few different sizes of pvc, some nuts & bolts, rubber washers, and a whole lot of E6000. God only knows how I successfully constructed some functional joints, I might be able to recreate them again if I needed to, but I doubt I could really explain what I was doing... so you can just look at some pictures instead of listening to me ramble unsuccessfully.


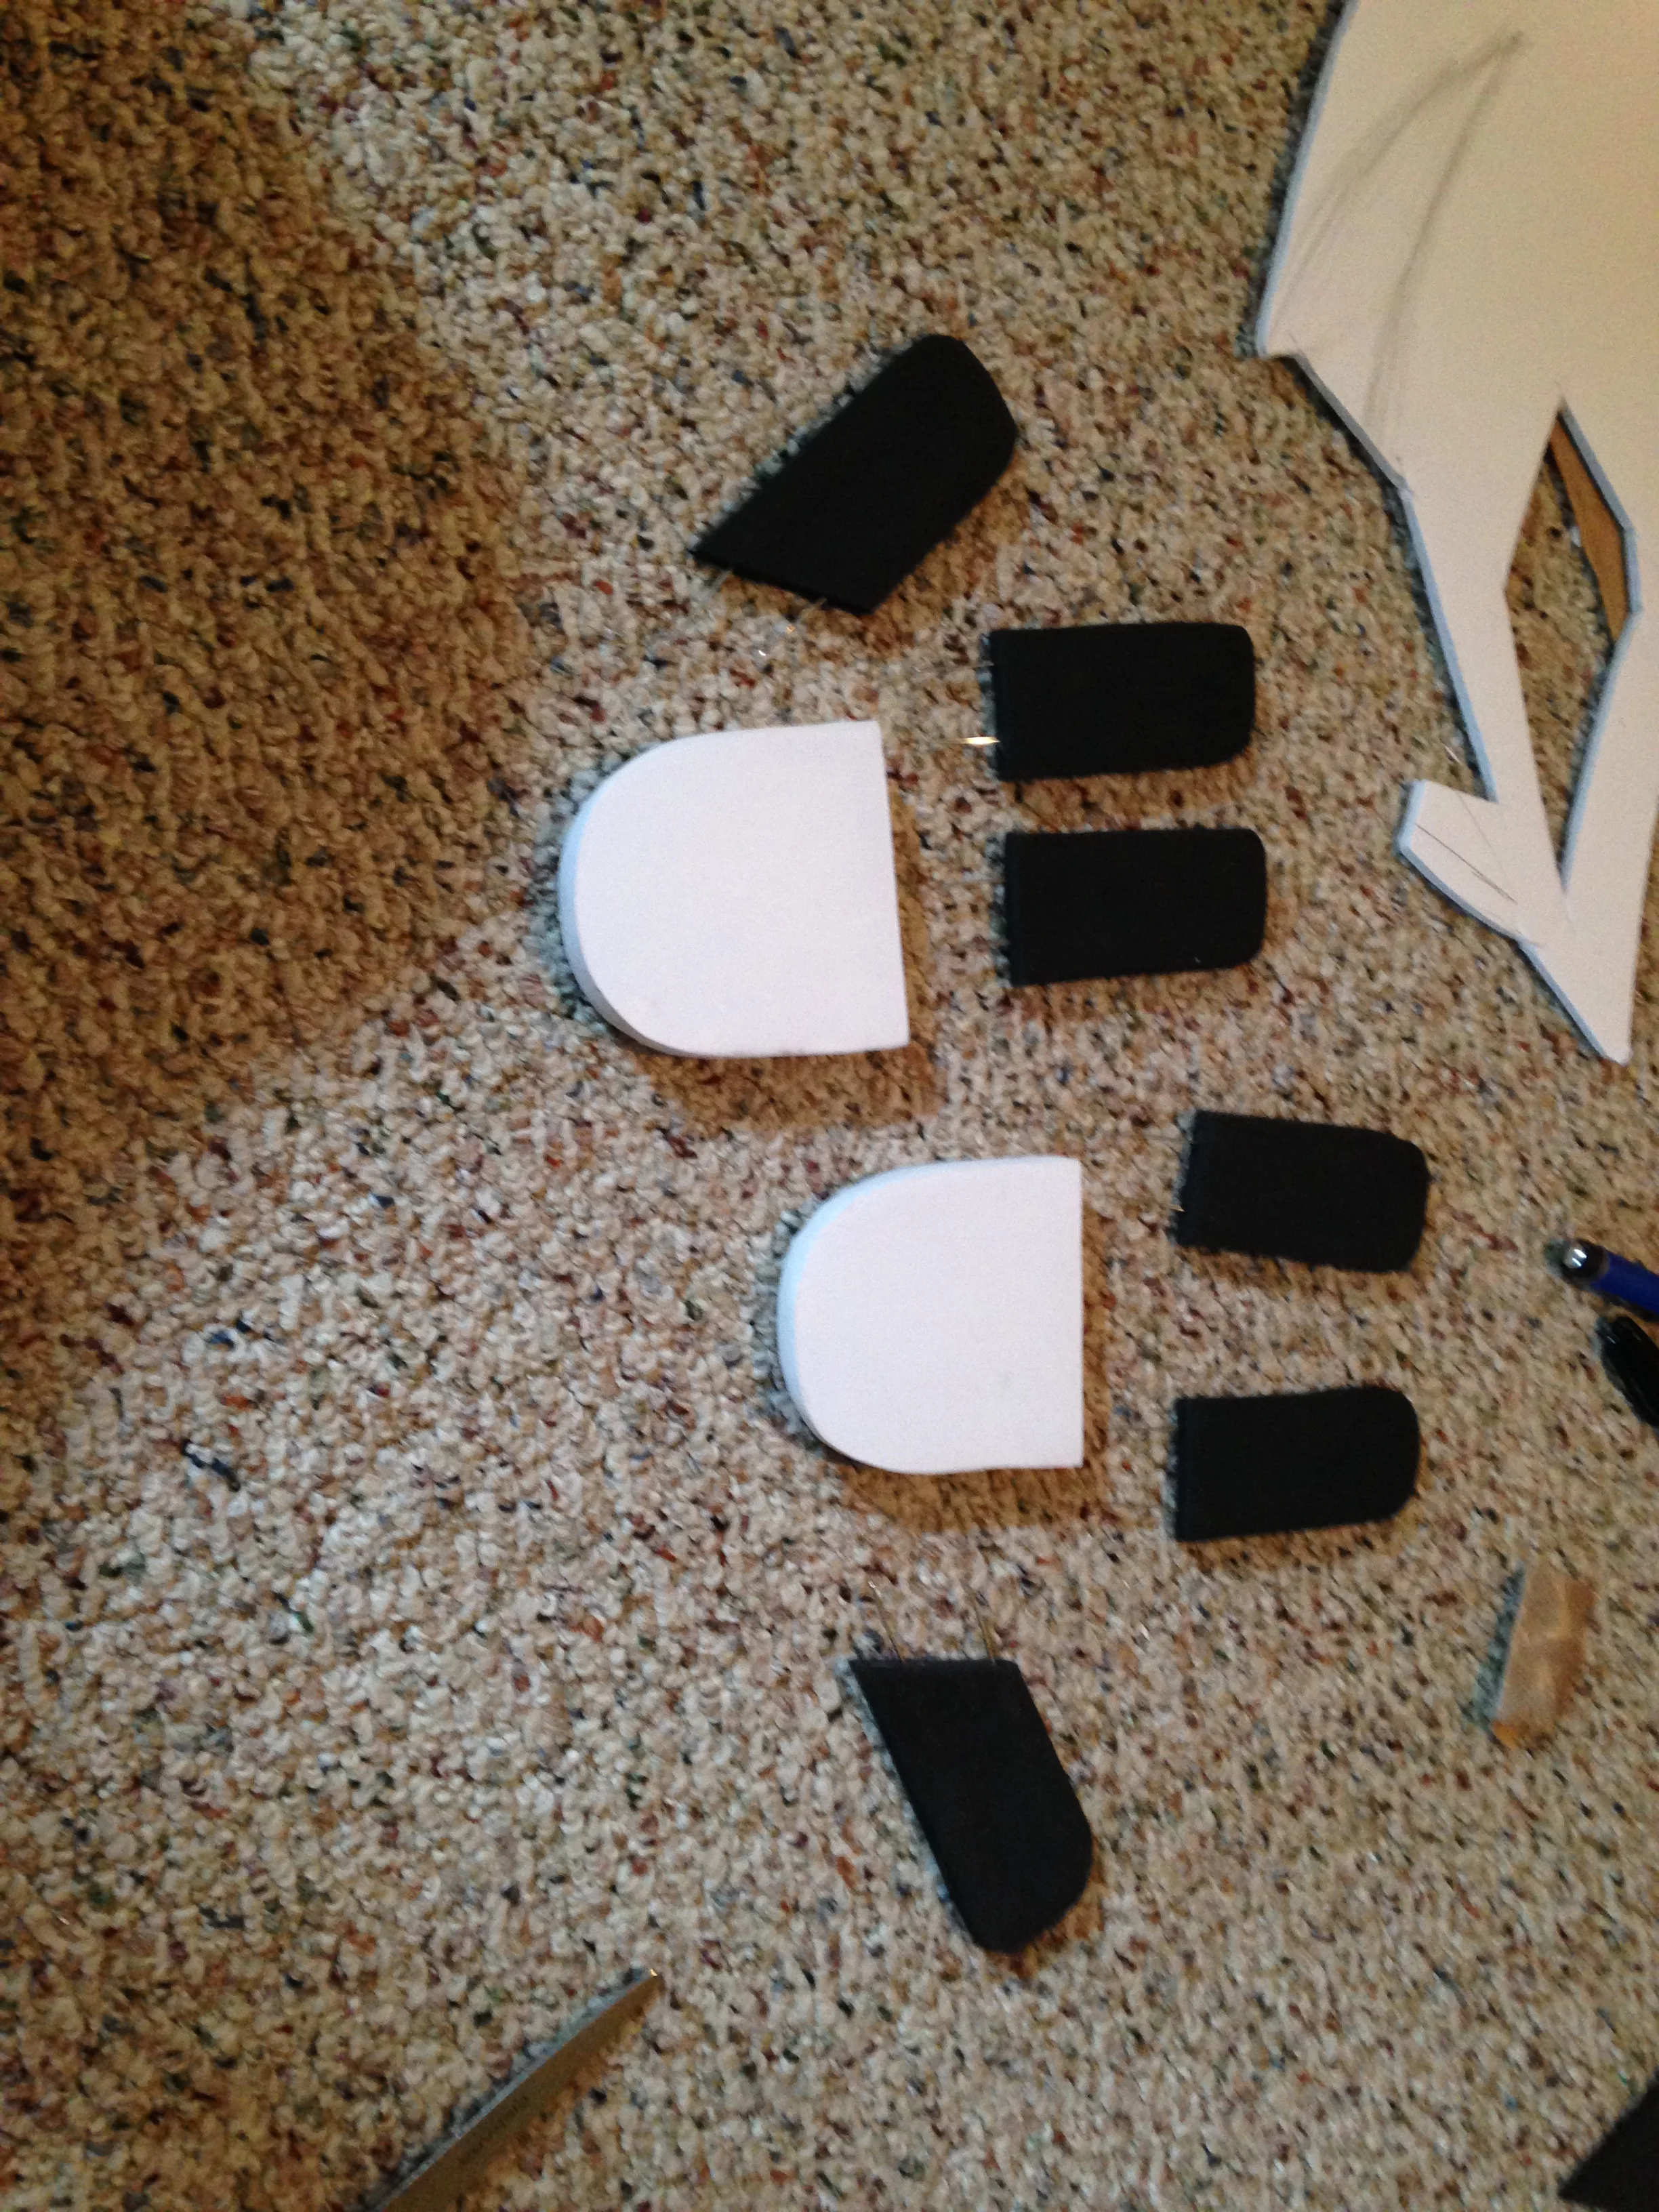
The feet were done with my usual floral foam + lightweight putty method, and the raised parts are craft foam. All in all, probably the simplest part of the whole construction.


Add the legs & a box and his bottom half is done!

With the bottom half done, the next step was the arms. Those bits from our Torx toy, plus some dowel rods and giant washers made for some interesting limbs.

The hands were actually fairly simple; they're made from a few layers of foamcore board with some screws for the knuckles and one of those safety eyes you usually use on plushies for the large round part in the middle of his hands. The fingers are just 2 layers of black craft foam with some heavy gauge wire stuck in the middle so you can pose them.

Put it all together with the body, and we have a torso!

And... waiting for things to dry... and there's only so many ways you can keep things level...
So as you can see, nothing within arm's reach is safe when I'm crafting! I'll grab anything that's the right size.. it's a good thing I don't have any pets at the moment, I feel like that could go badly.
Well, you know what's next! It time for a head, and it was, of course, constructed using our favorite project from kindergarten... paper mache-ing a balloon then popping the balloon! I seriously haven't done that in forever and it was downright theraputic.

Apologies if that photo gives you nightmares...
Also, fun fact: that piece of cardboard tubing that I used for his neck, it's the same tube that made up most of Fishbones! I seriously never throw away anything in this house. It's kind of a problem.
Well, now that we have most of the pieces put together, it's time for the final construction and painting! I was moving pretty quickly as I was running short on time to finish this guy and so I did a vary bad job of taking any progress photos of the painting process, but here he is!


As for the bits I didn't discuss... his eyes are two halves of one of those acryllic balls you can get from craft stores. They were very convenient for this cause I didn't have to do much to them since they were already in two pieces, I just sanded the inside of them to diffuse the green light from the LEDS. His antenna is a little metal tube I pulled off of a clock (thank you steampunk interests!) and a big plastic marble at the top that I sprayed red. His jaw is a piece of thick foam that I sprayed silver, with those same giant washers from his arm joints to attach them.
And now for the magical part. He needed to fold up so he could be worn around like a backpack. Well, on the bottom of his boxy body there are two doors with industrial velcro, and on the top of that little box his legs are attached to is the other half of the velcro. When he's standing, you can attach the legs to the outside of the doors, but when you want them to fold inside, you just pull them off, open the doors, and slide the legs all the way up. There's another platform with velcro on the inside that holds them in place!

I swear it took me more time to come up with how to make that work, but functionally speaking, it works better than most of the joints I constructed for him, go figure!
This little guy was certainly a learning experience, but I had a lot of fun figuring him out and putting him together. And I actually got to meet the Rachet cosplayer at Colossalcon which was pretty cool too!