WIP Wednesday
Michael MacWolff
Hello folks, it's hump day here and I've been knee deep in the projects I've already been hinting at/ shown you all a few photos of. Well, seeing as it's Wednesday and I have a ton of things currently in progress, I thought I'd share more of the actual work I've been doing on these lovely projects.
First up is the giant set of claws I'm making for my dear friend. They're actually nearly finished now, except for some hand stitching to get things a little tighter on the form. They're giant and oh-so-squishy minus the wire in them to help keep their shape. Let's take a look at how I put these puppies together.

It all started with a big block of that green foam you've likely seen at Joann's and other crafting stores or places where they might do upholstery stuff. Or if you've worked at one of these places, had to deal with trying to load them into their retail space and all of them sticking together and not standing straight and being an all-around pain in the ass.
Anyway, this foam seemed to be a good plan for the claw base because they're sturdy while remaining pliable, they can take up a large volume (which is important for these ginormous things). The other part that was great about using the foam for this was getting to use an electric knife to cut the foam and looking like a psychopath in the process.

Don't worry, no limbs, organs, or other body parts (of mine or anyone else's) were harmed in the making of these claws.
So, once we've cut out our lovely claws, it's time to make them posable. Some 16-gauge wire should do the trick for that, which was stitched around the edges of each finger.

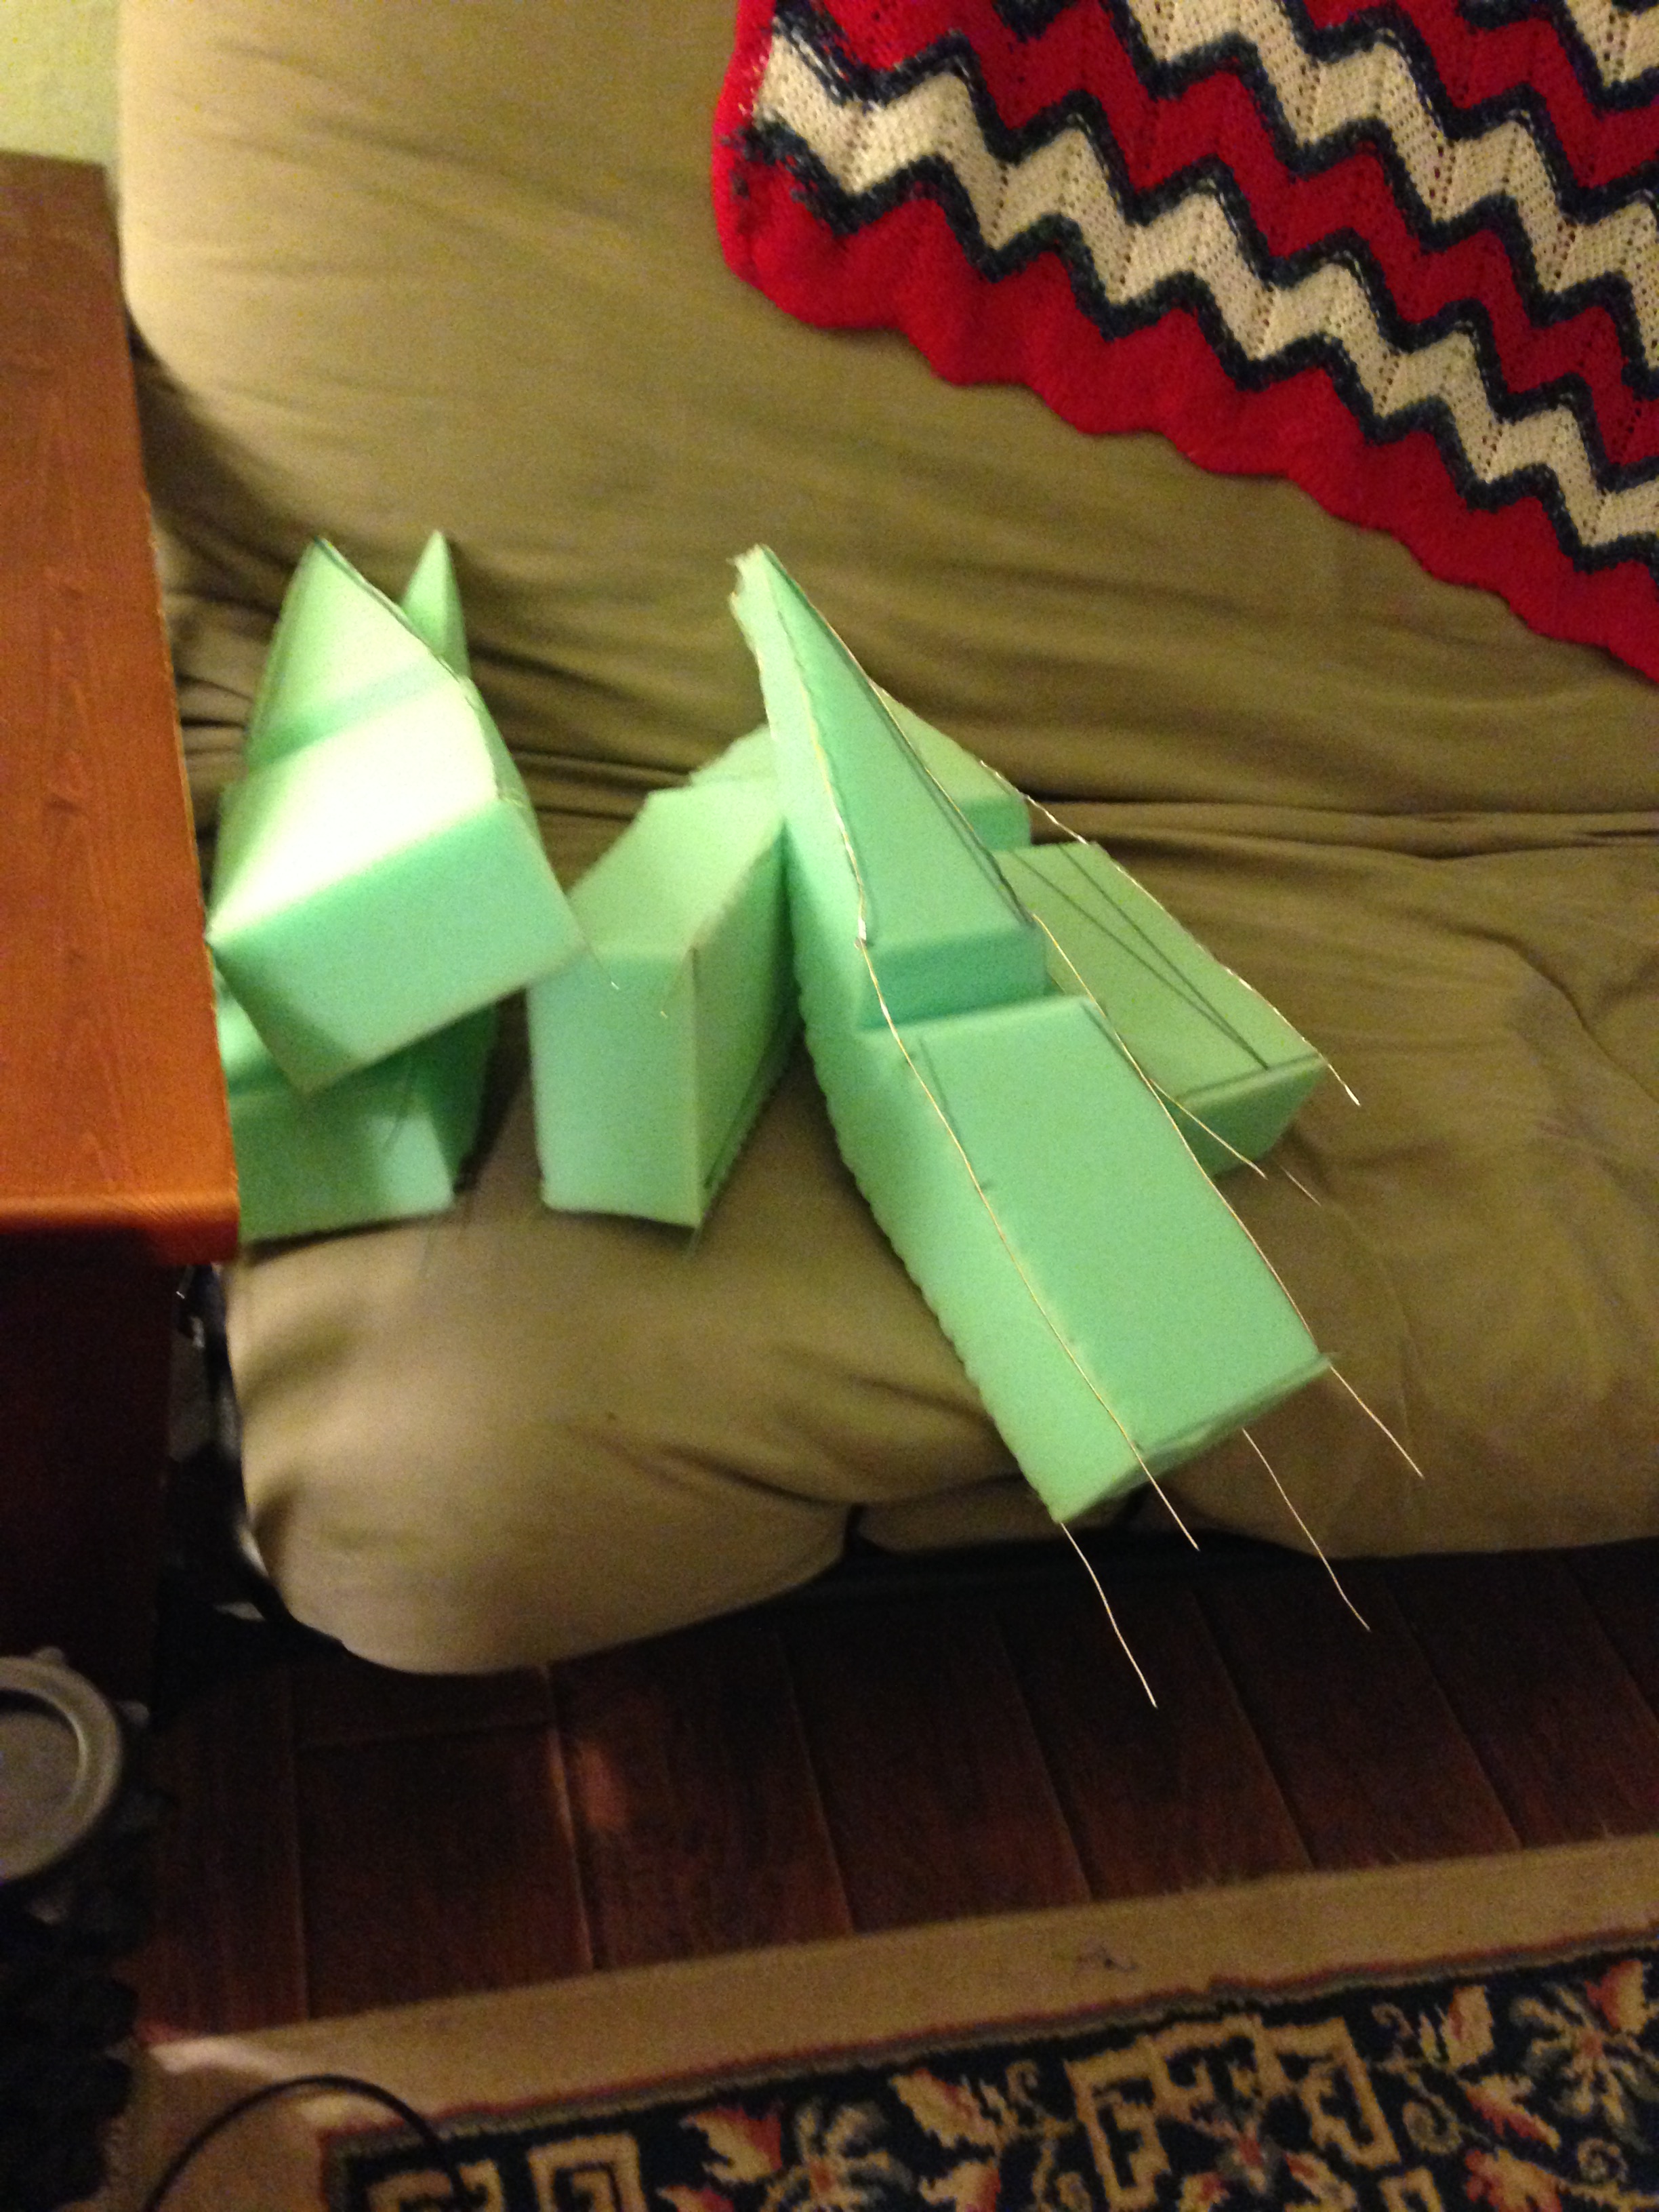
The notches, btw, are to give the foam a defined place to bend like a knuckle. And with that, the base for all 6 claws is done! Now it's onto turning them blue. For something like this, the best & easiest way to do that is to make a fabric cover for each of them. Several hours of sewing we have some blue claws!

The interesting part is coming up next, and that's making a stand for all of the claws that my friend can actually hold. And it has to be really long because the distance between her fingers and the end of her giant sleeves is over 20" so the majority of space is taken up by these wood frames.
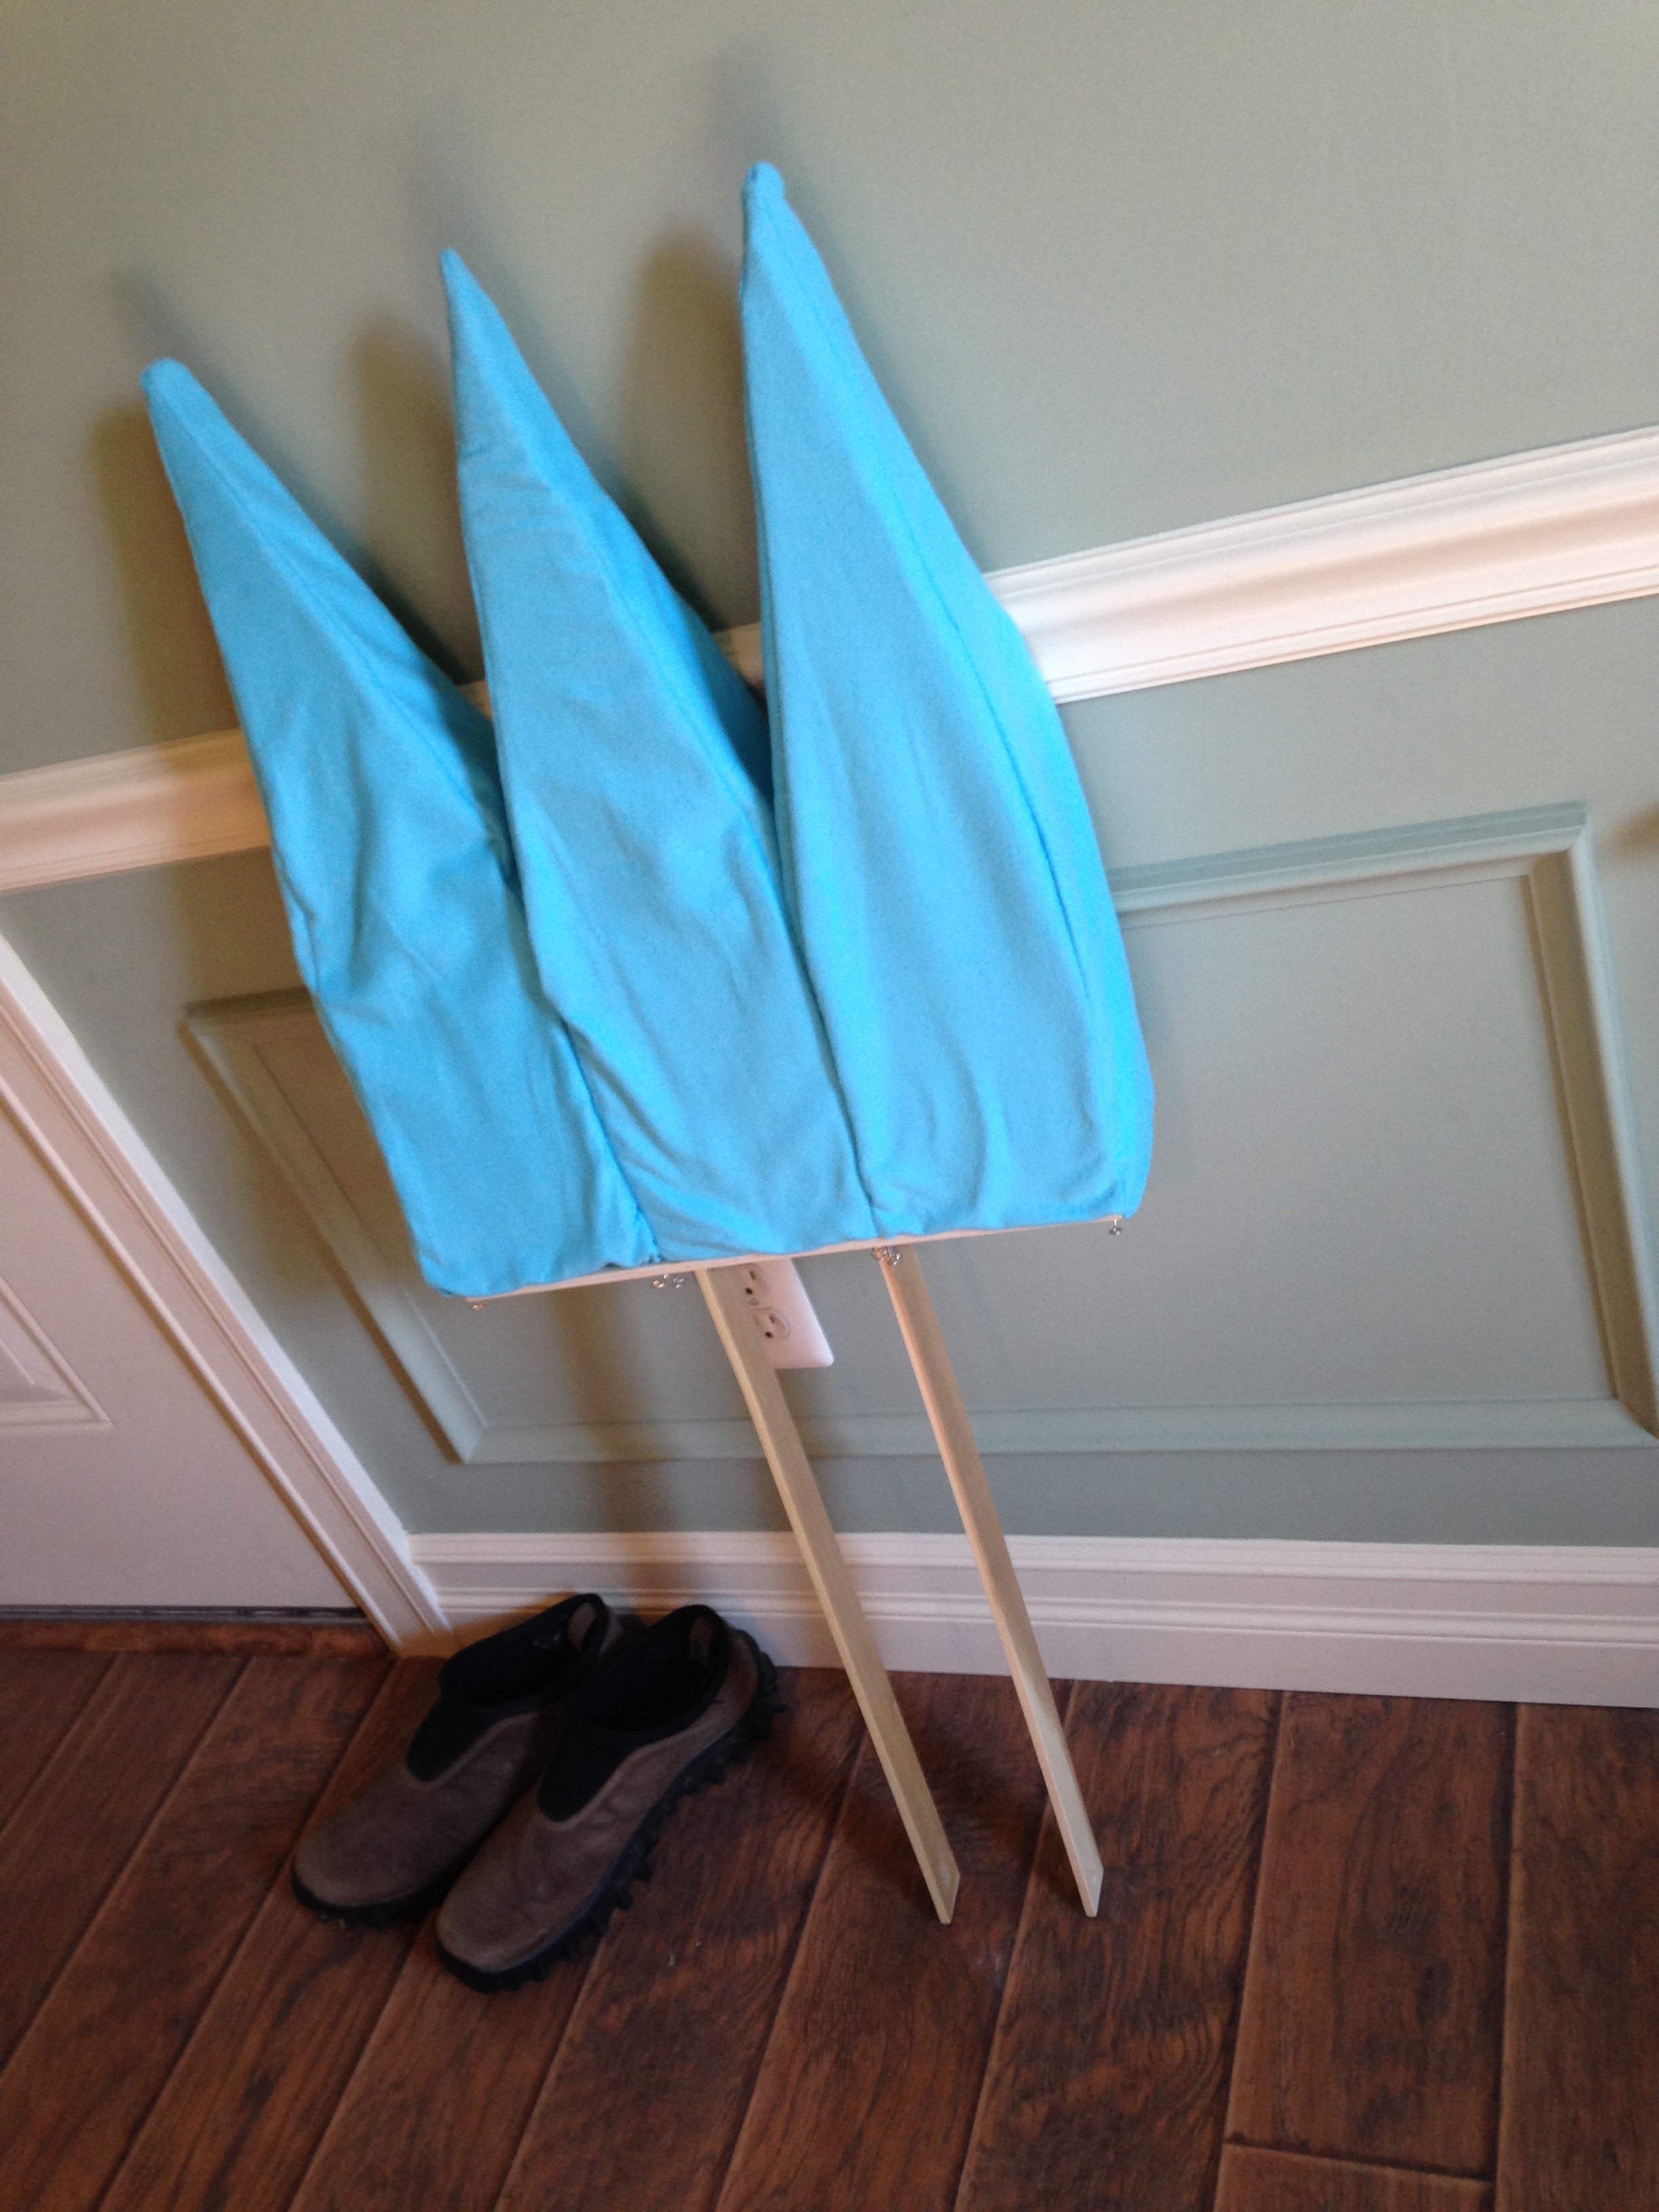
All that's left to do with these is add the handle part down on the end and to do some hand stitching so the fabric is a bit more taught on the form, then they're ready to go of to a new and beautiful home!
The second item I'd like to show you today is the blunderbuss I'm working on. The main construction is finally done and that means I get to start working on the smaller details now and that's definitely my favorite part. To speed through construction, pretty much everything (minus a few pieces that are obviously wooden) is made from foamcore board that I layered together. There are some details that are made from compressed paperboard that in some spots you can totally tell used to be from cereal boxes. And there are actually some metal detail on there in the form of finishing washers and little metal brads.

The best part is all of the little details that are going to be layered in where the paperboard is. There's a lot of contouring and little intricate shapes in there, as most of that area is metallic in the reference artwork. And what did I use to make those details with, you ask? Puffy paint. If you recall a pair of Mage Mashers I made for a friend of mine a while back, you may remember the raised design along the blades. I tried using puff paint for it and the results were great! I prefer it a great deal compared to hot glue, which you can use to a similar effect. The little Scribblers bottles have a much finer tip for smaller details, and it's easy to clean up if you make a mistake, all you have to do is wipe off that part and try again. Ok, you can do that with hot glue but I'm sure your fingers wouldn't appreciate that. You also have less residue that you would with hot glue. And to top it all off, those little bottles have quite a bit of paint in them and they're cheap! Which is of course my favorite thing ;-)
Here's some of the details I've started to put in. Once everything's done and the base coat is painted I'll post some more photos so you can see what the effect looks like when all is said and done.

And that's the little Scribbler's bottle to the right.

That's all the progress I've made so far, but I've been getting further and further on it every day. I'm super excited to see how it comes out!
And that's all I'll go into today, even though there are a few more projects in the works. As a last note, since today is all about works-in-progress, the site is also in progress! You might have noticed there are more pages linked in the top navigation bar and I'm working to expand on resources for you guys who are looking for tips on making your own costumes and props. So check out the tutorials section and stay tuned for more exciting updates and additions!