Mod Podge holds my life together
Michael MacWolff
I mean this in about as literal a sense as possible, Mod Podge is probably the most important component to a lot of my props because it holds everything together. And this WIP Wednesday you'll get to see how that all comes together.
So as you probably remember from last week, I've been working on a number of projects and guess what: not much has changed on that front. I've actually finished another of the props I've been working on and made some slow progress on others, just in time to pick up a few new orders, all while trying not to forget that I have a convention I'm attending myself in a little over 2 weeks that I have done tragically little to get my new Tsume cosplay ready besides making some simple little earrings and styling his wig. Though to be fair, the wig did turn out awesome, most of you have probably seen the wig test photo on facebook.

Ok, I guess I have his sunglasses ready too.
So yeah, things are as crazy as ever, but that's just the way it goes. So while I will get to my new projects at some point in this post, I wanted to start with that pair of swords I've been working on, because I've finally finished one of them!
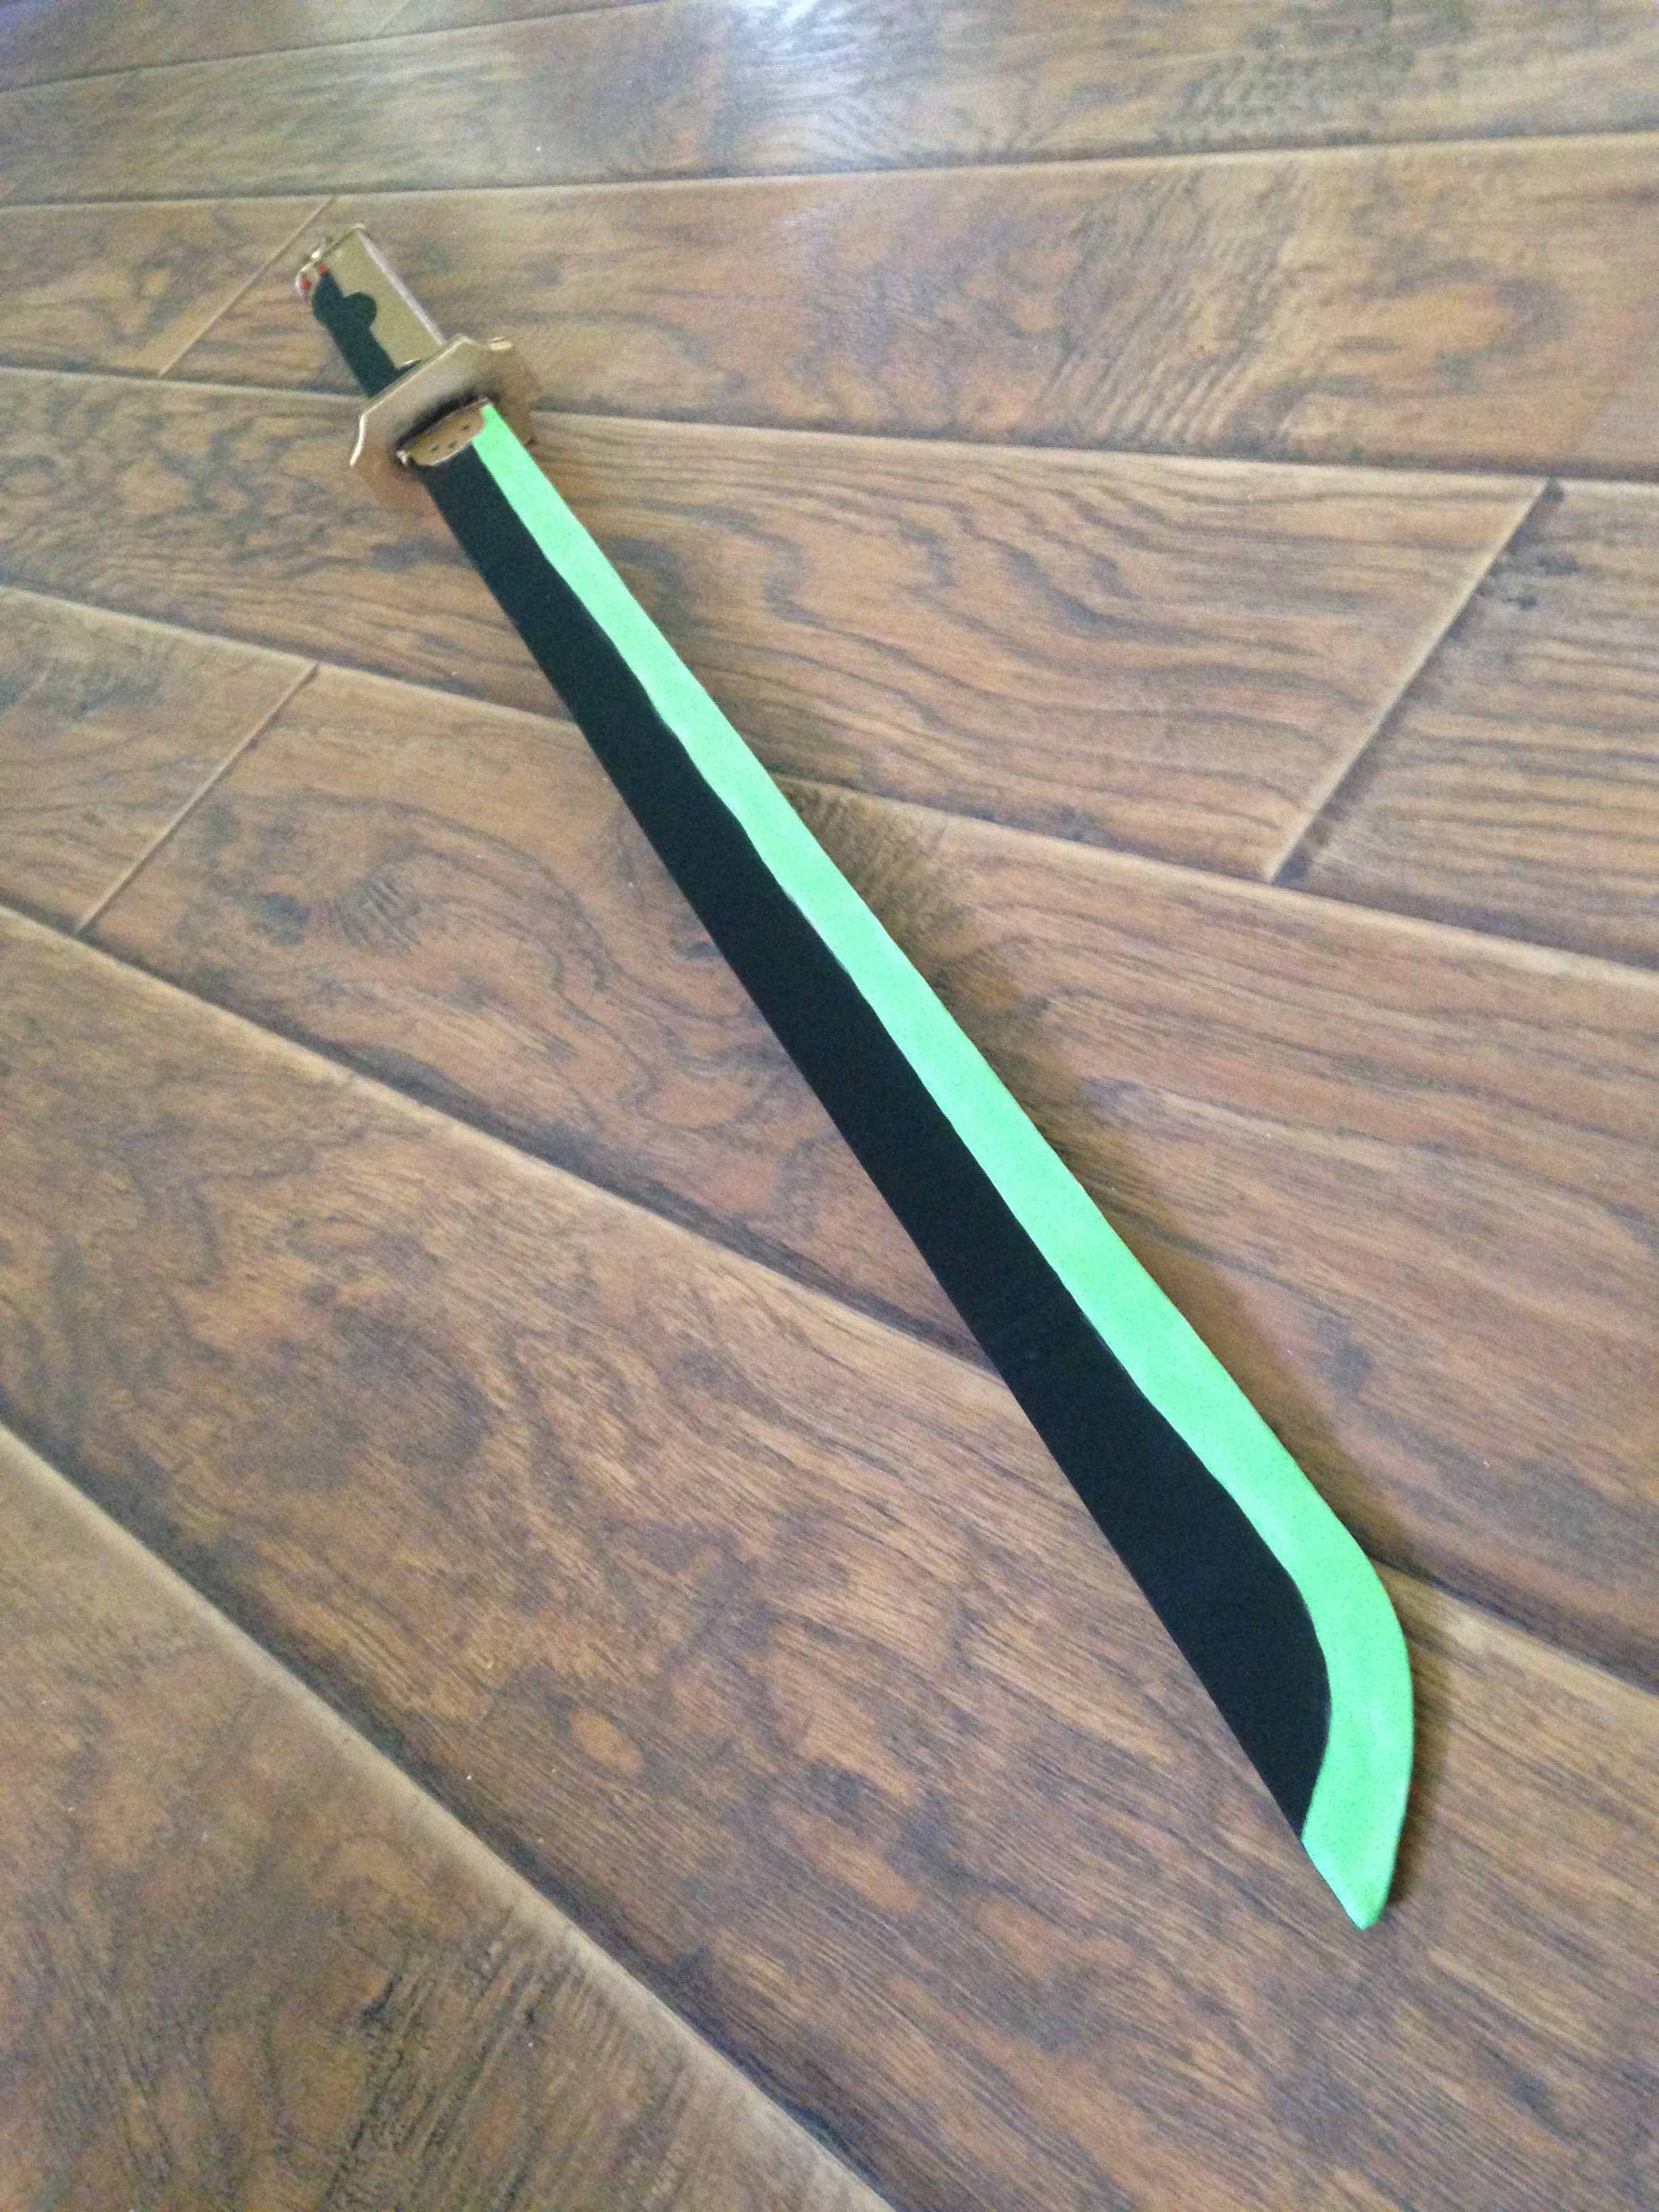
The second one is still in progress, but I've gotten to the point where I can start painting it. This one, however, was a bit simpler of a build because there's wasn't as much in the way of intricate designs and thick raised parts where I had to create a bunch of extra layers in foamcore to get it built.

Here's the beginnings of the sword, bevelled the same way I did with those kunai from about a month ago. To bring Mod-podge into it, as the title suggests, I usually use mod podge as the glue that holds the layers of foamcore together, cause I can take a thick paintbrush and paint a layer on before slapping the layers together. As you can see from the above picture, sometimes the edges don't fuse perfectly so you have to take another, smaller paintbrush and squish some more mod podge between the layers, then clamp them together like I have done in several places here.
The guard, which you can't see in this photo, is also made from a couple of layers of foamcore with a rectangle cut out of the middle so it can slide down the blade to the base of the hilt. It should be noted that after filling in the raw foam edges with spackle and sanding them smooth, I always coat everything with a few coats of Mod Podge (to bring that back around), to essentially solidify everything into a single thing. It also helps smooth things out further, which a lot of people use gesso for, and I also use a few layers of gesso to that same end, but ultimately I kinda like mod podge better in general for smoothing things out cause I feel like it takes fewer coats but maybe that's just the delusion in my mind because I've been using it for longer.

Sorry for the shitty photo quality here, I thought it was clearer than that.
Here comes my exciting foray into new territory: Worbla! As most of you are aware, I've not used worbla for anything before but since it seemed a very versatile and common material to be used in cosplay, I decided to give it a try.
I was not disappointed. Now i admit, if I were using it to construct an entire suit of armor (as I'll be doing at some point in the not-too-distant future) for my first project, I likely would have had a much longer list of frustrations, but as I was just using it for some details on this sword, I'm pumped about continuing to incorporate this lovely thermoplastic into my projects. You can see all of the sandy brown parts in the photo above were done in worbla. It's super easy to work with, all you need is a heat gun, some scissors, and a pattern. I drafted up all of the pieces with cardstock so I could cut the cardstock out symmetrically to get my pattern even, then you just trace it onto the worbla and cut! The worbla even adheres itself to the other materials once you heat it up and bends pretty effortlessly around any type of curves you're doing. You can even heat up small scraps and squish them into the other pieces to make a pretty seamless transtion.
I even managed to add a line directly into the worbla on the pieces above the guard by just heating it up and pressing a sewing needle into it around the blade part.

You can see it in this picture a little better. I did use black to highlight the divot in the worbla, but it's actually in there too.
Despite the worbla adhering to itself, as well as the foamcore, I still coated everything with a couple more coats of mod podge before I painted the sword just to once again solidify everything. As my first attempt using worbla I didn't want to take any chances. The mod podge also helped smooth out the texture of the worbla a bit which was good.
Then it was off to painting land! I used a grey spray primer for the base coat, then sprayed the gold onto the hilt. Remember, spraying your metallics will say you hours worth of time! The rest was brushed on and I went back over things with a mostly dry brush and some black paint to highlight all of the contours in the designs.
Once the painting was all done, it's time for: you guessed it, more Mod Podge! I always put a top coat of Mod Podge on my props to help protect the paint. Flat paint can easily get scratched and wear quickly if you don't have some sort of protective layer over it. This also gives it a uniform finish so there's not that awkward point at which you shift the sword in the light and it goes from the super-shiny metallic gold straight to the entirely flat black areas. That would look really wierd.
And that's that! Now I get to play with this new guy for the next week or so while I finish its counterpart :-D

Now, a quick jaunt through my other projects...

The blunderbuss is finally moving forward again after a brief hiatus now that the darker iron metallic paint I ordered finally came in. Once this guy is dry I can start painting the rest!

The second sword I'm working on is in the painting stages too!

This looks like a bit of a hot mess right now, but it's the start to Morrigan's staff. I still need the majority of the staff body since the branch I initially intended to use was way too skinny and didn't look right, but I found a better one so I'll have more photos of the progress on this project up soon!

This is my newest commission, the silver disc that Static Shock rides around on. It should be a pretty simple one, but should be fun to continue working on nonetheless.