WIP Wednesday Strikes Again
Michael MacWolff
Welcome back, folks. Apologies for failing in my attempt at posting weekly for any considerable amount of time. But here we are again, amidst a bunch of projects, new and old.
First things first, let's take a look at the finished product for those Rengar weapons I posted about at the end of last month, since they're finished and in the hands of their new owners!

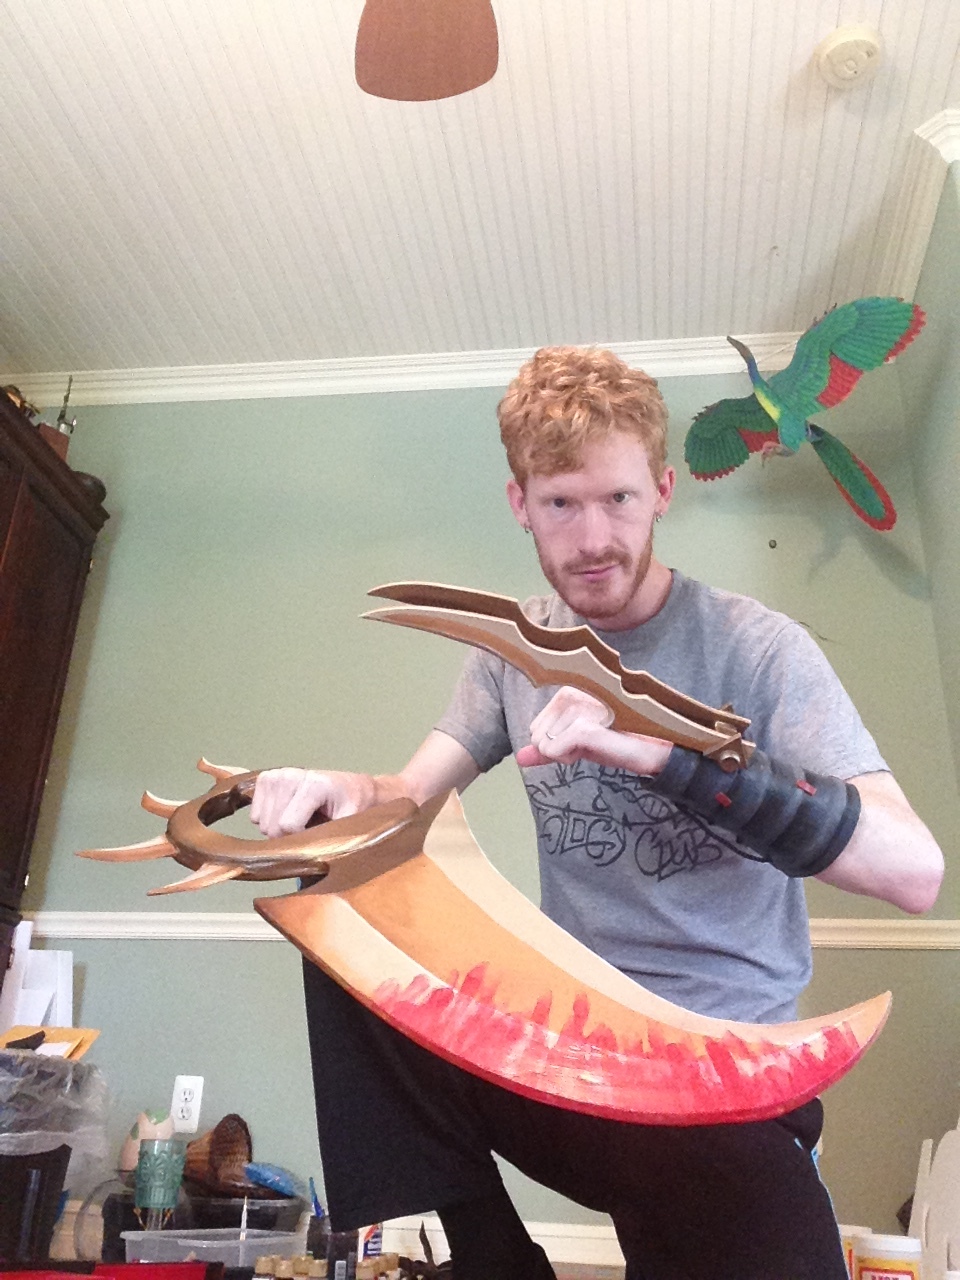
I'm super happy with how they turned out, as it the person who ordered them (score)!
Now I'm in the middle of that mercy armor! I've pretty much got everything put together and am working on the finishing stages for both the grieves (leg armor) and tassets (hip armor). The leg armor is worbla over craft foam, in my usual manner. Each grieve 4 separate panels fused together (well techically 6 if you include the little knee spike bits).


For the tassets, I wanted them to be a little lighter weight, so that they weren't unweildy with the costume, so there's no worbla layer, they're all foam instead. I used 1/4" EVA foam tiles for the base, and craft foam layers to make the top details. It was specifically requested that the little pink panels light up, so I also had to add lighting.

you can see all 3 layers of foam here.
To get the clear lines for the partitioned sections, I simply sliced along those lines with an exacto knife, then ran over them a few times with my heat gun to make them more obvious. I learned that from this lovely tutorial.
The thin hole along the top is where the lighted panel goes, and the hole is through all 3 layers of foam. The thick EVA foam houses the strip of lights, which I used a string of Moon Lights for. To fit them into the space, and to even out the light as much as possible, I made a little bar roughly the width of the opening by taking the wire, flattening out a section roughly the length I needed, then doubling the wire back on itself, et. cetera, until I had a little wand that glowed the whole way across. I stuck that in the hole and held it there with clear packing tape, then glued a piece of foam with some aluminum foil on it (to reflect the light forward) to the back of the panel, with the switch & battery pack hanging down from it, so that you wouldn't have to remove the panel to switch the lights on (you can't remove the panel any more period, without destroying the armor). There were two additional layers to get the lights glowing to my satisfaction: first, on top of the EVA foam, but under the first layer of craft foam, I placed a doubled section of white plastic grocery bag. The reason for this was to help diffuse the light so the panel glowed more evenly, rather than looking spotty with the individual lights on the string. Then, in between the top & middle layers of foam, I used a piece of translucent pink plastic that came from a plastic file folder. That gave the light it's proper hue, and gave it a nice solid color for when the lights were off.

You can see the pink plastic folder here.

And here's a better shot of the glow.
The last details to be added were the little diamond-shaped prisms along the sides. I made a half-prism out of cardstock & made a silicone mold out of it, so I could have 4 identical shapes. I cast them in liquid plastic, and attached them using contact cement. All that's left is a few layers of Mod Podge and then I can start painting!

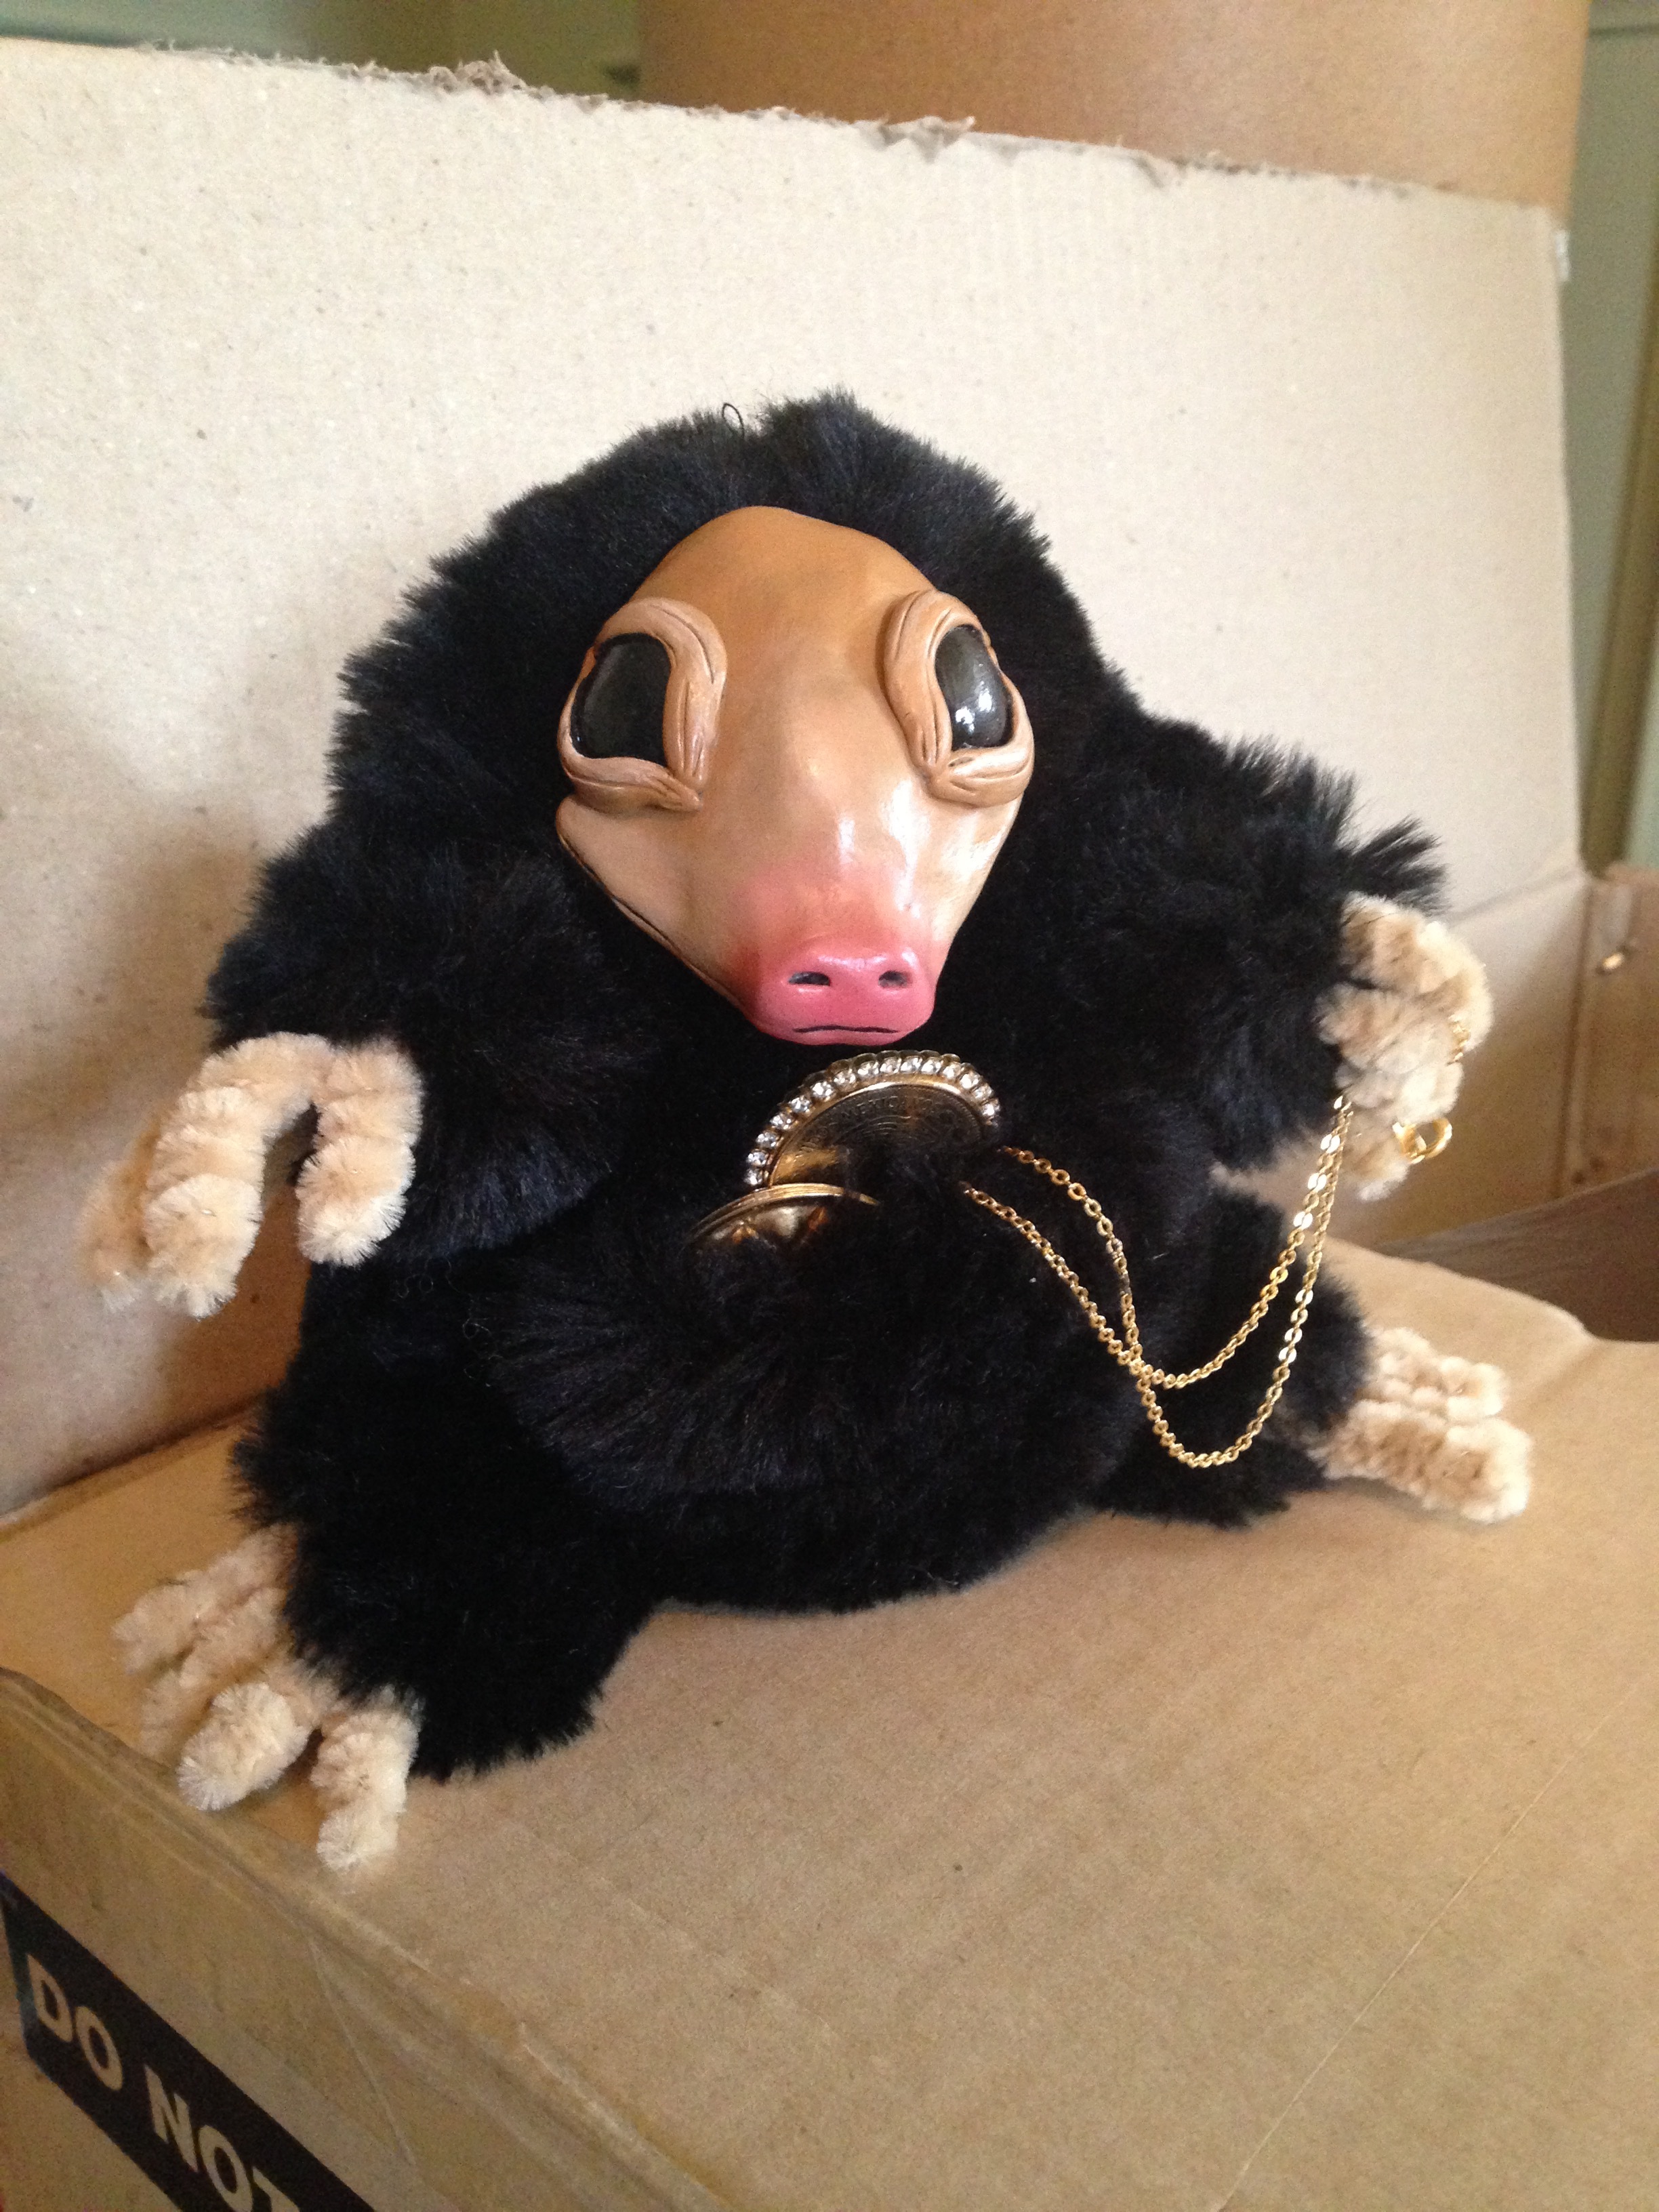
The last thing I've been working on is expanding my menagerie of magical creatures! There's a big Harry Potter festival in Kent next weekend and I intend to go in my Magizoologist attire, with as many fantastic beasts as I can assemble between now and then! My most recent creations are a niffler and a demiguise.

And that's all for this week!I'll be sure to take some photos at Potterfest to share with you all!