I'm Not Dead Yet
Michael MacWolff
Welcome back folks! I know you’re all used to my spastic and inconsistent posting at this point so hopefully anyone who wants to see regular stuff from me knows to follow me on Instagram.
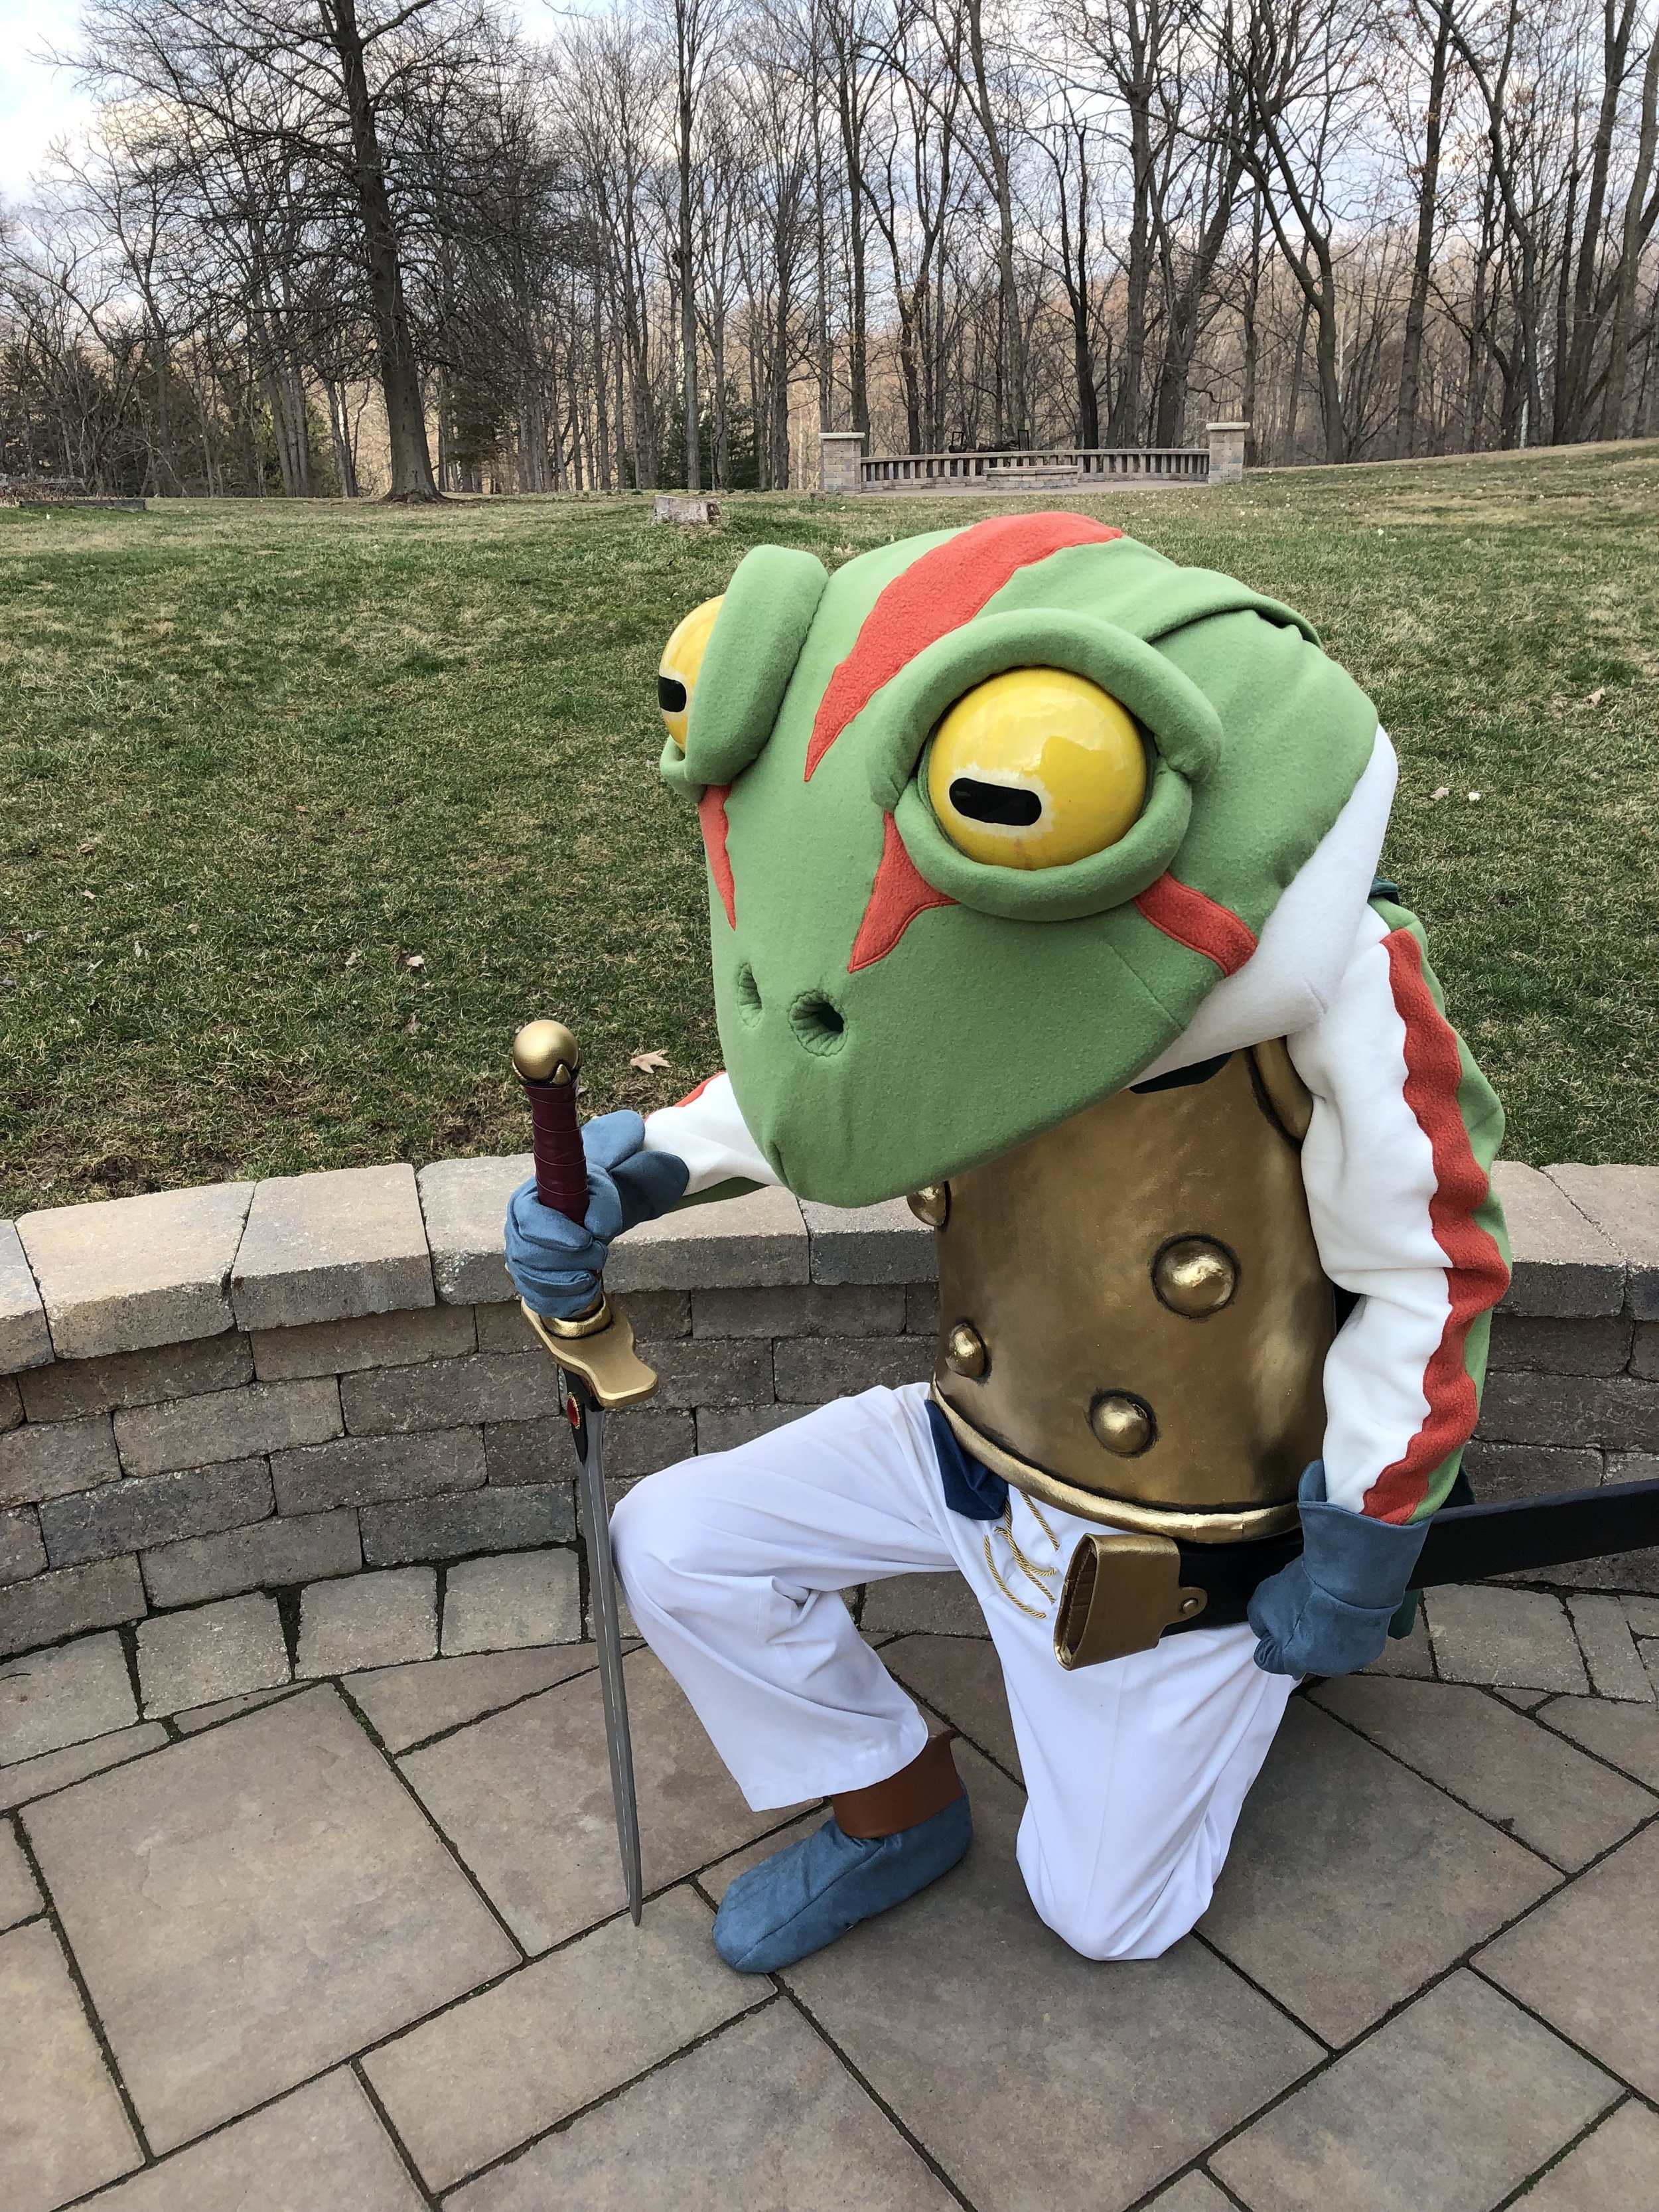
So since it’s been two whole months since I posted anything, lets’ dig right into it! First up, I want to share some awesome photos I got of Frog, thanks to my wonderful husband <3
I’m so stoked with how he came out!! I had a lot of fun wearing hi at Tekko and was recognized by quite a few people. I even met a guy who had the whole cast of Chrono Trigger tattooed on his arm!! I have a few friends who cosplay some of the other characters so I’m looking forward to eventually having some friends to wear this with.
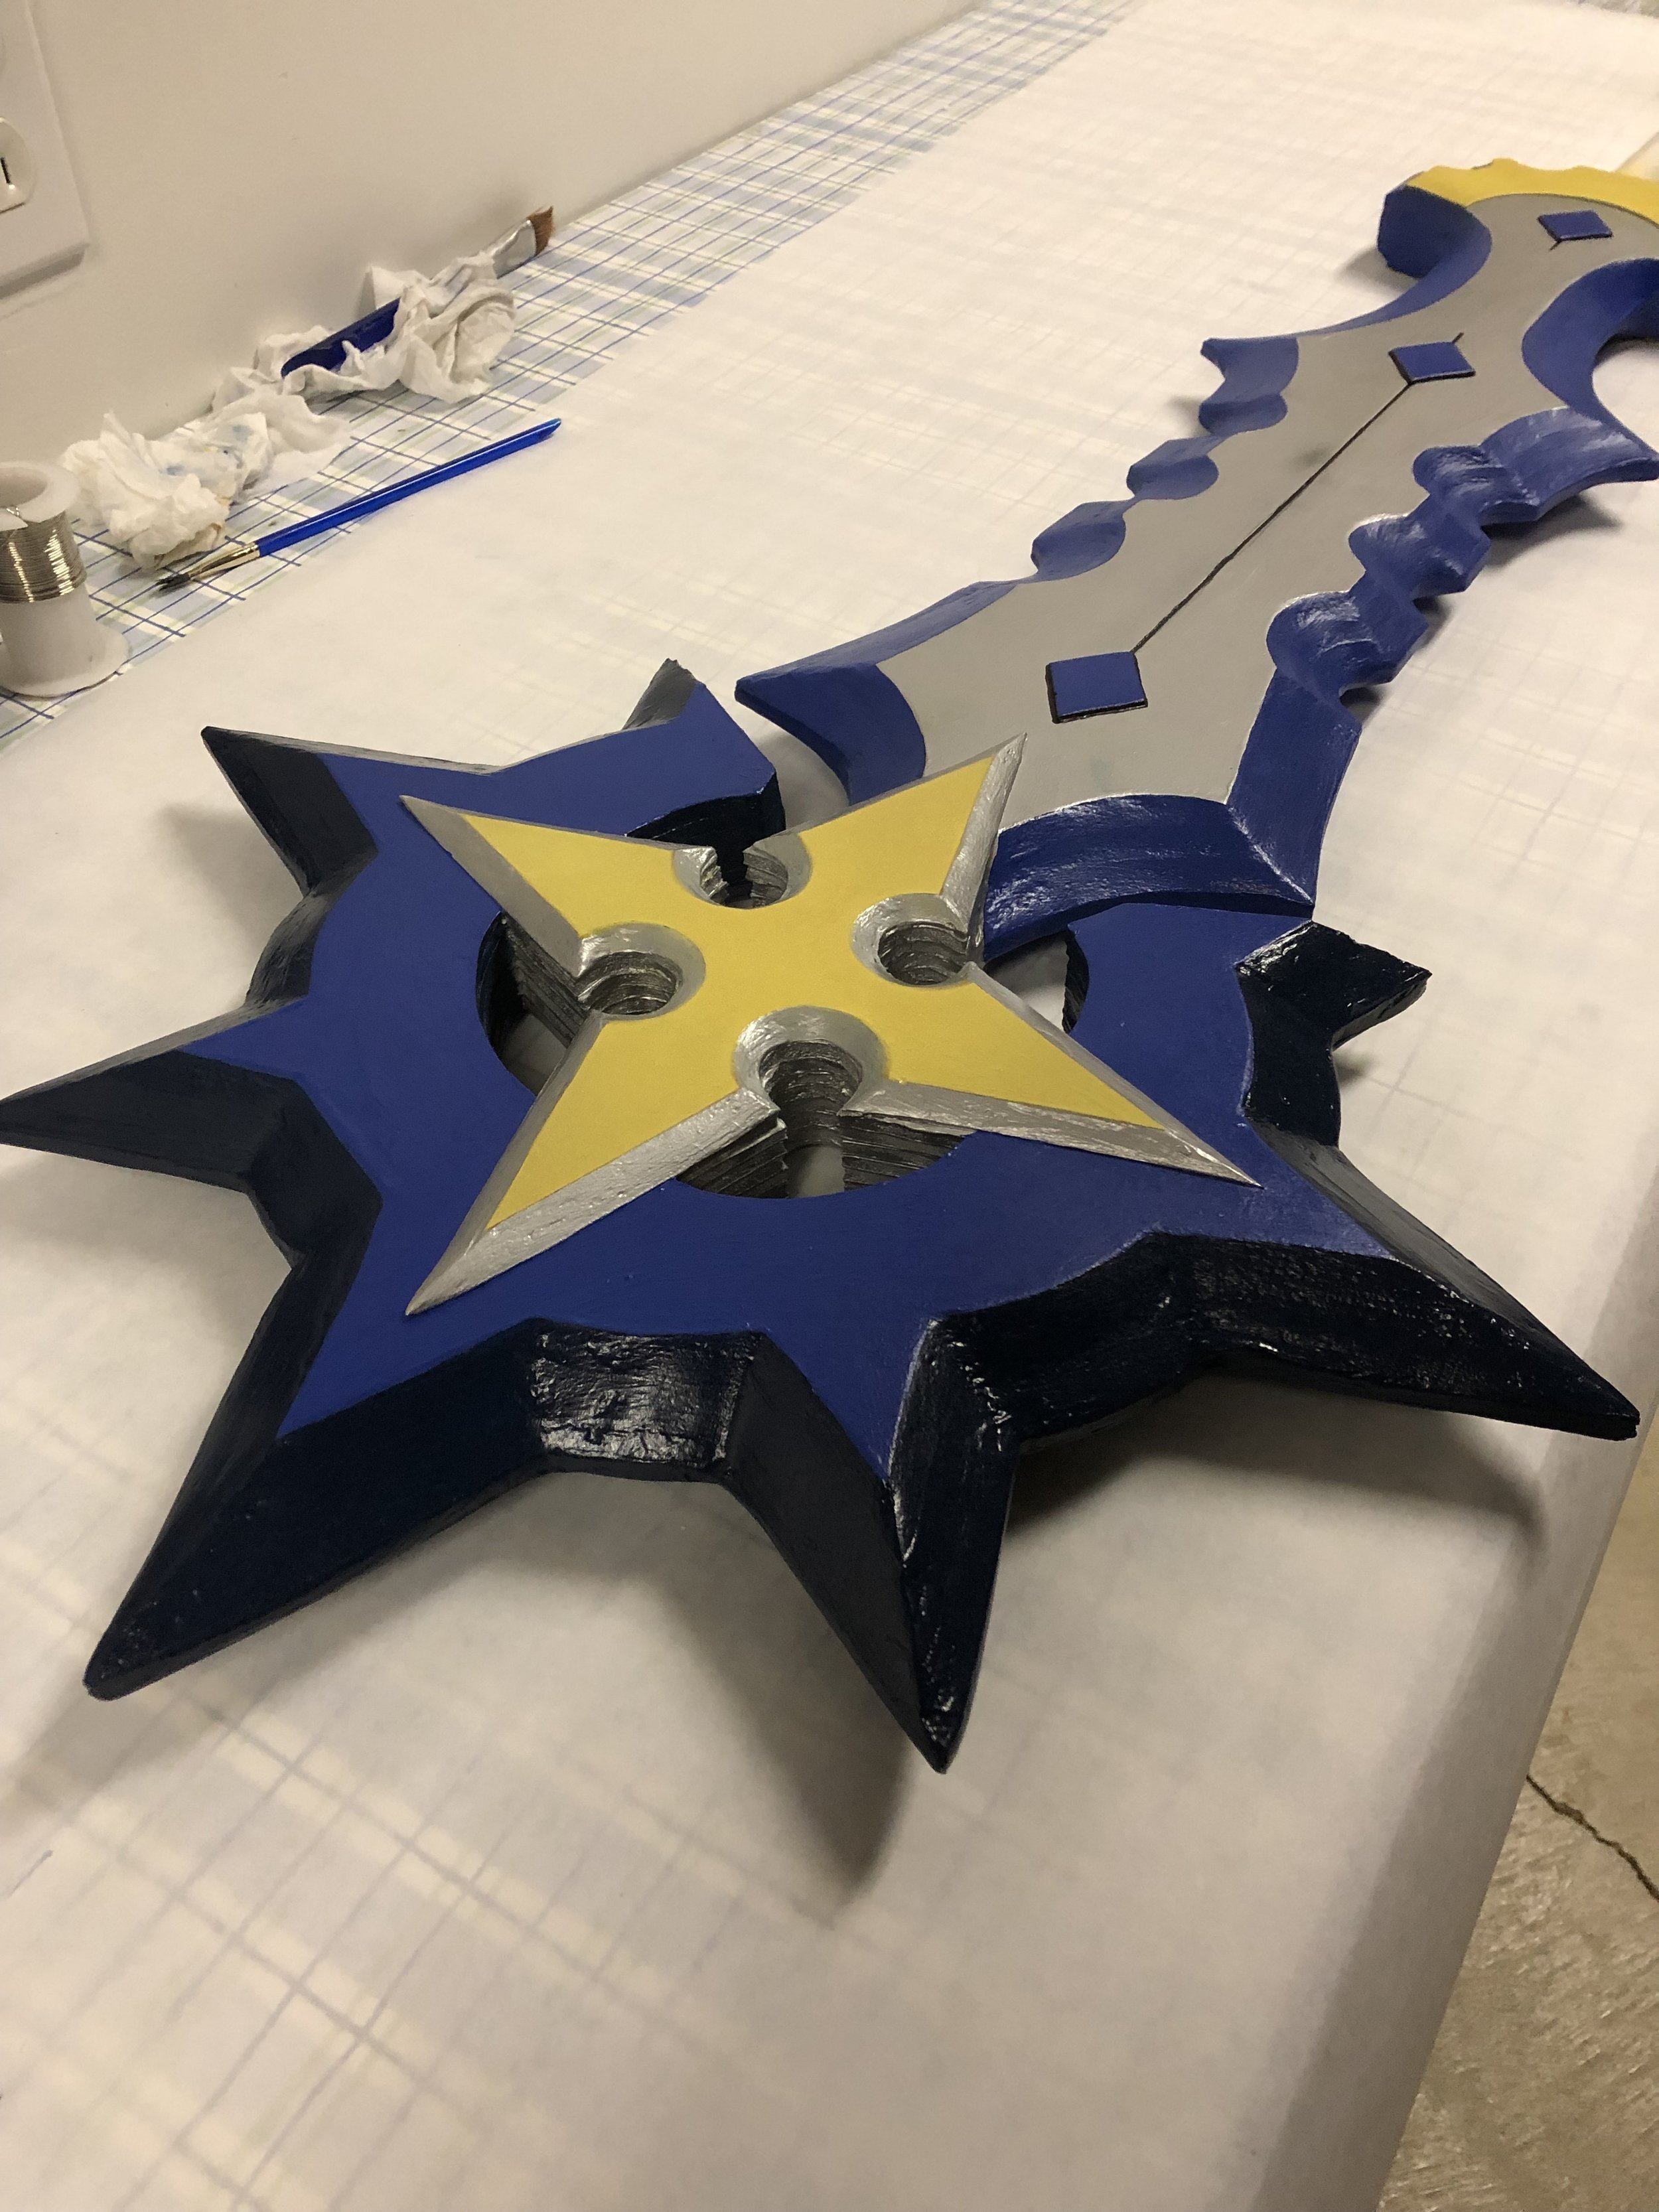
Since Tekko, I’ve been working on a few commissions, along with another new cosplay for myself. My first commission is one that I put together pretty quickly for a friend of mine to take to Acen last weekend. While I’ve played Kingdom Hearts 1 & 2, I’m not overly familiar with the series, but I had a lot of fun making Saix’s Claymore.
I made this guy out of layers of foamcore, with a wooden broom handle for the core/handle. Here you can see the central layer and the broom handle, along with the patter I used for it.
Once all the layers were done, I bevelled the whole thing, which took an exceedingly long time, and then coated the exposed foam layers with spackling paste.
Since the bevel spanned multiple layers, I cut them in tiers so that I could sand the foam into an even bevel.
Here’s the spackling paste gooped along the edges of exposed foam.
The rest consisted of a few hours of sandeing, several coats of mod podge, and some paint!
I don’t often have the opportunity to share photos of the full cosplay with my prop commissions, but fortunately for me, I have this wonderful gem from aprinceforflower’s instagram!
Doesn’t Tobi look badass?!!?!
With that done, I took my opportunity to finish up another commission that I started quite a while back. From Baten Kaitos, the obscure but asewome Gamecube title, I’m making the main protagonist, Kalas’s, weapons.
This will be my first of several Baten Kaitos projects as several of my friends and I are planning a group for Youma this year, so I’ll have my own new cosplay to work on, as well as some items for at least one other member of our group.
I don’t have as many progress photos of these that I can find, since I’ve been working on them periodically for the past several months.
The base of both blades are MDF, and there are some wood elements for each one as well. I used a dowel that I split up the middle for the knife handle so that it would be round, and I used thin plywood pieces for details on the sword, to help with stability.
For the hand guard on the knife, I used a piece of cereal box with worbla covering both sides. I heated up the whole thing and shaped it around a marker to get the curved bit on the end.
For the rest of the details on the sword, I used layers of craft foam, and some wooden tokens that I got from my orthodontist as a kid XD
As per usual, a lot of sanding and mod-podging ensued, until I could paint these suckers!
And here we have the finished products!
Along with that, I have another finished project, which is something I’ve made twice before already. I’m referring to Isabela’s Jewelry from Dragon Age 2.
This was the first time I made this, nearly 5 years ago, as one of my first commissions. It was made out of craft foam, model magic, and cereal boxes. This time around, there’s still some craft foam for the base, but most of it is worbla. The buggest improvement was figuring out how o shape it such that it was less neckbrace-y. The improvement is… stammering, to be honest.
This was an incredible thing to see just how far I’ve come. I mean I know I’ve improved a lot since I started taking commissions, but to have a direct comparison like this really shows it.
And that’s all I have for you guys! I’m working on a new cosplay for Matsuricon, as well as a few other commissions, so don’t forget to follow my Instagram for updates as those projects come together. And eventually I should be posting them here too.


