Contact Us

Questions? Comments? Concerns? Suggestions? Submissions? Shout-outs?

Whatever you want to tell us here at Mikey Does Cosplay, we're always happy to hear your thoughts and feedback!


123 Street Avenue, City Town, 99999

(123) 555-6789

email@address.com


You can set your address, phone number, email and site description in the settings tab.
Link to read me page with more information.

reflection.jpg

Blog

Here's where the magic happens. I'll be posting about all of my experiences and experiments (both failed and successful ones), introducing you to my costumes, sharing fun stories, linking tutorials and useful products, and who knows what else!


Filtering by Tag: heal staff

Lots o' Commissons

Michael MacWolff

As promised, I’m back with all of the awesome prop work I’ve been doing! Since I’m catching up on posting I’m only going to show off the finished products or we’d both be here forever, but if there’s anything here you want a more detailed look into how it was made, let me know and I’ll do a tutorial (-ish) post about it! Dont’ be shy I’m happy to share I’m just lazy lol

First up is this magnificent sword from Final Fantasy XII, the Treaty Blade. When my friend first requested this I was both excited and terrified because this is one of the most intricate designs of anything I’d ever attempted before. But I had a plan, and I stuck to it and this is how it turned out!

IMG_4224.JPG
IMG_4212.JPG

The base of the sword is MDF, mostly for stability, although that made it a little heavier than I would have preferred. The rest is all foam of various thicknesses that’s been layered and/or dremelled to get the detailed layers of the blade. There’s a bit of worbla on the end of the hilt where that flower-ish-shaped piece is, and the gems are all cast resin.

Needless to say this is one of my favorite things I’ve made to date… but then again I feel like I say that all the time lol. But that’s a good thing because it means I’m constantly pushing myself to grow!


Next up is another pair of blades that I was super excited to work on because it’s from an obscure video game that I absolutely love. I’m referring to the sword and dagger wielded by Kalas in Baten Kaitos: Eternal Wings and Lost Ocean. The bonus is that I’m eventually going to be cosplaying from it myself when we manage to get our group together, and will likely be making some more stuff for other members. For now, though, we have these.

IMG_4257.JPG
IMG_3951.JPG

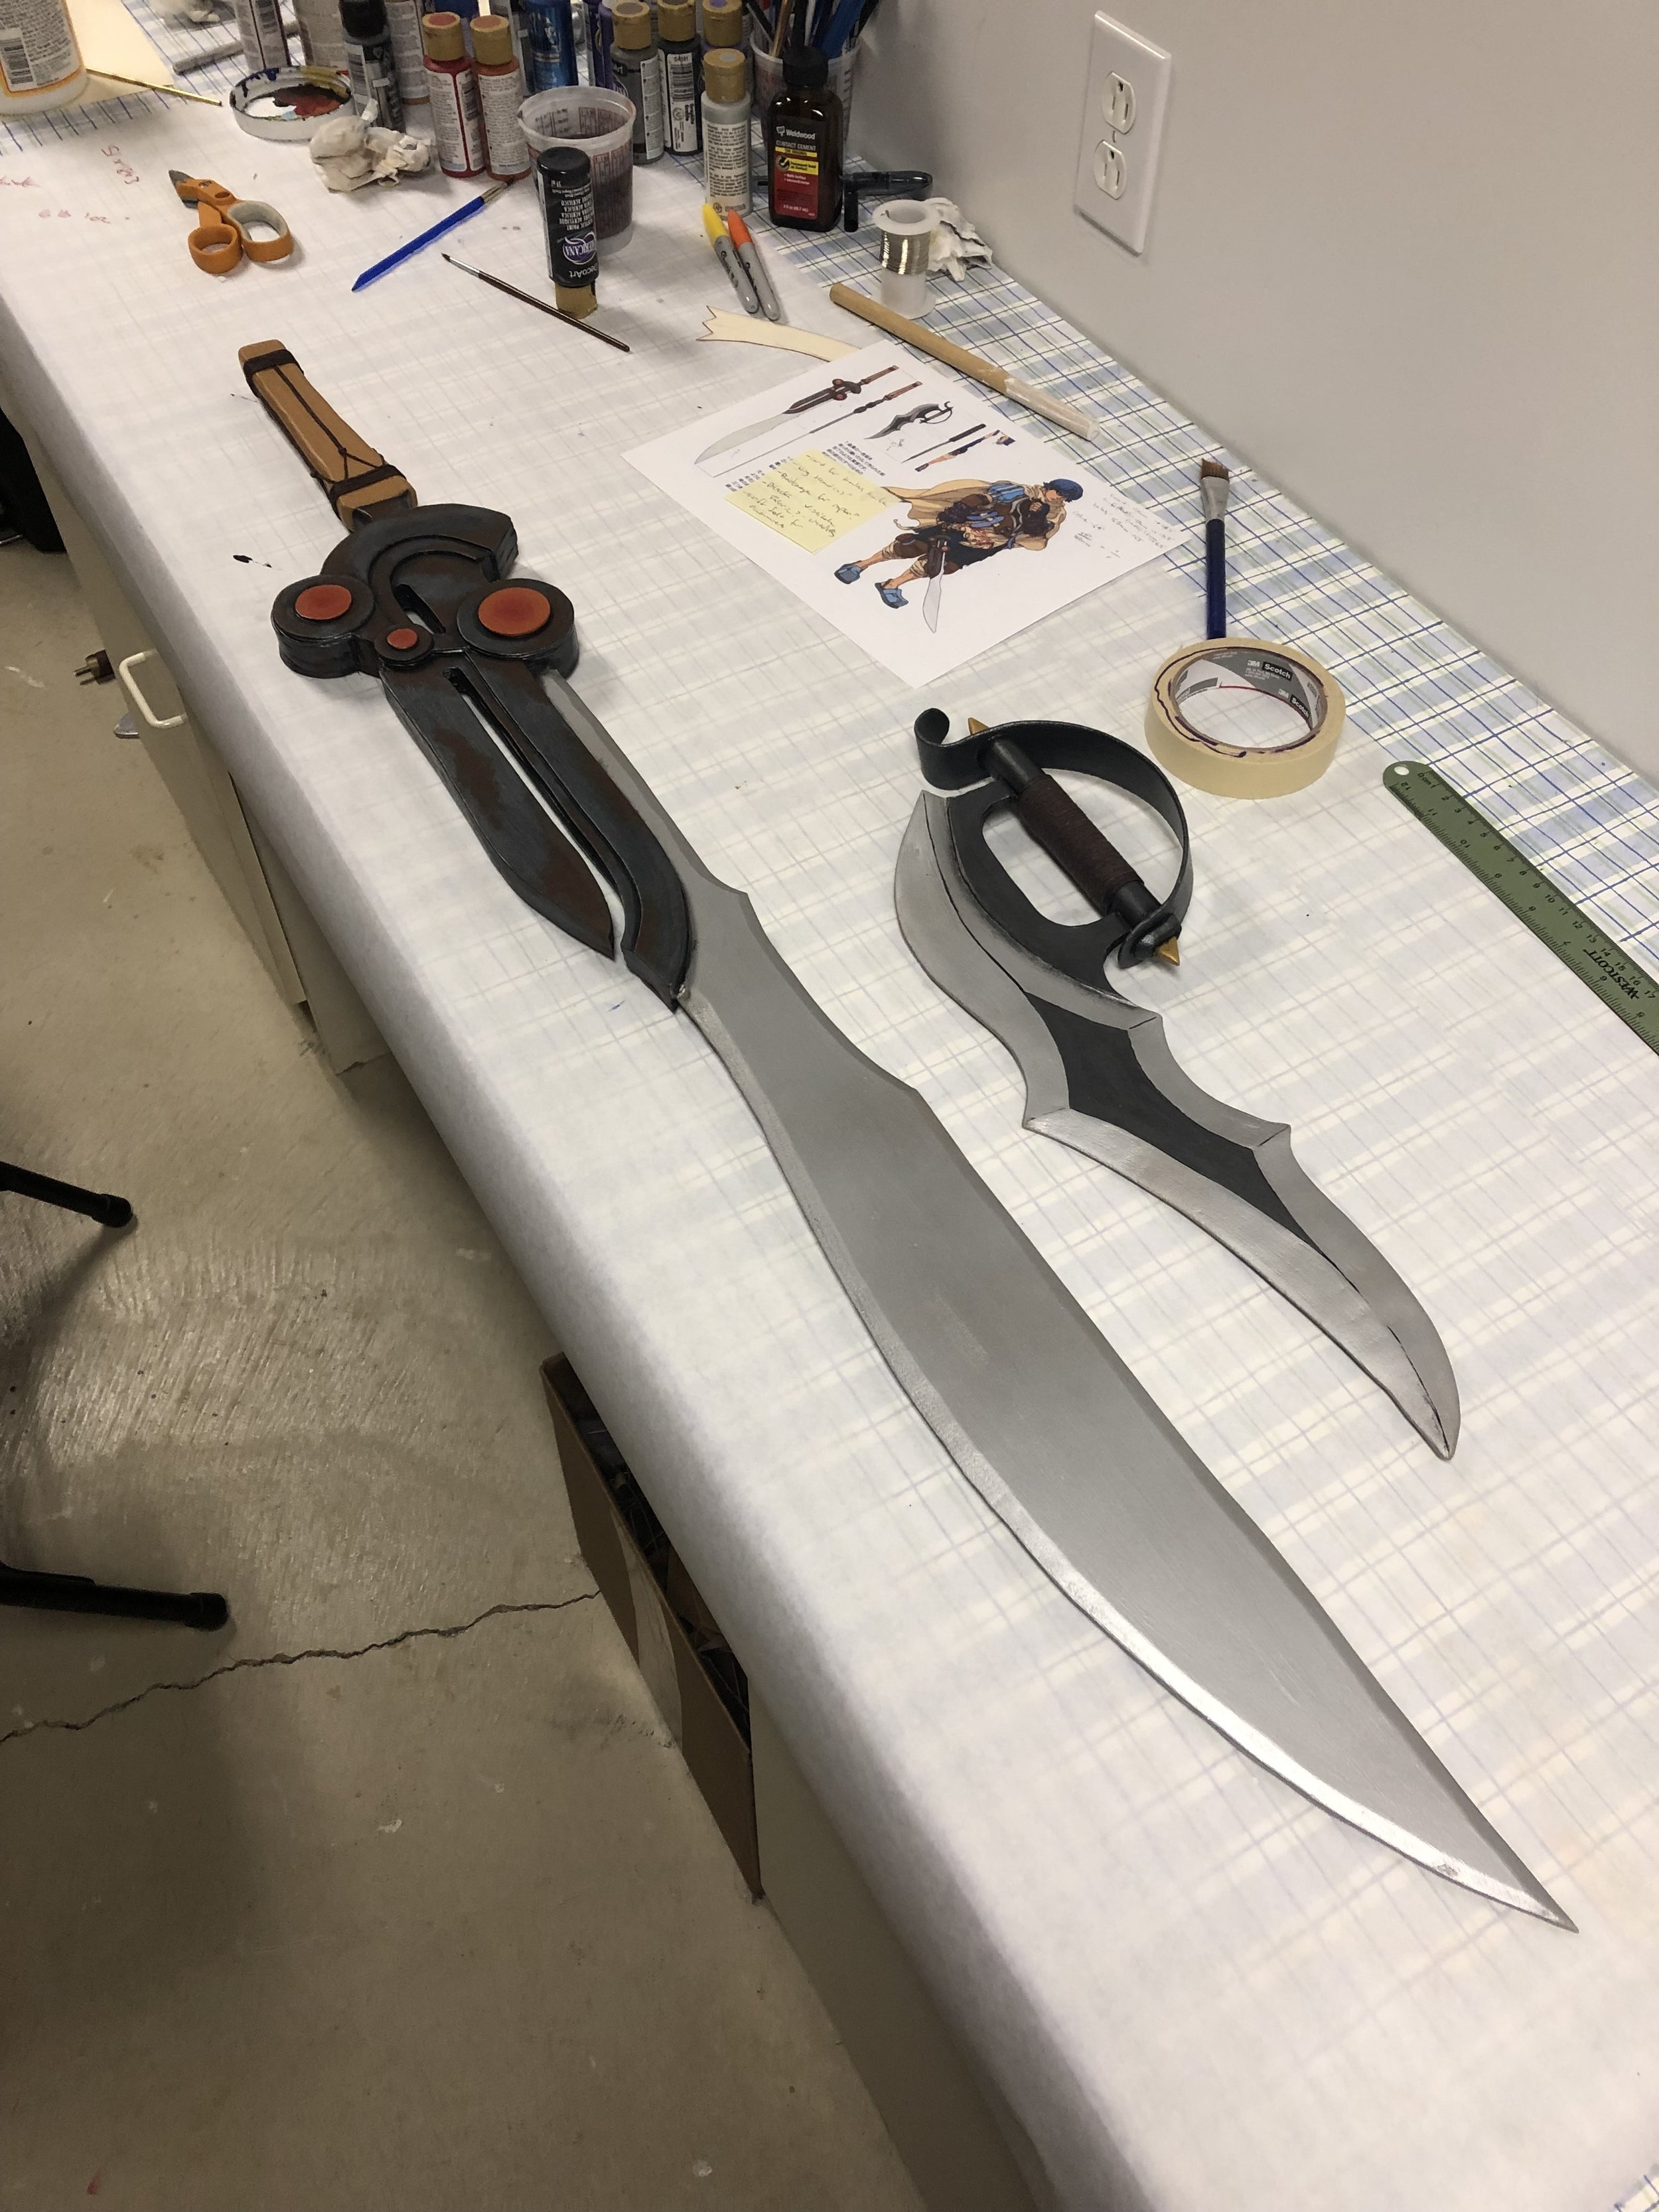
Like most of my blades, these are primarily MDF, with additional layers of thin plywood on the sword, to add stability without adding much additional weight. Most of the additional layers/details are craft foam, and the extra details on the knife are worbla. Both of them have actual cotton cording wrapped on their handles. It was a pain in the butt to add that detail but it looks really nice.


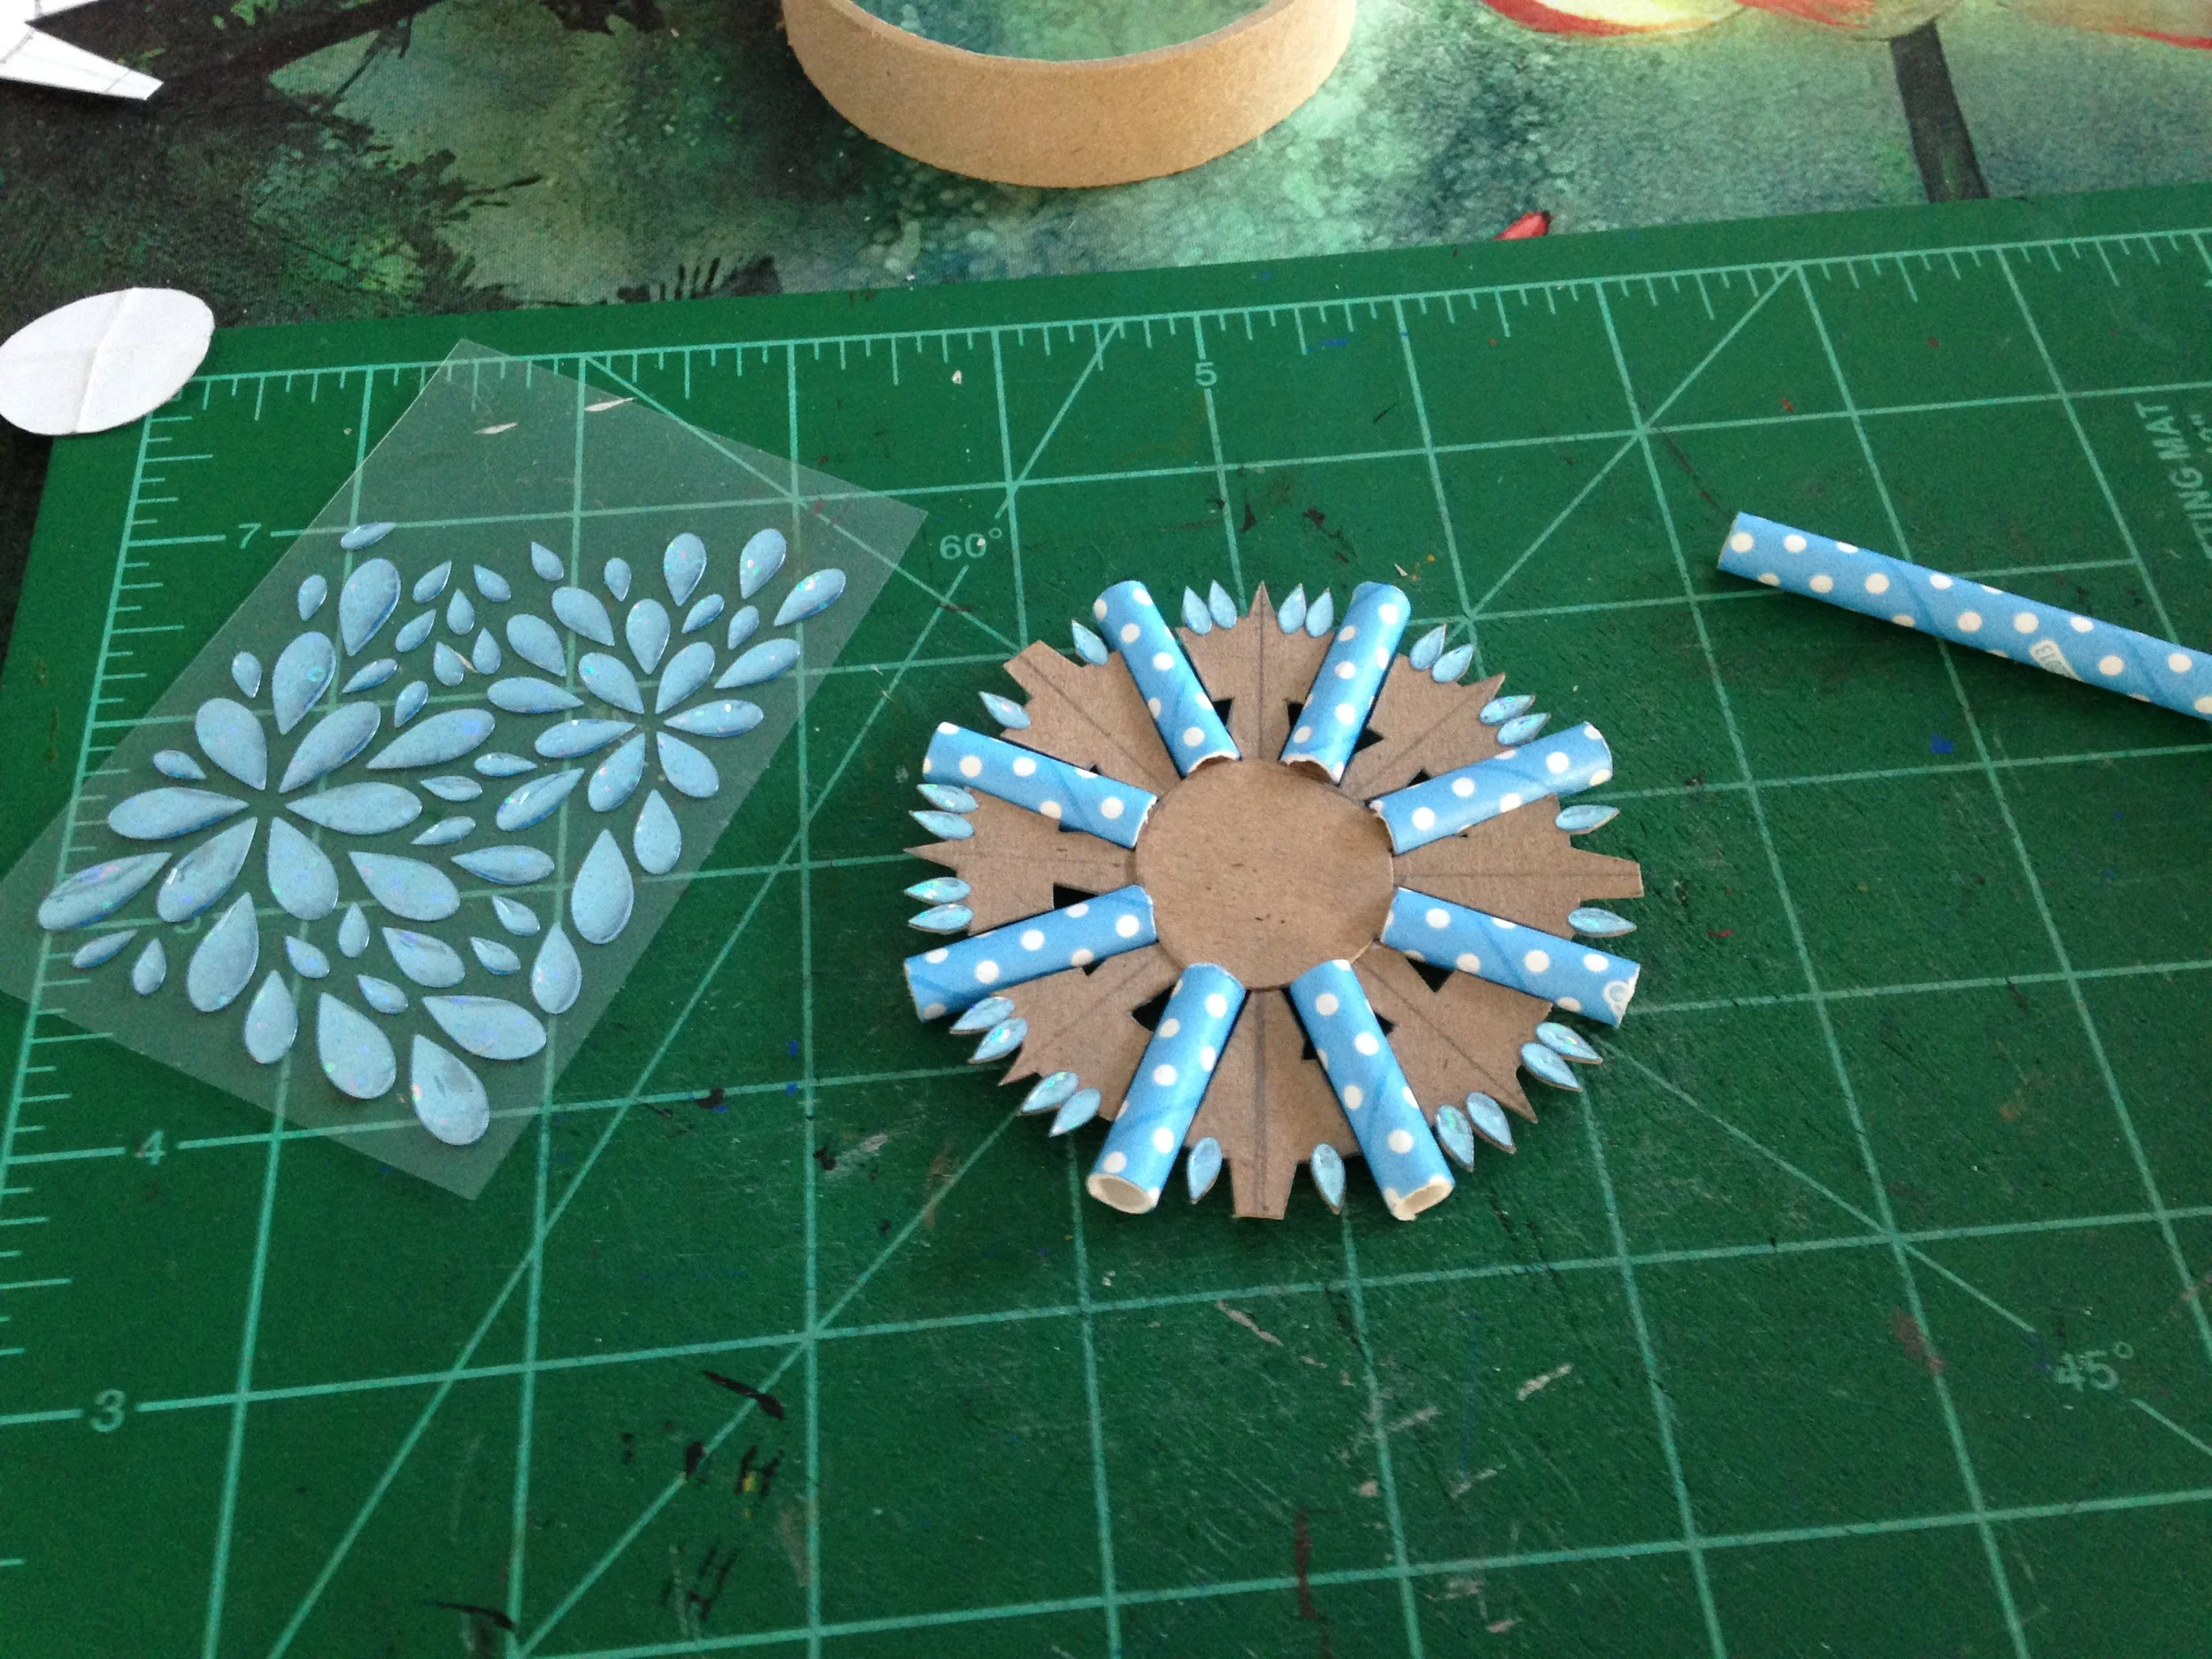
Next up on the list is a commission that I kinda got a long while ago, though it was in a slightly different form. Originally it was going to be Genny’s heal staff, from Fire Emblem Echoes. It still ended up being a heal staff, but it’s Elise’s now, from Fire Emblem Fates. Both are cool staffs so I was happy to make either one, and am very happy about how it turned out. And yes, it lights up!

IMG_4282.JPG
IMG_4292.JPG

The miracle here is that I managed to find a cardboard tube that was the perfect size and sturdiness to slide a small flashlight into the end of, which is how I made it light like that. I’m not great with electronics so I usually try to use existing lights for this sort of thing rather than wiring anything myself. Unfortunately it does limit what I can do but it makes me feel a lot better about the end product that it’s not going to fall apart or catch fire or anything…

As for materials on this one, the main shaft is a wood dowel, with a cardboard tube at the top. There’s EVA foam around the tube, which was then dremeled to get the gold details around the rod on the end. The “wings” that make up the bulk of the interesting detailing are EVA foam with worbla, and a number of other details were also done with sculpted worbla scraps including the little claw bits around the glowing end, and the gold details on the bottom end of the staff. The glowing part itself is a plastic translucent christmas ornament, and I used blue translucent sheets over the light to give it the fain blue color. This was definitely had a lot more varied materials than some of my other projects but I have the most fun using weird stuff in my props ^_^


My last commission this round is actually two, it’s a pair of staves from NieR that are weilded by Devola and Popola. My friends have had their cosplays done for a while, but more recently asked me to make these for them to complete the look.

IMG_4447.JPG

The handles are stained wood, because I wanted to keep the wood grain look. I actually considered buying axe handles to use for it because they were the right shape and size but it was more expensive than cutting it out of a wooden board myself. The staff ends are two layers of EVA foam that have been dremeled into shape, and then covered in worbla. It was rather time consuming to get the shaping done with that large of pieces but it looks nice so it was worth it.

Eventually I should have photos to share of all of these props in use, because this batch was all for folks who I see at conventions on a semi-regular basis. I’ll be sure to share when I have them. And that’s all for now! I’m busy working on a few other commissions, including some Halloween Costumes, large swords, and a few new cosplays for Jordan and myself as Youmacon approaches. I’ll do my best to not leave a 4-month gap this time, but you can always follow me on Instagram for more regular updates @mikeydoescosply.

Many Emblems Gently Flaming

Michael MacWolff

Yes, I'm back to talk to you about more Fire Emblem stuff because... well, why the heck  not? As you probably gathered form my last entry I'm minorly..............ok, majorly obsessed with these games (though not to the point where I've played the old ones released only in japan, I should get on that), and recently I've had the fortune of having several of my prop commissions actually be Fire Emblem weapons. They're all from Awakening too, which is not at all surprising considering that it's the most recent game and certainly the most popular.

Interestingly enough my first prop commission was also a Fire Emblem item, though it was from the Tellius series since Awakening wasn't out yet. I made a lovely little Lehran's Medallion for someone. I went into it thinking "this is going to be easy" and as soon as I looked closer at the reference artwork I quickly realized the error in my thought process. Every time I'd seen it in the game it just looked like a disc with some carvings on it... but not so much.

In order to get the proper shape for the interior of the medallion I needed cereal boxes, paper straws, some modeling clay (which you can't see in the photo) and those wierd teardrop stickers. Then the outside was a masking tape roll that I cut in half... which was a royal pain in my ass.

There was also come craft foam, brads, and a couple of little metal rings that went into creating the final shaping.

The end result turned out really nicely but it was much  more of a beast of a project than I was expecting.

Thankfully for my three recent FE props, I had much more experience under my belt so I could much more easily and quickly come up with a creation strategy for each one. Also, they're all bigger and more fun to play with because they're all weapons. Yay shiny instruments of death!

The first was a Lightning Axe I made for my friend Josh. He was a friend I made specifically because of Fire Emblem cosplay so I suppose it's only appropriate that he's up first. As with many of the larger props I've been making recently, the axe head is a floral foam base with lightweight filler putty coating the outside.

I like using this method for stuff because shaping the foam is pretty easy with a knife, and if you accidentally do something wrong or cut out a chunk you weren't supposed to, you can just glue it back in and smooth it over with the putty. Good as new! It does take a long time to sand the whole thing, but hey, you've gotta do what you've gotta do. It's also nice and lightweight, which is good for props you're carrying around all day and makes shipping a lot more reasonable too :-)

The rest is pretty simple: pvc handle with a cap fixture embedded in the axe head so you can remove the handle for easy storage & transportation. The knobby bits on the handle are made of paper clay, which works well for that sort of detail because it's strong enough to stand on its own and can be sanded when you gloop on too much.

A few hours of painting later and you have one lovely axe.

A note about painting for all you lovely folks out there: Spray on your metallics! It will save you a lot of time. Additionally, when you have multiple overlapping metallics, like I do with this axe, you should always paint a base coat of regular acryllic that's a similar color to your metallic. This will save you a good bit of time and aggravation later, because it'll take fewer top coats of your metallic paint to get it looking good and any spots that you may have missed won't be very noticable.

Anywho, there's Libra's axe! So let's move on to weapon # 2... which is somewhat less of a weapon and somewhat more of a healing tool. It's Brady's staff!

Once again, we started with a foam base, which thankfully they make wreath foam so I already had the base circle! Thank god because it would've not been nearly as properly round. More carving and frosting with putty!

The smaller details are all done with paper clay, as is my standard. Although, since it's all kind of a layered look with the details, they didn't stick very well so I had to glue a lot of them back on when they dried. Alas.

The nice thing with that pole, it's actually a flagpole and therefore it unscrews in the middle!

P.S. That shade of gold is probably my favorite color ever for prop stuff, and it makes me really angry that all of the brands that have this color or something similar have discontinued it. Come on, guys!

Well, now that it's painted, all we have left is the little leathery wrap for the handle and BOOM. Done. This is also where the benefit of having worked at Joann's comes into play because I rotated out the faux leather bias tape that I used for this detail and therefore got to snatch all of it up when it went on clearance! It's the small victories that count :-D

brady-staff

I can't wait to see photos from Acen this weekend with an actual Brady wielding this thing, I'm sure it's going to be awesome.

And to continue with that trend, the last of my trio of weapons (and this one is much more dangerous than the healing staff) was also constructed for Acen this weekend, for the wonderful and talented Mochici Cosplay! This time, I got to make a Brave Sword for Lon'qu, and I'm sure he will wreck some Plegians with it!

This one started with a wood base using a thin craft board. I usually use craft boards for my swords because they're sturdy, fairly lightweight, and the proper thickness for making a sword! Not to mention, I've gotten pretty good with my jigsaw!

The central details on the blade could have easily been done in wood, but cutting out all of the small spaces with a jigsaw was going to be rather difficult, and if I screwed up, it would have been rather difficult to fix. So instead, I decided to use foamcore board (my new favorite prop-making material) as it's a lot easier to cut, and is a lot cheaper to remake things if I mess something up!

After the foamcore part of the blade was glued in, the last bit of construction was using paper clay to build up the hilt of the sword... which of course I'm a dummy and didn't take a picture of that step. So let's just skip ahead to the part where we paint! Remember that important rule: Paint your metallics first!

The last step, much like with the staff, is to add the wrap to the hilt. A little bit of drying time with the glue and it's all ready to go!

And of course, being the good little crafter and FE fan, I naturally had to test out my newly forged sword so it's PLAY TIME!

Needless to say, I am super pleased with how all of these things turned out and I can't wait to see some photos of them with their proper costumes. Perhaps I can manage to post some of those soon.

Thanks again for tuning in, my loves!