Two Week Prop Challenge: Part 2
Michael MacWolff
The much anticipated conclusion is finally here, now that Tekko has come & gone and the magnanimous sharkzooka has been successfully finished and given to a good home.
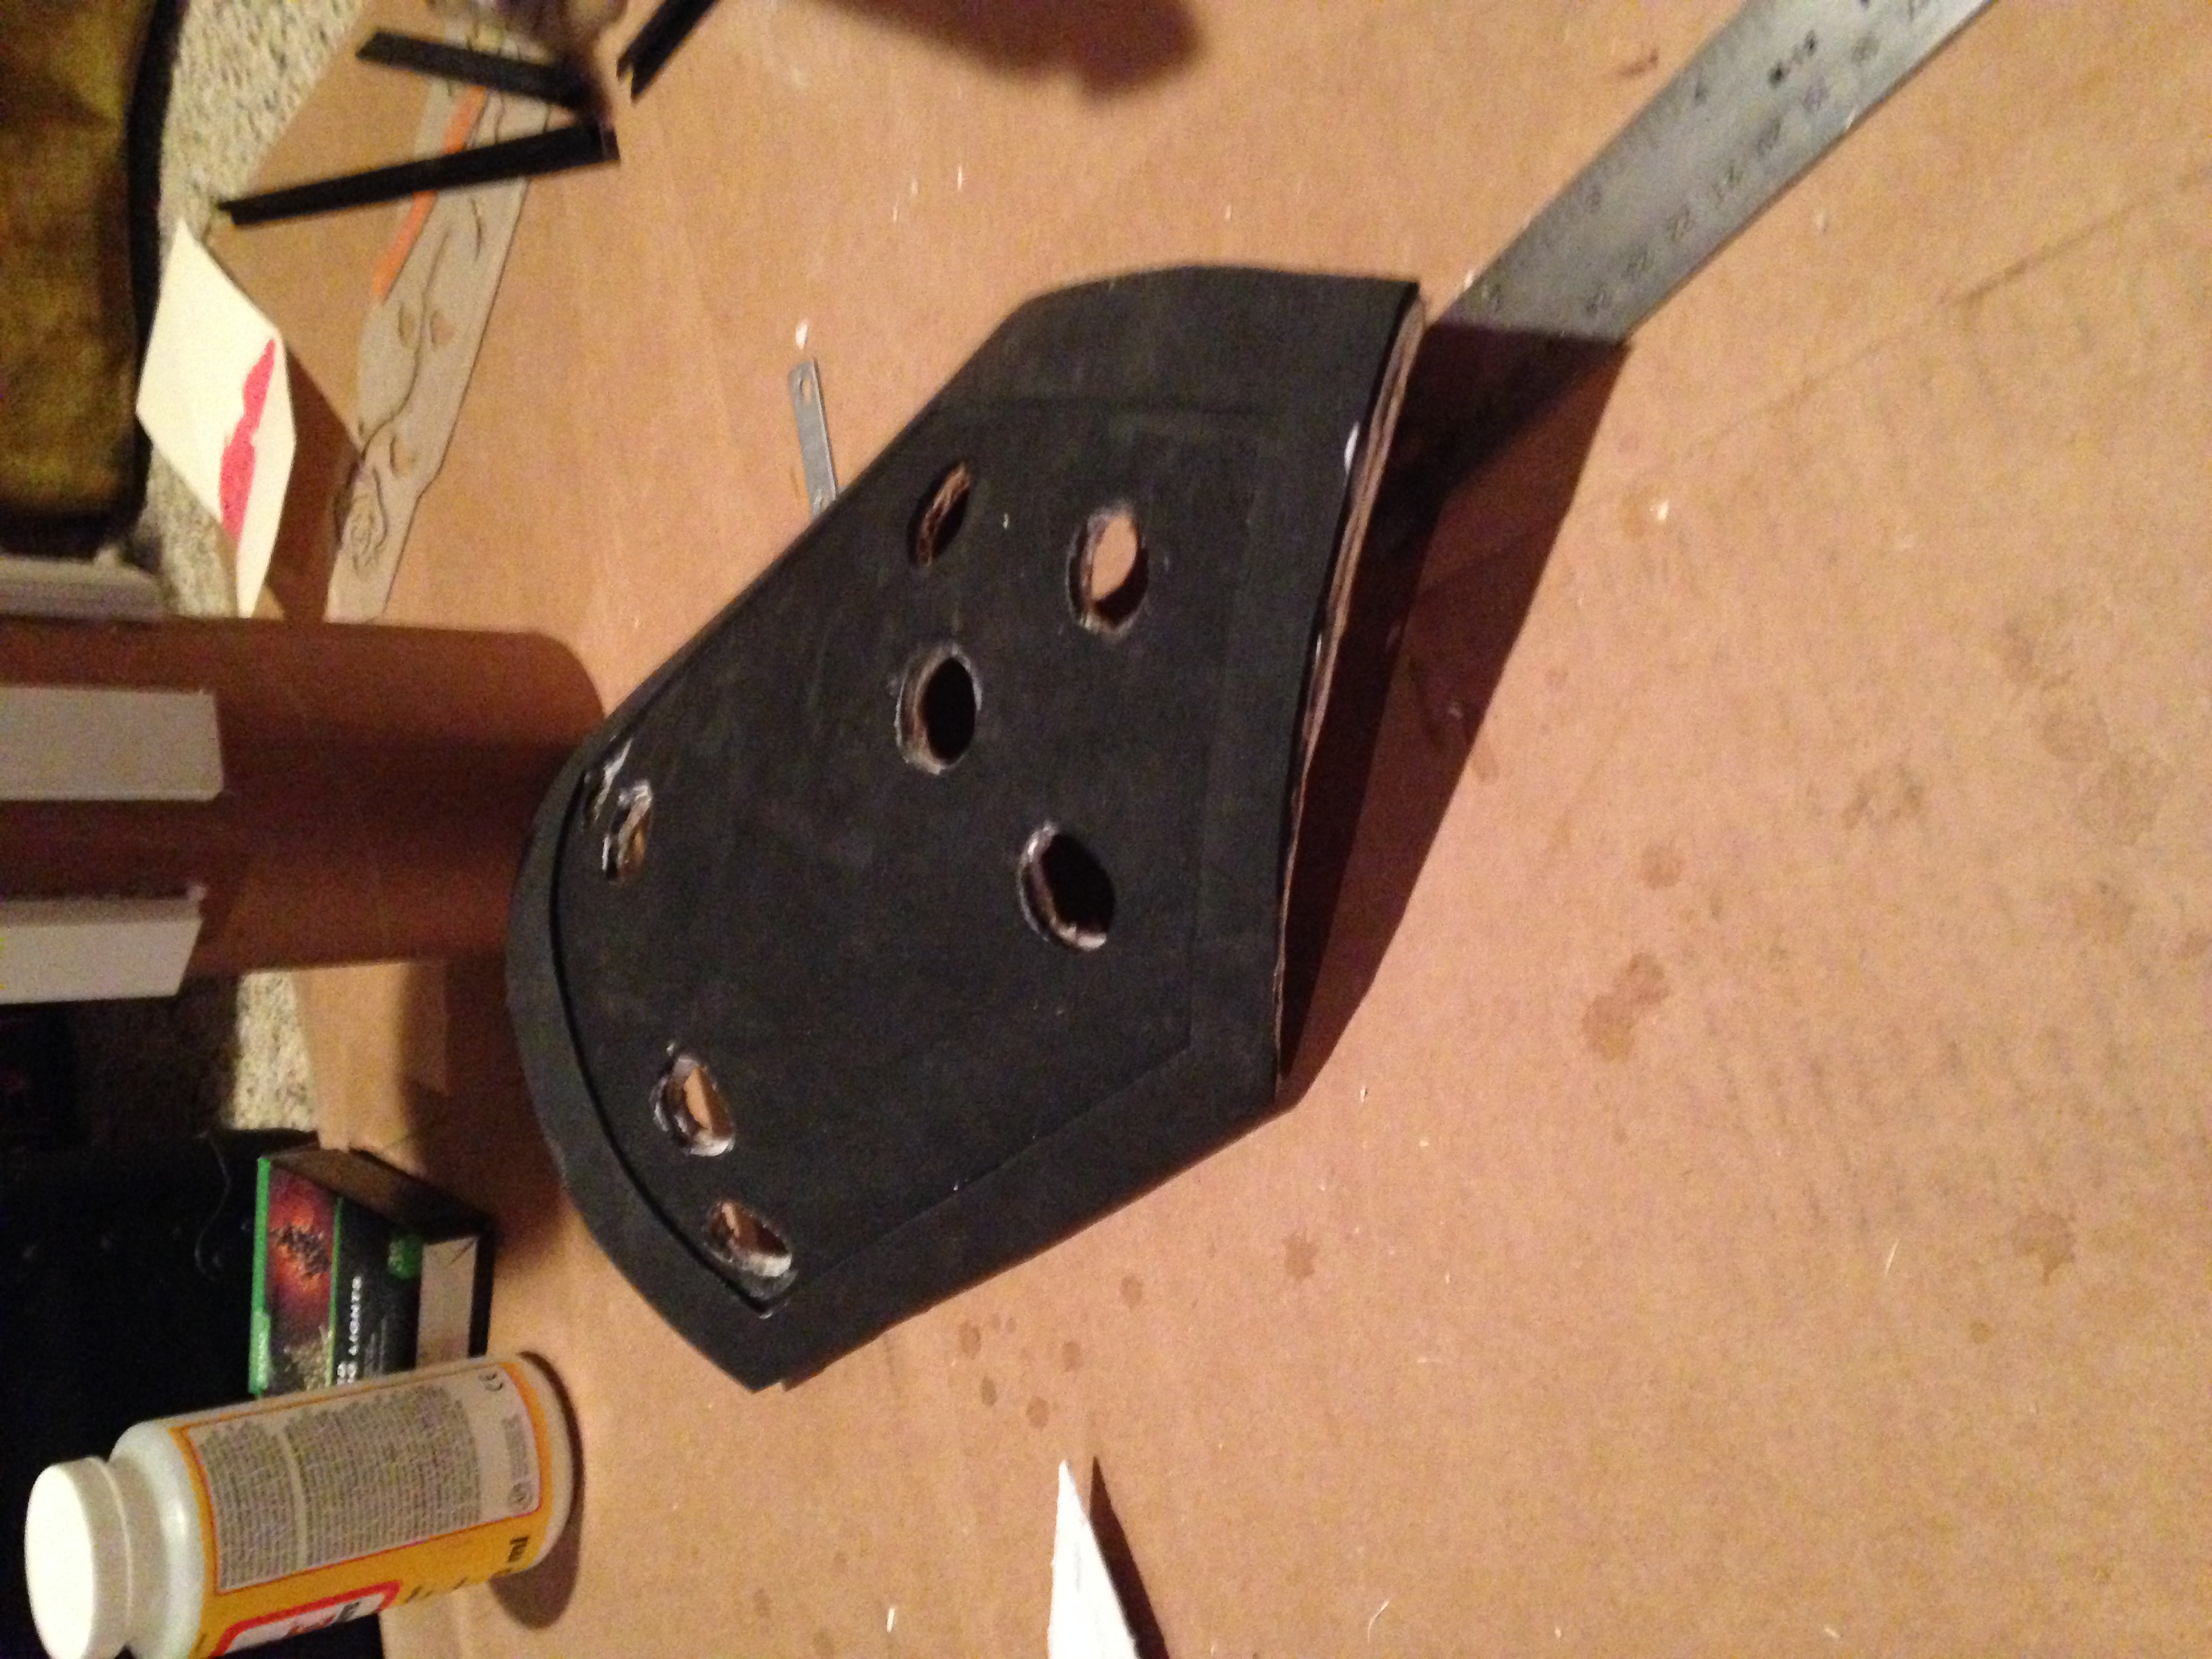
When last we saw our dear Fishbones, the construction had been completed, but the whole thing was black and therefore not terribly interesting.

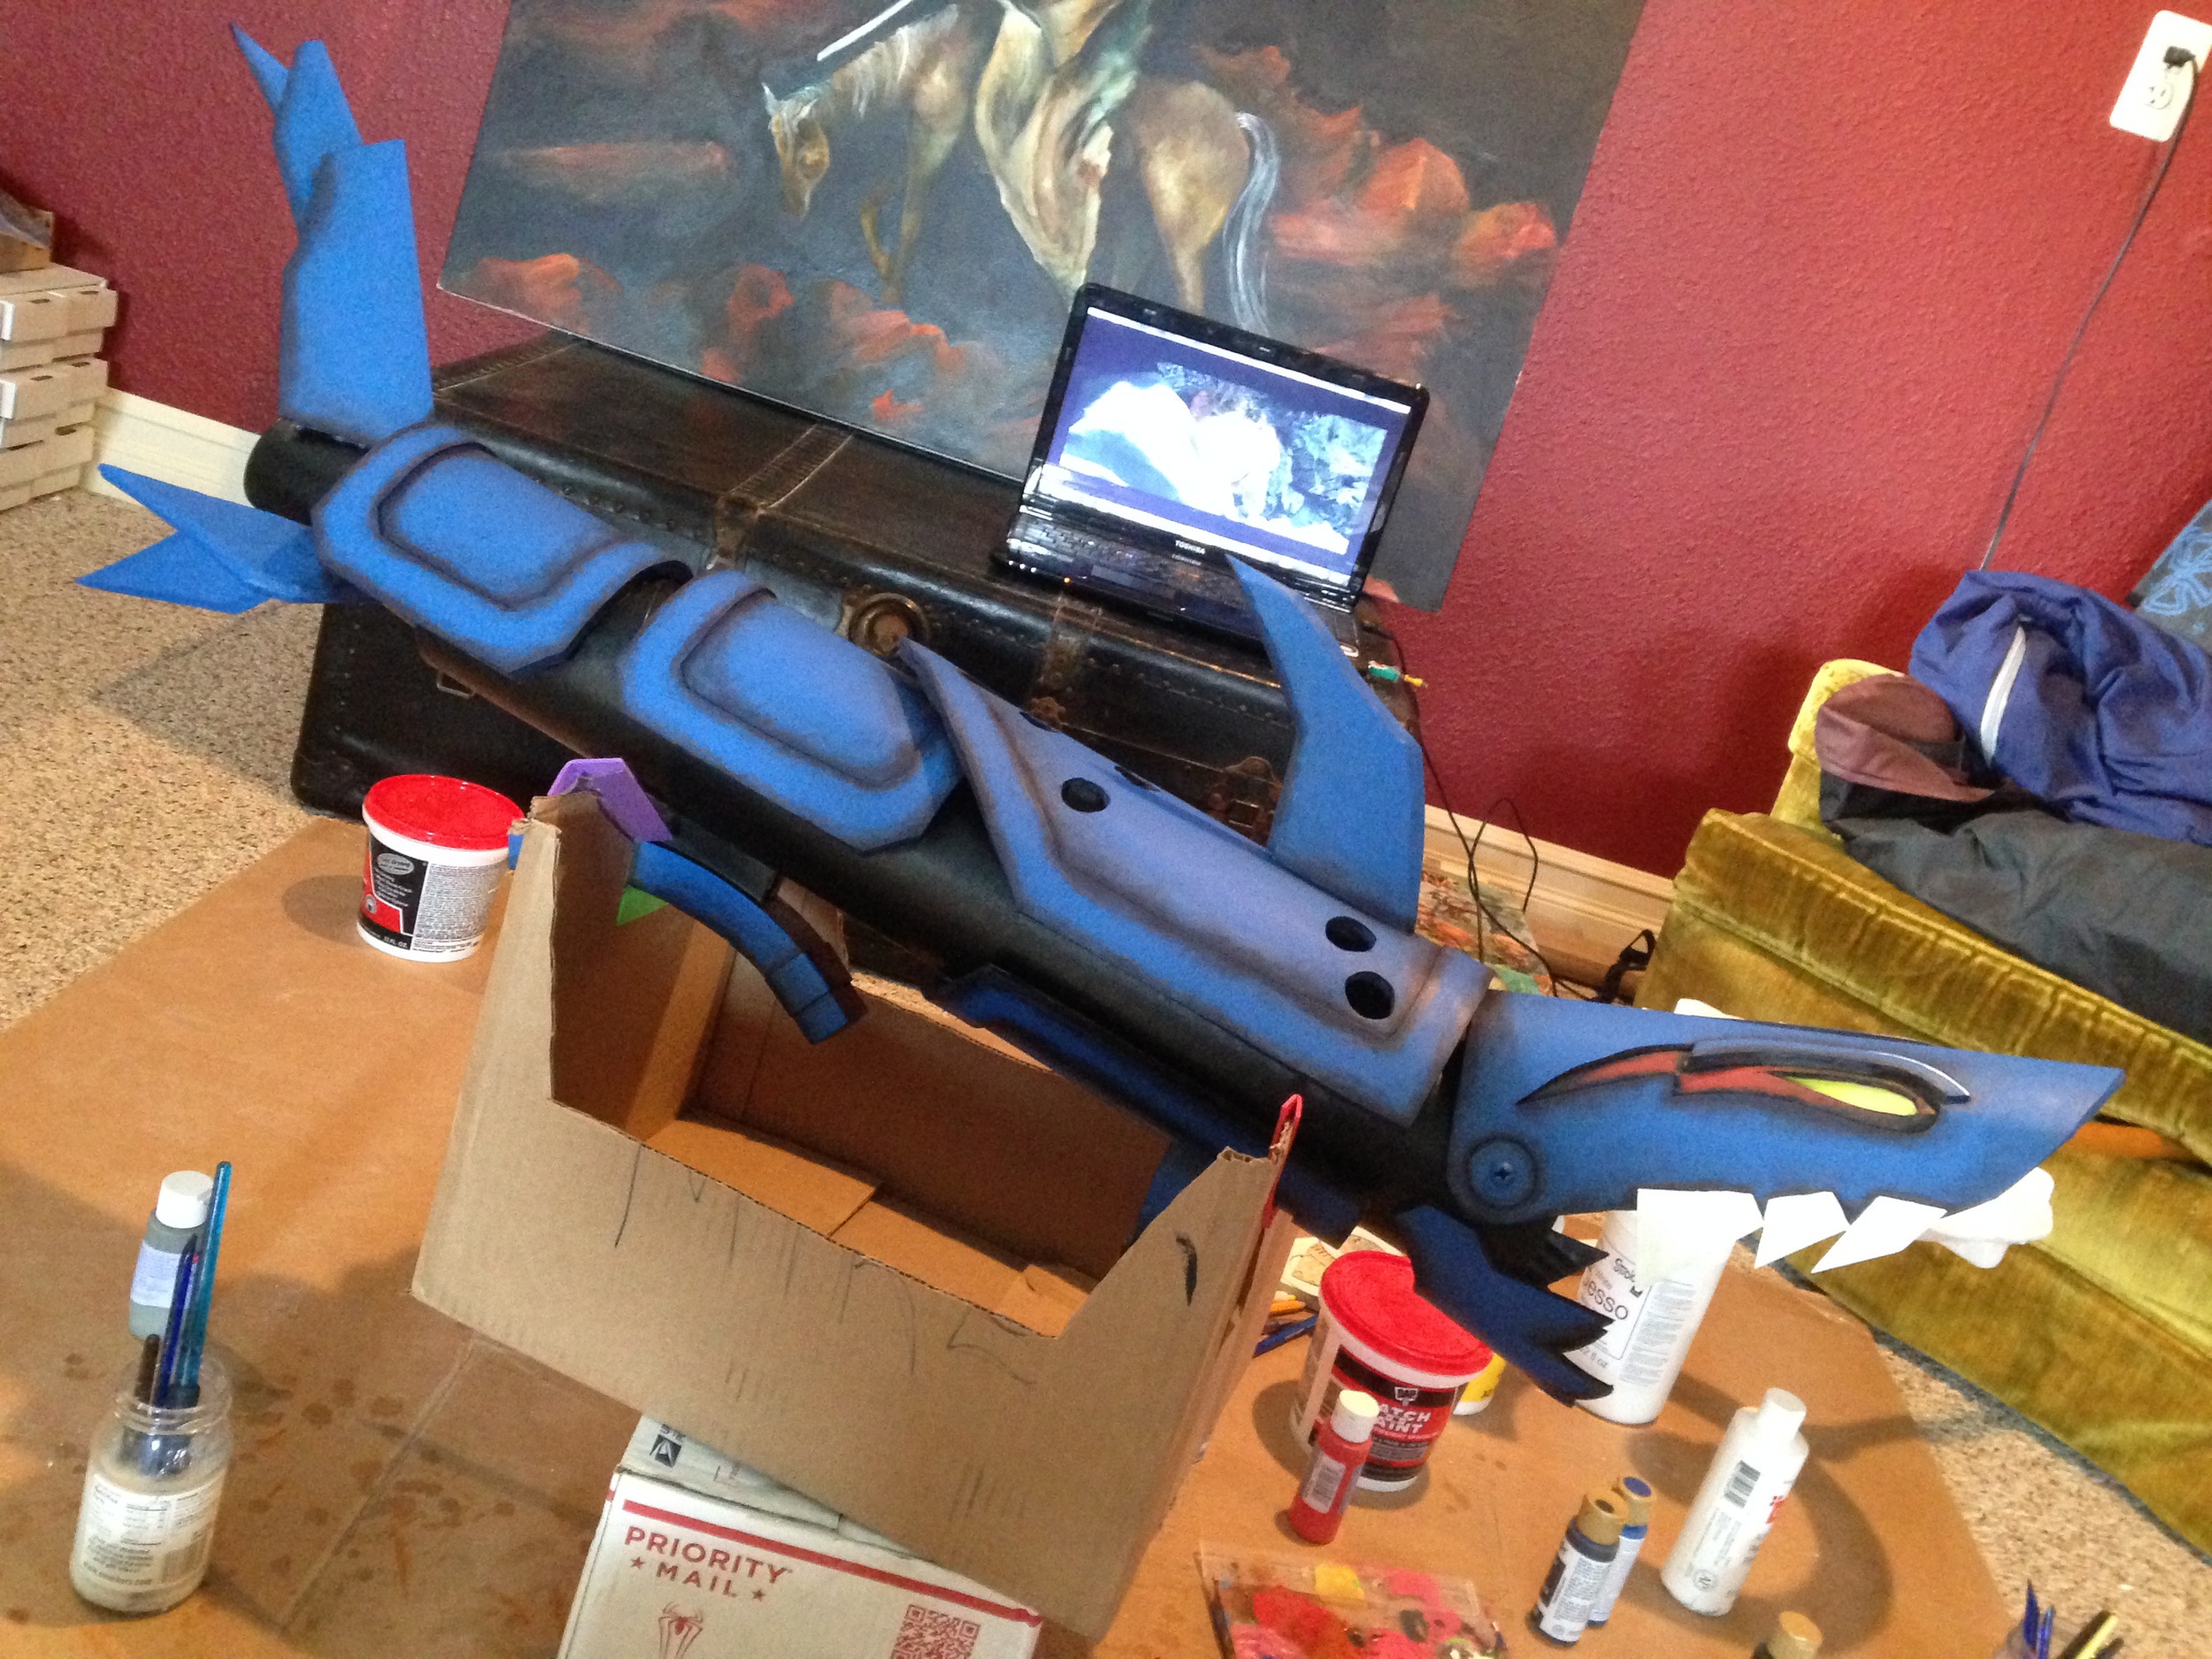
So in the past I've tended to paint a lot of my props pretty flat, which does sometimes work out alright, but I decided it was time to introduce some more dynamic painting to my props!
It all relies on the idea of using gradients to accentuate the shapes. You can find plenty of tutorials on pinterest and other places. I used the prop and armor painting tutorial on Kamui Cosplay. As you may remember from my wings post a couple of weeks ago, I used her cosplay lighting book to great success (I also used this new-found knowledge on this particular prop as you'll see later. She has a number of other tutorial books so I got her painting one and I'm very happy with what I learned.
It all starts with a dark base ans layering in the lighter color a little bit at a time so you get a smooth gradient. You can see it here with both the red in the eyes and the blue of the head.


As you can see from the picture above, it really makes the shapes and layers stand out.
Once the painting was done, the last few details had to be added: the leather strap around the middle, the eyes, and the lighting. Now the lighting was a bit tricky to figure out the best method. The red inside the barrel was simple, but the eyes looked weird with just the lights behind the translucent plastic. So what I did was put the lights to the front of the eyes pointing back to the tapered end, put a layer of aluminum foil behind it to reflect the light forward and out of the eyes. The last step was covering the whole top of the mouth with a piece of black foam to protect the lighting elements and make it so you can't see all the random pieces inside the mouth. Sorry about my total failure at taking any useful photos of the last few steps... I was moving as fast as possible to get this done in time for the convention!

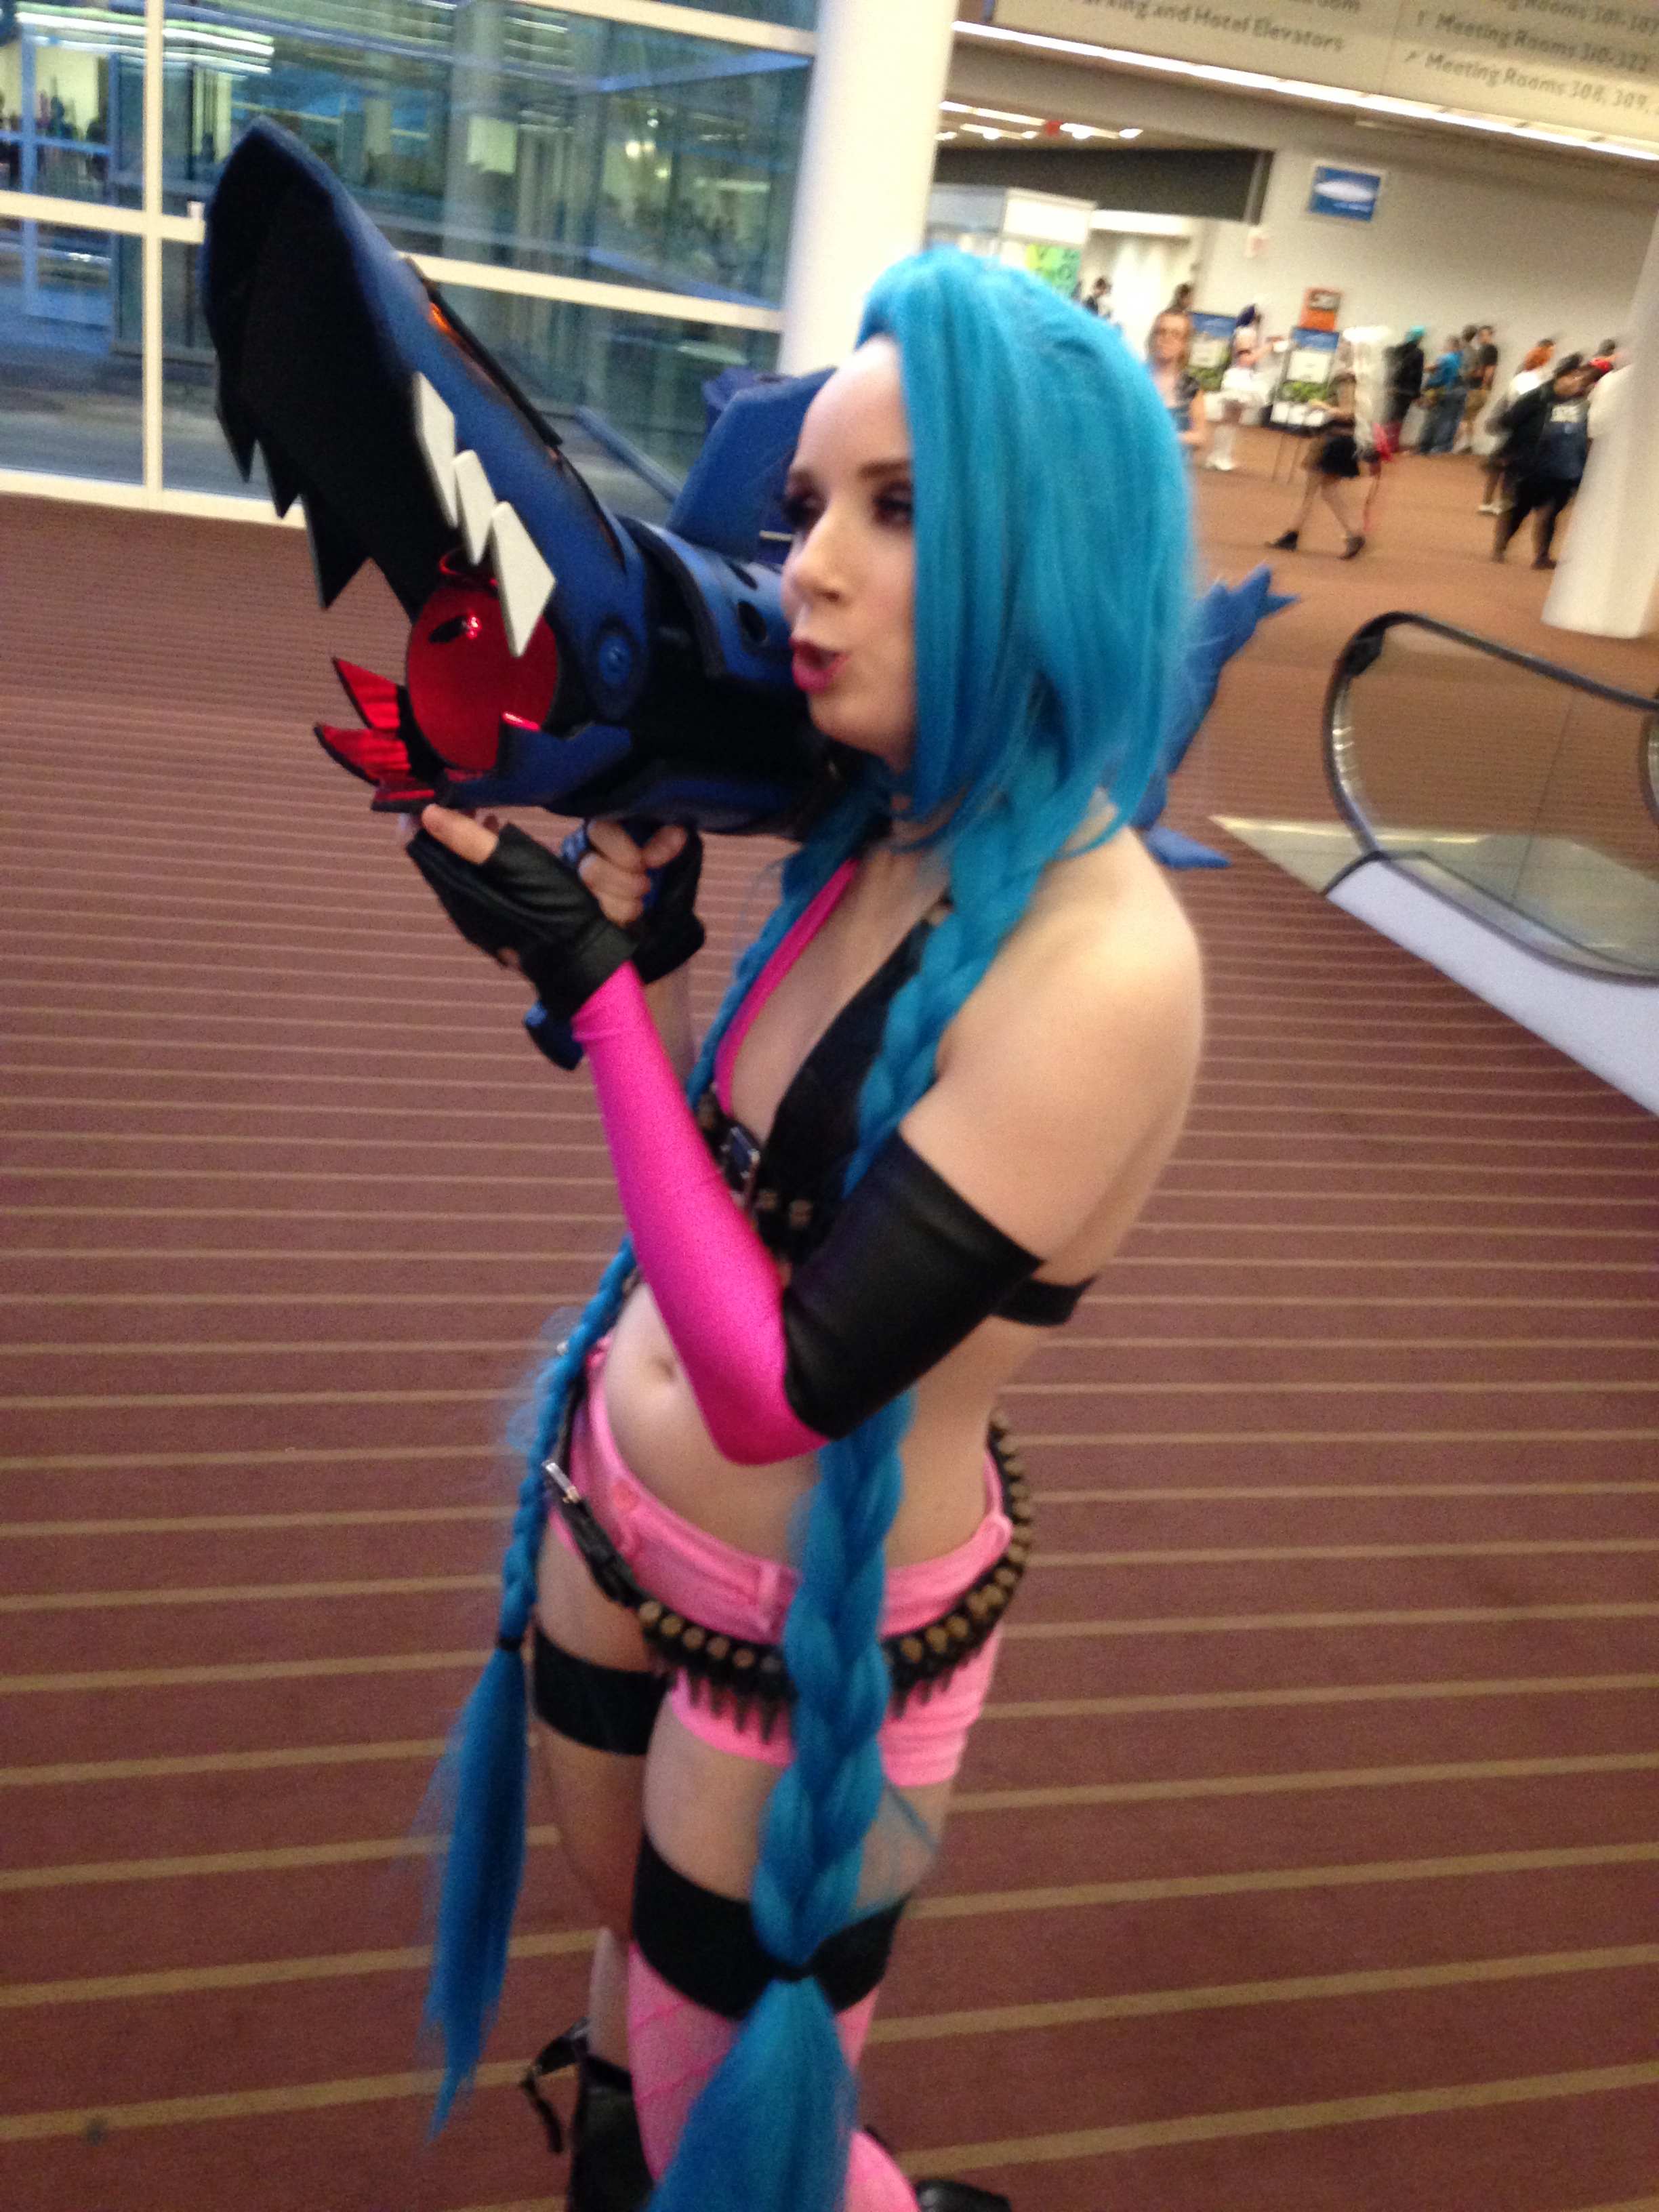
It's coming to get youuuuuu!
Now that the beast was done, the best part was yet to come!
Tekko was a blast on its own, but delivering this baby was definitely a highlight. As soon as she saw it, Jinx flipped out! I always enjoy hearing back from people I've made stuff for, whether it's cosplay pieces, life counters, ties, or any of the other random stuff I make. It's really the excitement of the people I' making things for that gives me the most joy when it comes to crafting for folks, and the response I got to Fishbones was fantastic. I think this photo I took of Jinx and her new rocket launcher pretty much sums up the emotions that were going on at the time.

I'm pretty sure I was making the same face from the other side of the camera.
In true Jinx fashion, she started having hilarious conversations with Fshbones.
While I was a bit sad to see it go, the ecstatic reaction I got was definitely worth the parting sorrow. There's no real contest, this is definitely the coolest thing I've constructed to date! But hey, that just means there will be more fun challenges in my future!
I'll be posting the post-Tekko review in a day or two once I've sorted through my photos, and hopefully get some pictures from my dear friend with whom I spent the weekend as he's got most of the new photos of us on his camera.
Until next time, lovelies!