Contact Us

Questions? Comments? Concerns? Suggestions? Submissions? Shout-outs?

Whatever you want to tell us here at Mikey Does Cosplay, we're always happy to hear your thoughts and feedback!


123 Street Avenue, City Town, 99999

(123) 555-6789

email@address.com


You can set your address, phone number, email and site description in the settings tab.
Link to read me page with more information.

reflection.jpg

Blog

Here's where the magic happens. I'll be posting about all of my experiences and experiments (both failed and successful ones), introducing you to my costumes, sharing fun stories, linking tutorials and useful products, and who knows what else!


Filtering by Tag: steven universe

Commission Progress (WIP Wednesday)

Michael MacWolff

Welcome back everyone! I know I’m supper sporadic with posting here but I do have some progress updates on the commissions I’ve been working on that I wanted to share!

Let’s start with the projects you’ve already seen the beginnings of:

IMG_1067.JPG

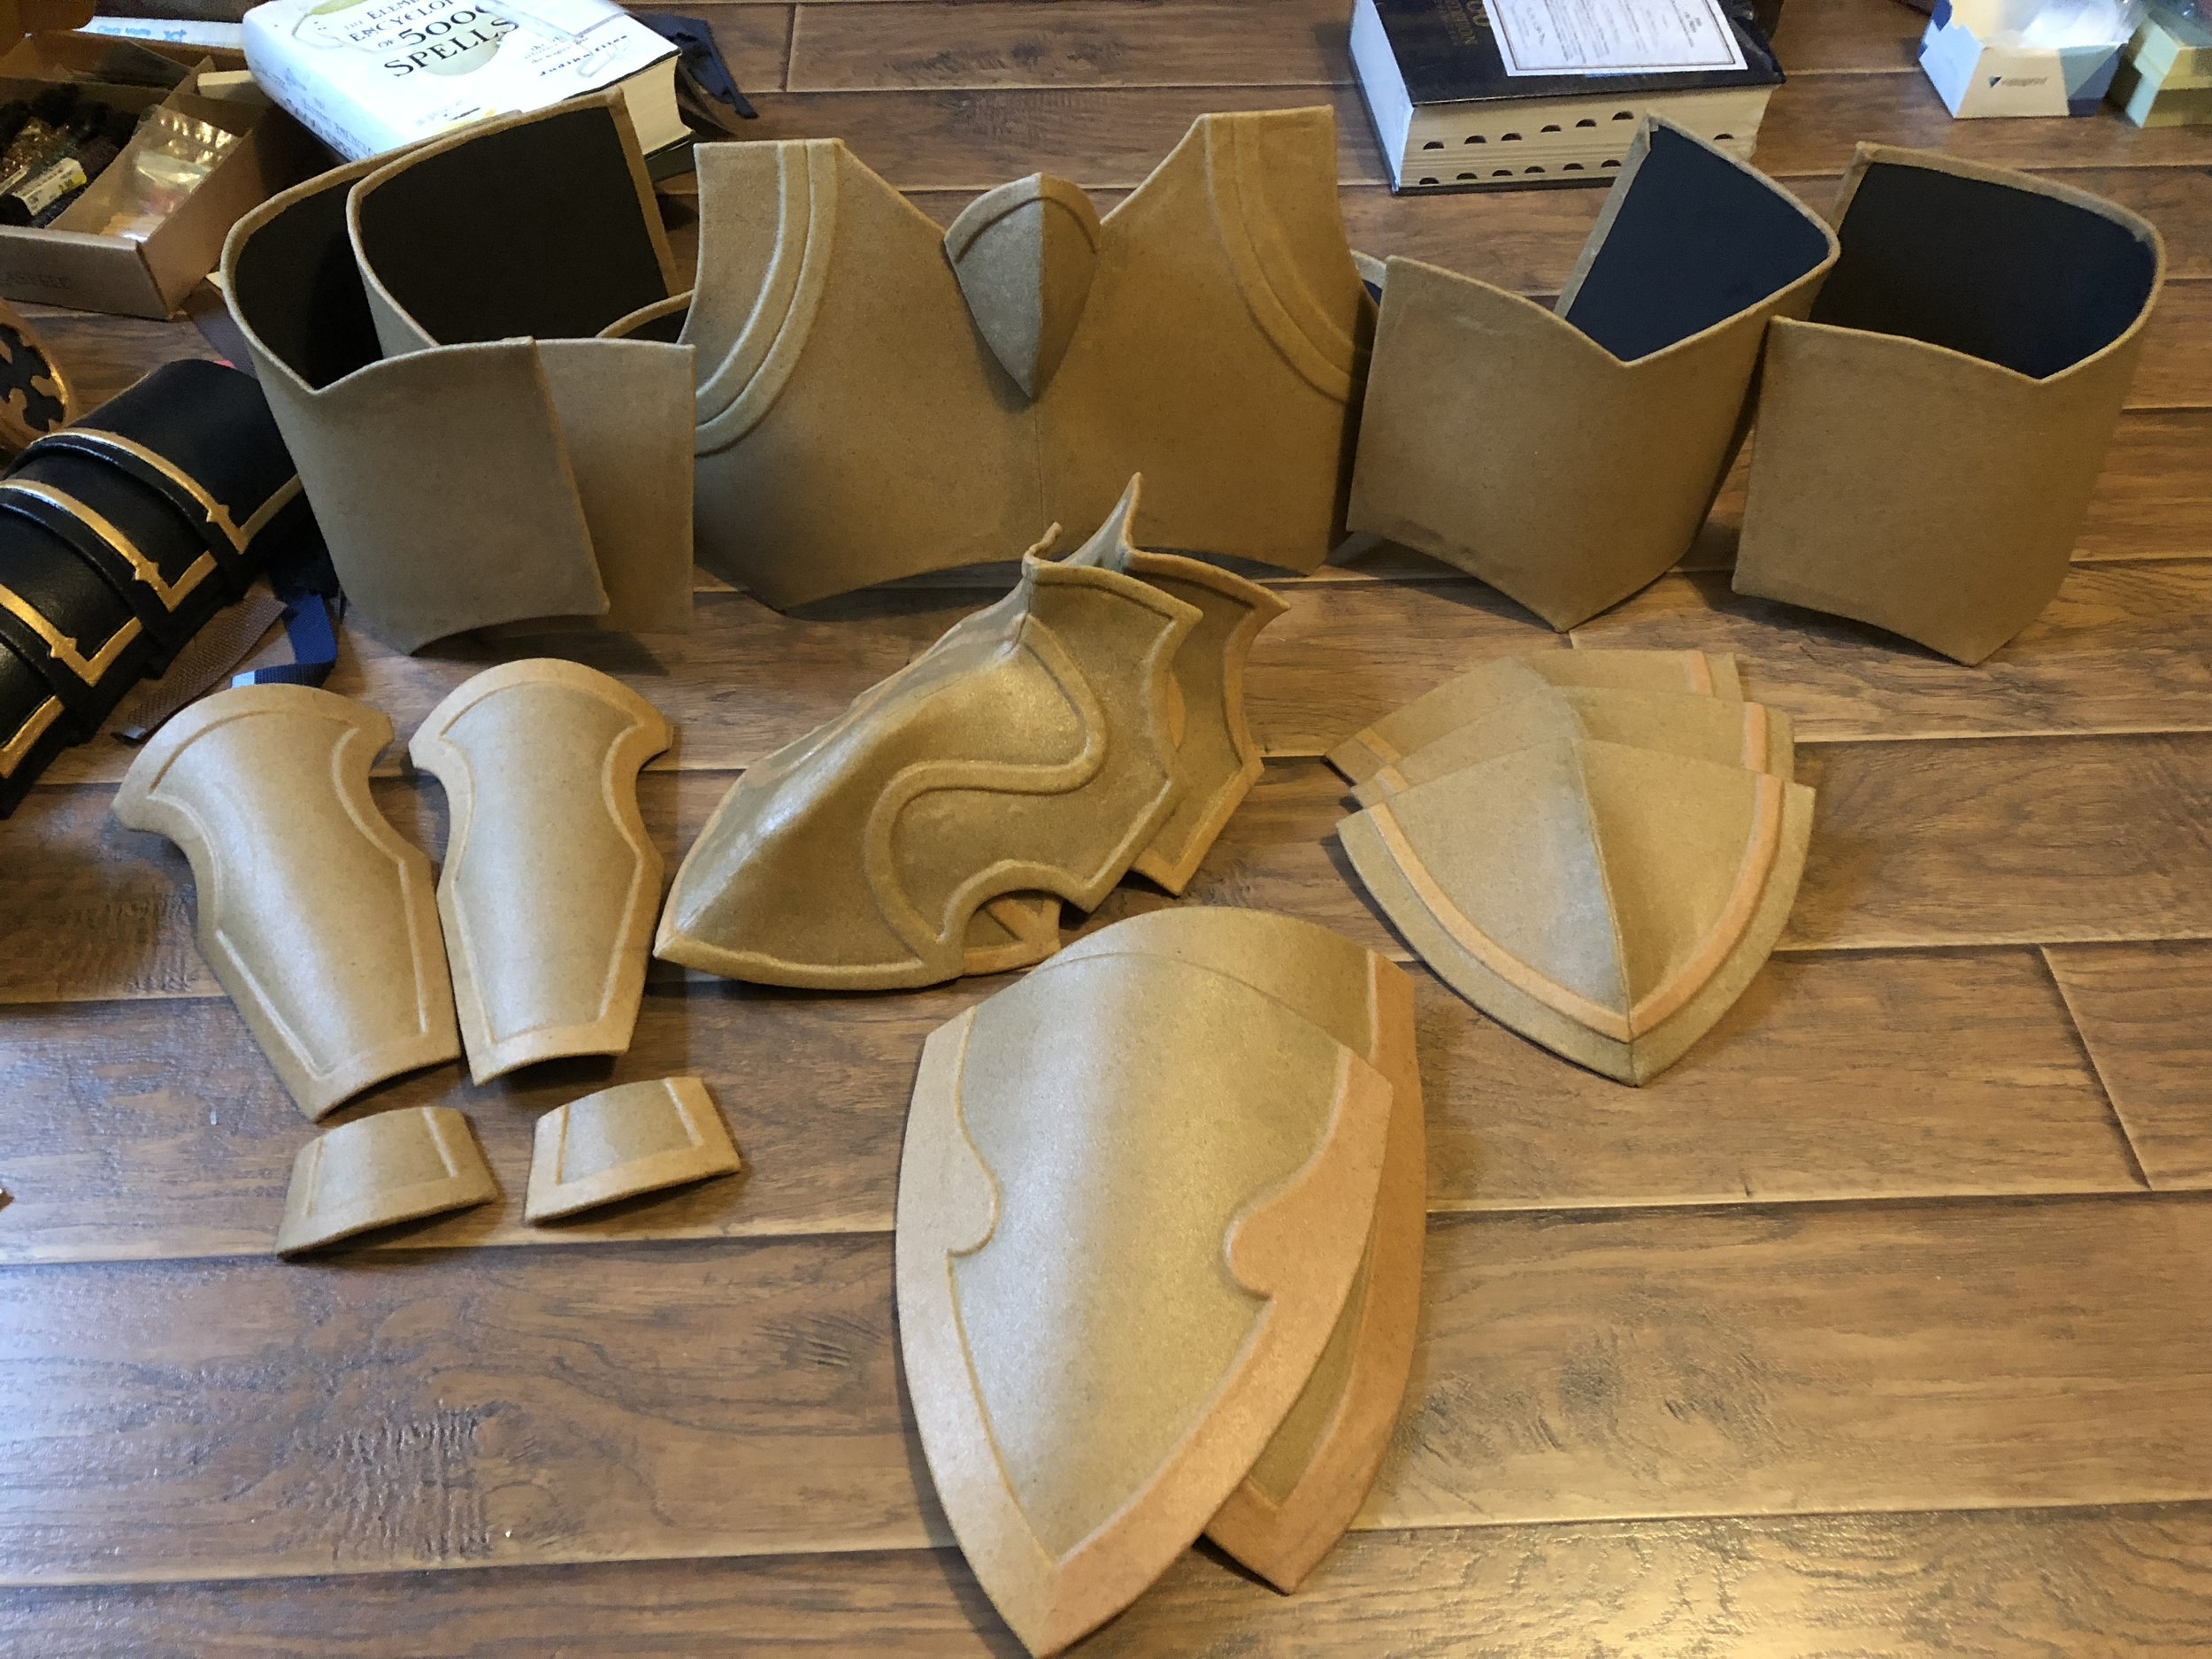
Silas’s armor is coming along nicely, though unfortunately I’ve run out of worbla so I can’t make any more sections until that arrives.

IMG_1160.JPG

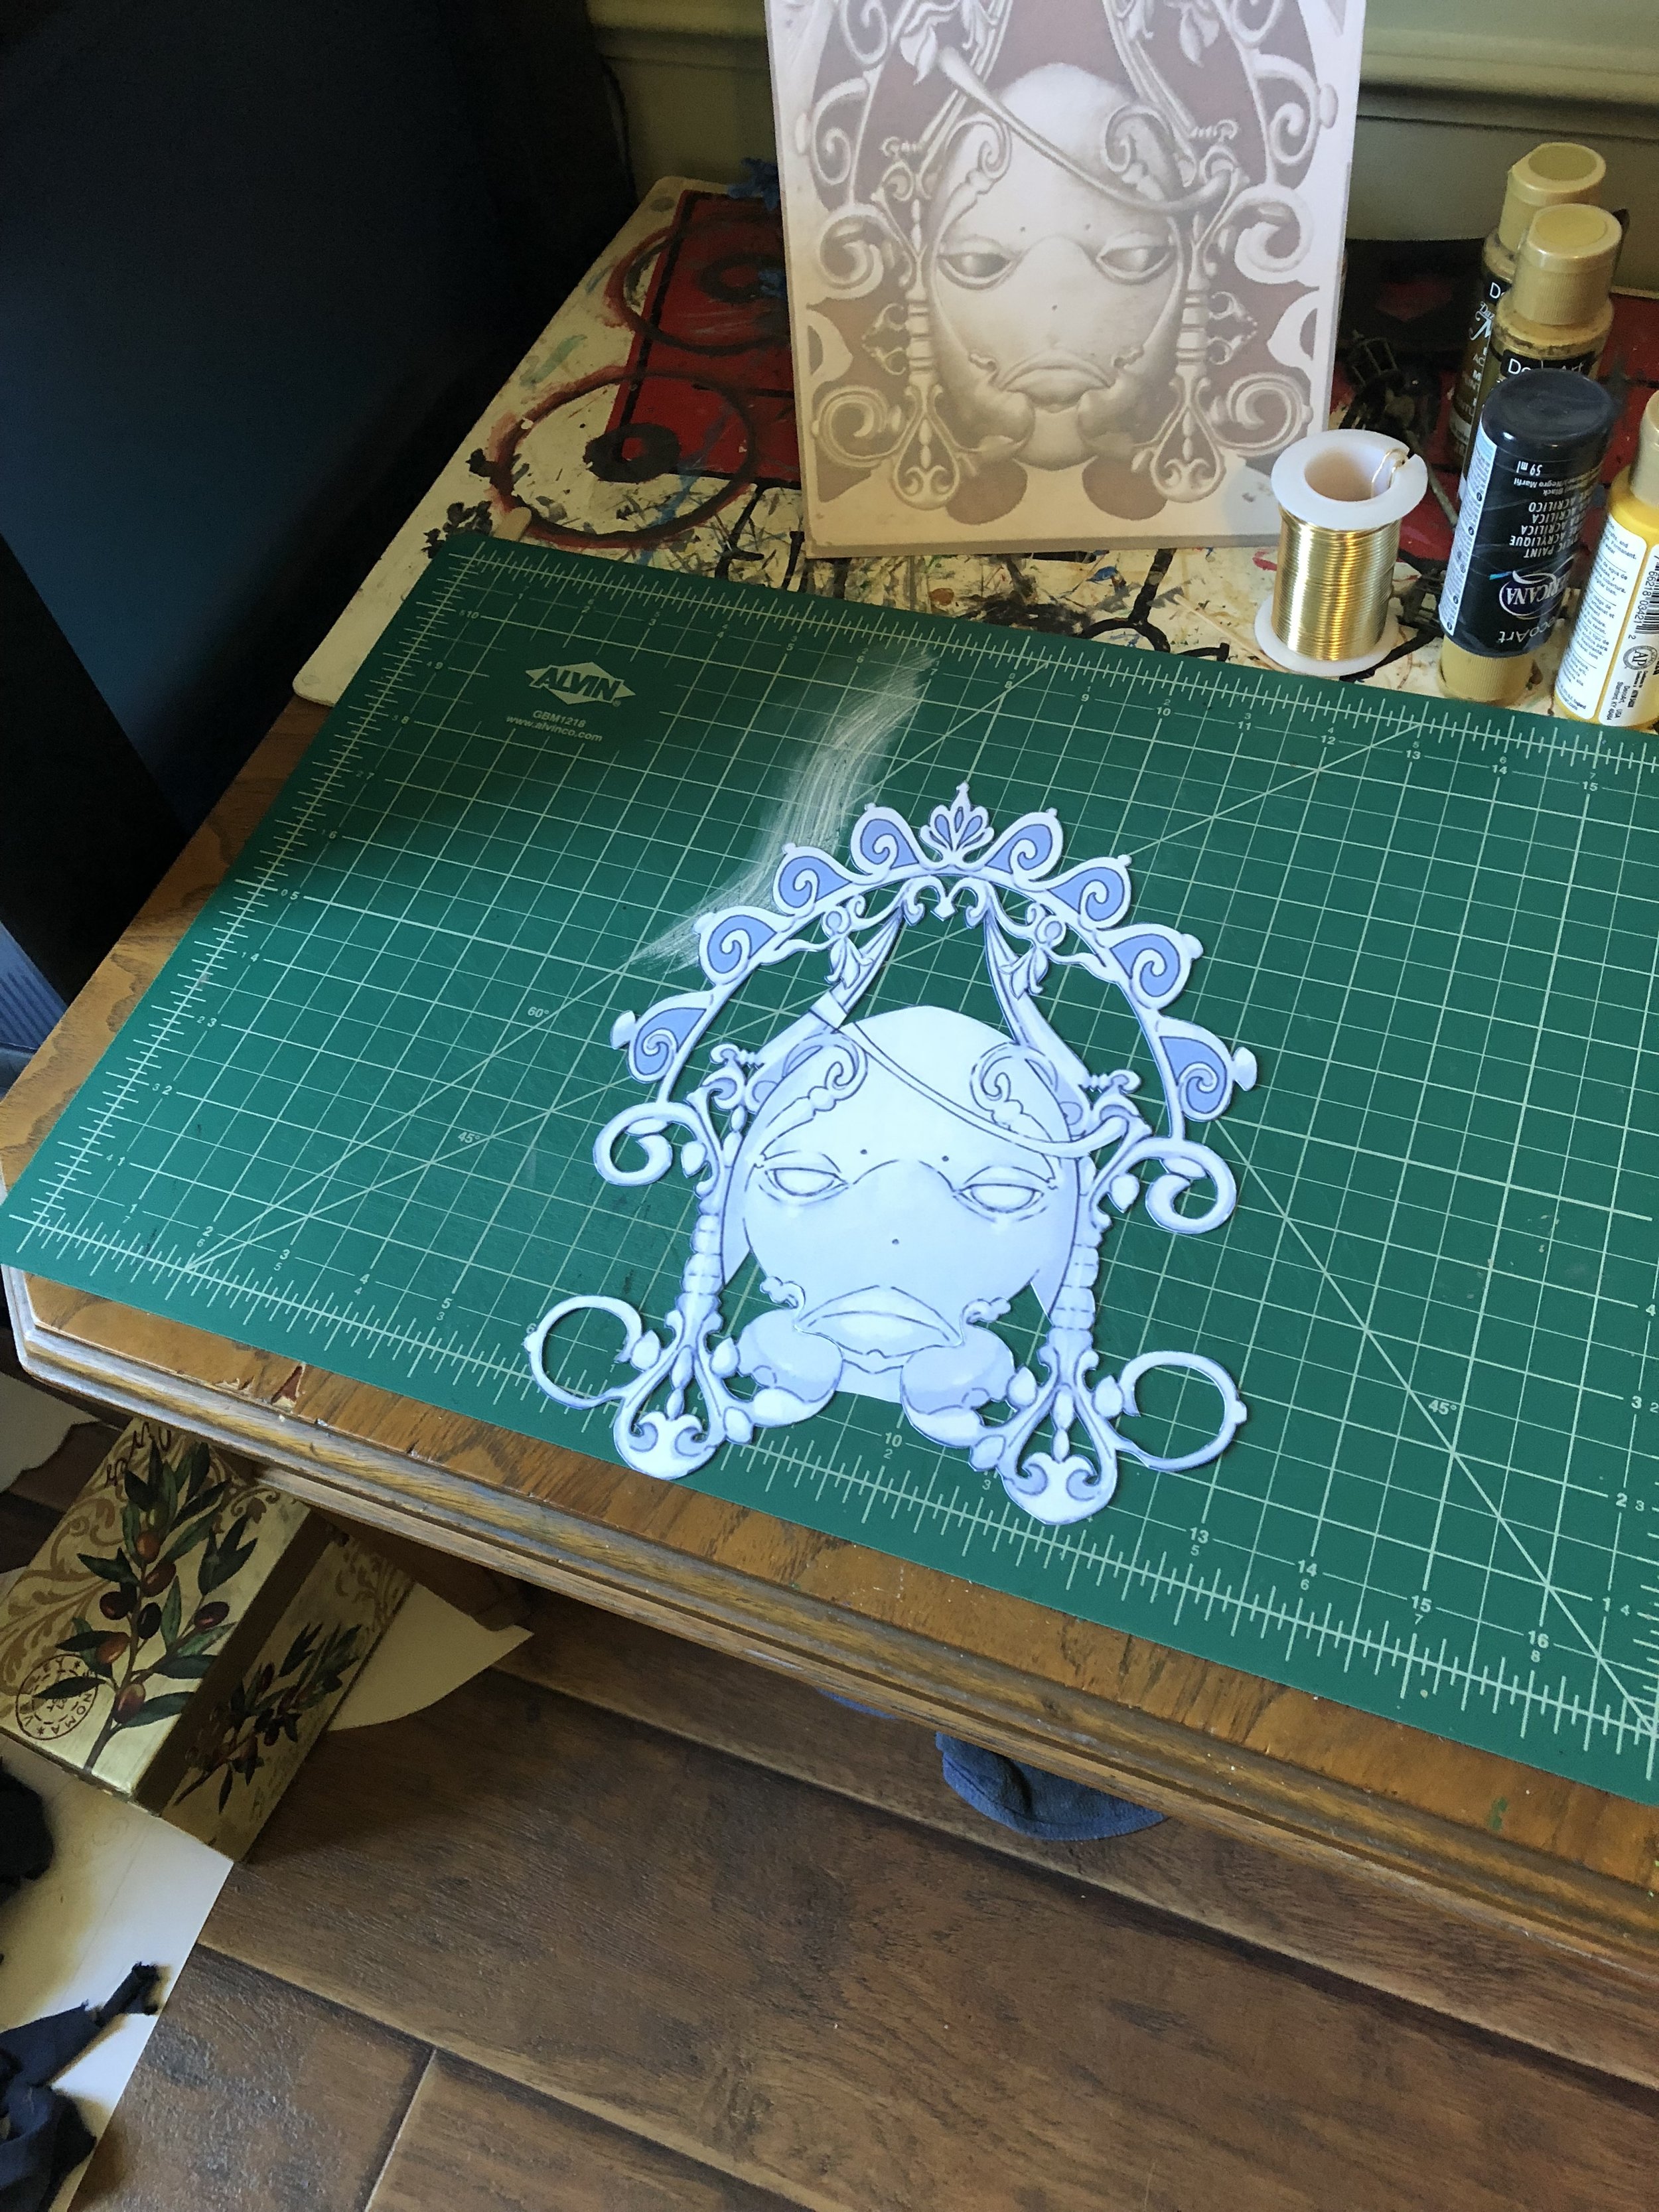
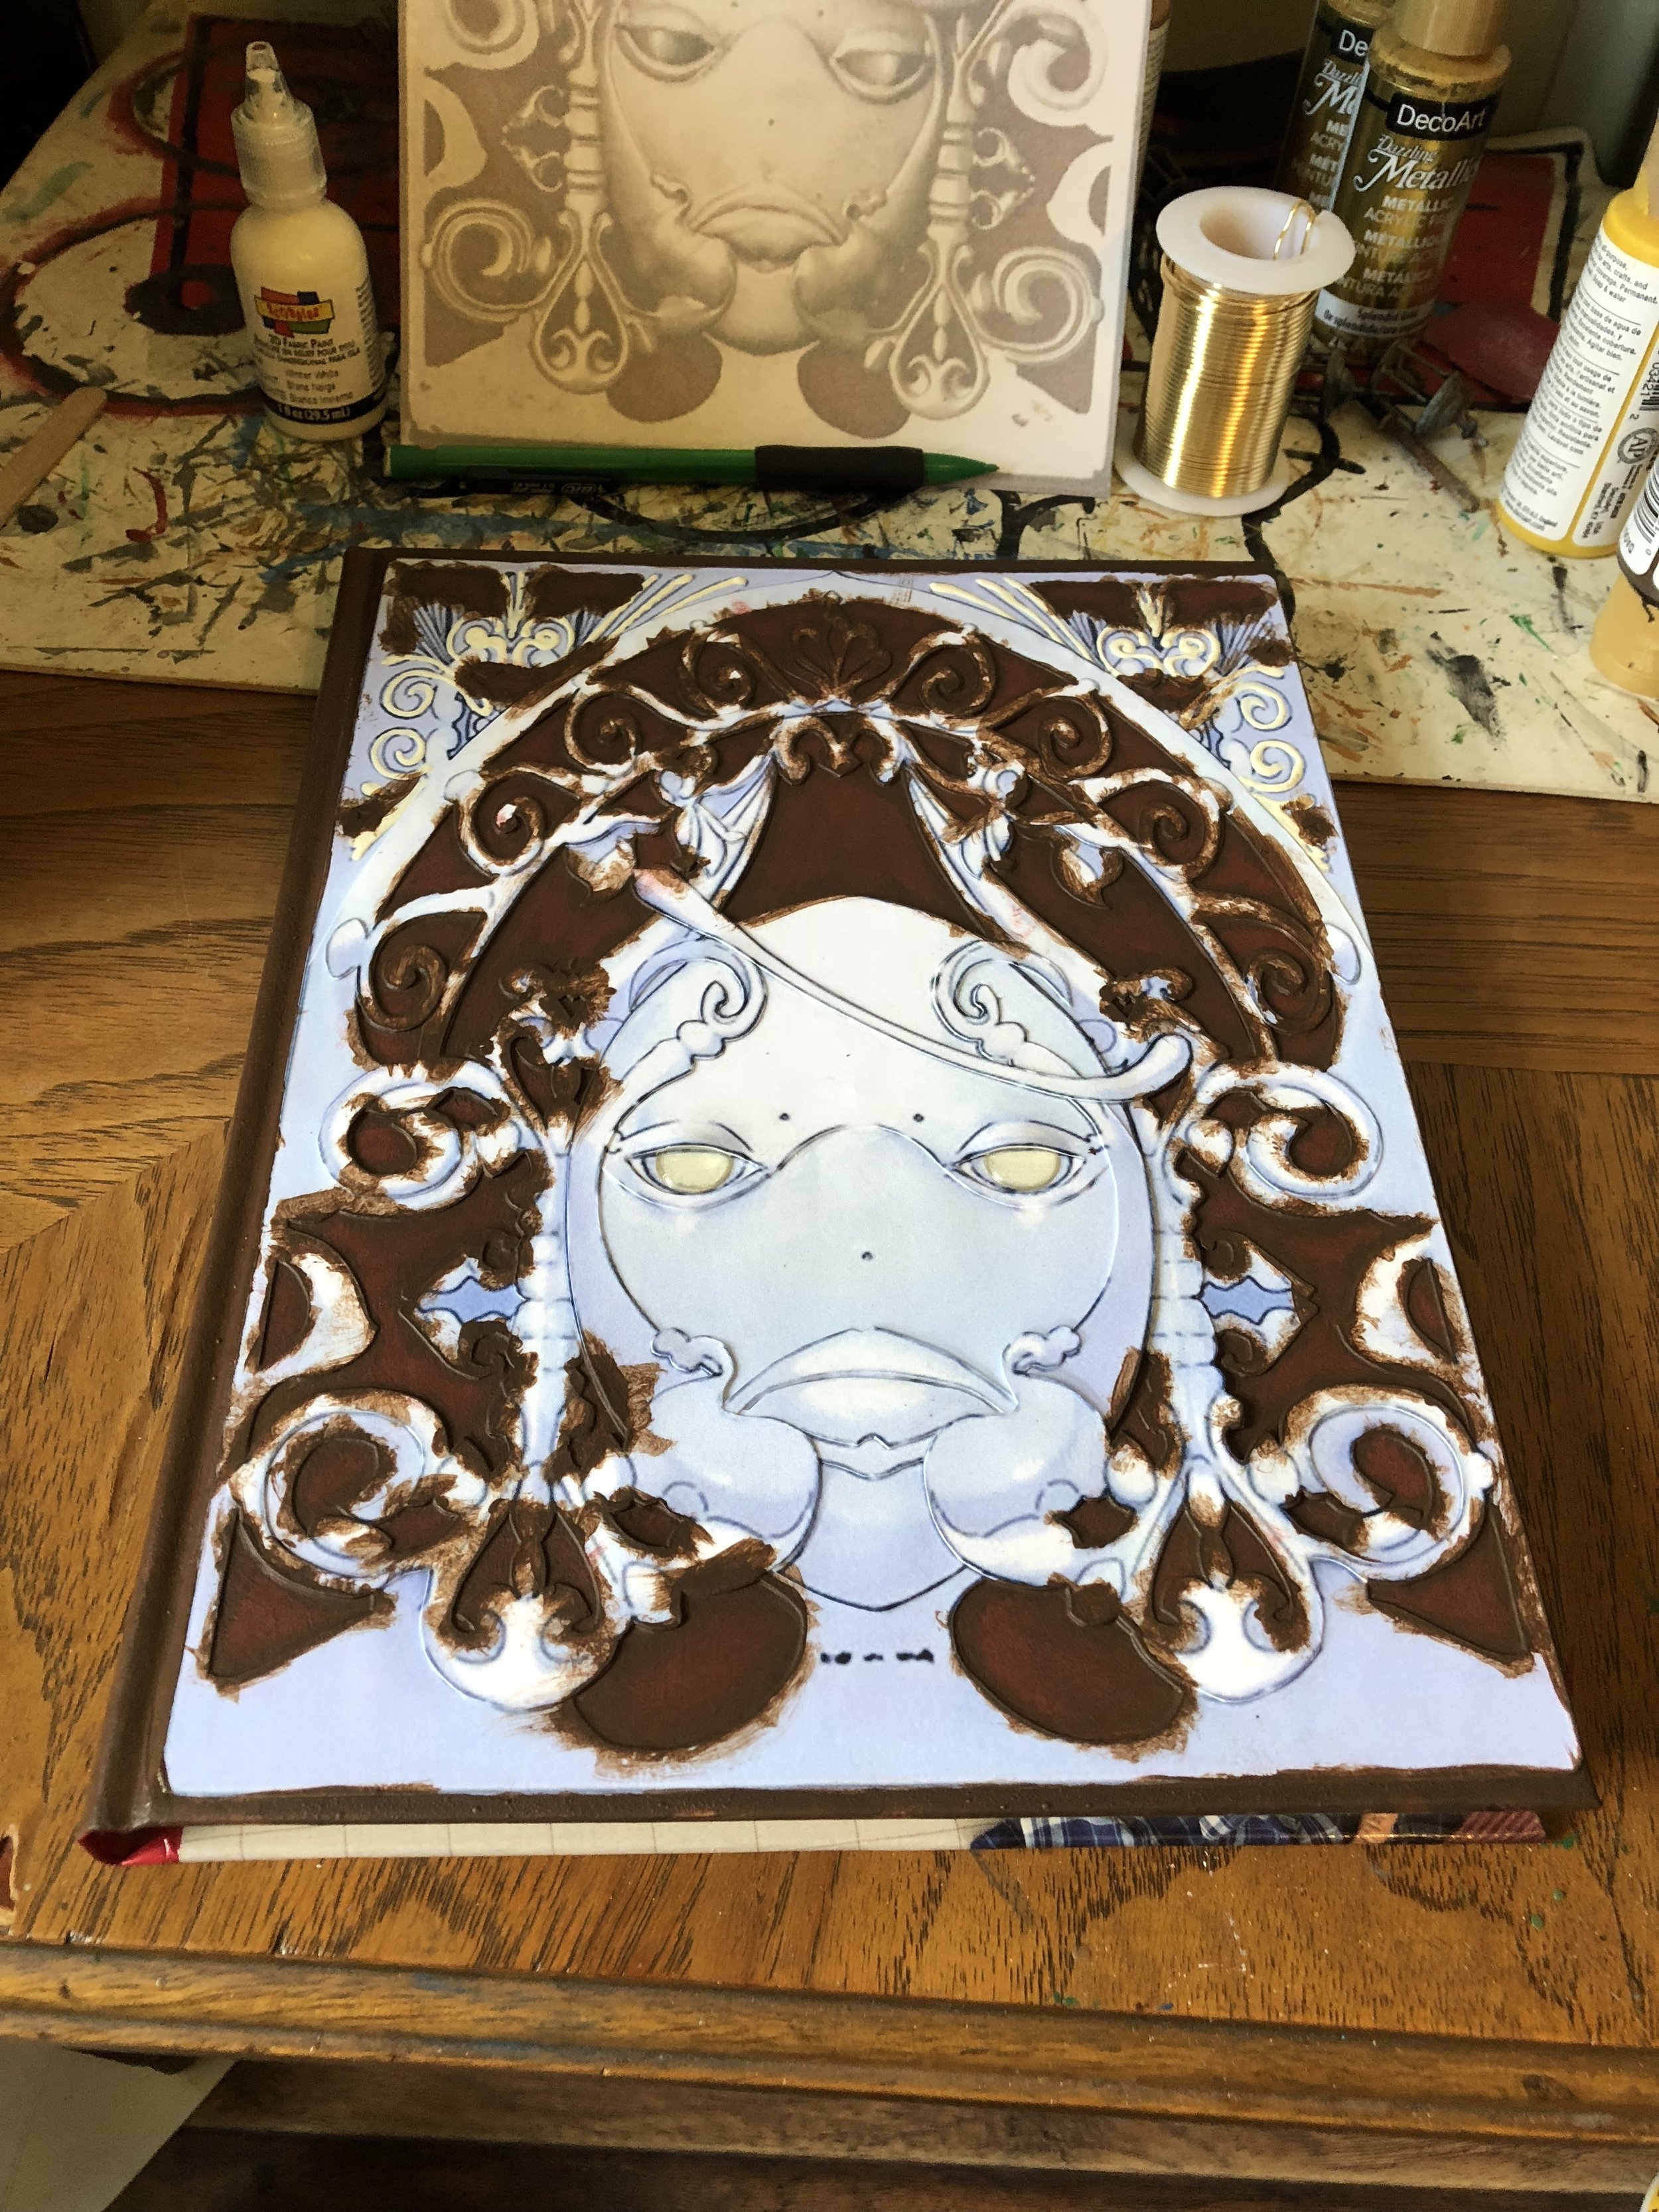
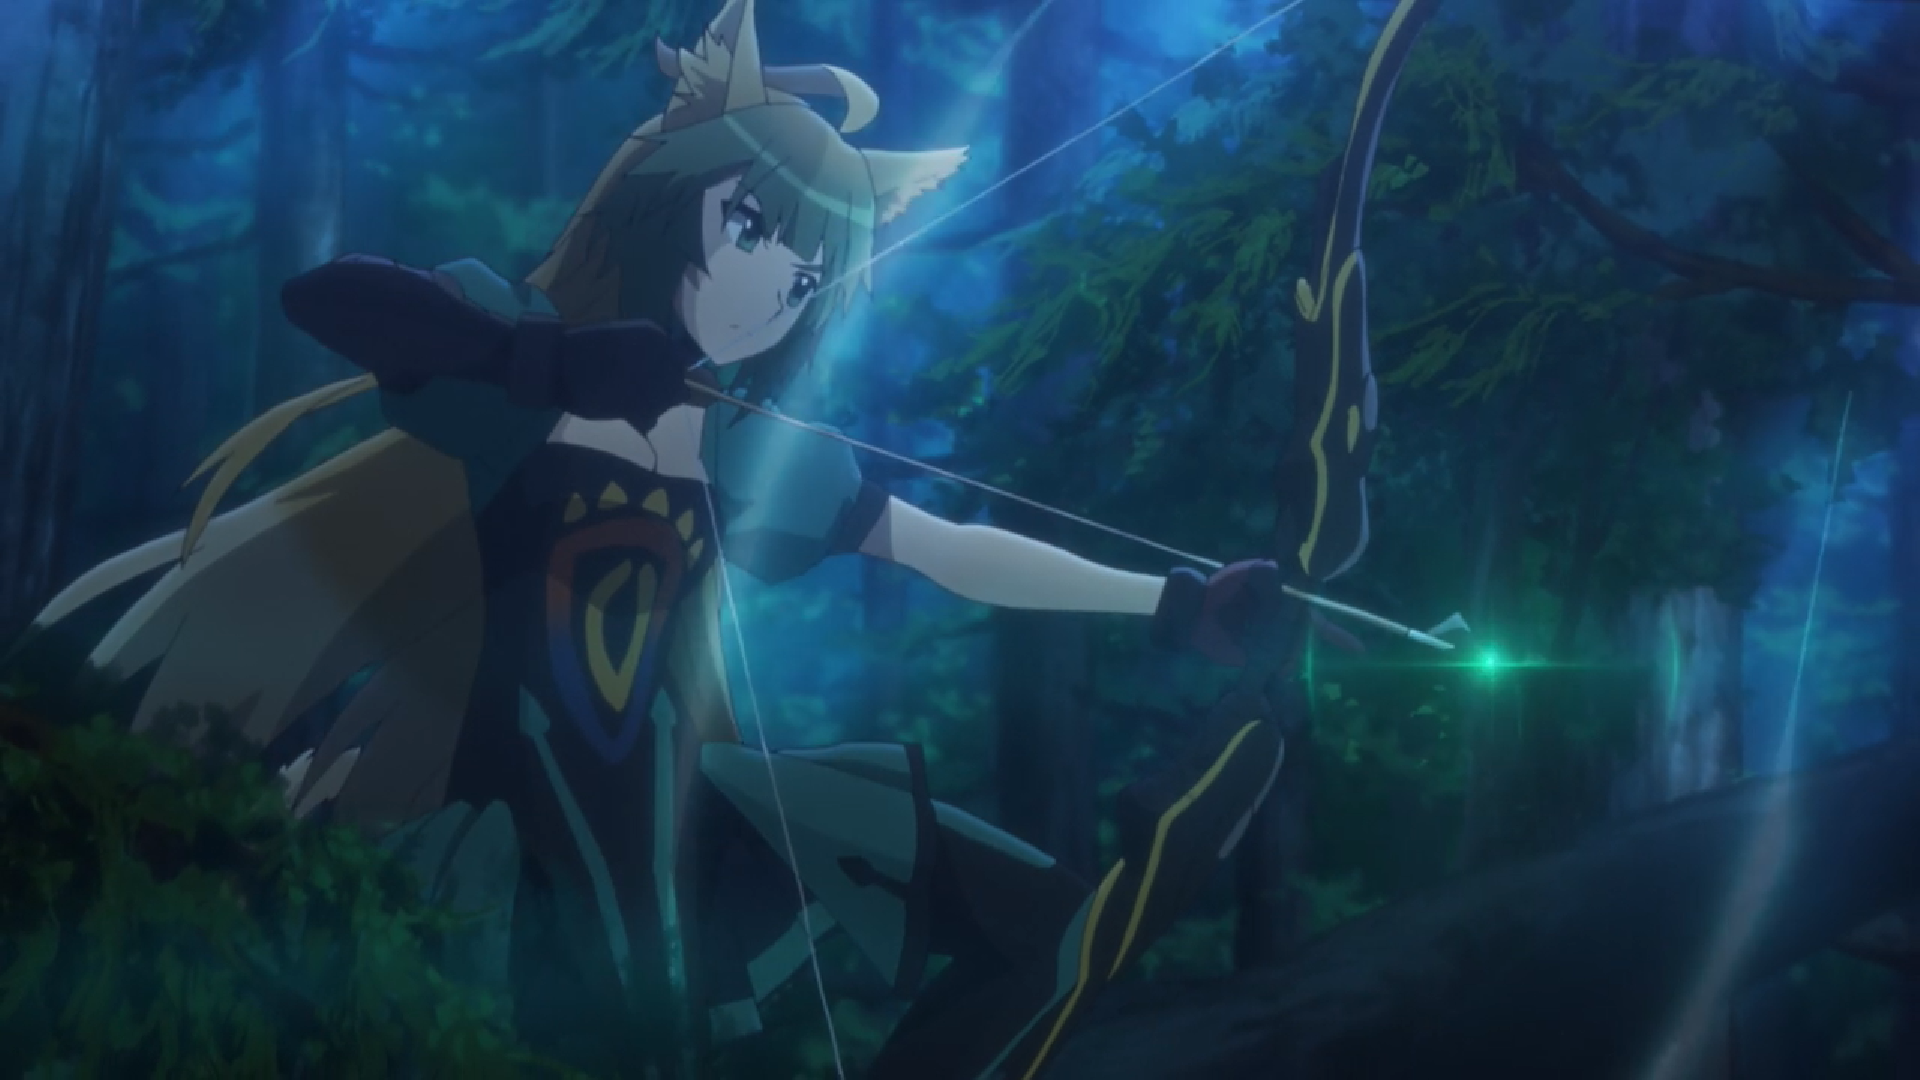
Next up, Opal’s bow is done with construction and I’ve started painting. The gradient painting is a huge pain in the ass but it does look pretty cool.

IMG_1316.JPG

Now, on to new projects which I’ve somehow magically gotten further on than the stuff you’ve already seen! I’ve started working on Yuna’s staff from FFX. It’s the staff you traditionally see her with in all of the official artwork.

FFX_Artwork_Yuna.png

For the head, I used 1/4” MDF and thick craft foam to make the little blue details on the gold head. The shaft is a wooden broom handle I got at Home Depot.

IMG_1279.JPG

The blade on my scroll saw broke in the middle of trying to cut the staff head out, which was slightly terrifying. Thankfully neither me nor the prop was hurt, I just had to finish cutting it out with my jigsaw instead.

IMG_1280.JPG
IMG_1314.JPG

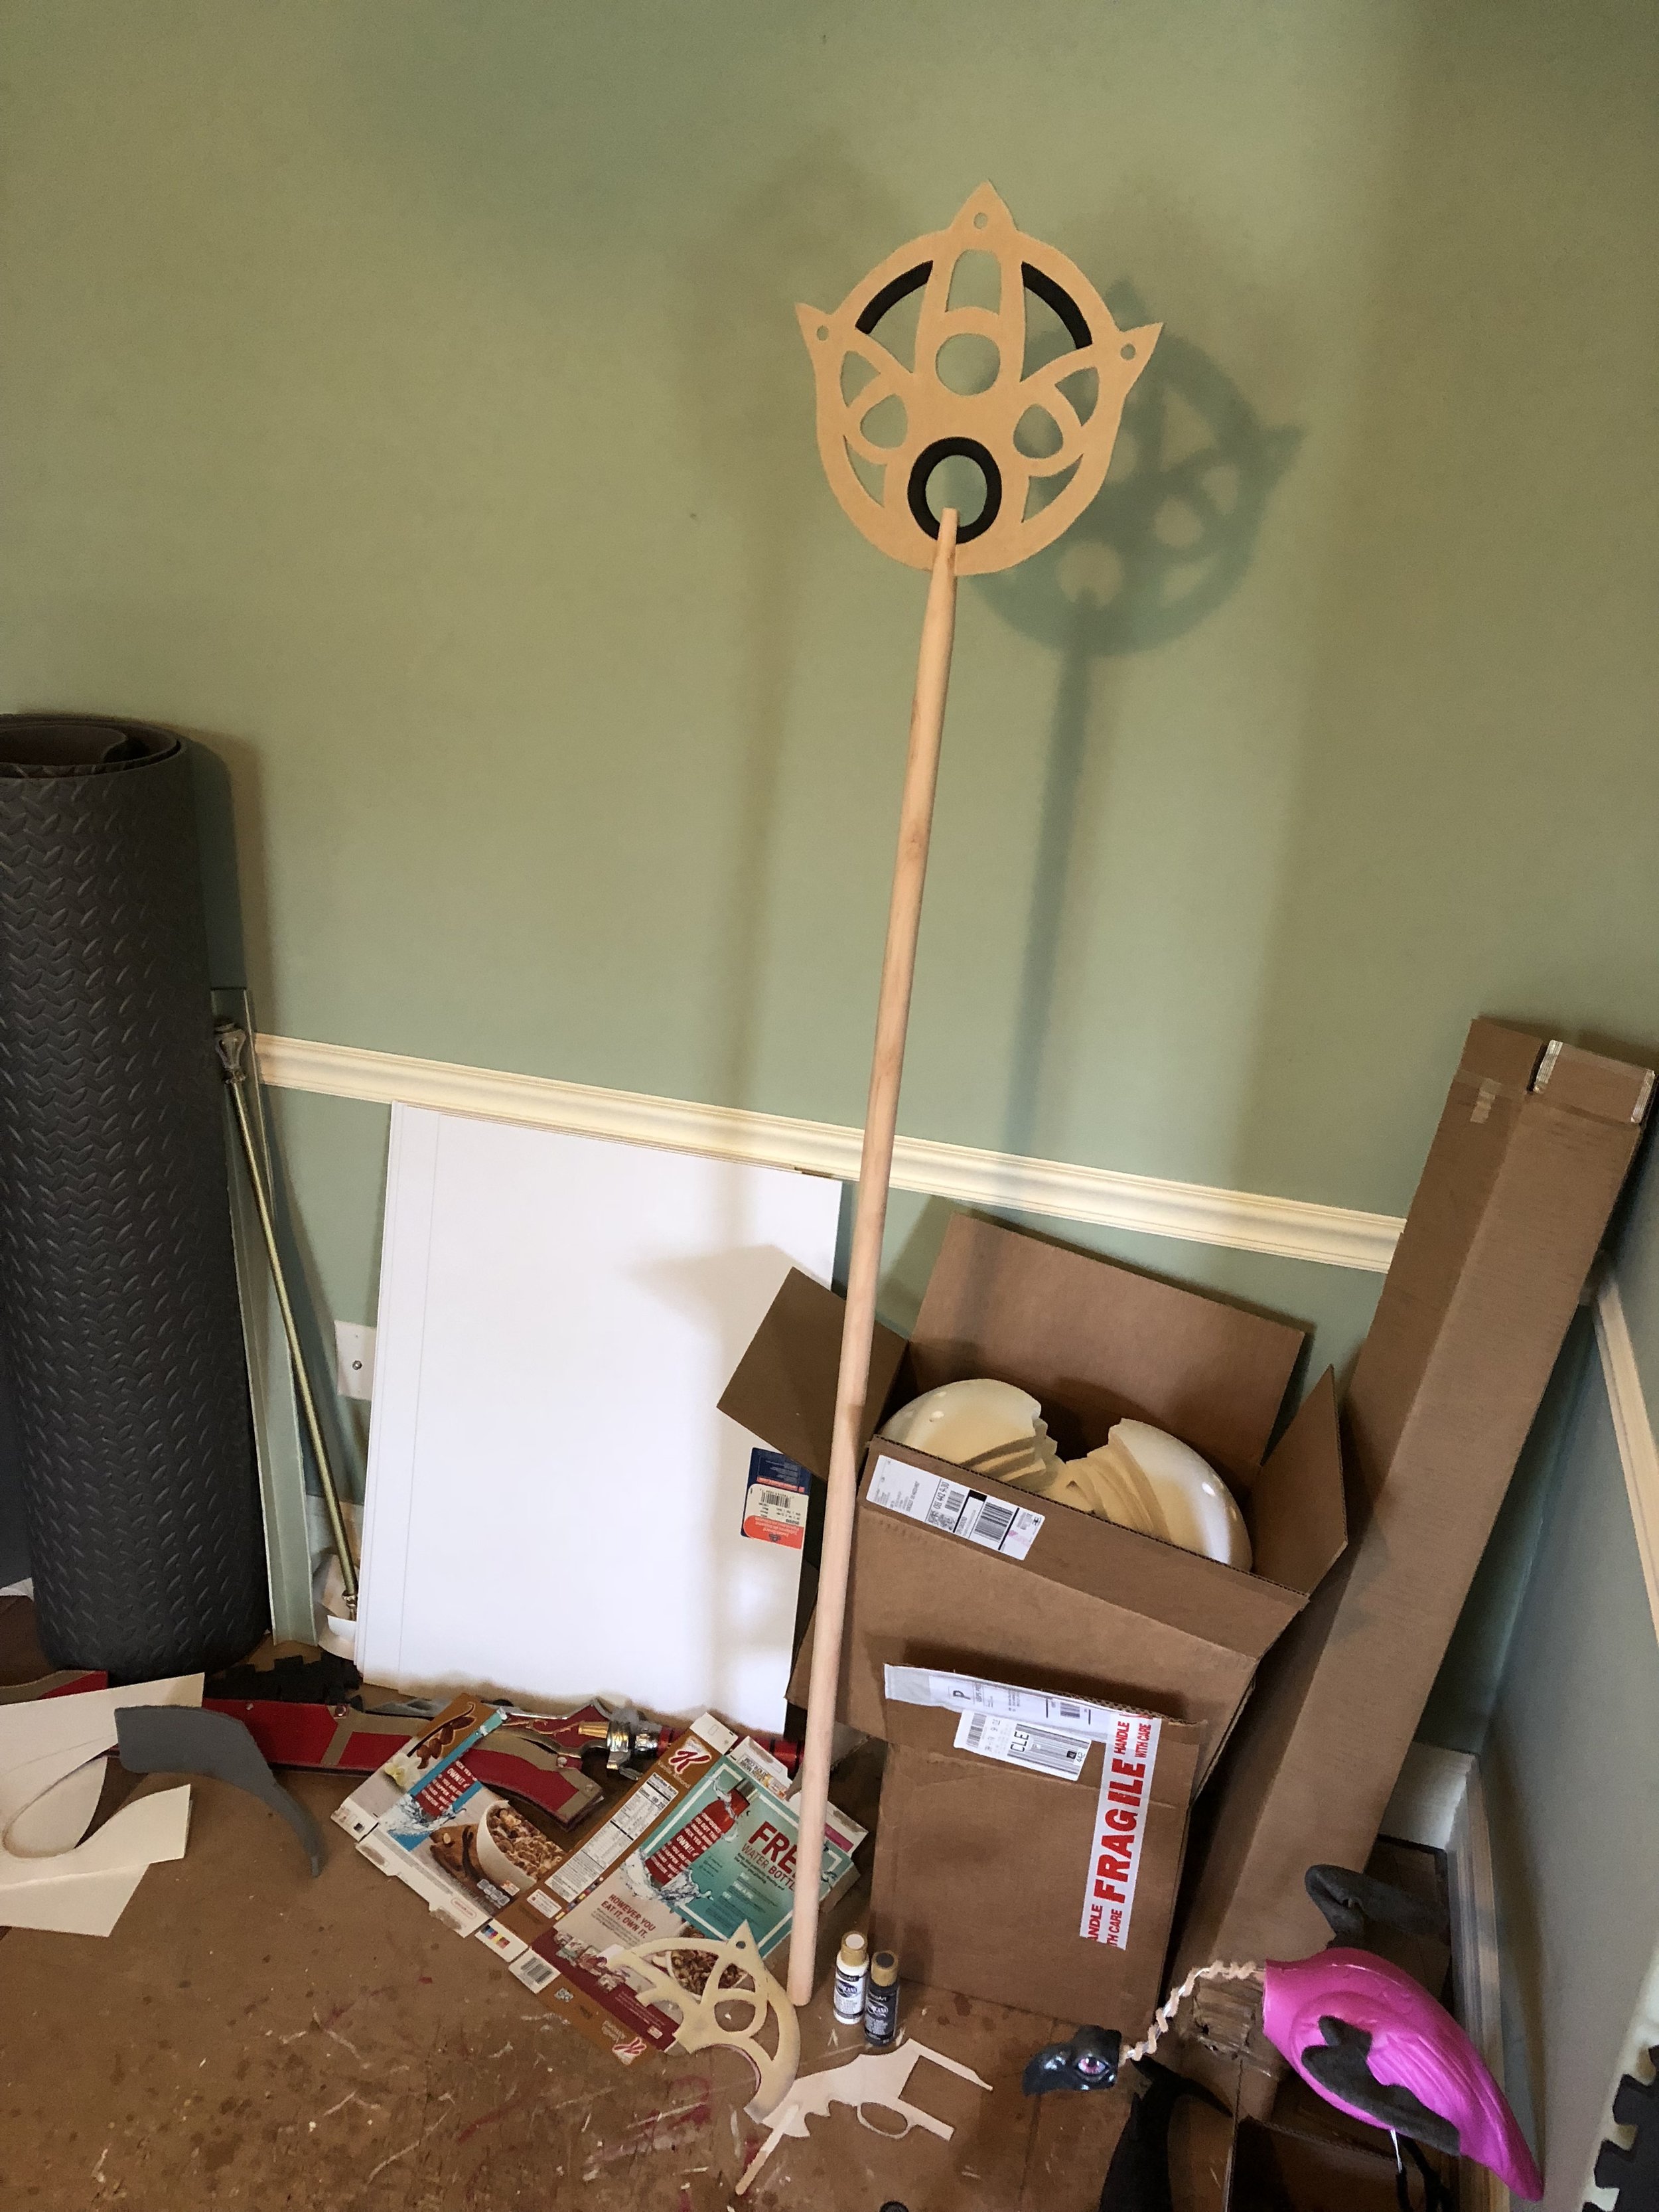
Here’s the head all painted! Next step is to paint the shaft blue but I haven’t gotten to that yet.


The last new item on my list is Atalanta’s bow from Fate/Apocrypha! I’m making this for a friend of mine and we’ll be cosplaying together at Youmacon.

2018-09-08 (1).png

Much like Opal’s bow, the base is wood with a section of broom handle as the grip. Despite the overall shape of the bow being a little more intricate, this actually took way less time to put together than the other bow because it didn’t involve two layers of wood together (which took a LOT of sanding to even out) and the weird round spiral bit that also took a lot of time and work to get fit together and looking right.

IMG_1064.JPG
IMG_1068.JPG

The raised details are all made from either craft foam or cereal box… you can probably tell from the photo above which sections are which ;-)
The bits around the grip are covered with worbla scraps that I heated up and mushed together.

With the details done, all there was left to do was paint and add the bowstring. The simple black & gold color scheme is what really made the difference as far as time spent detailing compared to the other bow I’m working on.

IMG_1277.JPG

And that’s all the commission work I’ve gotten done recently. I was out of town all last week visiting friends and going to my brother-in-law’s wedding so I was not as productive as usual. This week I’m aiming to get Yuna’s staff and Opal’s bow done so keep an eye on my instagram to see more progress photos! I’ve also been working on my new cosplay for Youmacon which is mostly done at this point, so I’ll be posting again later this week or some time next week with all the photos and construction notes on that!

WIP Wednesday

Michael MacWolff

Hey everyone, I just wanted to share some photos of the stuff I've been working on lately.

Suppressed_smg_icon.png

First up is this bad boy, the Silenced SMG from that game everyone's crazy about right now, Fortnite. I cranked this thing out so fast that apparently I haven't posted any of it on here, so you've only seen this stuff if you follow my Instagram

IMG_0904.JPG

The base materials are wood, MDF, and cardboard. I carved the ammo cartridge/trigger/grip section out of 3 layers of MDF, the large cylinder is a heavy duty mailing tube, and the smaller dowels are from an old wooden broom handle.

IMG_0921.JPG

Most of the details are craft foam, along with some small dome stickers for the one spot. The sight is a slice of rigid plastic tubing (essentially PVC but transparent... PCV would have worked just as well).

IMG_0930.JPG

Here's the full build! the details on the side are more MDF, and the part that goes against your shoulder to steady the gun is wood.

IMG_1008.JPG

Here's the fully painted version! I had fun doing the rust details along the metallic parts. Here's a few extra detailed shots. The paint job was pretty easy since most of it is black. I did do some subtle highlighting with dark grey to make it a bit more interesting though.

IMG_1011.JPG
IMG_1013.JPG

With that done, I started a few new projects. First up is a personal project for myself, that I was hoping to do for Matsuri but I ran out of time. 

nier_kaine_grimoire_weiss_by_agekei-d82rx85.png

If you've ever played Nier: Gestalt/Replicant then you'll recognize this as the saucy magic book, Grimoire Weiss. And, if you haven't played it... you should cause it's a great game.

I've been wanting to make one for a while and I finally found a good book to use for a base last time I was out thrifting. The proportions were perfect for the design (although the book is a bit slimmer than Weiss is in the game) and it was a cookbook which seemed all too appropriate (for those of you unfamiliar with Nier, Weiss hates cookbooks and tells you about it several times in-game).

I found a lovely illustration of Weiss's front cover on the Nier Wiki, so I resized it and printed several copies on cardstock. Then, much like I do with my MtG life counters, I used an exacto knife to cut out different layers and then layered them together to get the 3D details.

IMG_1021.JPG

Once the layers were attached to the book, I spray-shellaced the whole thing so that the cardstock wouldn't get all wrinkly when I went to paint it. I also did a few layers of mod podge before I started the painting process.

IMG_1033.JPG

This is the state he's currently in. I have to touch up the mid-tone in a few spots where I got a little overzealous with the black, and then I need to add some highlights (and probably touch up the midtones again afterwards. Then once all that's done I can add the metallic coat and sealers. It'll be a bit before I can start working on the back yet...


Opal_Gen_3_by_Lenhi.png

The other project I started is another commission, the bow pictured here from Steve Universe.

IMG_0985.JPG
IMG_1031.JPG

The base is all wood, and it's actually two layers glued together to get the thickness I needed. It might not look like much but I've already sunk a LOT of time into this project, most of it spent sanding these thing into the shape they're currently in. The round sections are bits of mailing tube and the bar that will hold them together is going to be part of a broom handle, so that way they can separate for easier transportation. I still have a whole lot left to do for this but at least it's coming along!


4Koma_Silas.png

Last up is the most elaborate of anything I'm working on, and you guessed it, it's ANOTHER set of Nohrian armor because FML. I guess the nice thing is that I've not had to make the same set twice? Even though it's all very similar? Maybe that's not actually a good thing? I don't know, but I'm pretty sure after I finish this project I'm going to strike full plate armor sets from my repertoire because they're way too much work.

IMG_1032.JPG

Here's what we have so far: the torso plates and the bracers. This is all craft foam that will eventually have worbla over it. Hopefully by the end of the day I'll have the pattern figured out fro his shoulder pauldrons because they're a very odd shape that I'm still not entirely sure how to achieve. But I'll get there I'm sure.

That's all for now!