Armory Progress
Michael MacWolff
Hey folks and welcome to another WIP Wednesday here at MDC! Most of what you'll be seeing today is stuff that I've been putting together for the past few months and is almost to the point of no longer being in progress (THANK THE GODS)!
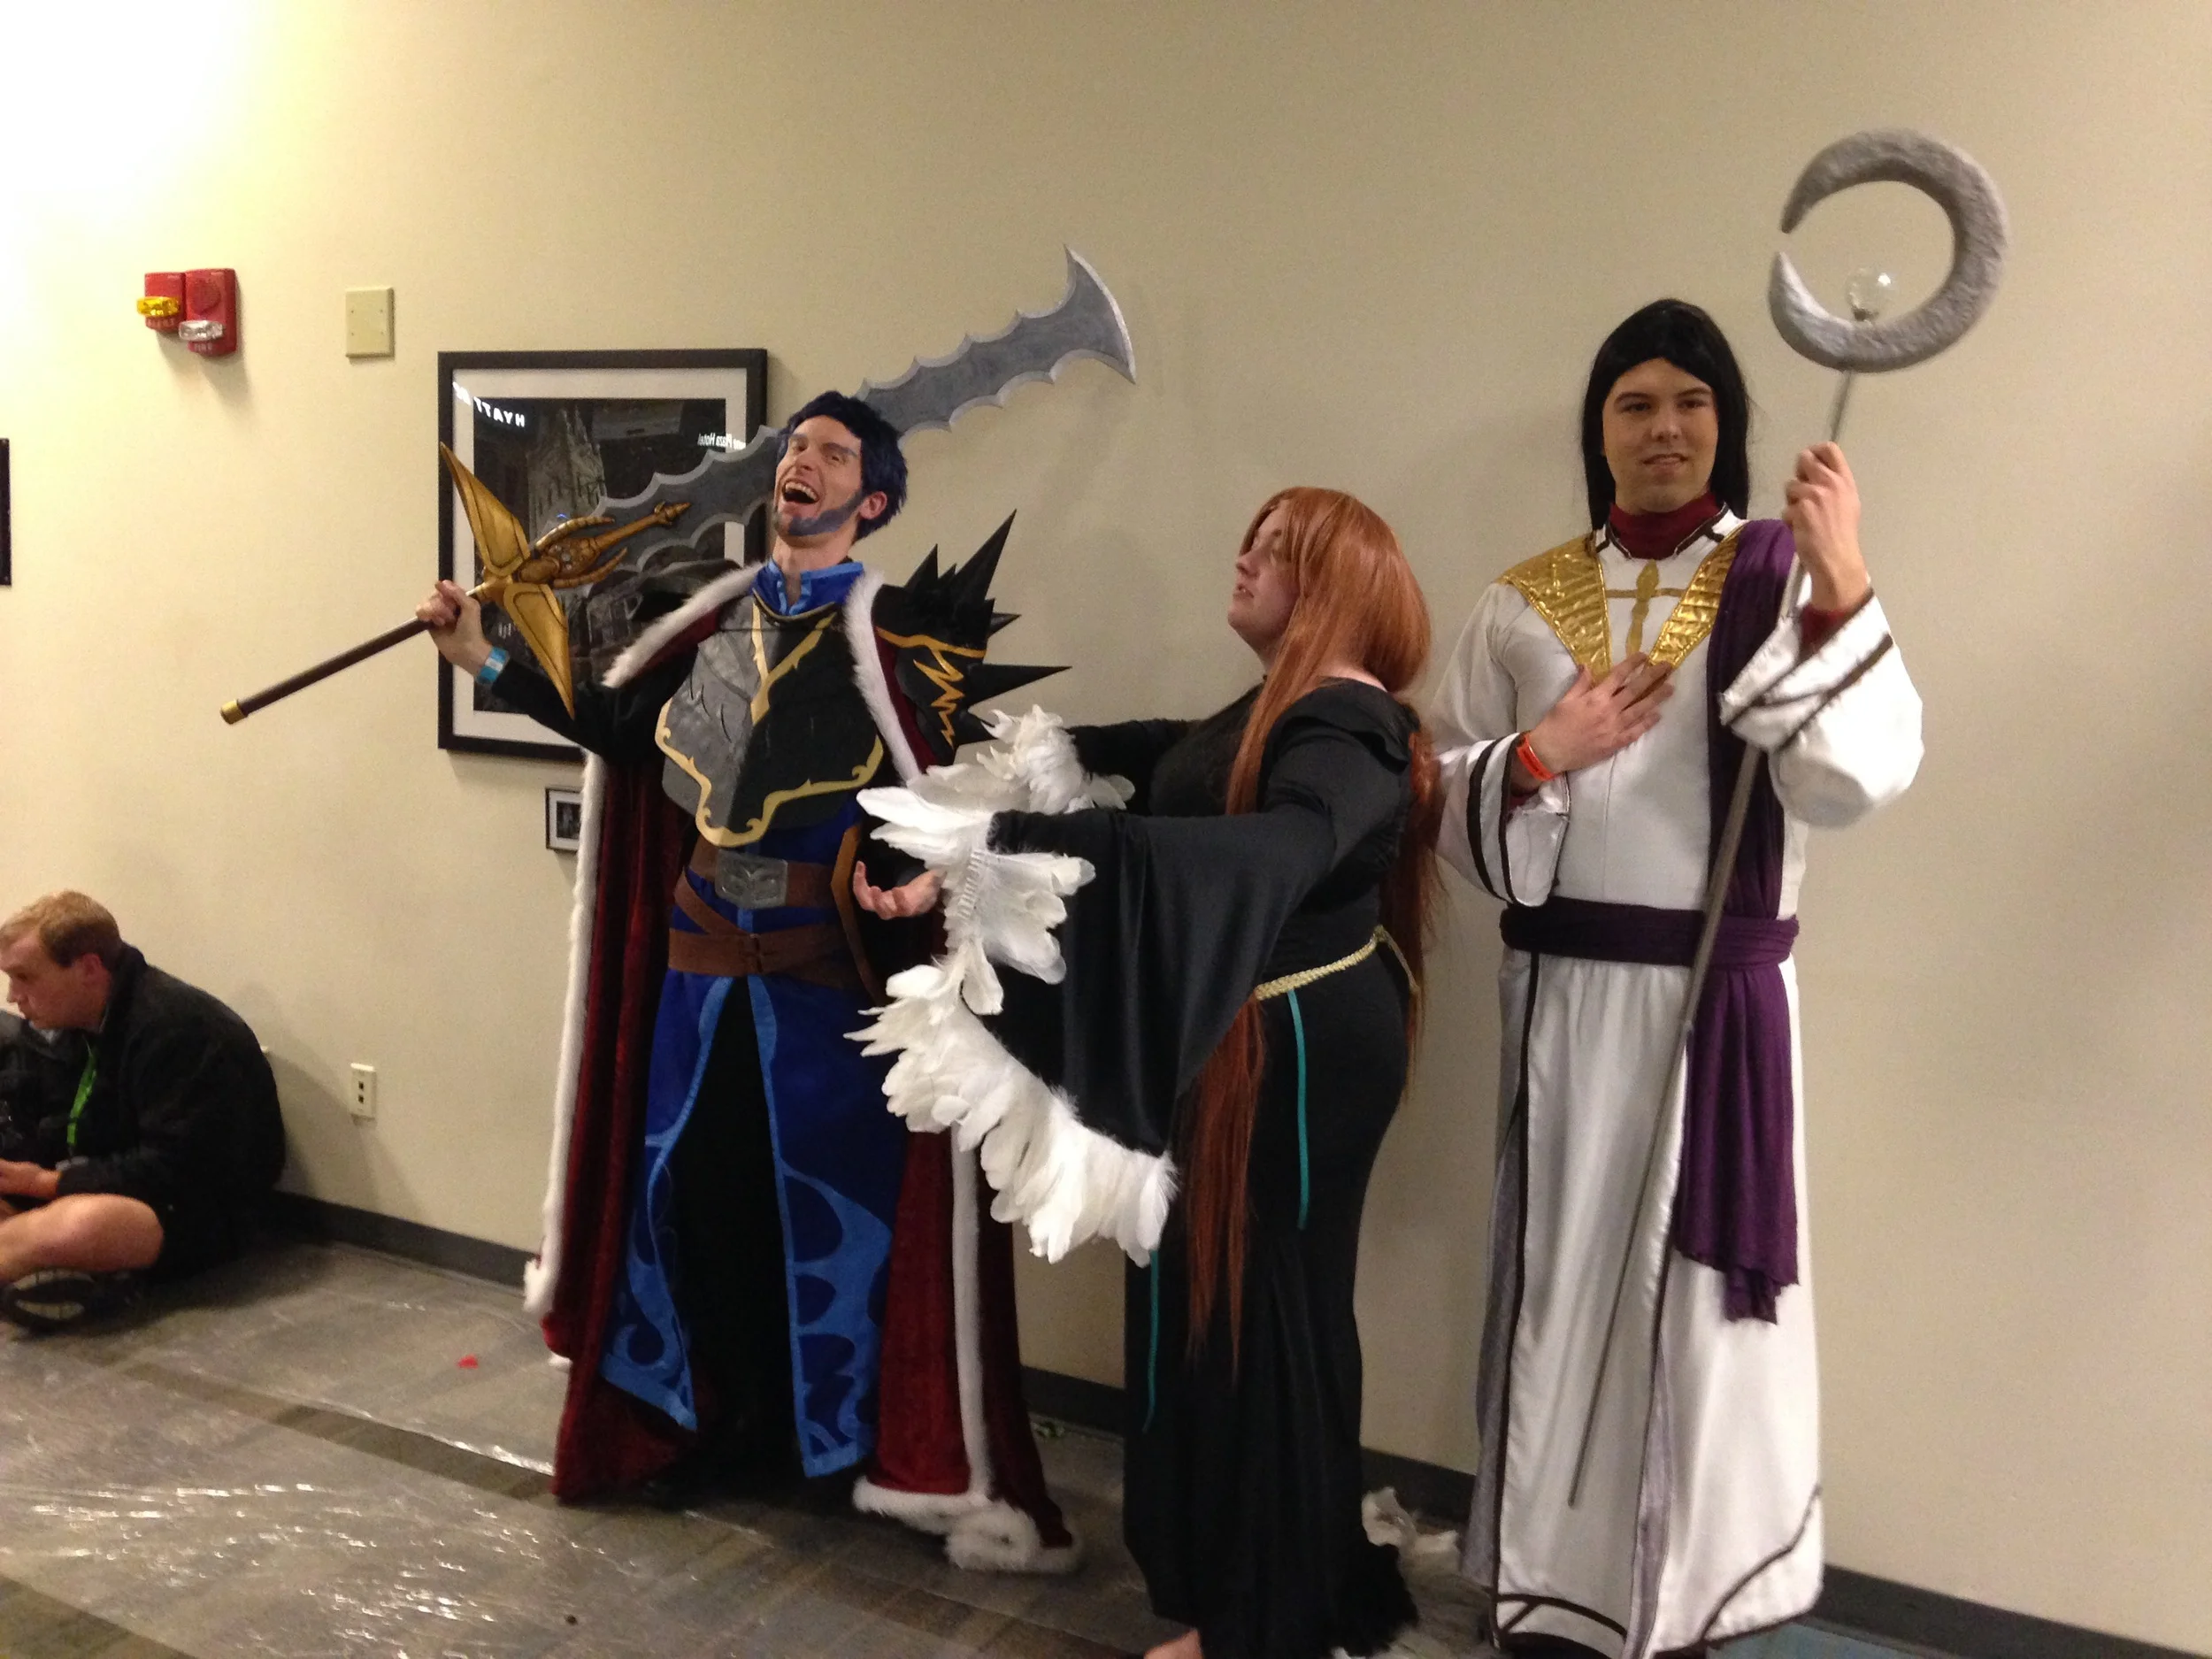
As most of you know, I've been hard at work on one of my biggest commissions of my career thus far: the full armor suit for Leo from FE:fates. For those of you unfamiliar with the character, he looks like this:

Now many of you are probably aware that I've only ever made one suit of armor before in my life, for my beloved dracoknight Haar, and while it turned out fairly well, it wasn't the sturdiest in the world. So with this in mind, I knew I'd need a different strategy than the foamie & posterboard method I used for Haar. Obviously, the first thought was worbla. There was also the daunting notion that I had to make a full-torso platemail when Haar only had a small breastplate so this project was a bit intimidating, to say the least.
Fortunately I've learned a lot through making it, and I feel like the next armor projects I do will turn out even better (though to be quite honest I'm very pleased with how Leo's armor came out). But enough blathering, let's look at how this all came together.

It starts with a pattern made from paper and masking tape. I had to make sure all of the pieces were symmetrical and that they fit together the way they needed to. It took quite a few adjustments before I arrived at this final pattern.
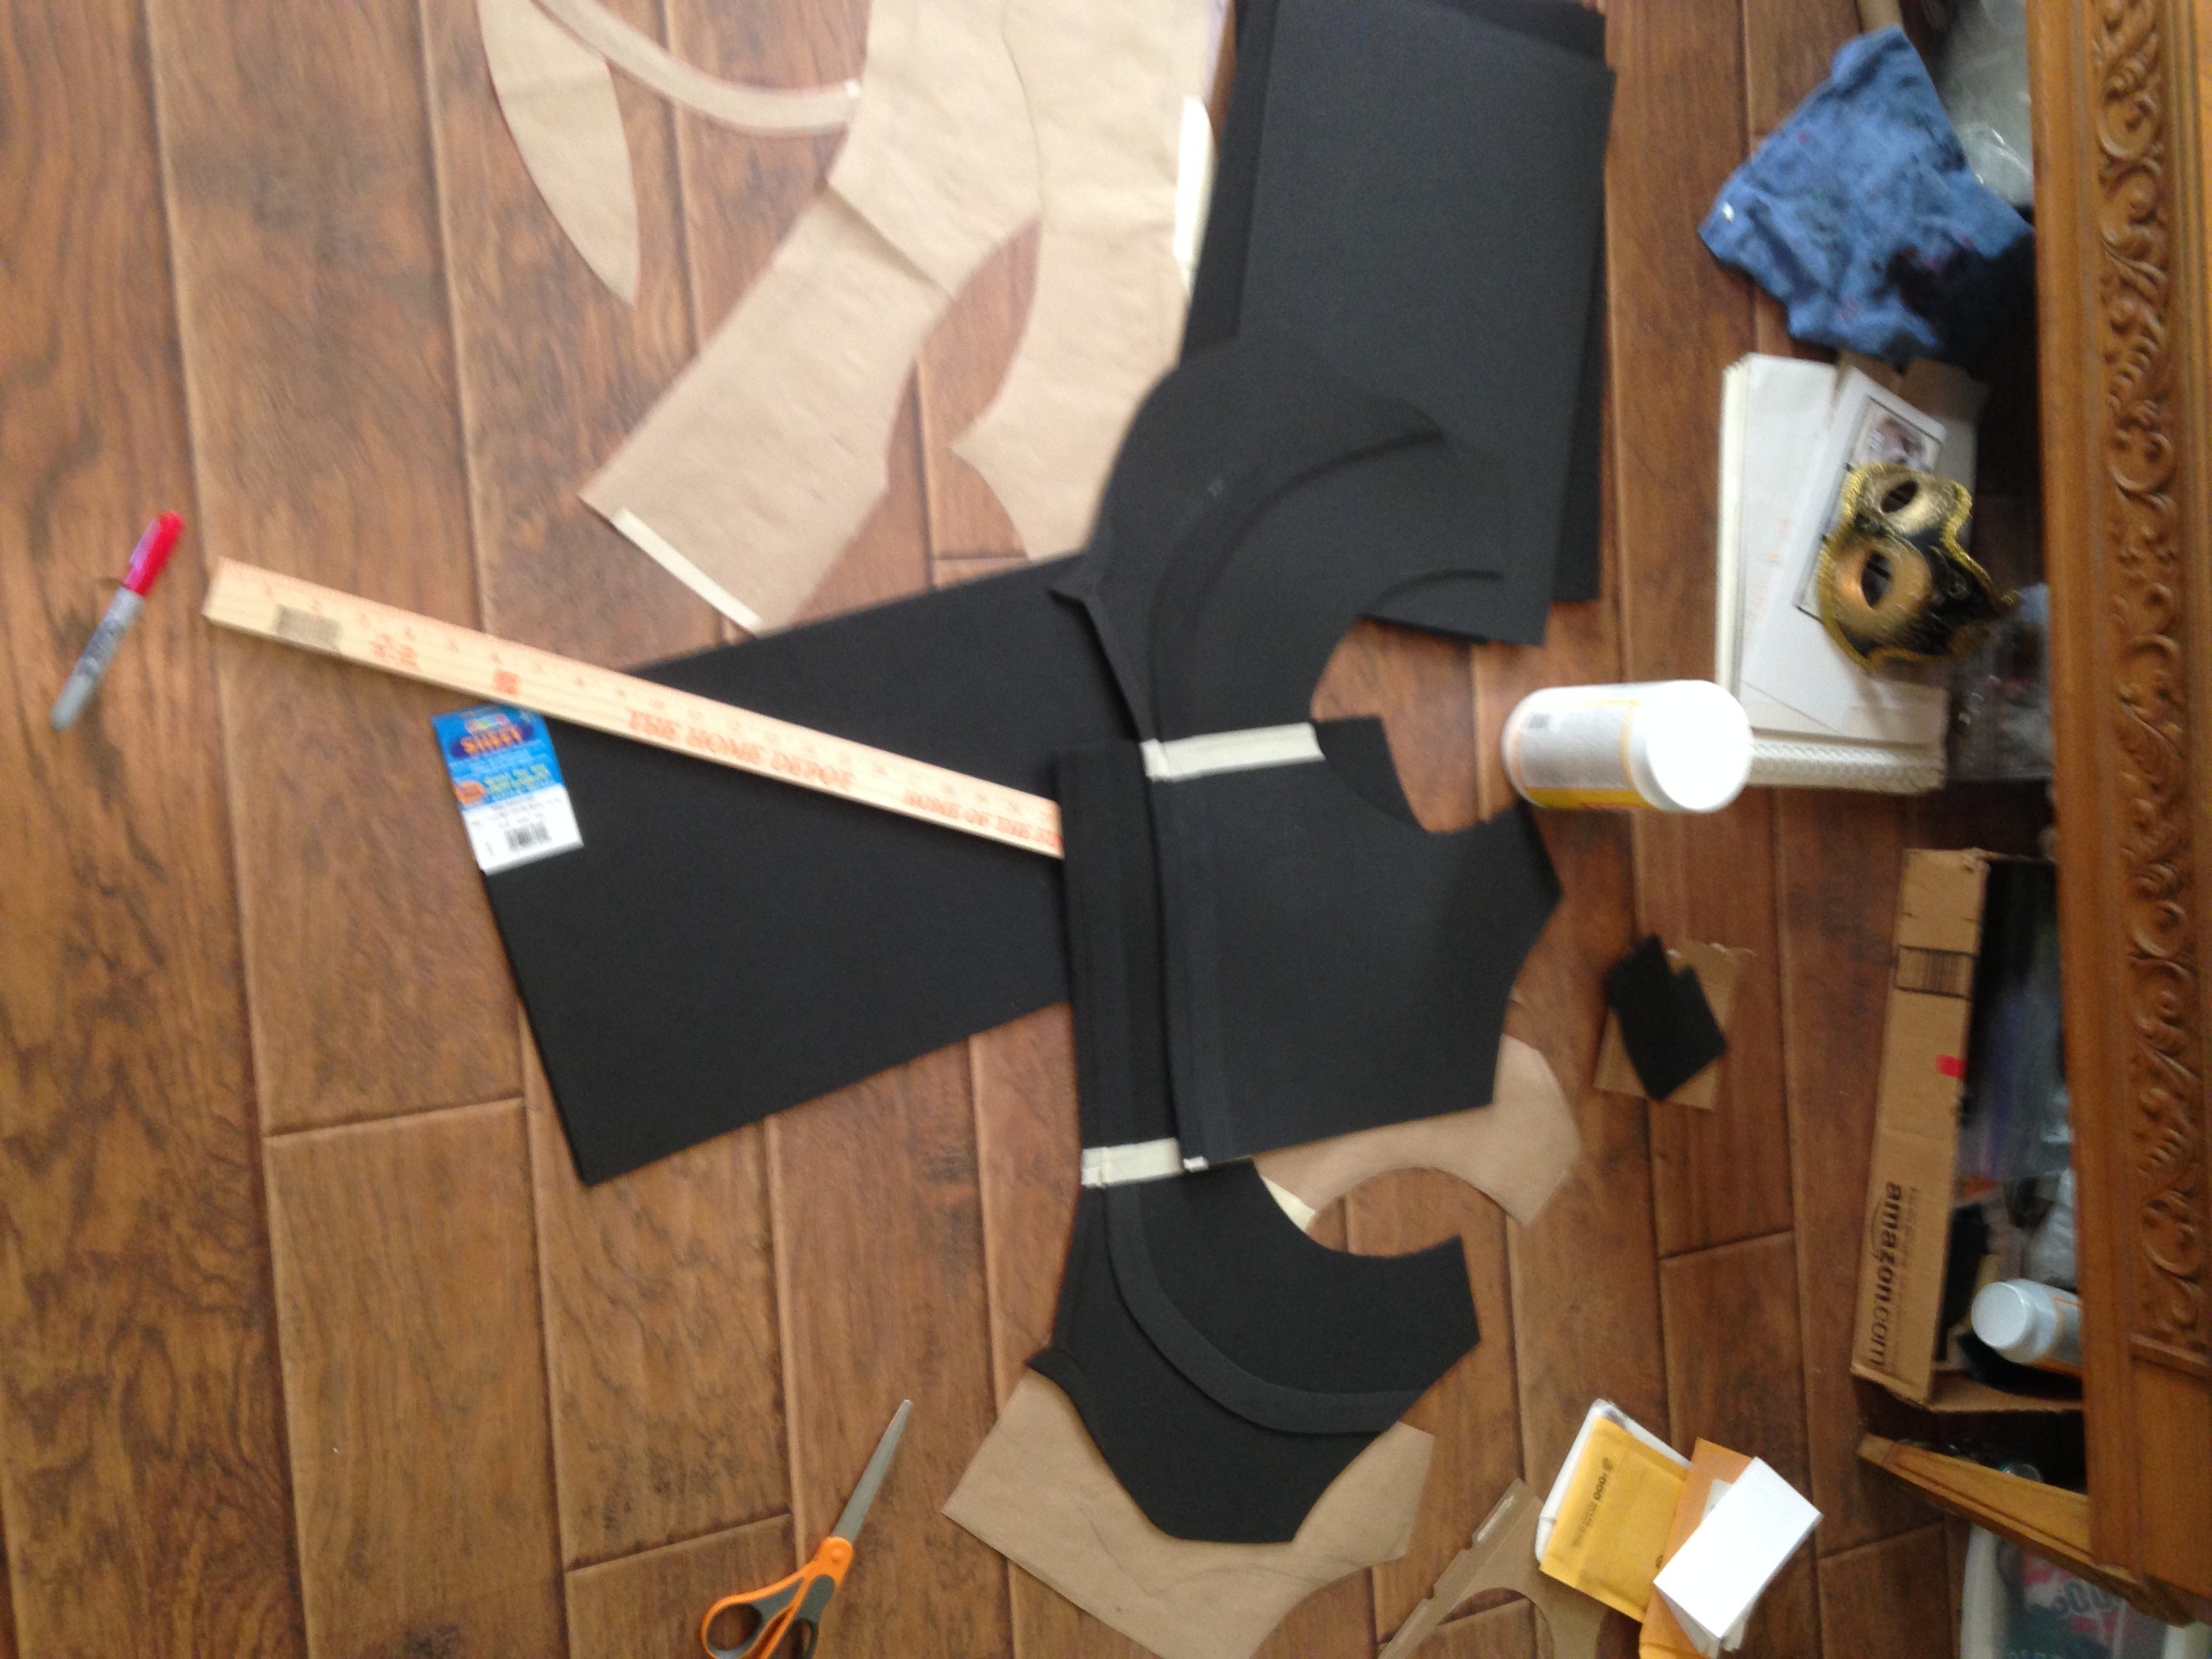
The base layer for most of the pieces is done in foamies, though there are some pieces that have a base layer made from cardstock or compressed paperboard. Generally when I needed a more intricate shape with specific angles, the cardstock was better than the foam because t remained stiff even when the heated worbla got wobbly. Craft foam on the other hand does not keep its structural integrity when heated up, so there are a few wonky spots in the breastplate. Thankfully with everything being black they're not terribly noticable and most of them should be covered by his capelet anyway,

The next step is adding the worbla. If you're doing something like this, be forewarned that heating up large sheets of worbla takes a long time and it's hard to keep it all hot enough to mold at the same time, so you generally want to start in the middle and work your way toward the edges.
Also, the raised designs on these pieces are foamies too, that were taped on underneath and then molded into the worbla layer using that popsicle stick in the lower right corner.

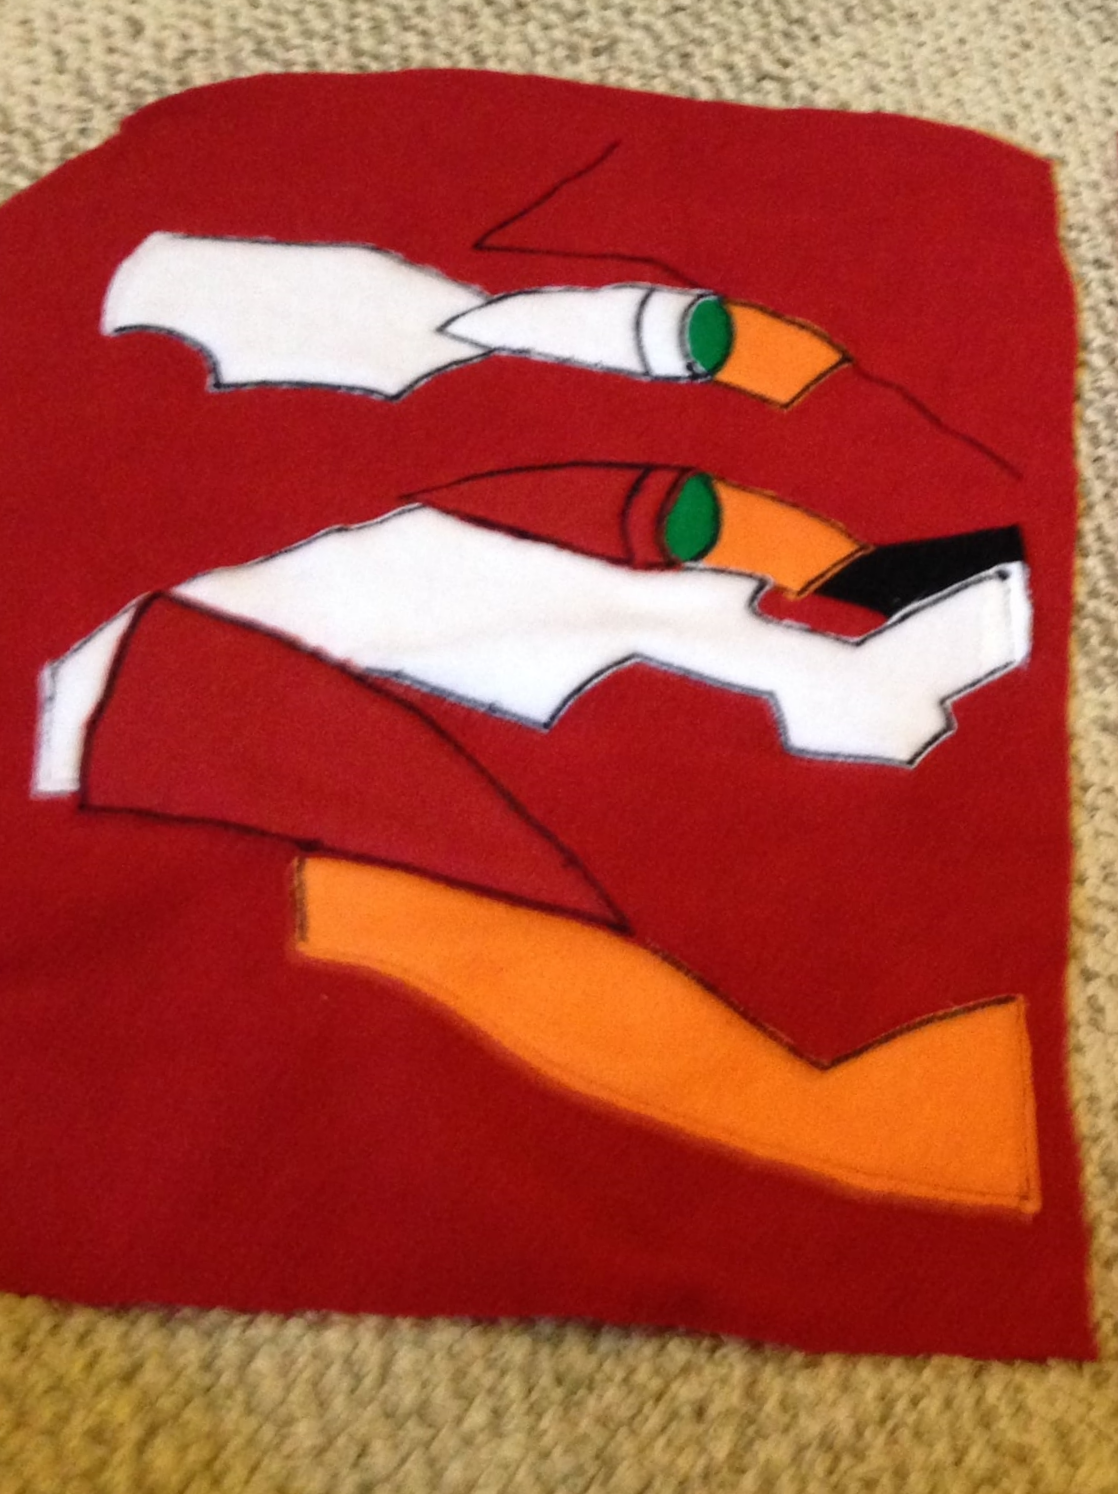
The pieces came together a little bit at a time, and occasionally I got to use some alternative materials... ok well really just once with the gold flower/sun bits for the bottom of his chest armor. Which I made using leftover save-the-dates from our wedding XD

At this point the chest armor is all built and we've added hip tassets!
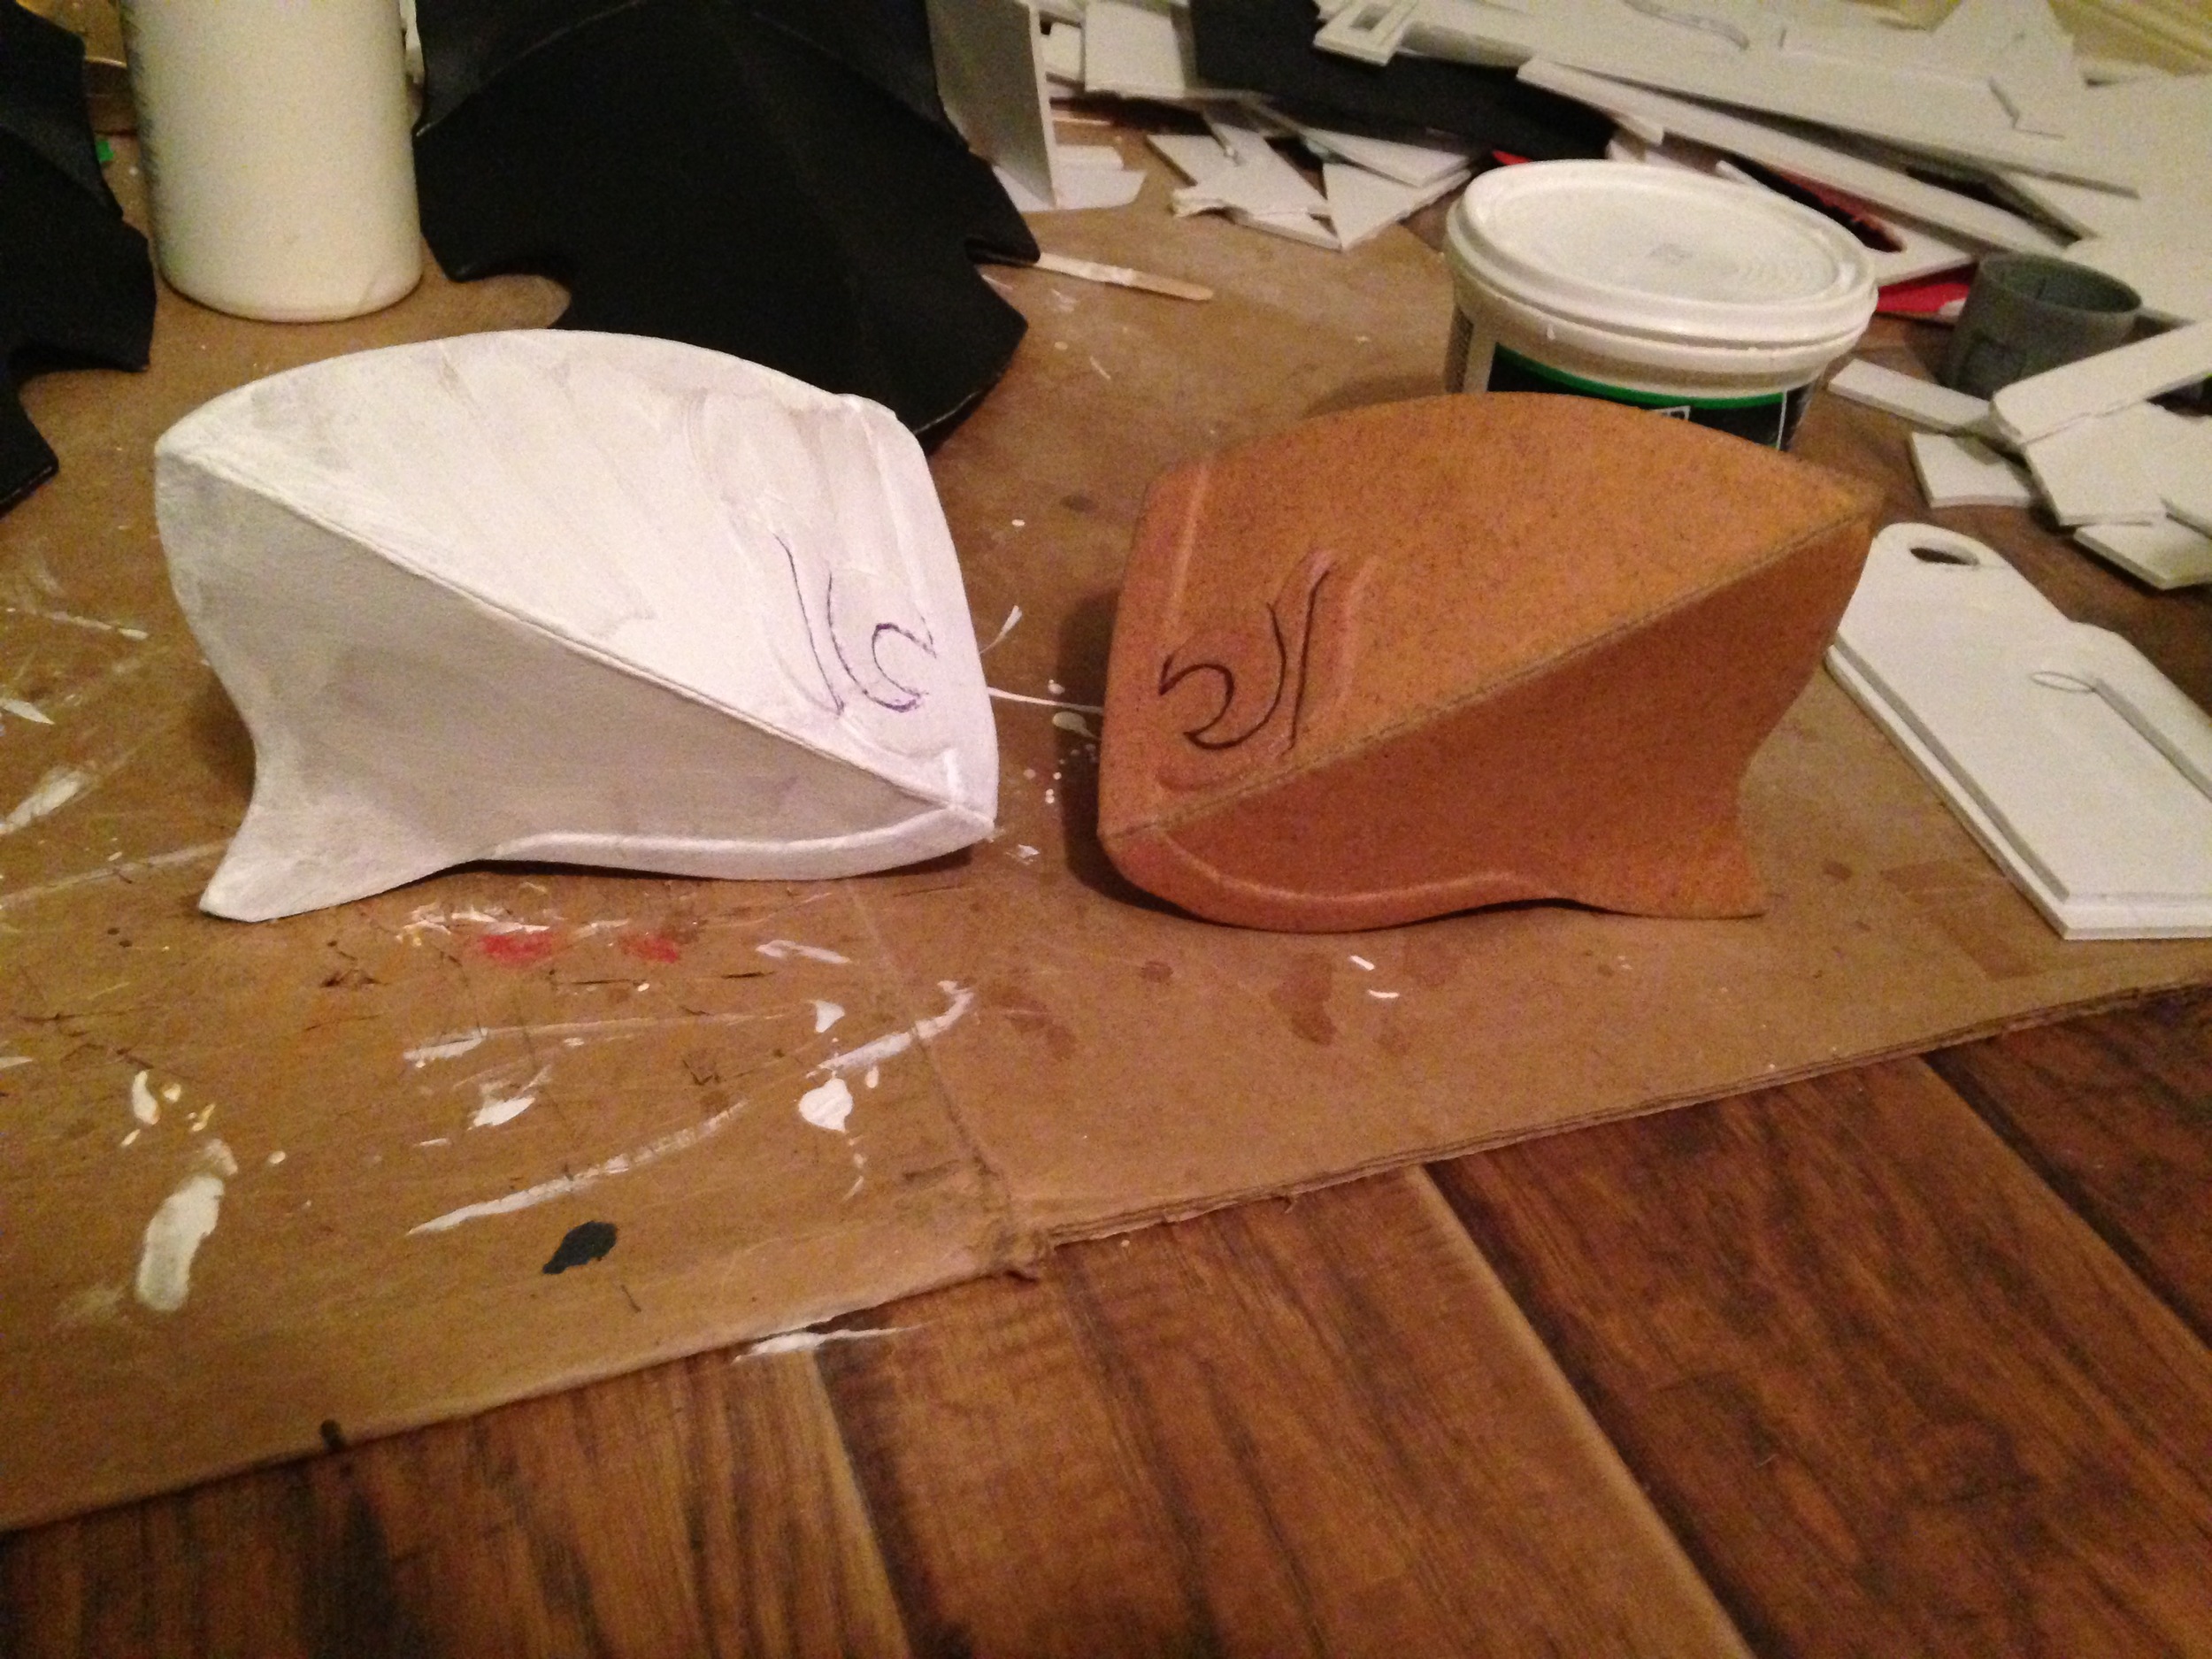
And then there were shoulder pauldrons. And you can see the next step of gessoing all of the pieces to help smooth the texture a bit.

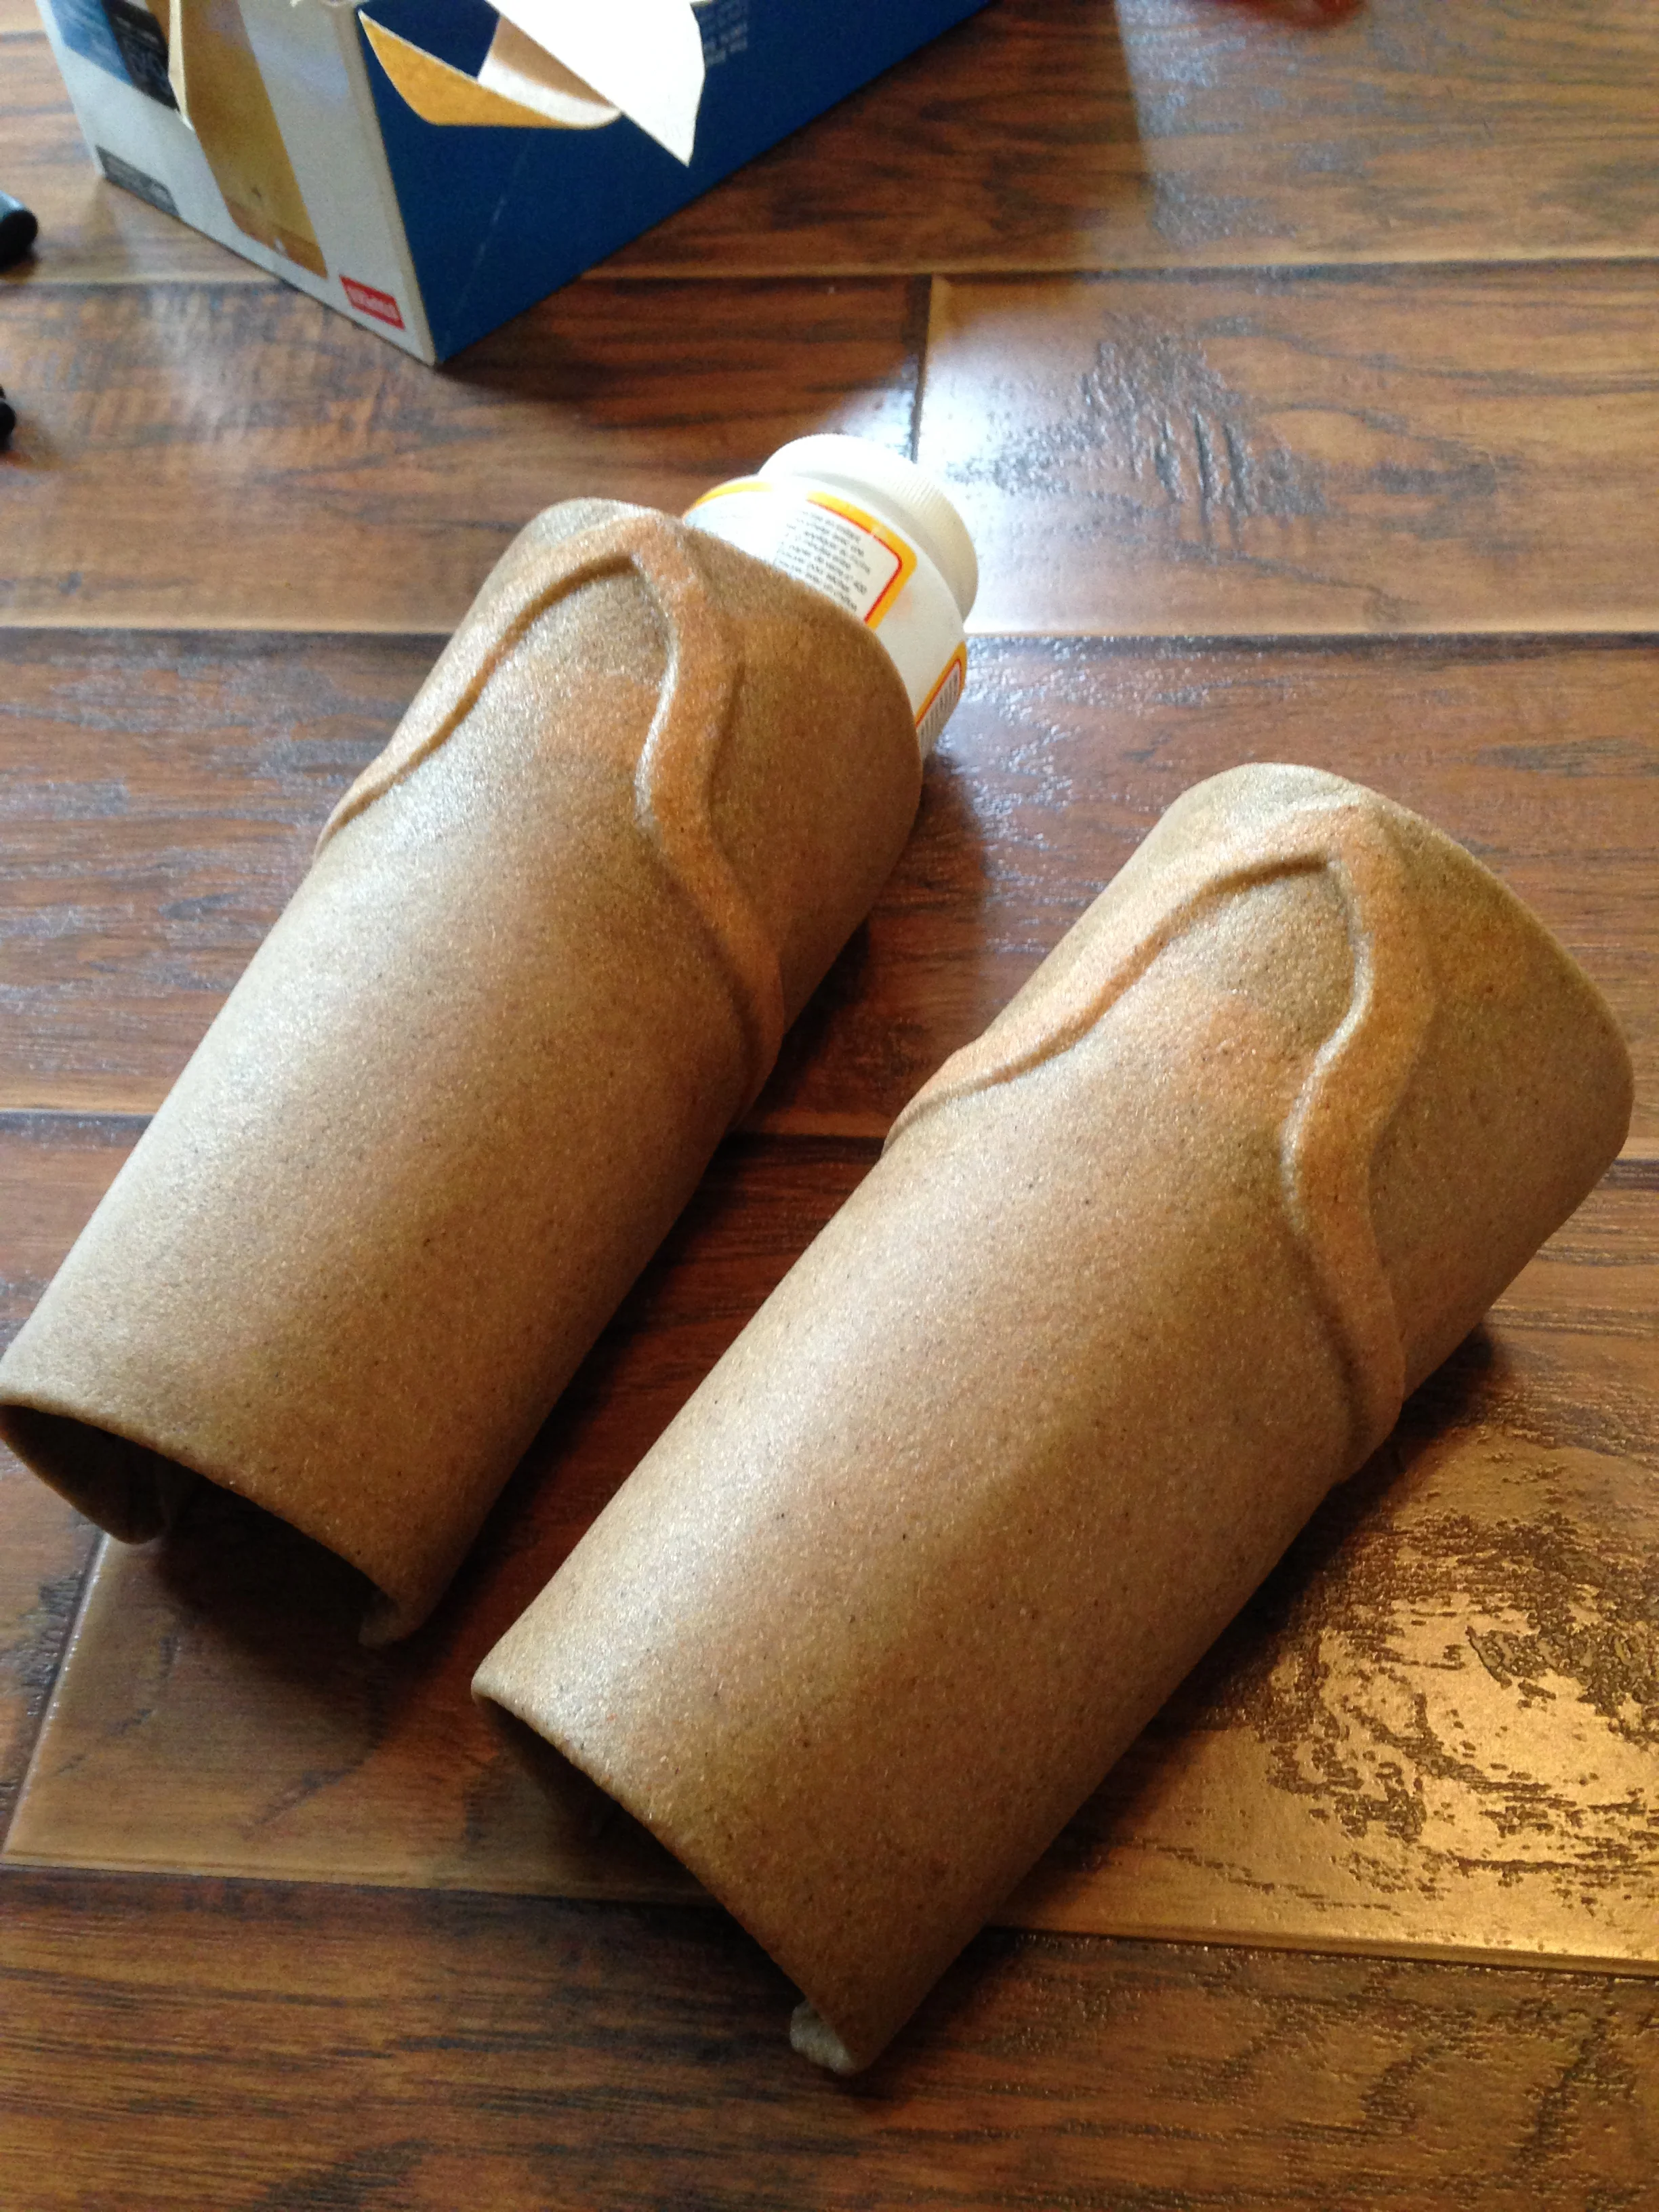
The bases for the kneecap armor.

And some shin guards pre-construction...

And the fully worbla-ed pieces

... and post construction

And bracers...

And the weird neck guard piece...

Gauntlet pieces...

And last but not least the elbow guards! Because everyone needs armored elbows.
The next few steps were pretty much the same for all of the pieces: After a few layers of gesso and some sanding, I sprayed on a few layers of shellac and then did a base coat in black. Once that was all done, it was time to lay down the base layer for the gold details. As I always remind you guys, putting down a base layer for your metallics is important. I have a section in my pain bin that is all paint specifically for this purpose. JUST DO IT IT MAKES FOR LESS WORK LATER. As you can see below, two coats of Honey Brown (Americana brand acryllic paint) is enough to get good coverage.

You can see the difference a second coat makes (left side), versus just a single coat (right side).

See how nice the metallic layer comes out! And I put no more than two coats on any of these! Some places only needed one coat! If I didn't put down the 2 coats for the base layer I could have needed at least 8-10 coats of the metallic paint to get anywhere close to this even of a color.
he last step is to seal everything with a layer of matte Mod Podge. Which I had actually already done in that photo above. You can see that it's not truly matte, but more of a satin finish. Either way, I love the amount of shine it gives and pretty much use it as a top layer on everything I make ever. It also does a great job of evening out your paint if you have/had to touch any spots up.
And that's that! There are a few other fun things that I got to do for this project, like installing some hinges in the two abdominal sections of the chest armor, as well as some buckles and straps in the breastplate pieces so they could hook together. I also put grommets in the shin guards and bracers so they could be laced up. Leo is going to be debuted at the end of the month, so I will be sure to pass along some photos of how the suit looks all together, since I'm not the one who's wearing it (and a lot of it wouldn't really fit me that well since I'm proportioned like a tree branch and not a normal human being).
For those of you interested in seeing more regular progress photos, I've been doing a pretty good job posting one every day on my Twitter, @mikeythelaguz under the tag #awipaday. Be forewarned that I use language not suitable for all audiences on twitter, and also livetweet video games and other such things so if you're just looking for progress photos, you can just stick to the #awipaday tag cause thus far it has yet to catch on so you'll only see my stuff :-)
You can expect wednesdays to be the most active days for me to be posting for a while as now that I'm finished with this huge commission, I have four others to work on, and need to be finishing them in the next two months. So needless to say I'll be spending most of my time crafting and not quite as much posting here, but I'll be sure to stop in at least once a week to unload all of my trials and tribulations on you lovely people. So until next time, ta.