Caffeine Pt. 2
Michael MacWolff
Hey folks! So I had an inquiry to get some more details on how I put together Coco's gatling gun, specifically the drum portion, so I thought I'd share it with everyone! We all know I'm not always great at giving thorough explanations on how I make stuff, so please keep asking questions and it'll help me get better, and it'll help make things easier for all of you guys who want to know how I make this junk! So ASK LOTS OF QUESTIONS! It'll be good for all of us!
I did make this piece a while ago, and as such I can't go back in time and take additional photos of the construction process, but I do have some. And, fortunately, I currently have the gun back to do some repairs/touch ups so I can take a few more close-up detail shots for you guys.
So for the construction of the large drum, I used several layers of foamcore board, as well as a thick piece of styrofoam (2" or 3" thick), all of which I cut into circles. You can see the pieces in this photo:

Sorry it's a bit blurry, but it's the only photo I have. You can see the thick styrofoam piece on the left, and the other foamcore circles to the right of it. If you look at the foamcore pieces in the center, you can see I have the exhaust slits (or whatever those black striped parts are supposed to be) cut out of the very top layer of foamcore board. Photo for reference on the black bits that are on the front of the drum:

There are also the indentations on the outside of the drum, which you can see more clearly in this gif. I carved those into the outside of the thick styrofoam piece using a dremel tool (you can see the indentations in the top photo).

Once I had all of the pieces cut out, I then made a large round hole in the top center of each layer, which is where the barrels would be sticking out of. I used a straight 3" PVC connector piece to hold the gun barrels, so the hole needed to be that size to fit the PVC piece into. You can see the hole/PVC piece in the next photo:

You can also see from this photo, that this is the point where I glued all of the layers together: the front layers of foamcore board with the exhaust slits on them, the thick piece of styrofoam with the indentations on the side, and a few more layers of foamcore on the back, to make for a smooth back face on the drum.
Once that was all glued together, I globbed on a bunch of spackling paste over all of the exposed foam (including all of the exposed parts on the styrofoam as well as the edges of all of the foamcore board. The point of that is so that when the spackling paste dries, it can be sanded to a smooth surface, which you don't get so much with the texture of the foam. It also helps protect the foam, which doesn't stand up well to abuse on it's own, and can melt if you spray paint it, so it's a really good idea to do this step! This next photo shows what it looks like after the spackling & sanding (though this was taken after I added a bunch more stuff).

You can also see all of the other bits attached at this point to. The piece that it sticking ctraight up in this photo and has the trigger button on it is a thin piece of wood. The handle and the panel that the handle is attached to are both also made of wood. You can see the little silver bolts on the wood panel. That's what keeps all of those pieces firmly in place. I drilled two holes into the wood panel, as well as the thin piece that the trigger is attached to, and drilled holes to match into the top part of the drum, straight through the large PVC piece that's set into it. The bolts go in the top, through both layers of wood, and all the way through the drum and stick out on the inside of the PVC piece. There's nuts that tighten onto them on that side, and they keep everything sturdily together.
As for the trigger piece itself, it's 4-5 layers of foamcore stacked together, with the same spackling paste added before sanding.
In addition, I used more PVC fittings for the cylindrical part that sticks out of the back of the drum. There's another straight connector piece, and then an end cap, all glued together (I think I used E-6000 for that) and lined up directly over the opening of the PVC fitting set into the drum, so that the hole continues through the extra PVC pieces (that's so the gun barrels can slide all the way back into the extra PVC fittings).


So the extra PVC pieces fit on like this.
Now for the other pieces that stick out on the back of the drum, I improvised a bit so I apologize for the weird materials list/methodology here.

The larger weird round bit to the right is a 16oz. Mod Podge container that I cut the top part (the top part being where the lid is normally screwed on) off of and glued to the back, next to the PVC protrusion. The smaller piece that sticks further out from there is a small plastic paint container (akin to these) which was glued to the top of the mod podge continer.
Next, to fill in the gap between the two cylindrical parts, I cut a long rectangle of paperboard (from a cereal box) and attached it to the PVC protrusion, wrapped it around the Mod Podge container, and then to the other side of the PVC protrusion. I hot glued and mod podged around all of the areas where the paperboard piece connected to the base of the drum so that the area inside the paperboard piece was essentially water-tight. I then stuffed a bunch of aluminum foil in the empty space, mixed up some liquid plastic, and poured it into the wells with the aluminum foil to make a solid surface.
The blank white spot is where the little PVC elbow went (and as you can see, is one of the bits I need to repair). Here's the little elbow piece.
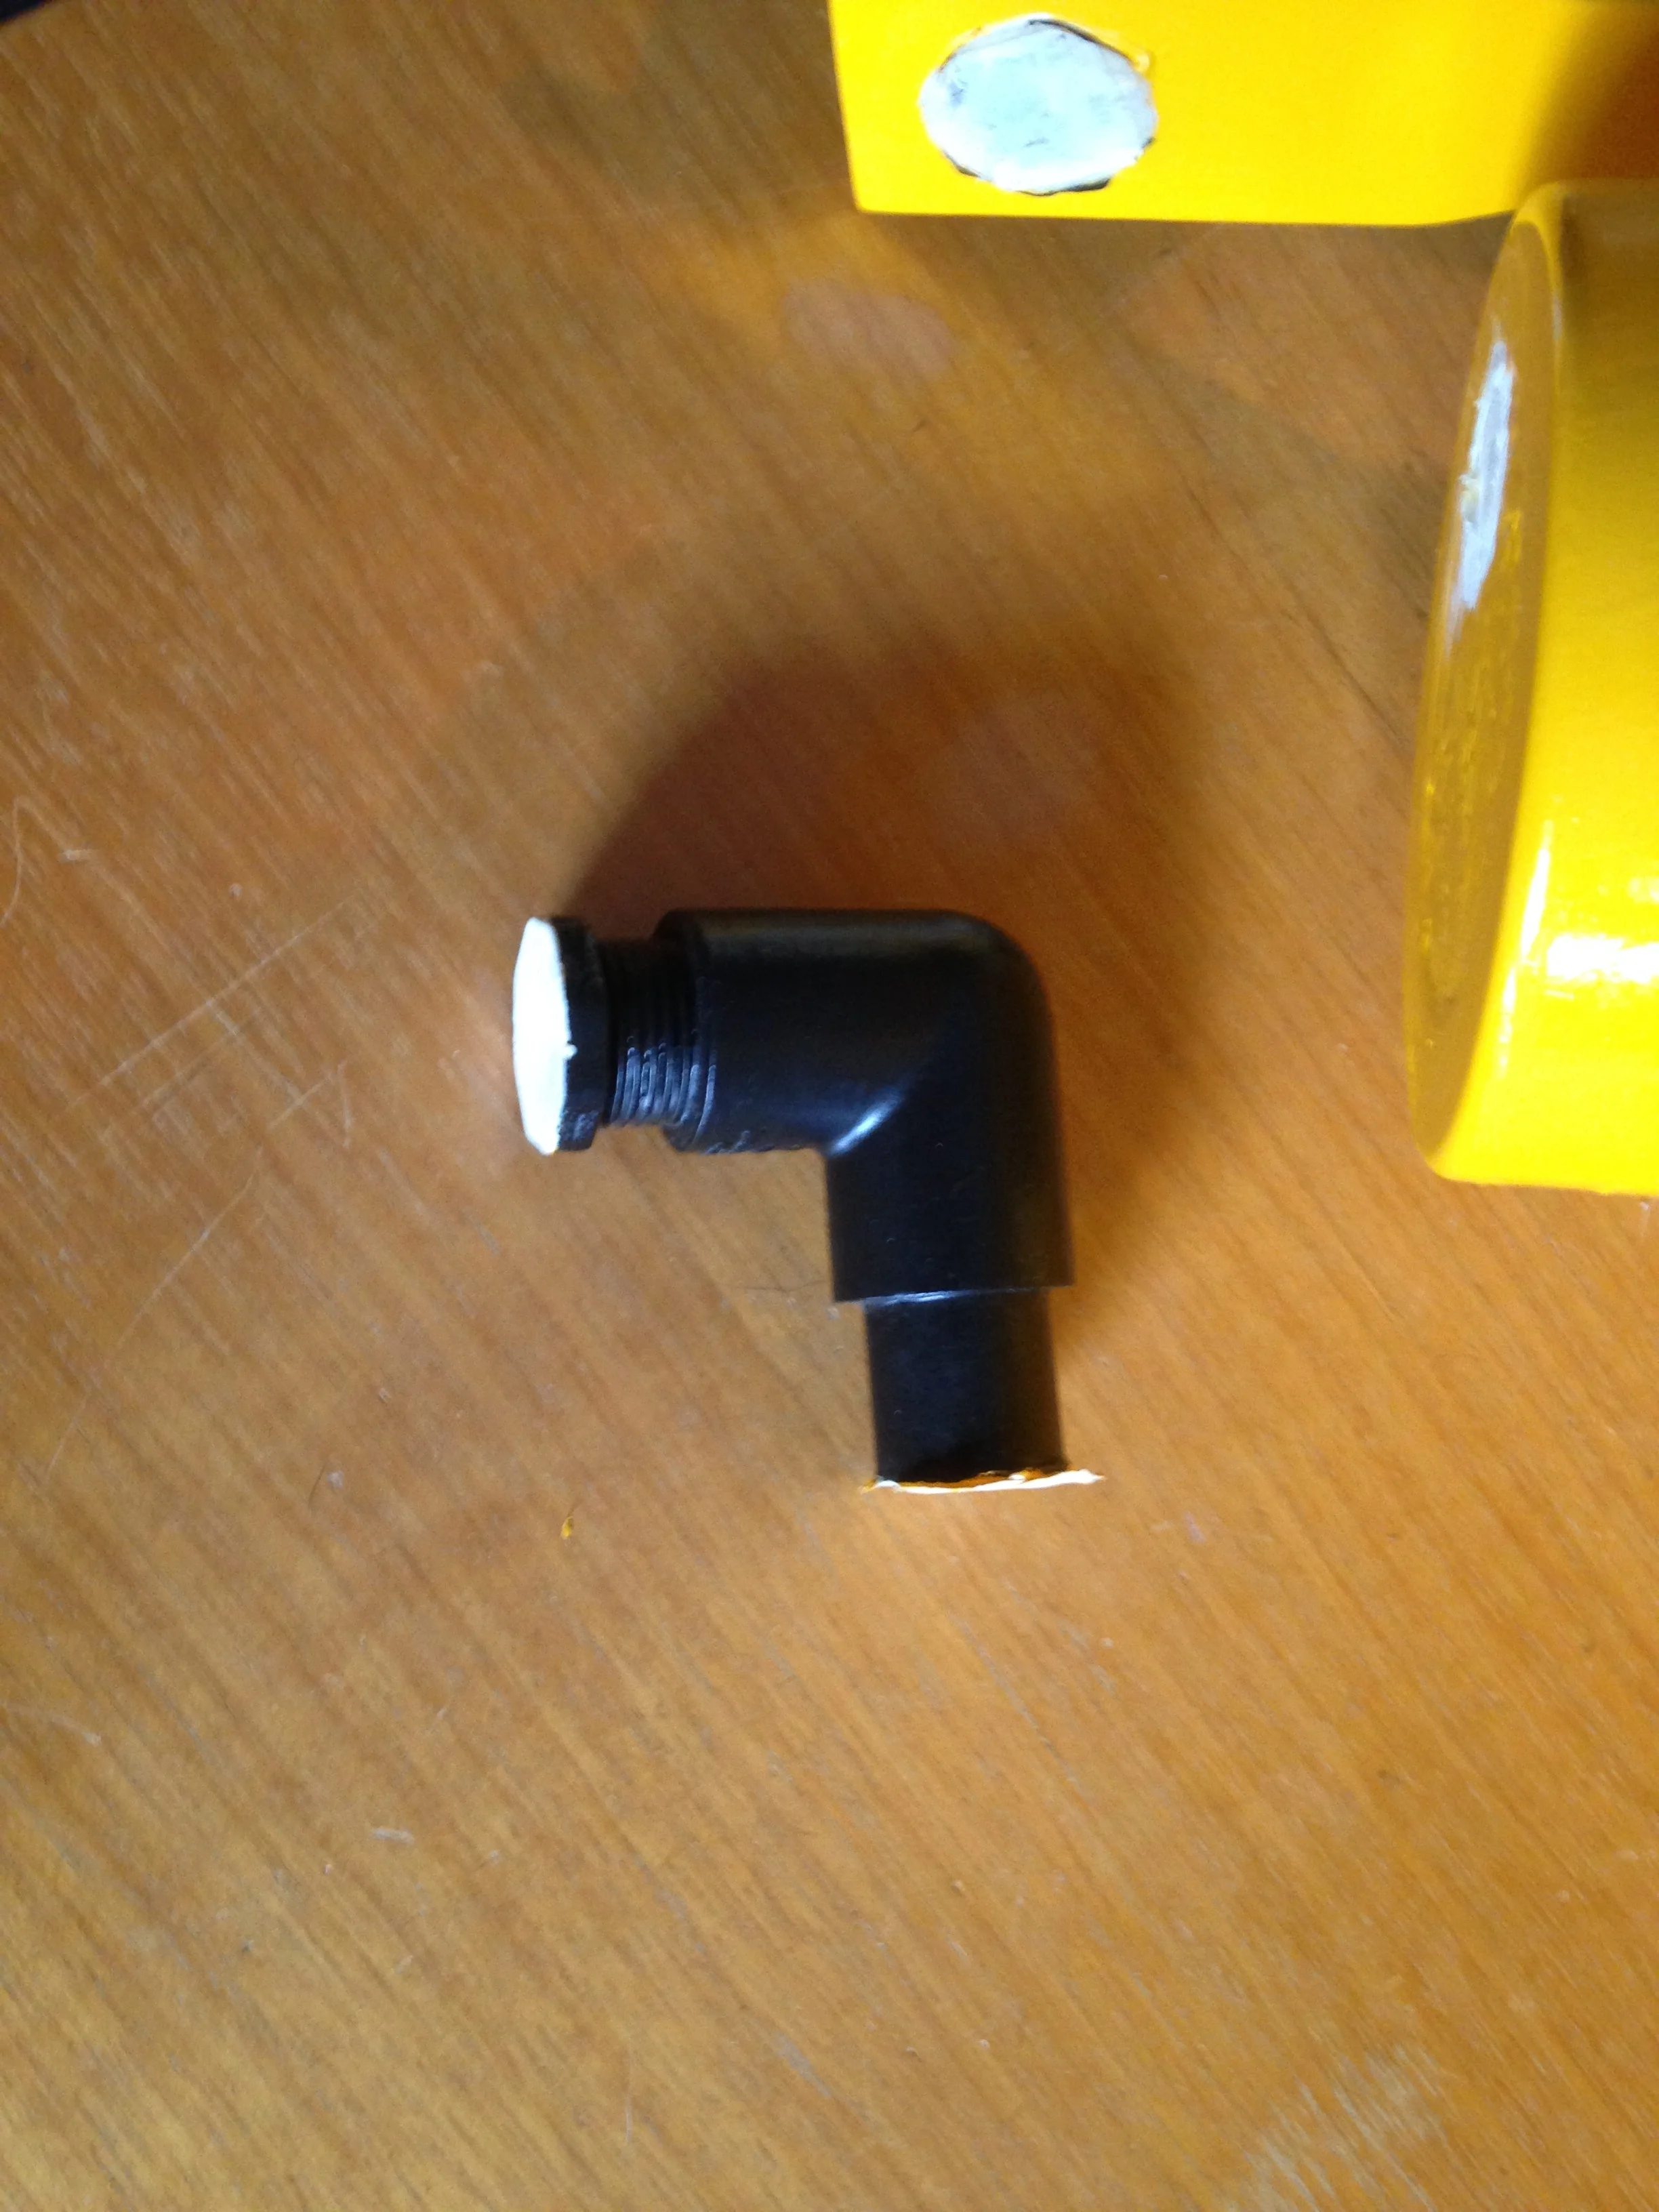
As you can see it's pretty much just a PVC joint with a small piece of PVC pipe in the one end. It's also one that has a femail screw end, so the other side has a male screw cap. The one side was glued onto the long thin wooden board directly below the trigger piece, and the other side was glued to the back of the drum portion on the PVC protrusion (where the blank spot in the paint job is).
And I believe that's about it. I hope that was helpful, but certainly if there's more any of you need information on, don't be shy!!