Vroom Vroom (FFXV Engine Sword Tutorial)
Michael MacWolff
Hey guys, welcome back! Today I'm going to be talking about how I made my FFXV engine sword! Lets star by taking a look at this absurd weapon.
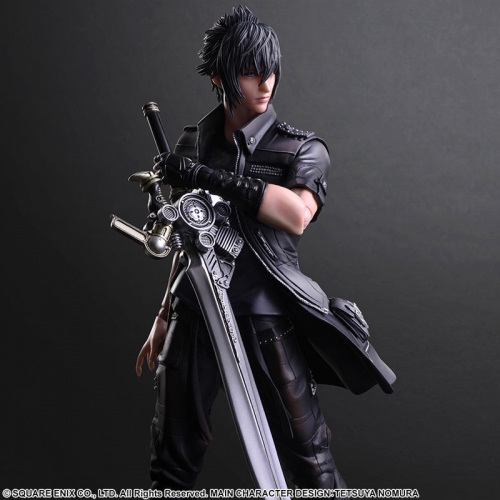
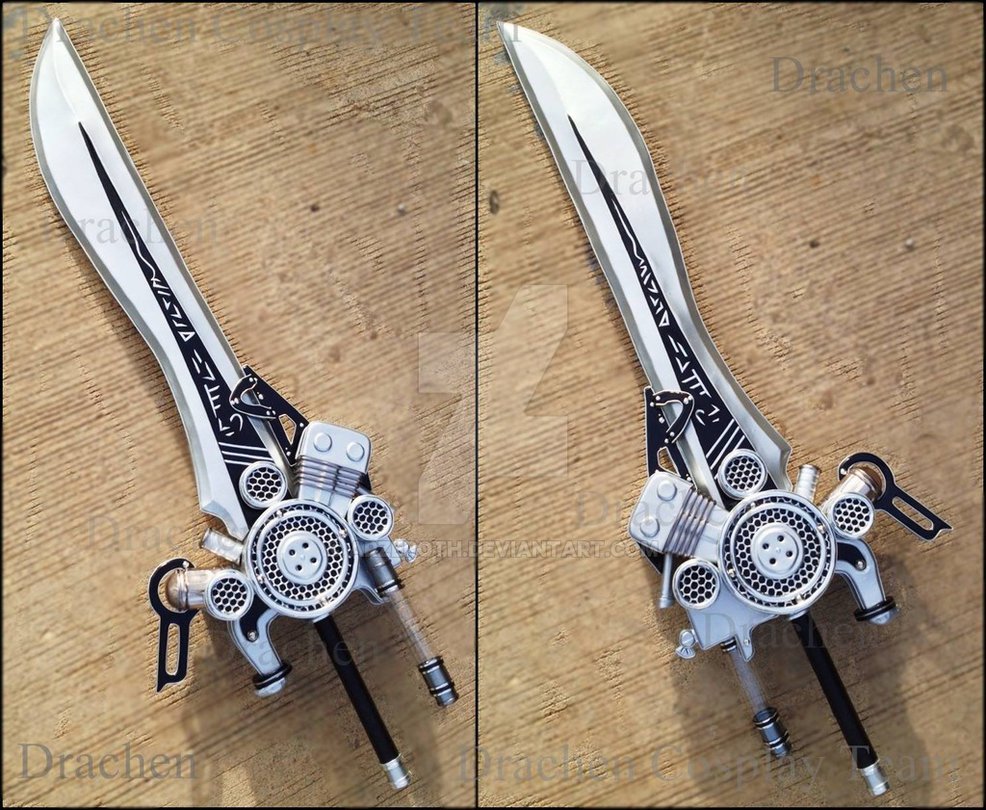
So the fun thing with putting this together (besides all of the cool little details) was the relative lack of official references for it. So what I ended up using primarily was photos of props other people had made, to see what the details looked like. I primarily used this beautiful model, from someone who sadly no longer appears to be on deviantArt.
So, let's get down to business! It all started, as I'm sure you all know by now, with a pattern, which you can see here along with the pattern for the Rengar blades I was also working on.

I decided to make the base out of MDF (because I've been enjoying using that lately) and cut out the body, making notches on the end to fit a piece of PVC for the handle.

As you can see here, the PVC fits into the notches and holds itself in place. This makes for a much sturdier connection that simply gluing it on the end.
To solidify the connection with the handle, I plugged up the end of the PVC piece (the part where it attached to the blade) with kleenex bits, and sealed it with hot glue. Then I mixed up some liquid plastic, which I often use for casting, and poured it into the open end of the PVC pipe. The liquid plastic cures solid and strong, and prevents the PVC piece from wiggling around and falling apart.
To get the bevel on the blade, I used a dremel tool with a sanding bit. you can see the bevels in the next photo.

I'm sorry for not having a photo of an in-between step, but here's the first round of details that were added. The red is a piece of craft foam, which I used a ball point pen to engrave the details. There's a lovely tutorial for how to do that here. As for the round pieces, the large round section is actually the cover for a CD stack, kind of like this. I got it at Big Lots for pretty cheap, and consequently I have a bunch of blank CDs floating around my craft foam now. I cut out the center, leaving about a 1-2cm ring around the outside. I also cut out the center circular part (where the spindle fits in). You can see it slightly better here (with a bunch of other details I'll get to momentarily).

For the smaller circular pieces, they're actually the plastic covers from plumber's seal tape, which you can find at Home Depot for about $.50 each, which is the only way I justified buying 6 rolls to myself... consequently I also had to travel to several Home Depots before I had enough because I wasn't about to spend $3 on the more expensive rolls with the same packaging when I wasn't even going to be using the tape.
The mesh that I fit into both round structures is something I found at Home Depot as well. It's actually chunks of gutter guards, similar to these ones. I cut the corcular shapes out of the gutter guard, and glued them into the round plastic sections. It worked out really well because both the CD cover and the cover for the seal tape had a lip that I could easily glue in the gutter mesh. Once they were assembles, I glued on the main ones with E-6000. The rest we'll attach later, after we finish a few other details.
**A Note about attaching the CD covers: Because the PVC pipe extends into circular portion of the MDF base, I had to carve out a rounded section from the CD cover so that it fit over the PVC. I used my dremel for that, with the same sanding bit.
Now onto the other details. the three main details left to build are here:

For the red section, I cut the black part out of MDF, and used a small cardboard tube (I believe it was the center of a roll of something but I'm not sure what) and a plastic cap which I had in my stash of junk that just happened to fit perfectly over the end of the cardboard tube.

Next up we have the purple details. For those, I cut out several layers of cardboard for the base, added craft foam details for the ridges on the back, and glued on actual dimes for the little circular parts. I then covered the whole thing with a piece of worbla.


Here you can see the shapes a little better defines in the worbla. I generally use a Popsicle stick for pushing the worbla in to get the detail definition.
Lastly we have the yellow detail, which involved a lot of trial and error to get right. I knew I wanted it to light up, and thankfully I has a tiny keychain flashlight that would work well for the base, and let it light up the way I wanted it to. I had a clear plastic tube that as one point held little glass beads. It was the perfect size & shape, and it was transparent, so that was an easy call for the section that needed to glow. The hard part was figuring out what to fill the tube with such that it would glow blue. I tried mixing up resin and adding blue to it, but the dye never turned out looking right, and in once case the reaction was hot enough that the tube melted out of shape. Finalle I had a stroke of genius. I cut a section of hot glue stick, wrapped it with a section of blue plastic grocery bag, and shoved it into the tube. When I turned the light on it glowed exactly how I wanted it to. VICTORY AT LAST!!
The end cap was actually the cap of the bead tube, so that was easy, and I attached it all to the flashlight with E-600. As for attaching it to the sword itself, I carved out a little channel for it to sit in with my dremel, and then used contact cement to attach it. The reason I used that instead of E-6000 is because it was topheavy, so it would've been difficult to get it to stay in place while the glue dried. With contact cement, you paint a layer on each piece, and then press them together after about 15-20 minutes. It creates an instant bond so there was no worry about the topheaviness messing things up.

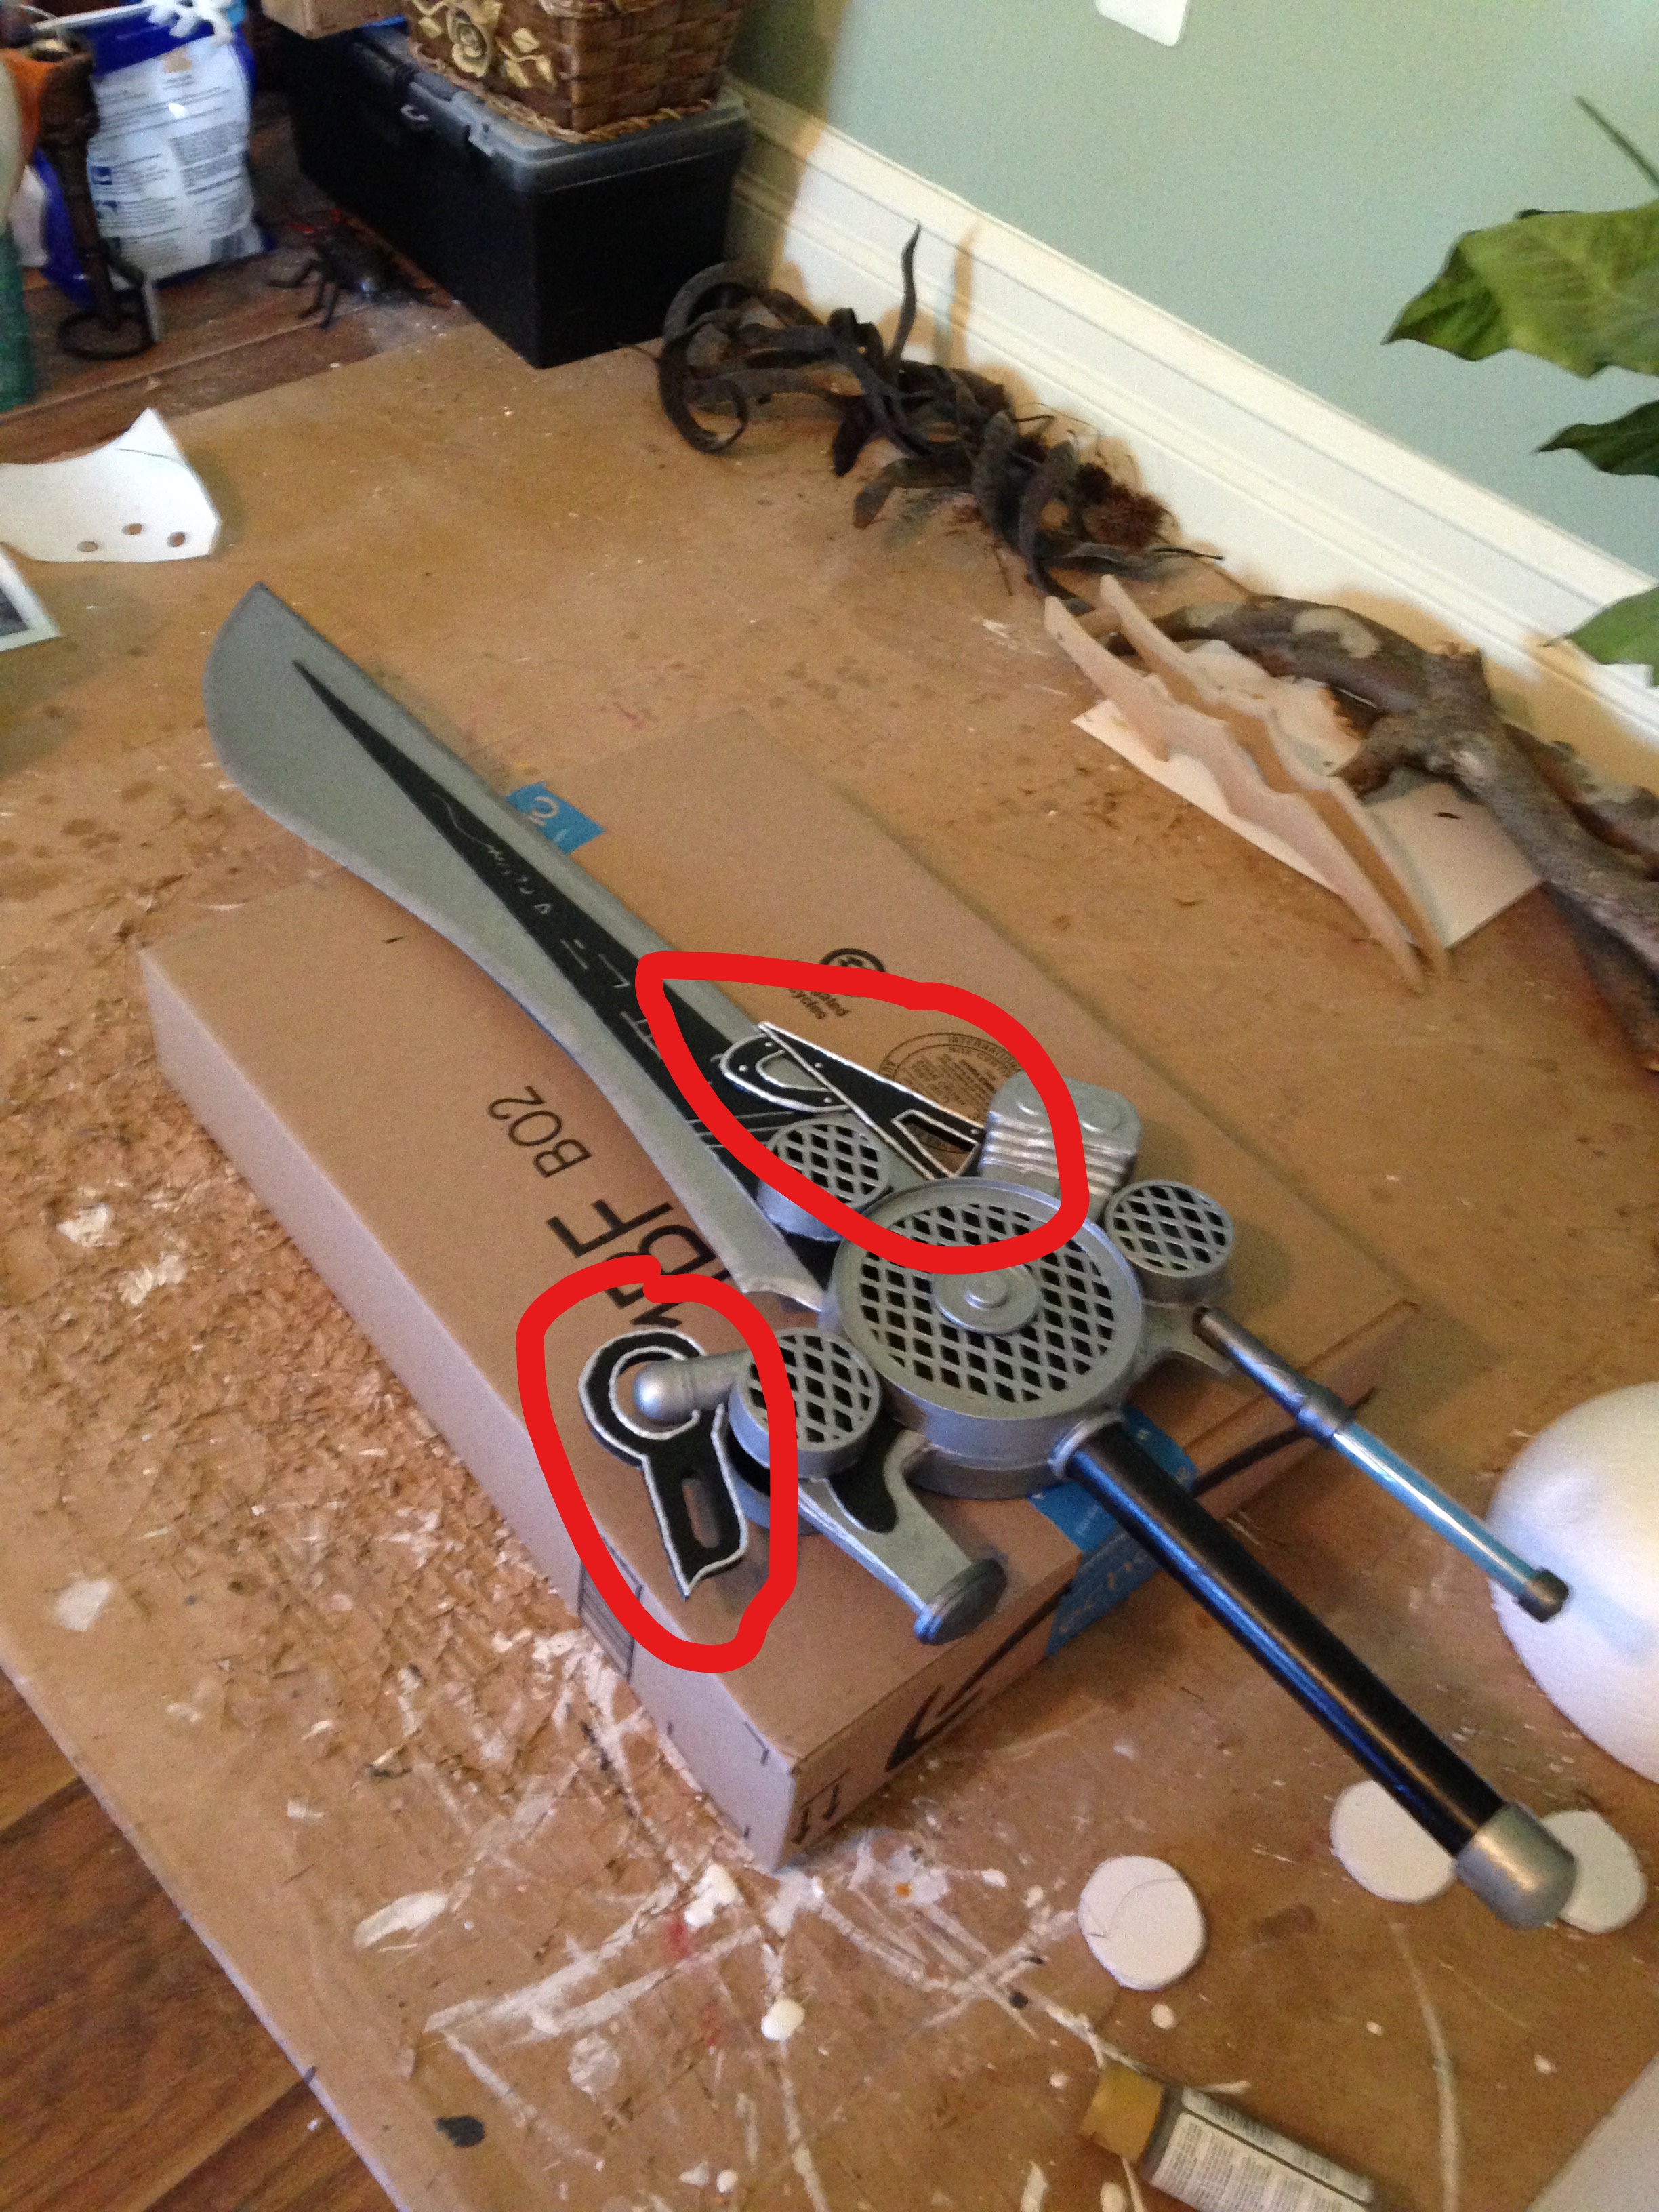
As you can see, we're almost done! That just leaves a few details to look at before we can start the sealing and painting process. First off are a few small details you can see in that last photo. Both of them were done with layers of craft foam. Here's a close-up:

As you can see, I've also attached the other round pieces made from the seal tape containers, as well as the other details I'd constructed. All attached with E-6000.
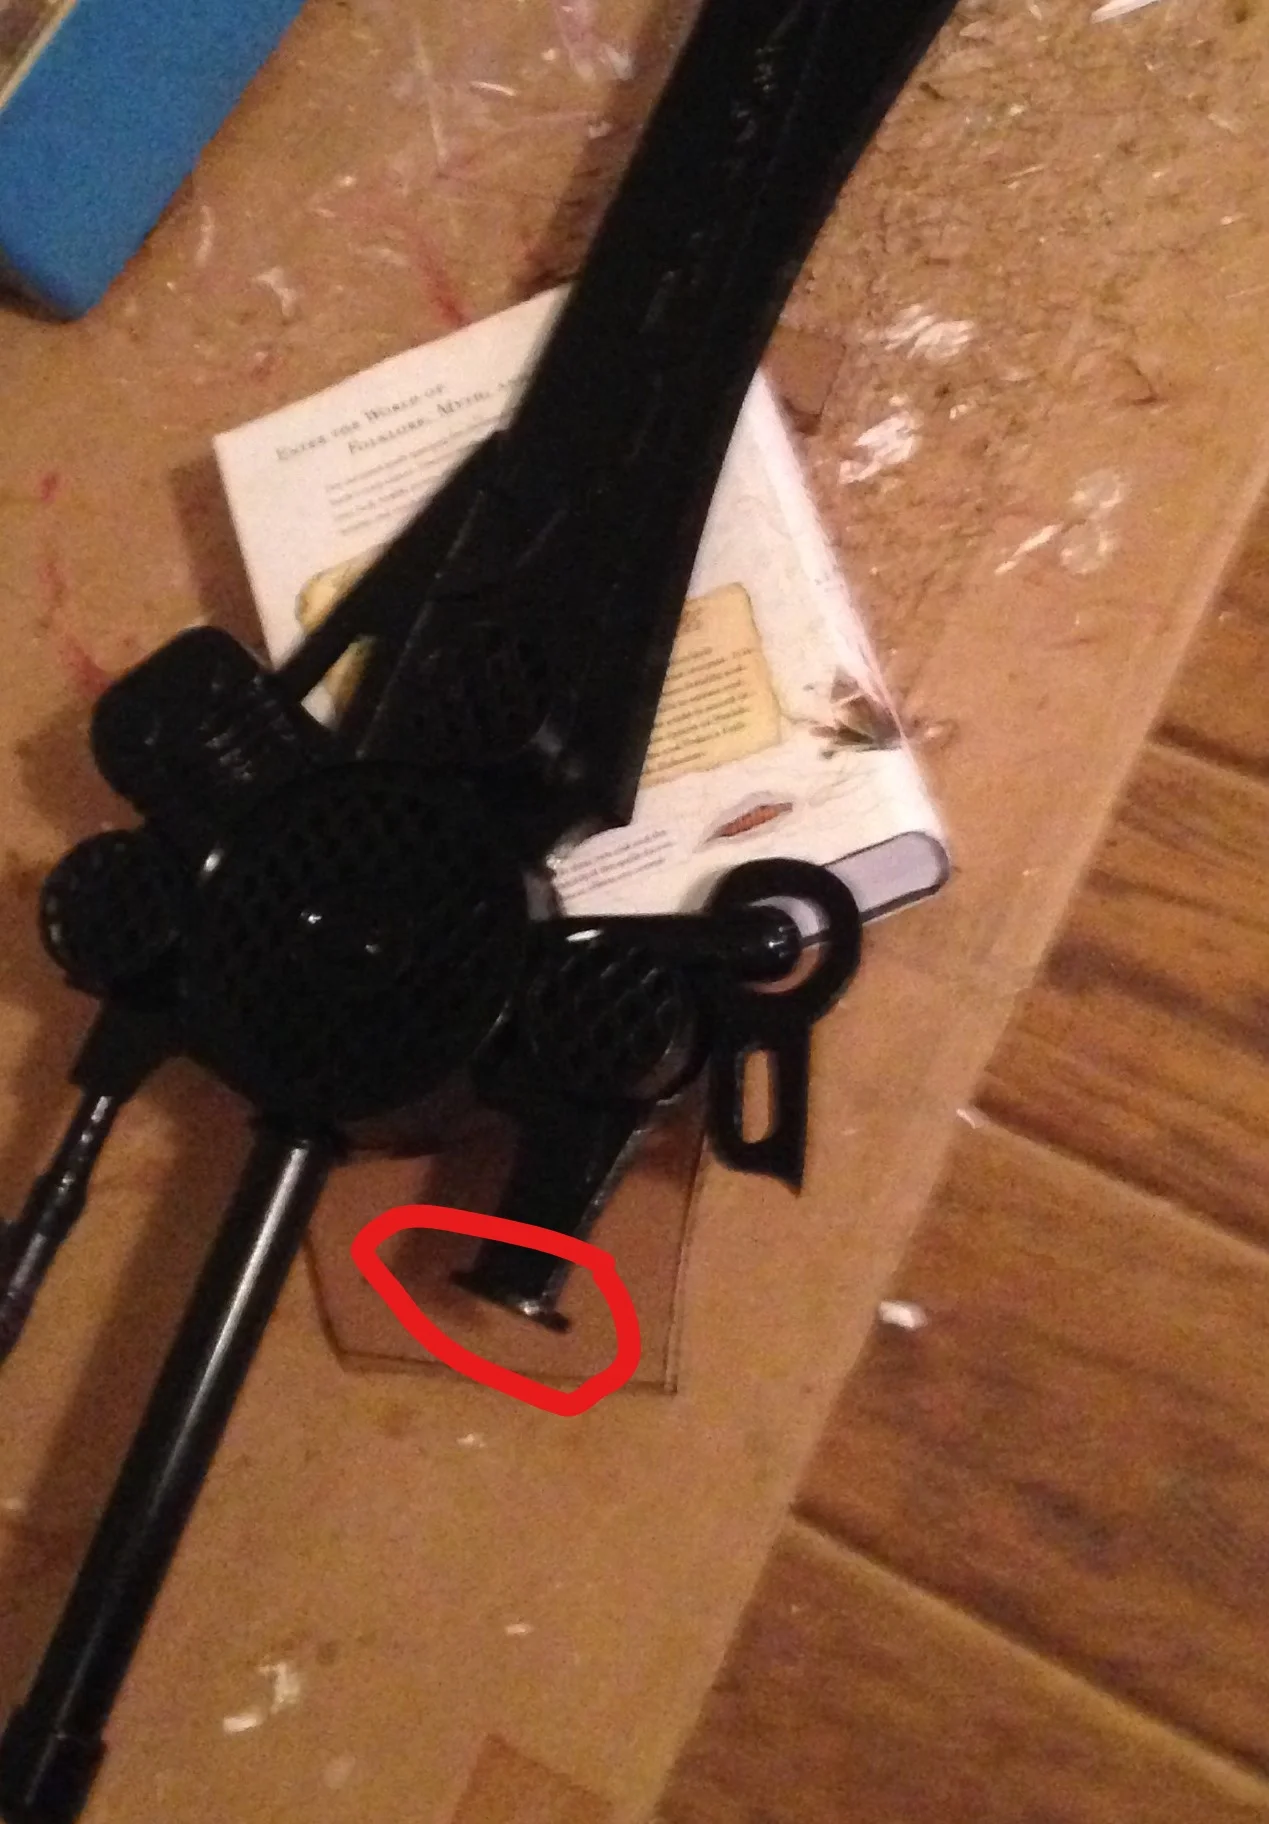
The last detail is a subtle one, but I'll point it out anyway. I added a little cap to the bottom section highlighted in the photo above. I hadn't attached it in that picture yet, but you can see it here:
From here, all that's left are the finishing stuff. I added a bunch of mod podge to everything, and then spray primed it all in black. The main reason I did that was because I wanted the inside of the pieces that had the mesh overlays to be black, which was way easier to spray than to try to shove a paintbrush through the little holes in the mesh.
**IMPORTANT NOTE** Make sure you cover the glowing part before you spray it! I just taped some plastic around it to protect the transparent section.

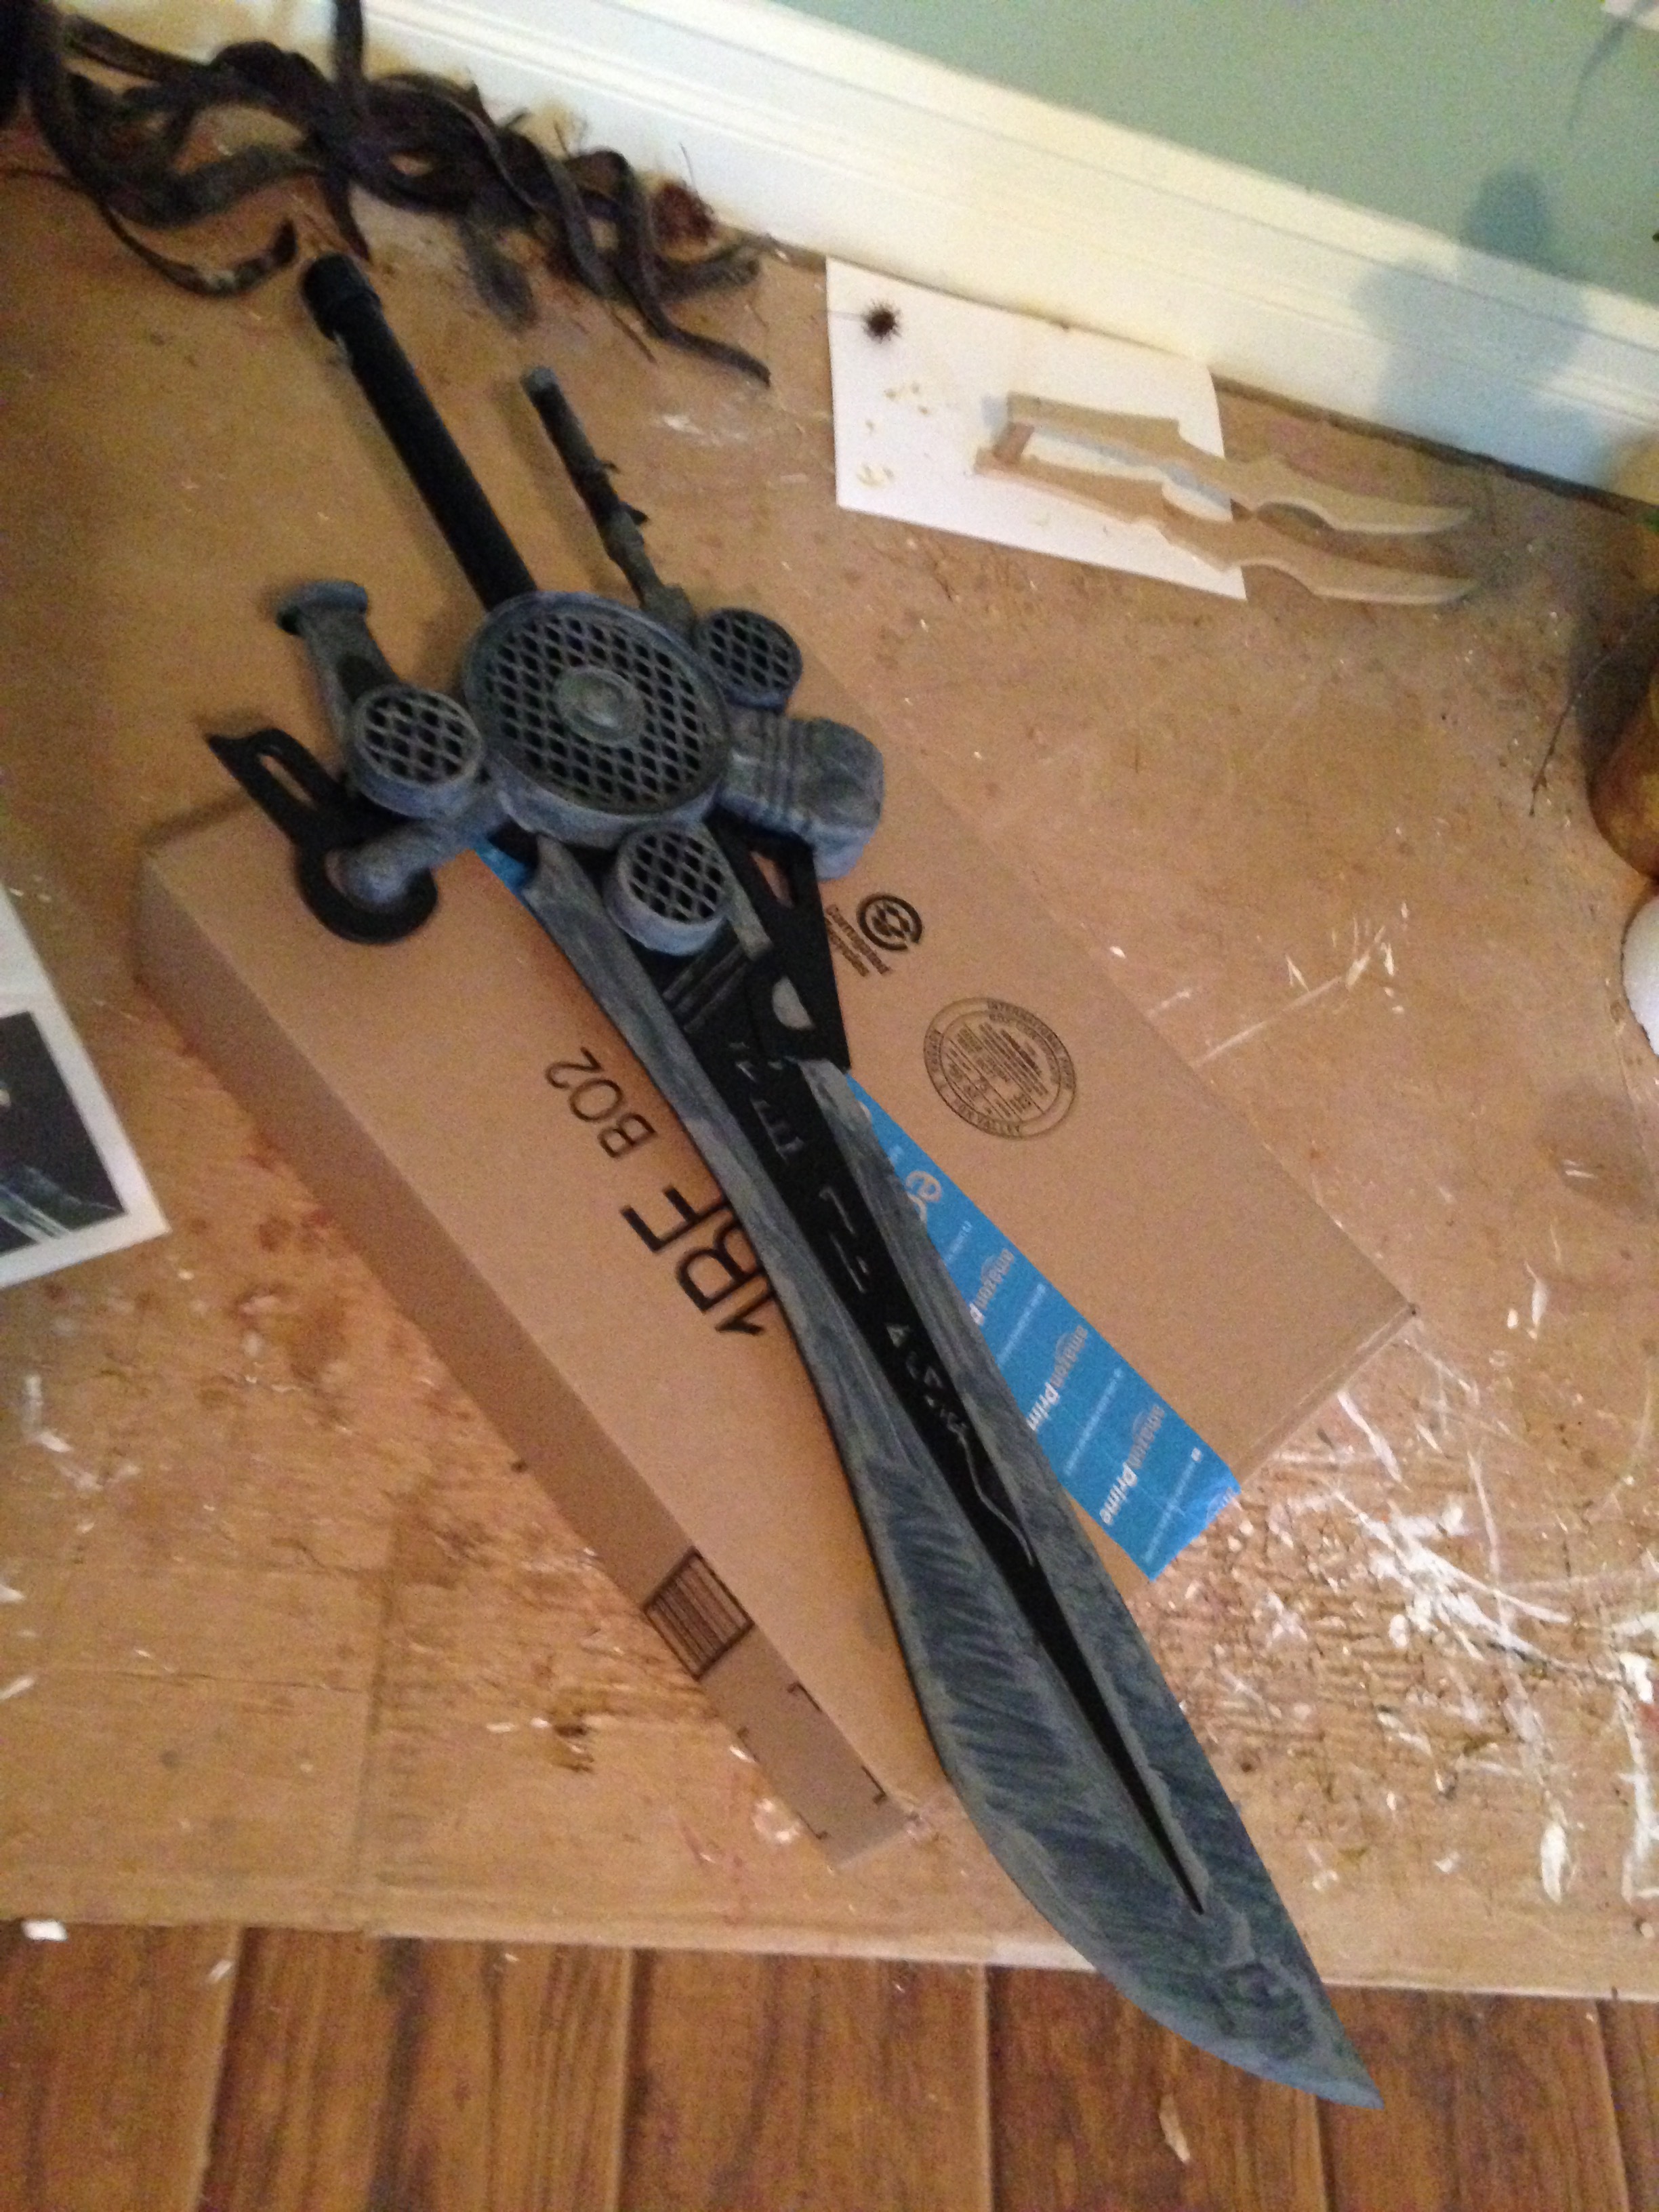

Here's some of the painting process! I base coated all of the silver parts with a medium grey before painting my metallics on. A few spots were a darker silver so they got gunmetal grey metallic paint instead of the sterling silver.
The last little details to be added were here, which I squeezed out metallic silver dimensional paint to get them.
And with that we have another finished prop, and another happy customer!


Thanks, Alex, for the fun commission, and thanks to all of you for stopping in!
If any of you guys are trying to make your own engine sword, I'd love to see it, especially if this was at all helpful with your construction :-D