New Year, (mostly) New Projects
Michael MacWolff
So now that I have my first con of the year under my belt, commission season is open yet again, meaning that I’m going to be busy making a bunch of awesome stuff for great people!
First up o the list is a project you’re all aware of already since I’ve been working no it off and on for quite some time now. It’s the 3rd set of Nohrian armor I’ve been tasked to construct, and this time it’s for Silas. I’ve shown you all progress photos of the build and now we’re into the finishing stages!
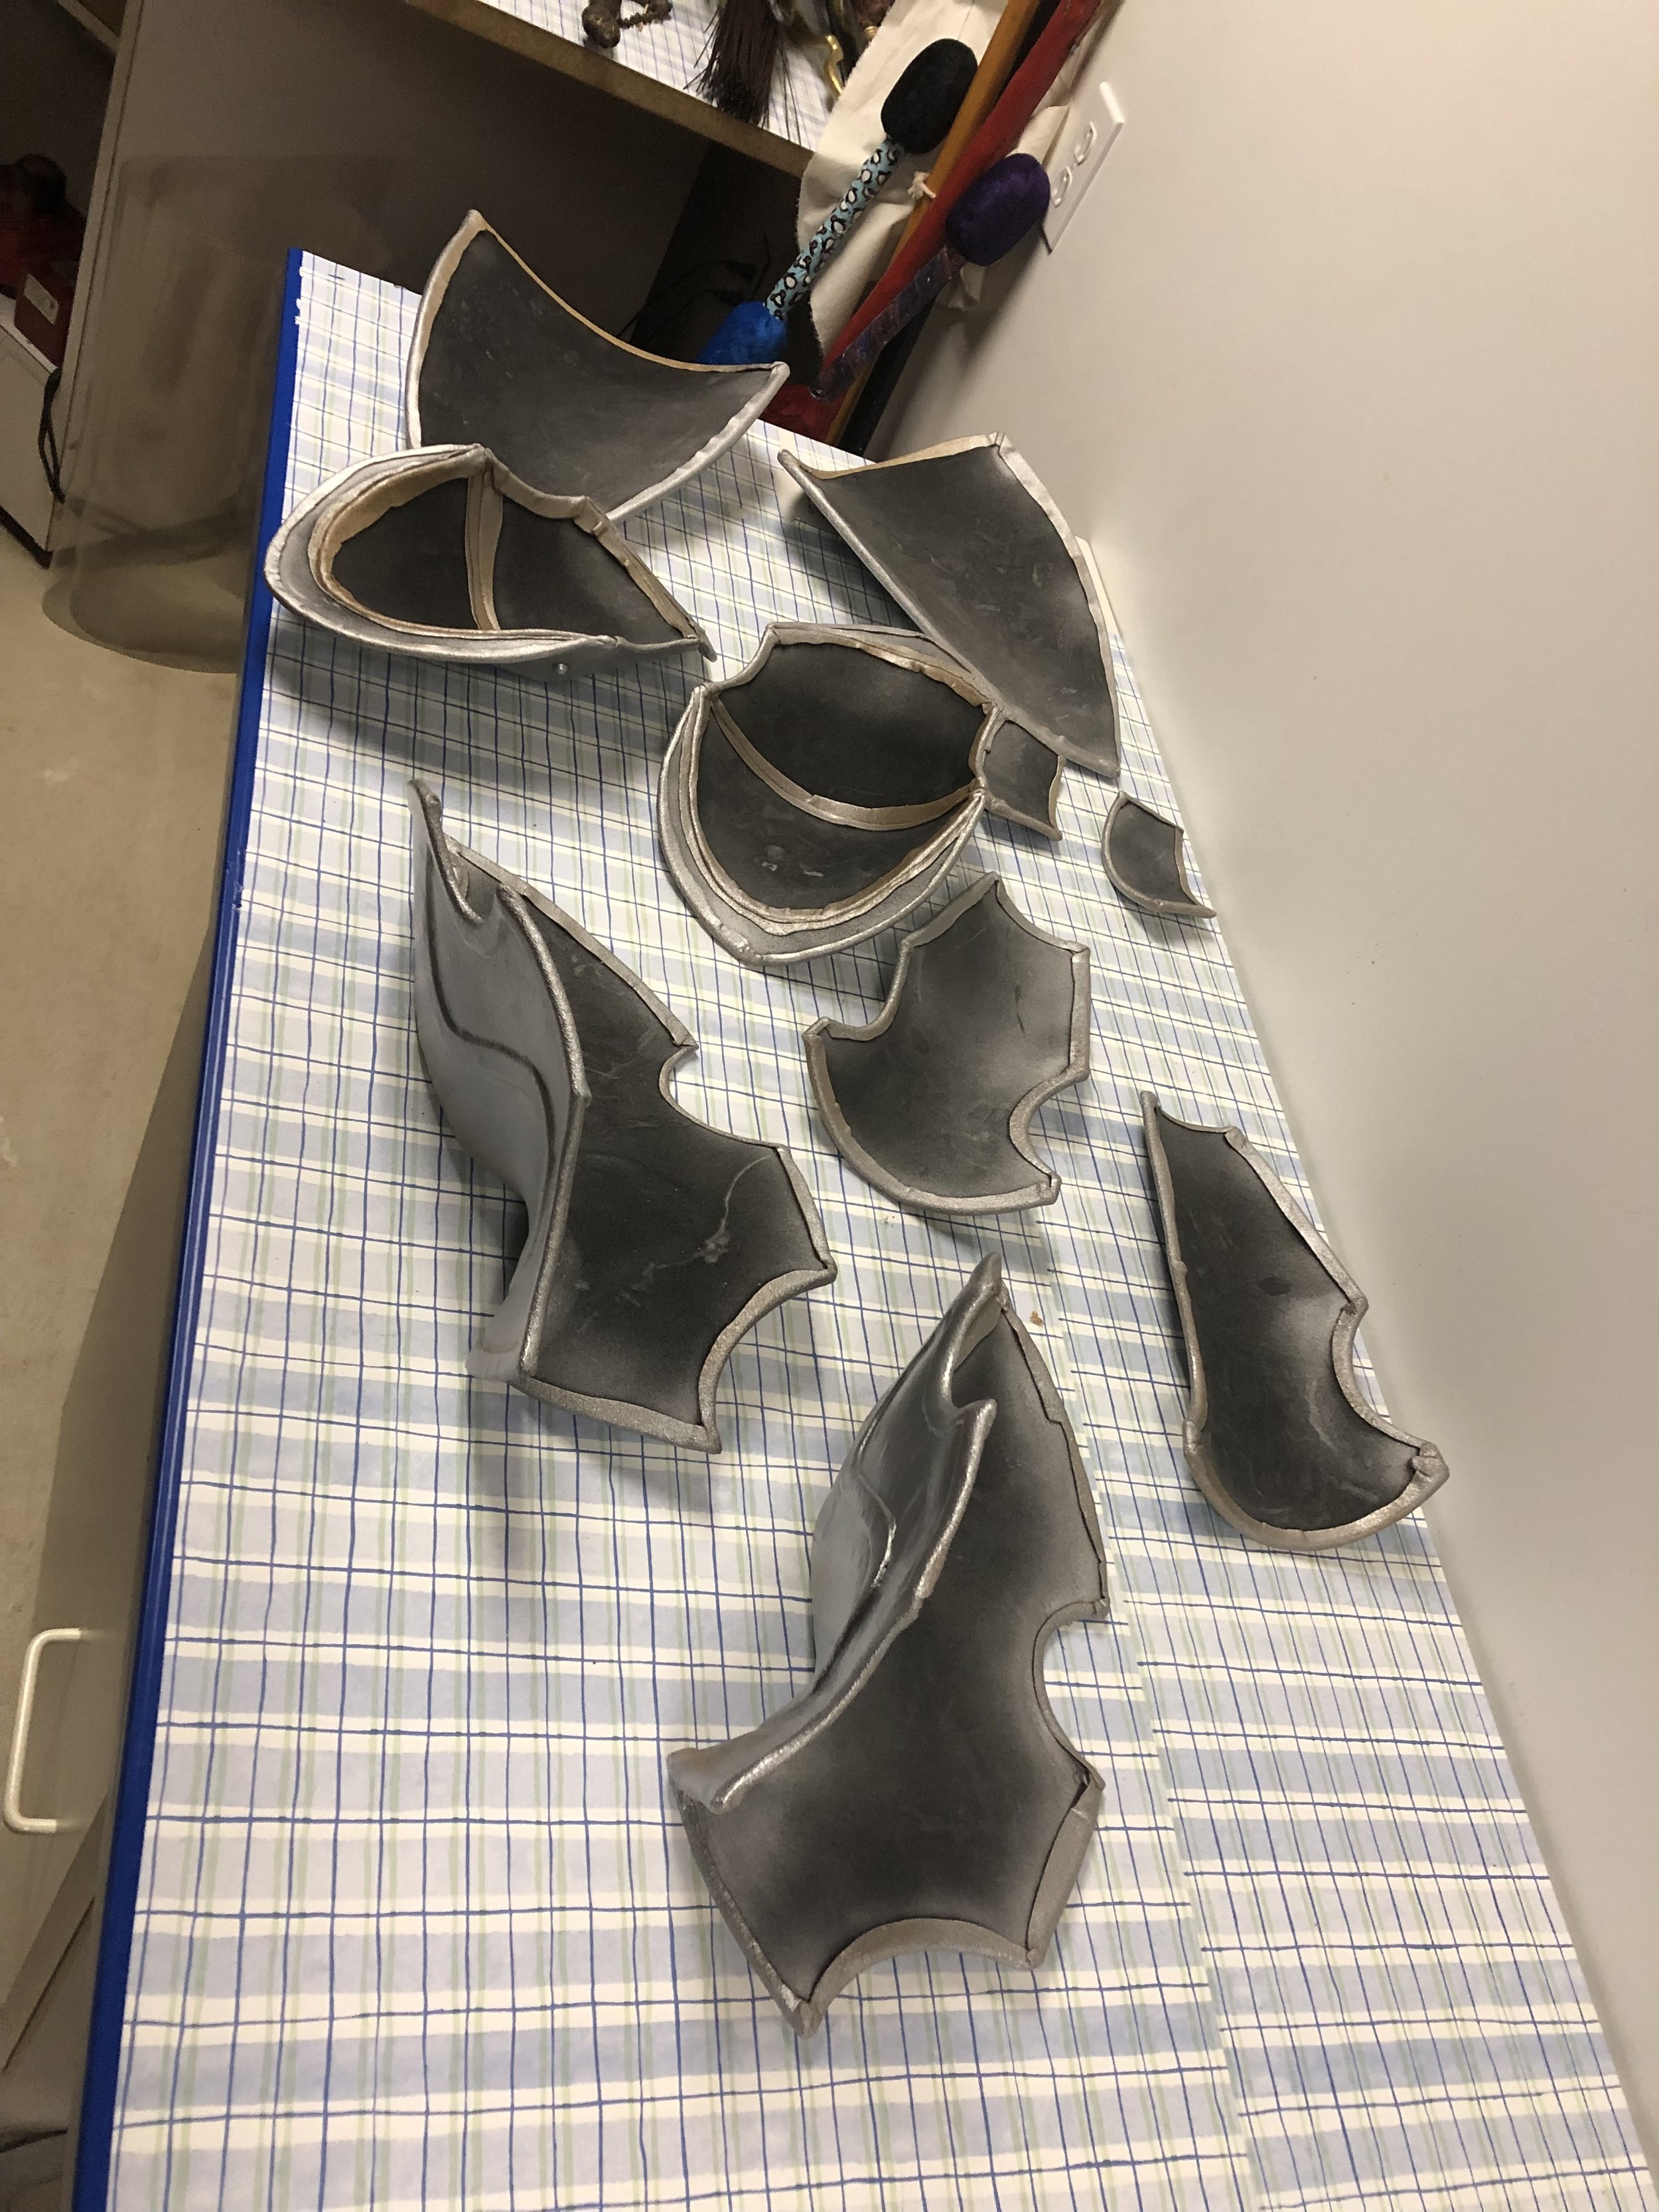
Those of you familiar with my MO know that I generally try to spray the metallic bits when I can, as it’s a much faster and more consistent way to achieve an even color on them, so I sprayed the silver details on the pieces that have them.
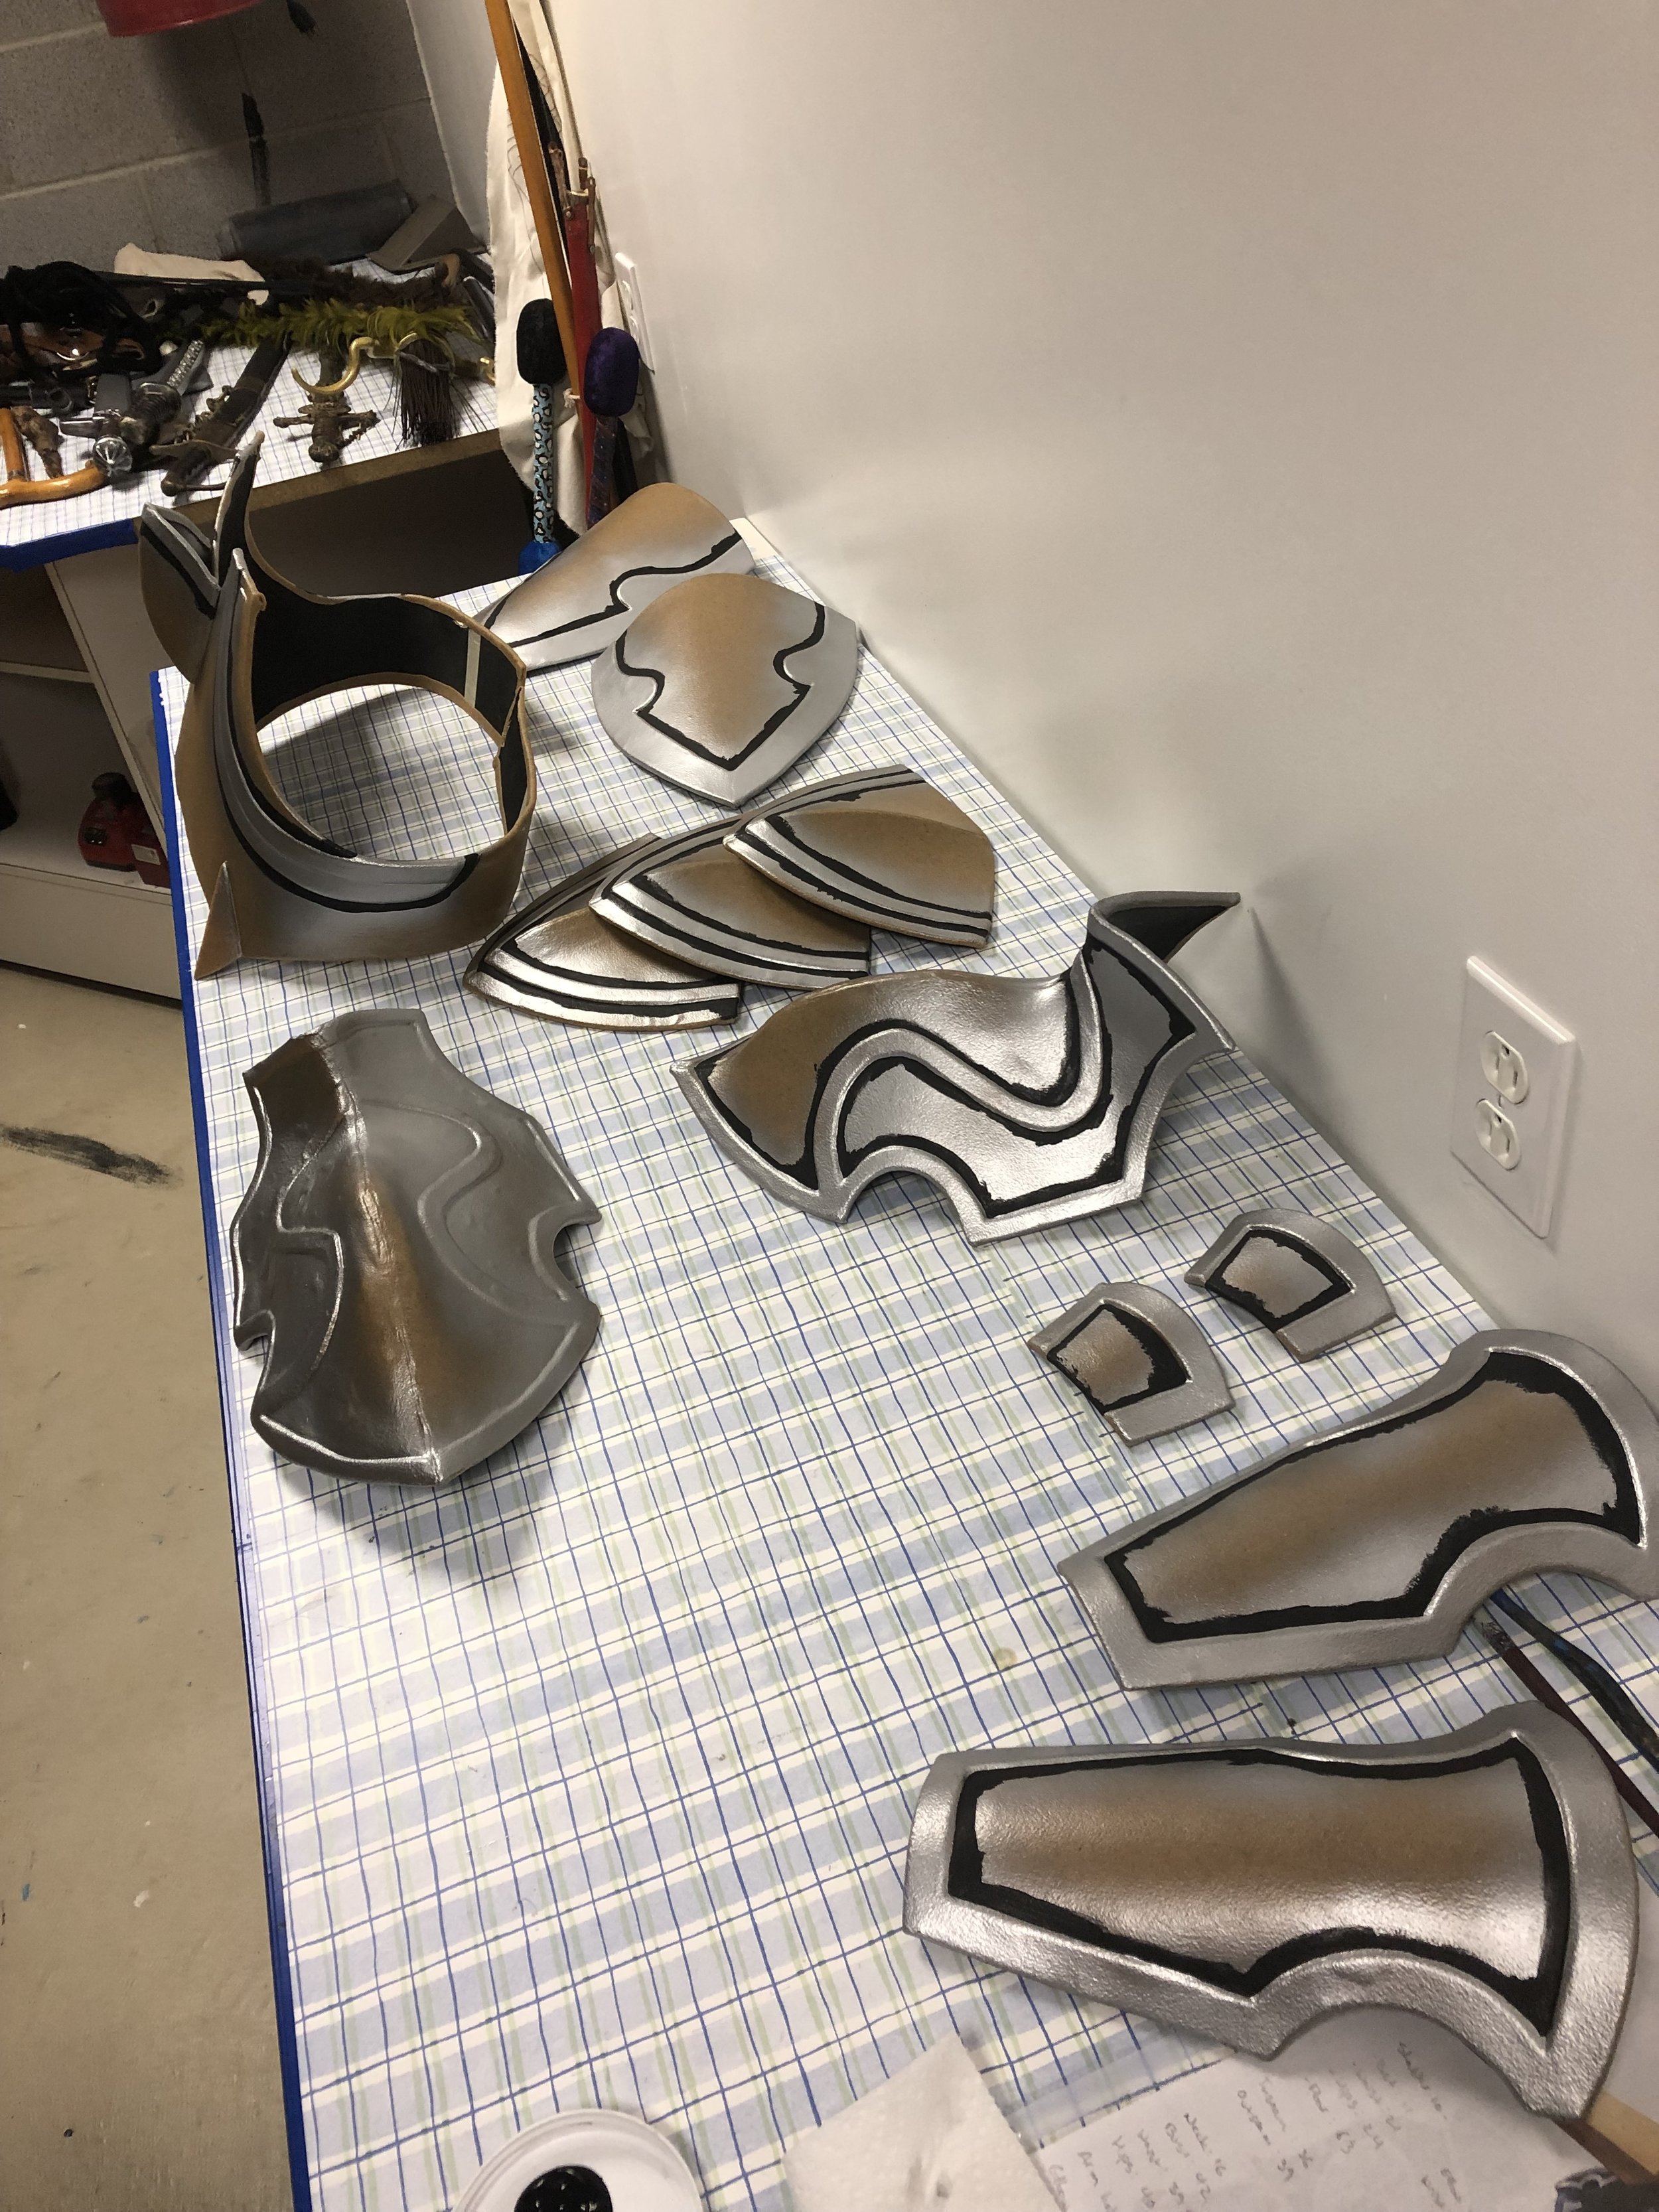
With the rest of the armor being black, I’d be brush painting the majority of bulk of the surfaces. In order to keep the silver details from needing touch-ups by getting black on them, but to save myself the time of painting a giant surface with a tiny paintbrush, I followed the normal procedure for painting walls. You “cut in” around the edges with a smaller paintbrush, then you use your larger brush to fill in the middle (when you’re painting walls, it’s usually a roller rather than a brush to paint the bulk, but I’m not going to roll paint armor… I don’t thing it’s turn out well XD)


Thankfully black paint covers pretty well, so it only took 2 coats to cover solidly (1 on on the first photo, second coat on the second photo)
Normally for stuff like this, I’d do contour painting to make the shapes pop a bit more, but that’s really hard to achieve when the surfaces are black, because despite what Sterling Archer might tell you, there’s no "slightly darker black” to use for shading, and it looks grey instead of black if you do too much highlighting. So I took my opportunities where I could and did some shading on the silver bits, where appropriate.

The shading is pretty subtle, so don’t worry if you don’t notice it, it is doing it’s job ~_^
As per usual, the whole armor set is getting a top coat of matte mod podge to give it some moderate sheen and help protect the paint. I’ll also be using it for the back to seal the foam and make sure the silver overspray on the undersides doesn’t get on Indi’s cosplay.
There’s only a few bits left to do, mostly put together the pieces for the boots and seal the exposed foam on the undersides of all the pieces, so I’m glad to be nearly finished with this big project!
The second project I’ve been actively working on is a dark magician staff from Yu-gi-oh. A great big shout-out goes to Giant Dad for his continued support and business. He’s commissioned a number of things from me including the Fat Man from Fallout, and the Zweihander from Dark Souls. This latest project is only getting started but I’m hoping to crank it out in the next couple of weeks.

This is the only photo I have at present, because I’ve just started working on it. The staff head is foam with worbla on both sides. For armor I usually only cover the outside and wrap a lip around to the back, to save weight and material; since you see both the inside and outside of the petal shapes I needed to coat both sides or it would have looked super weird. As you can see, the ball on the end lights sup too! I still need to color it green so it lights in the correct color, and somehow all of my green sharpies have disappeared…
You also may have noticed that the shaft of the staff is in fact a broom handle, you know how much I love using random junk in my props! And it works particularly well because it’s hollow so the light that illuminates the ball on the end fits nicely into it. You’ll be seeing more progress on this over the coming weeks.
The last project I’m actively working on is a personal one, that I’m hoping to have done for Tekko in April. If you know me you probably know I have a love of amphibians so I’m particularly excited to be cosplaying one of my favorite anuran characters: Frog from Chrono Trigger. I’m pretty sure I posted a few photos from my early construction of his head, but we’re gonna do it again anyway cause I can’t remember for sure.

I did some research on furries for this project, because it seemed to make the most sense to me to construct the head the way they do, and I was fortunate to find some WIP photos from Tionniel on dA of how they constructed it so I had some good guidance.
I decided to cover the head with fleece, mostly for the sake of simplicity, and the face that it would be easily correctable if I messed anything up.

Unfortunately, I didn’t have the foresight to trace the foam pieces before I put them together so that I had an accurate pattern for the fleece cover… so I had to eyeball it a bit. Thankfully, the fleece is pretty forgiving, though there are a few big folds in the back that… just have to be there lol.

As you can see from the photo here, the nose is my only way to see (though you’ll see later that I have a second option). The eyes are the two halves of one of those big, clear, plastic ornaments. I used contact adhesive to attach the ring of green fleece around the base so they could be stitched onto the head. You might also notice that there’s pieces of masking tape on the eyes, that was to give myself a guide for painting the pupils. I wanted to paint the eyes on the inside of the baubles to they stayed nice and glossy, and to protect the paint from getting scratched as I continued to work on it, and of course later when it’s actually being worn. So since the layer against the plastic is the one you’re going to see, I started with the pupils and worked out from there. They’re not actually attached in the photo above yet, they’re just pinned into place so I could make sure the eyes weren’t gonna be looking in weird directions.

So now the eyes are done and attached! And the nose is fixed too, so it doesn’t look all janky any more.
The last bit I’ve done with the head is the eyelids, which is more bits of upholstery foam with fleece around it.


With that detail finished the only thing left are the tympanum (frog ears), which should be pretty easy.
And I did mention there was another way for me to see…

RIBBIT!
That’s all for this week! I have a handfull of other new commissions in my queue so as soon as that armor is done (which I’m hoping to finish ASAP) you’ll be seeing some more new projects coming together, so don’t forget to check back! And also another friendly reminder that I am most consistent with posting WIP potos on my instagram, @mikeydoescosplay, so feel free to give me a follow to stay up-to-date!