
Materials Monday: Worbla
Michael MacWolff
All of you cosplayers out there have certainly heard of this stuff by now, and it makes sense because its pretty awesome!
Worbla can be used to make just about anything from weapons to armor and all kinds of accessories and details.
Pros:
- Versatility (you can use it for just about anything
- Durability
-It's waterproof! (that doesn't mean your stuff won't be damages by water, mind you. Not all finishing products like getting wet, but at least there shouldn't be any major structural damage)
- You can use your scraps, so there's potentially no wasted material
Cons:
- It's pretty expensive
-You need a heat gun
-It can be a bit heavy if you're making something big/using a lot of it
-You usually need to use it in conjunction with other materials
Generally speaking, when you're using worbla you want to use it as an outside layer over some other base. Craft foam (foamies) are common for things like armor pieces and small accessories.

For the armor I made for Young Genji (Overwatch), I used craft foam (and EVA for some parts) as a base, and heated worbla over it.

When you heat up worbla, it becomes very flexible which is great because you can achieve a lot of different shapes. It also sticks to itself when it's hot, so you can create 3D geometric shapes by mushing the edges of two flat pieces together. If you heat it and smooth it over enough it becomes a very strong joint and becomes virtually seamless. On the photo above you can see the knee protrusions, which I achieved that way.
While craft foam is my base of choice because it's lightweight, very flexible, and comes in large sheets, I often use cardstock as a base for smaller pieces or pieces that have angular geometric shapes (like those knee pieces).
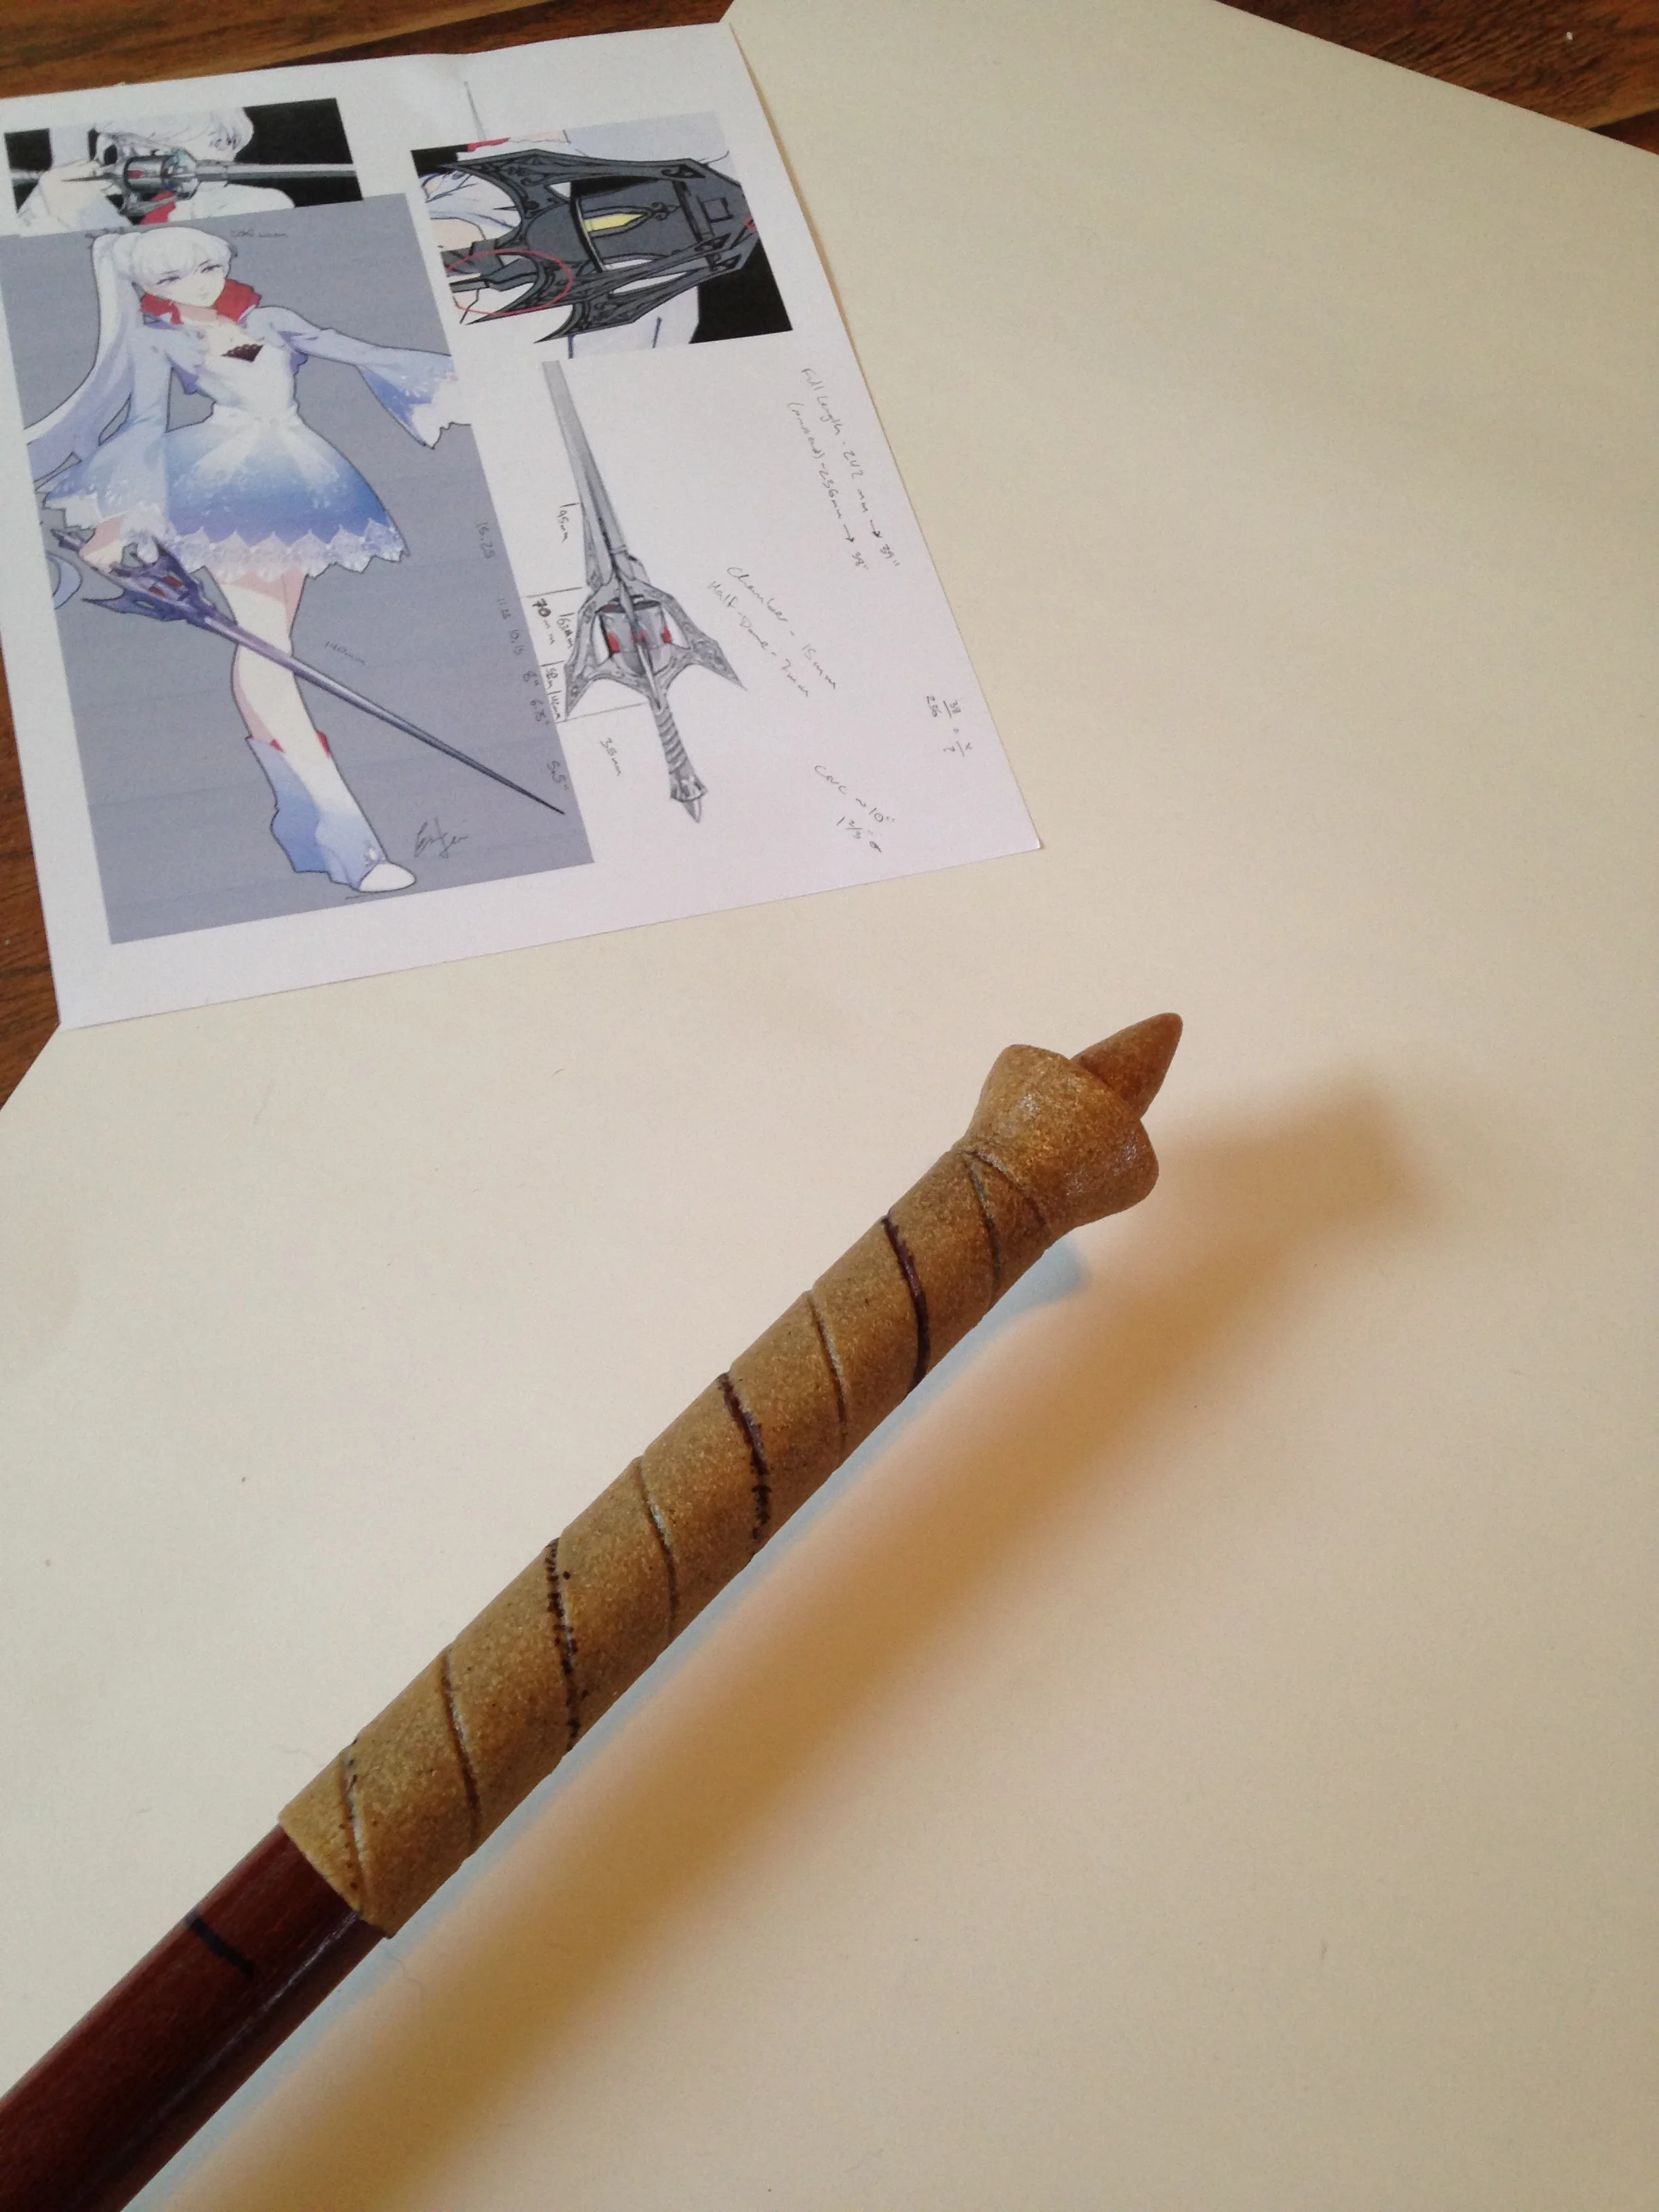
The other great thing about worbla is you can heat up all of your scraps and mold them into things! You can see I molded the end of the Myrnaster with worbla.
You can achieve a lot more interesting things than that too! The hilt of Masrur's sword is all worbla too!

Since I've been using worbla for a while, so I have lots of scraps. I've been trying to use them as much as possible for this sort of thing, since it's more durable than making the same thing out of polymer clay, which would be my other go-to for these types of details.
If you're wondering where to get worbla, I always order mine online here. You can get sheets in different sizes and you get discounts for ordering in bulk. That may or may not be helpful for you guys, depending on how often you plan on using it but it's still good.
As always, if you're ever thinking about using any of the materials I've highlighted in my Materials Mondays posts and you're not sure, feel free to get in contact with me, I'd be happy to give you my thoughts on what materials I think would work best for your projects!


