
I'M A NINJA
Michael MacWolff
Ok, I'm not really a ninja, but I did make some ninja armor! Commissioned by a good friend, I got to use some new methods for a suit of Young Genji armor this time around!

The vast majority of pieces were made using my standard method of craft foam wrapped in worbla, but I decided to go a different route for the chest piece. EVA foam has been on my list of materials to try for a while, and this seemed like a great opportunity to try it, so I ordered a bunch of EVA foam mats on amazon. Using this tutorial I found some tips and tricks for working with the stuff, and got to work shaping it. I patterned it out and used my heat gun to achieve two things: first I shaped the chest piece to give it proper curves to go around your torso, and second to bring out some of the detail designs. If you make a slice in closed-cell foam (EVA foam or craft foam) with an Exacto knife and then hit it with your heat gun, it'll open up the slice and turn it into a visible detail line. There's a nice tutorial here that explains a little better how to achieve it.
The heavier details, like the sunken bar in between the pectoral areas, and the bottom of those areas, I achieved with my dremel and a sanding bit to get a nice smooth bevel on them.


The additional raised sections are just added layers of craft foam. Then the painting begins! Also, the circles in there were created by imprinting something into the foam. For the big circles I used the end of an Airborne container, and for the little ones I think I pulled the head off of a pen and used that.

For the painting, I used Kamui Cosplay's dimensional painting method (tutorial found here) as a base coat, and then used a coat of gunmetal grey metallic acrylic paint to make it all metallic. After seeing how well it worked, I used it on all of the other pieces as well, and will be using it again in the future!
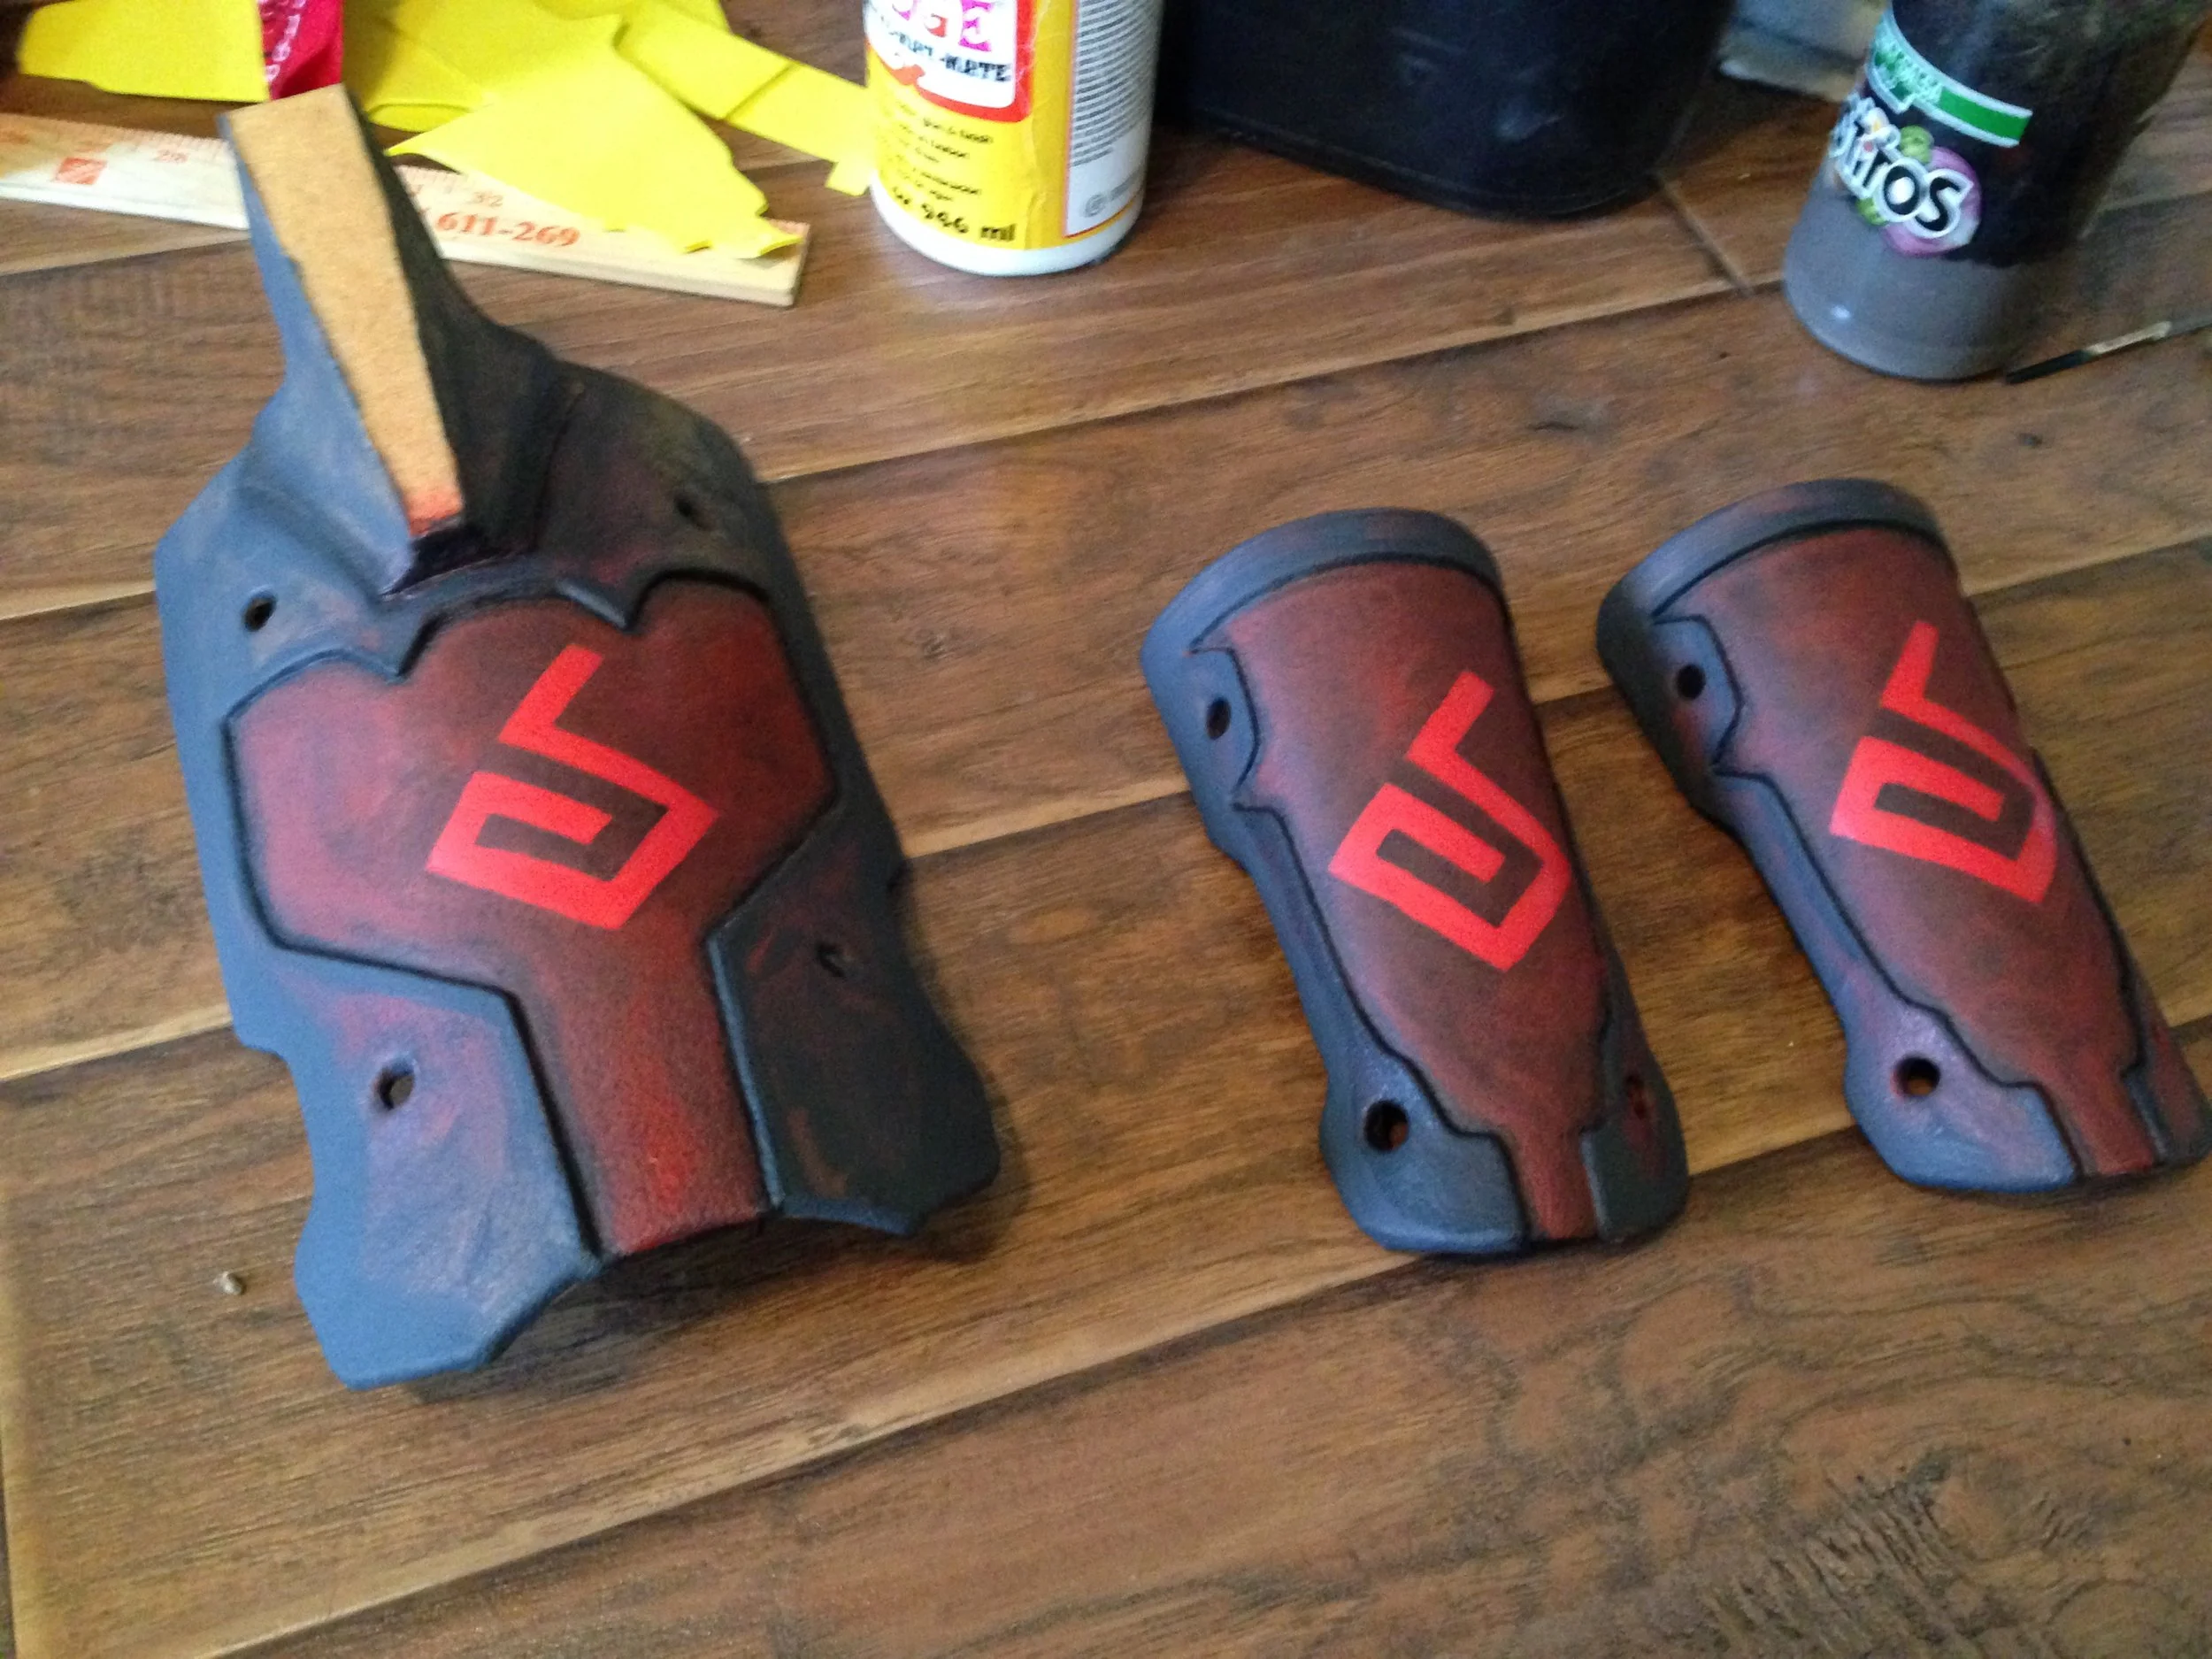
As for all of the smaller armor pieces, they're the usual craft fooam and worbla combo, but I did do some shaping of EVA foam to make some of the more pronounced details, like this guy.

It even doubles as a Professor Port-calibur mustache. Good show, I say!
From there, you pretty much know the drill at this point. Build the foam base, heat up a sheet of worbla over it, use a popsicle stick to press in the details. Rinse, repeat.


Then it's just painting and done!


And that's that! The costume was worn at Katsu, but I've only seen one photo so far, so hopefully there are more out there and I can share them with all of you!