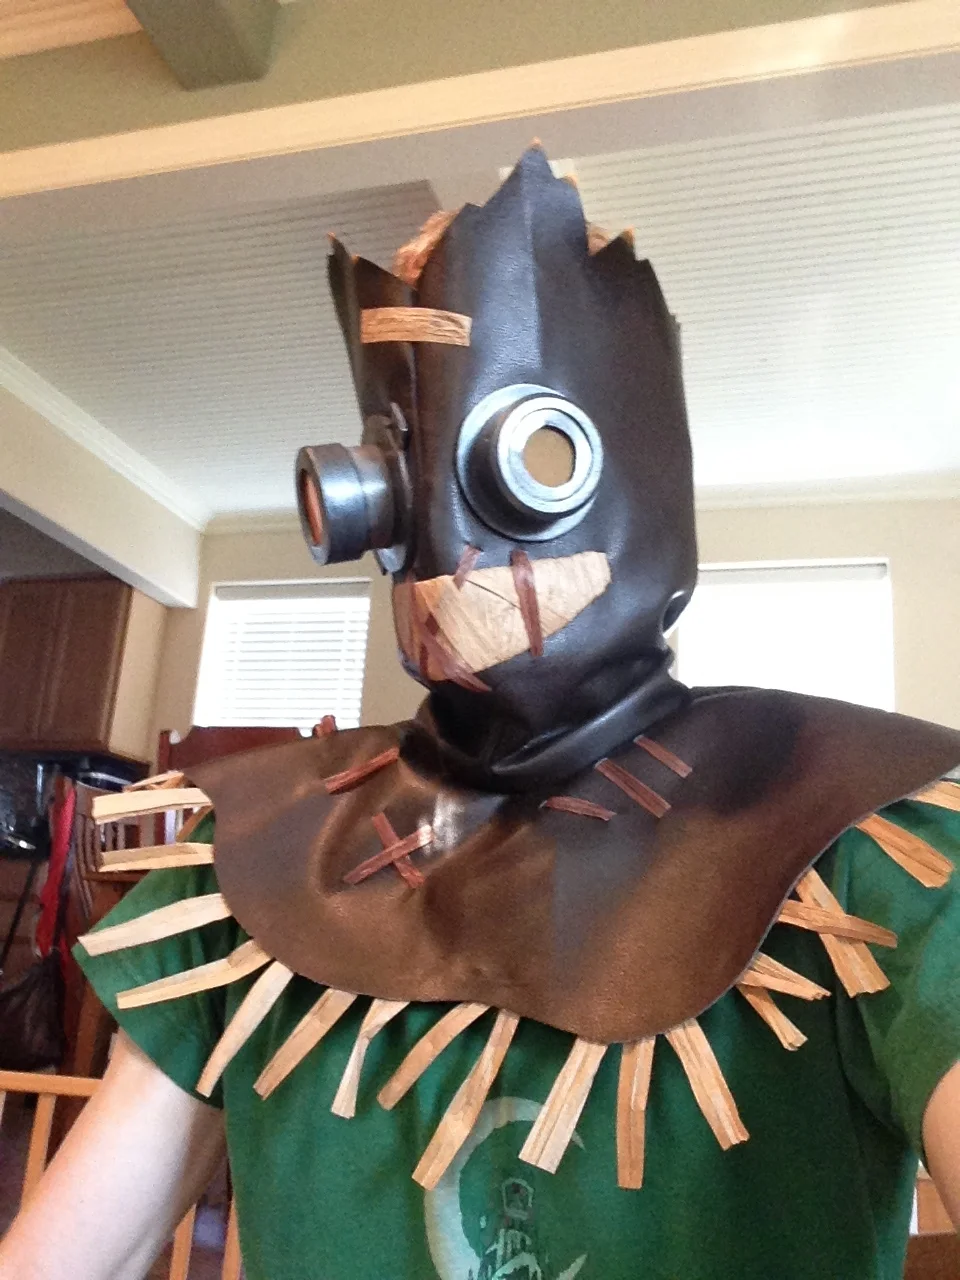
Have Mercy
Michael MacWolff
Welcome back!
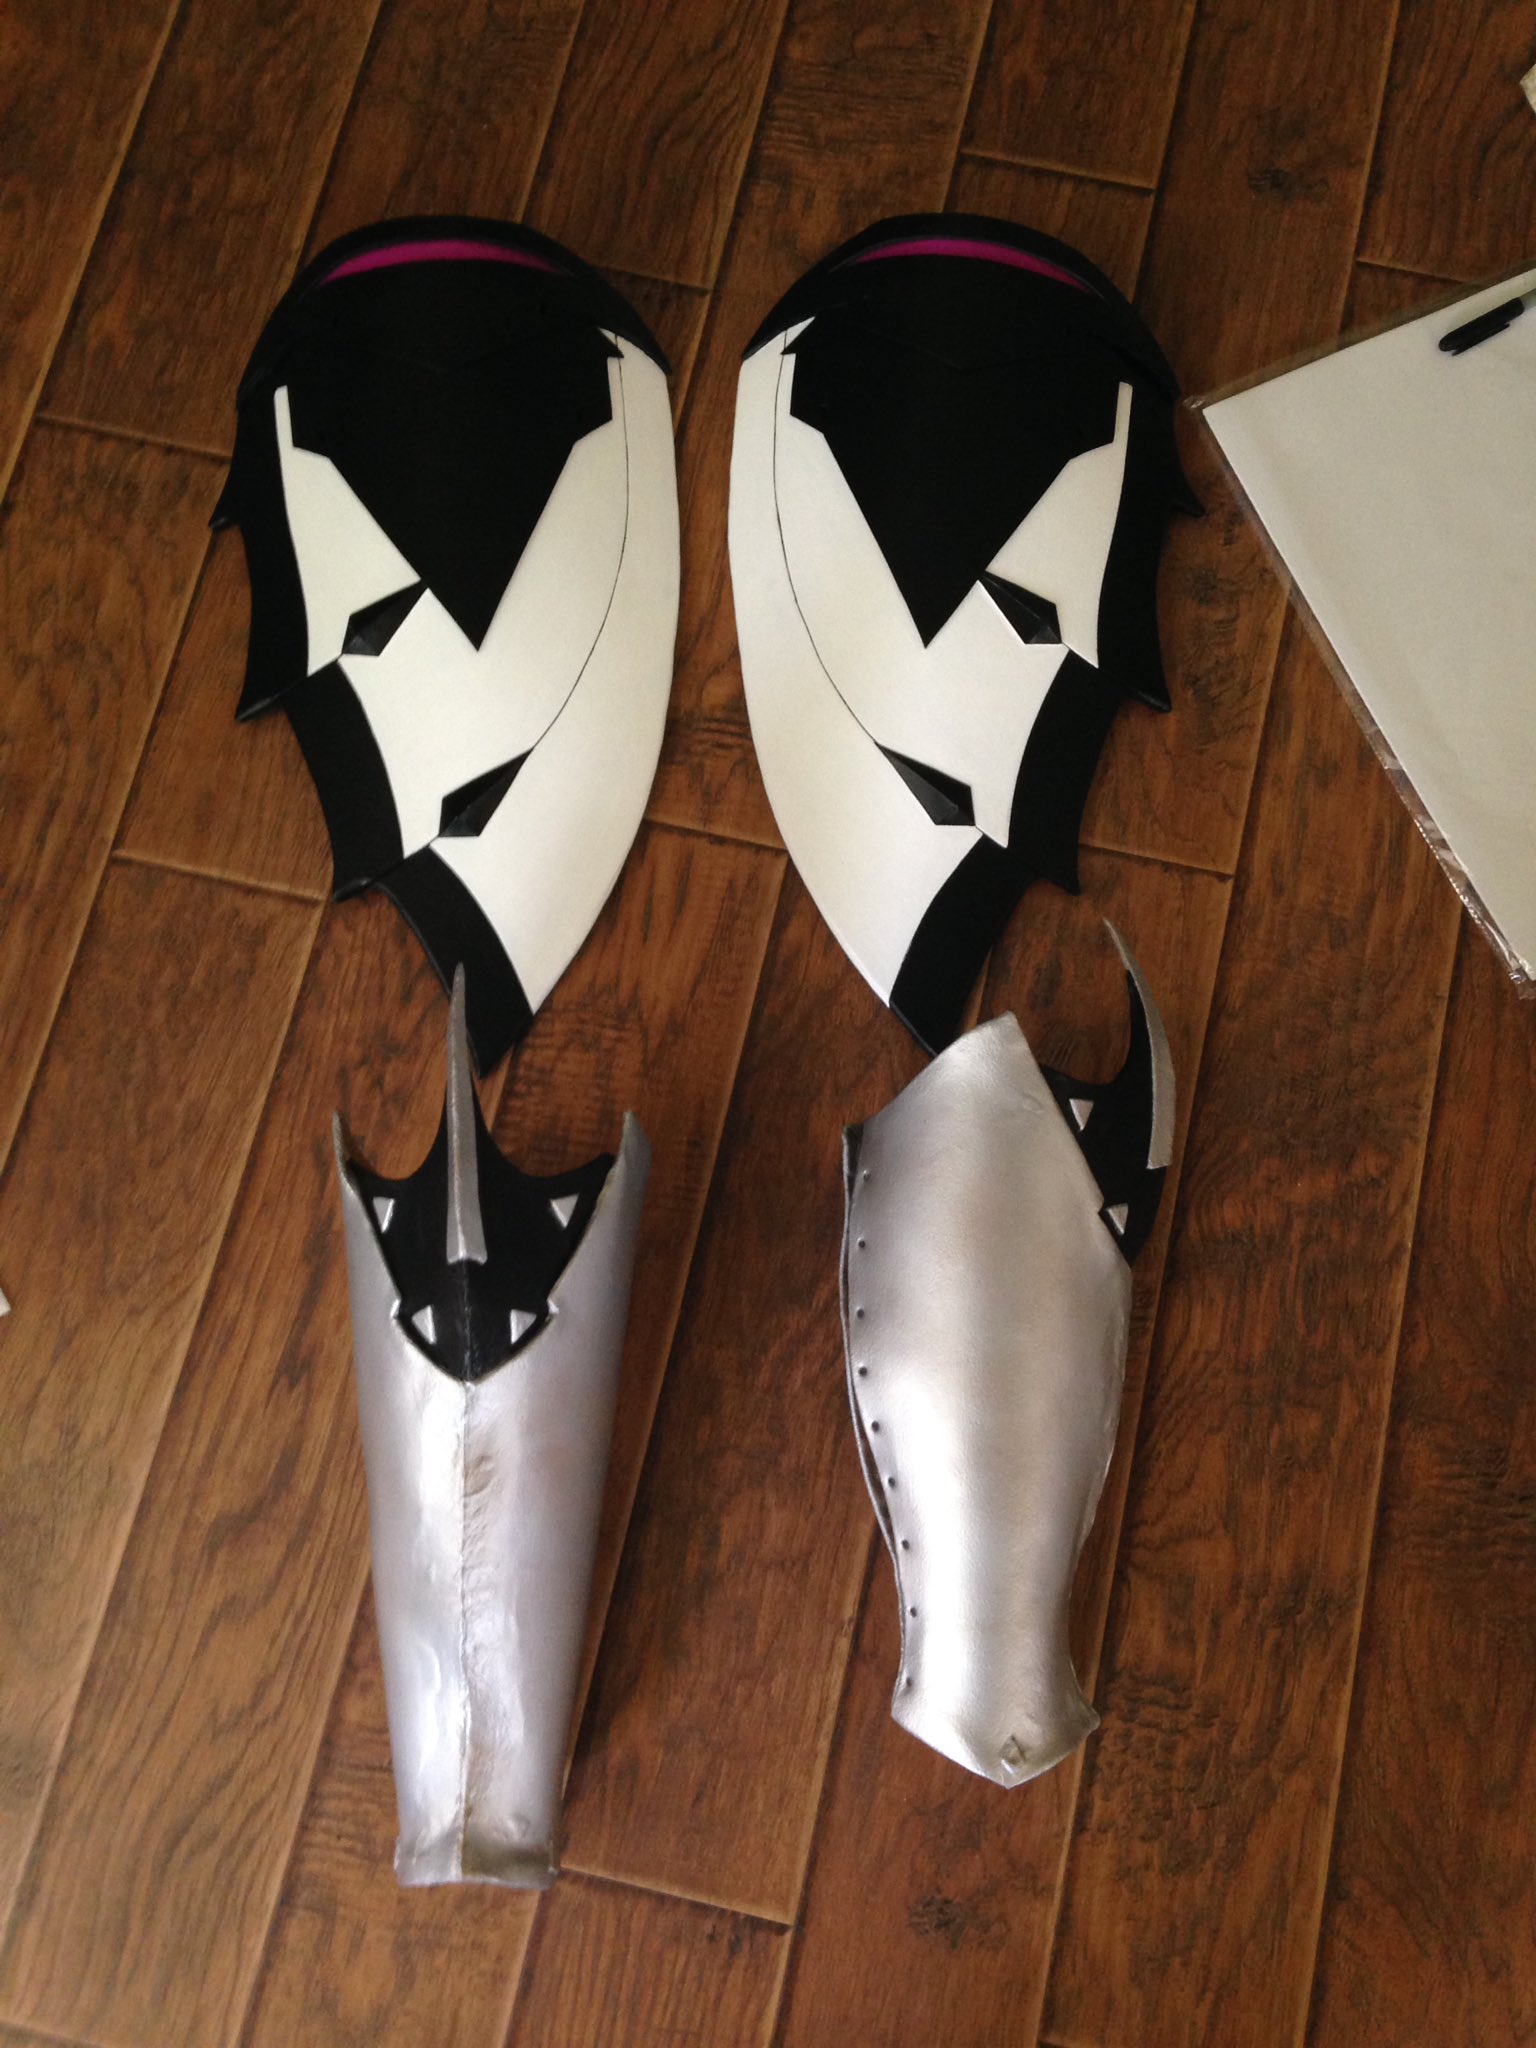
As promised I have some construction photos from the second set of Imp Mercy armor I made, since I never really did that for the first set. It's the same bits: hip and leg armor.
For the leg armor, I started by patterning out the armor on poster board, and then tracing my pattern onto 2mm craft foam.
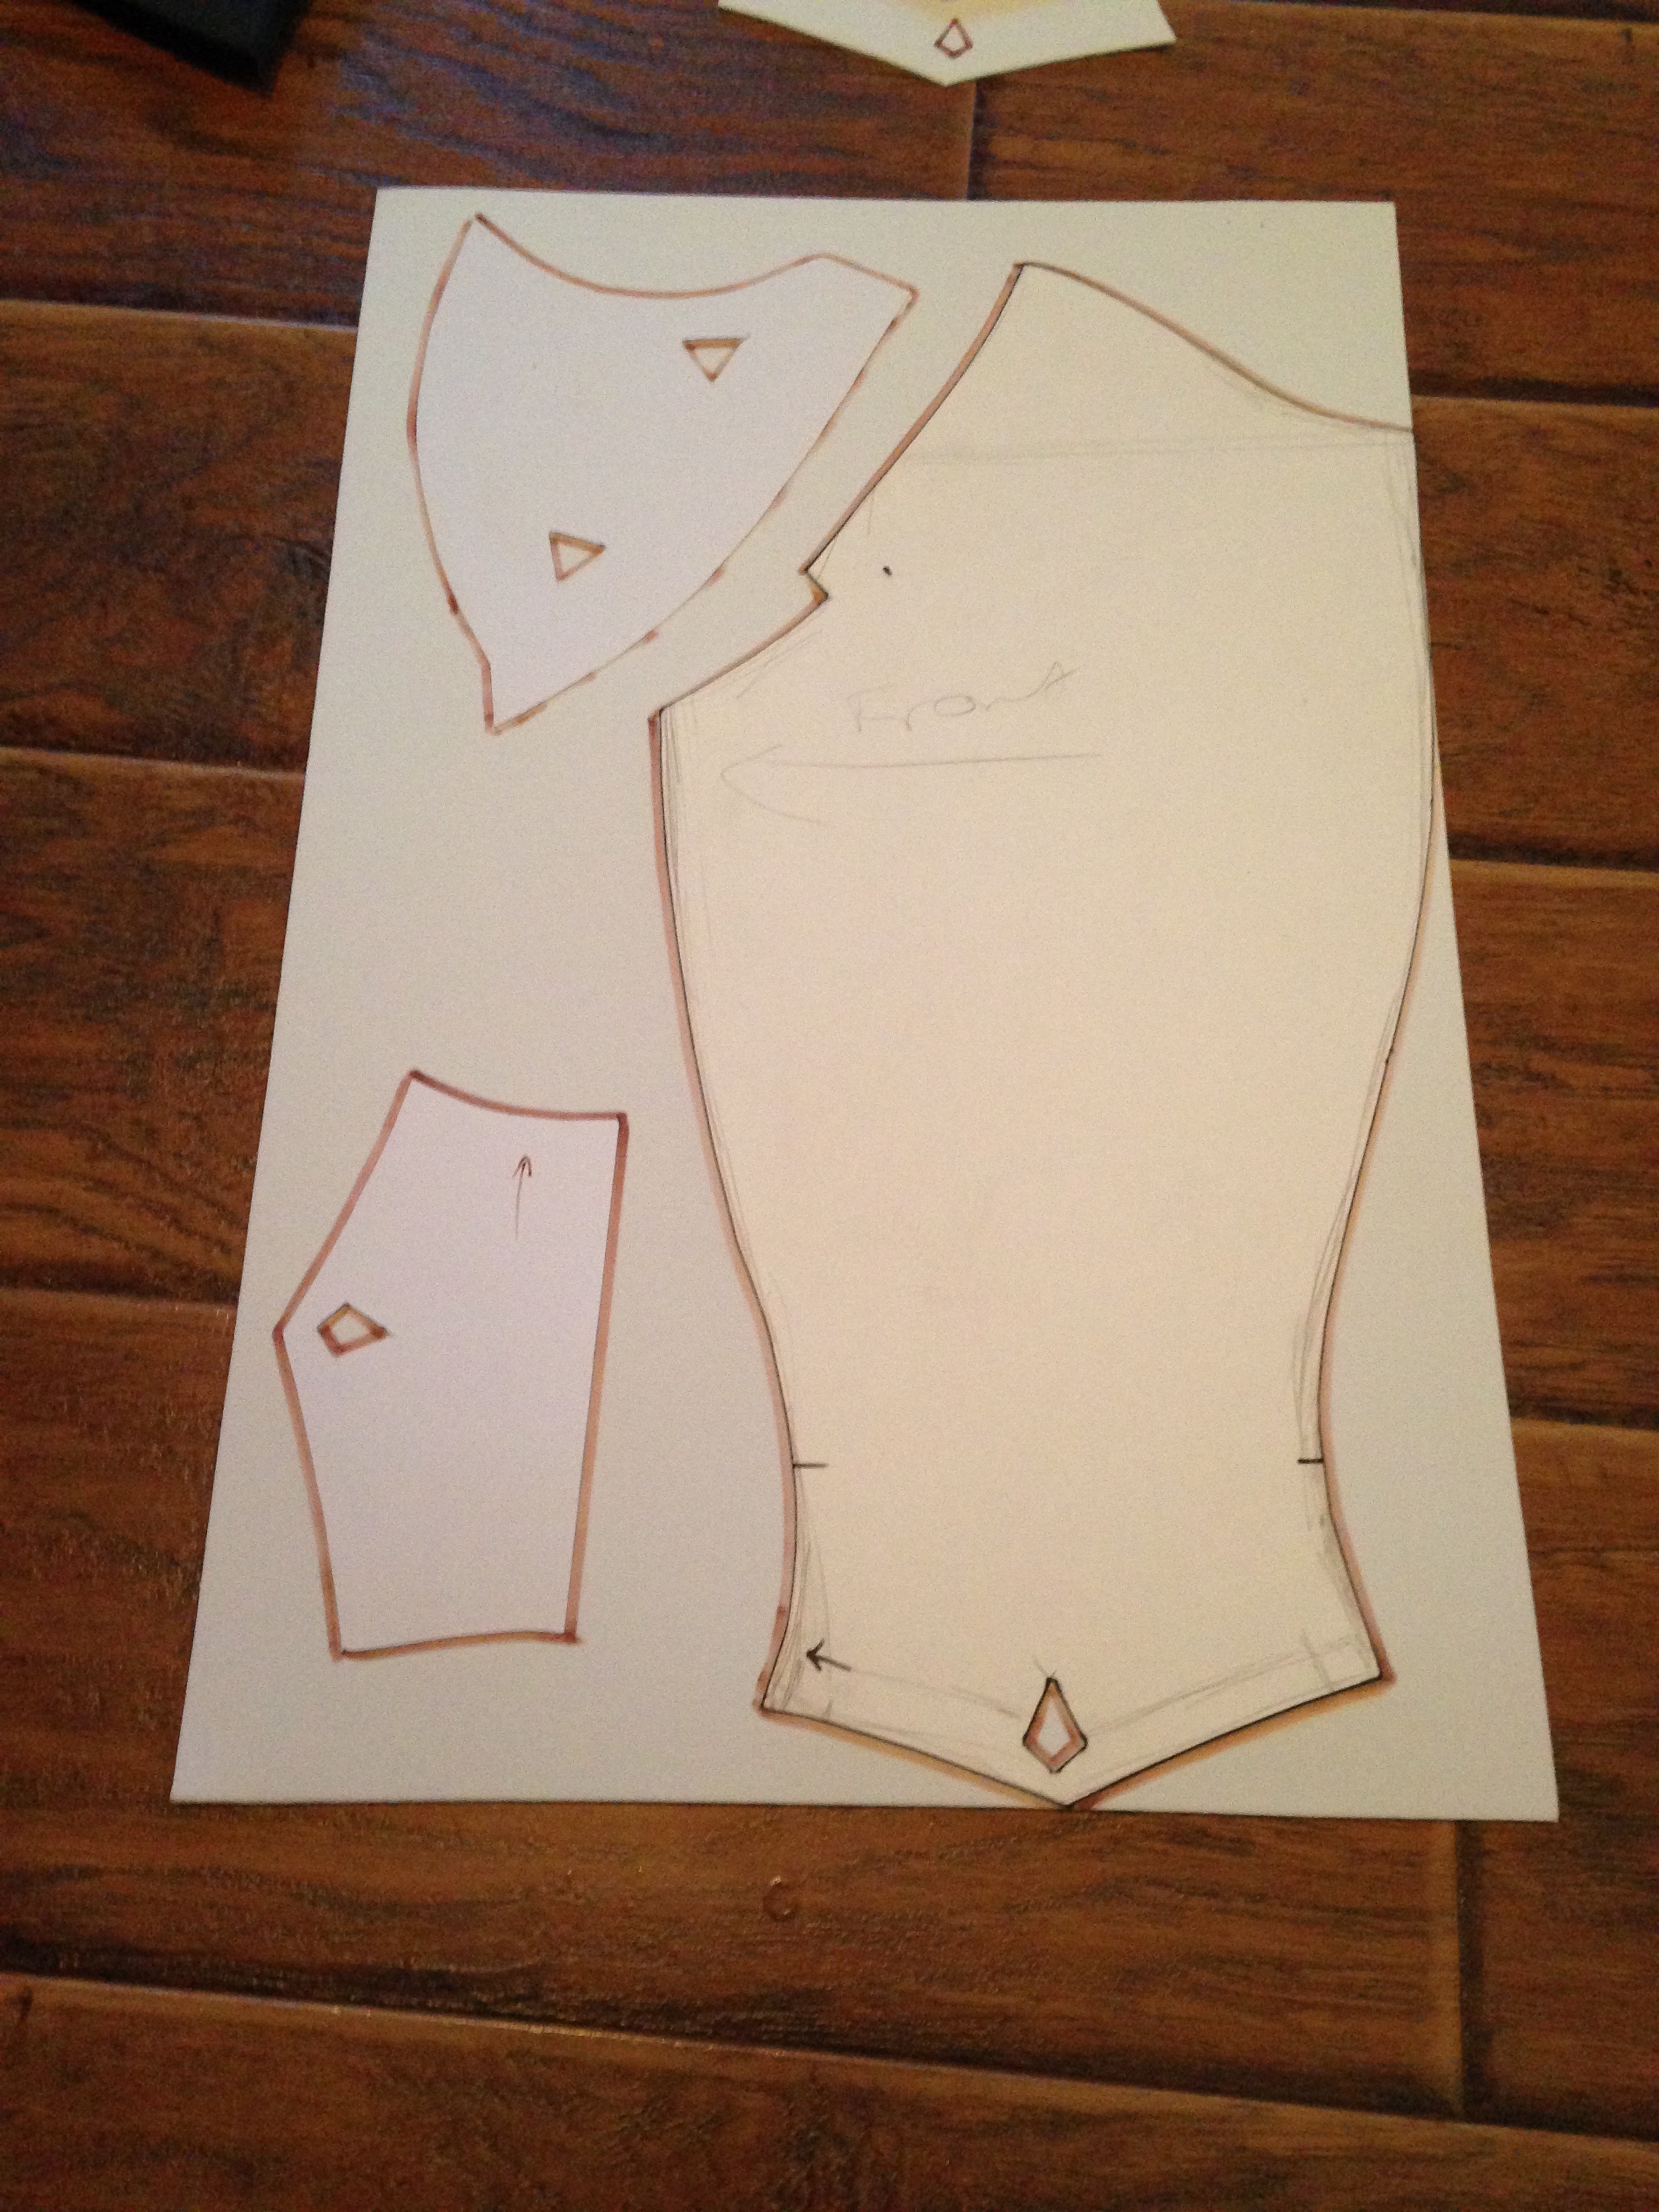
You can see the part that goes over the shin, the ankle piece, and the knee section here. You'll also notice the little diamonds and triangles on the patterns. Those are the details that will be raised on the final pieces: I incorporated them into my original pattern so they'd all end up in the right place and the armor would be as symmetrical as possible.
Each of these sets represents half a leg, so I had to repeat this 4 times to get all of the pieces I needed.

You'll notice the diamonds and triangles on here are yellow now. I cut out the small raised shapes form another piece of craft foam and glued them in place on each piece. When we cover the foam with worbla, these bits will stick out like we want them to.
Time to apply the worbla! Heat up your worbla for each individual piece, we will assemble the pieces later.

I don't have photos of the individual pieces before I started assembling them, but you can see one of the leg pieces coming together here. to bring the center seam together, you'll want to heat up the edge of each piece, line them up, and press them together. Be careful not to burn your fingers (have have a few blisters from this assembly) as the worbla needs to be pretty hot to adhere to itself nicely. You can also see the raised detail on the ankle here, I used a popsicle stick to form the worbla around the raised piece of foam.
Once the main part of the leg is done, we'll do the same process with the knee piece, and then add it to the leg armor.

There are also long, curved, spike-shaped pieces on the knees. I don't have photos of the pieces on their own, but here's the leg section with the spike added.

Lastly, we'll assemble the ankle parts. I left those as separate pieces, rather than attach them to the main leg armor. The reason for that being that it would give better range of motion for your foot while you're walking in them.

With that, the leg armor is almost finished. I used a leather punch to add holes along the back edges so they can be laced together in the back. Then you add your several layers of mod podge to everything, and start painting!


For painting, I sprayed the silver, then brush painted the black. Remember, metallics are always harder to get a uniform coat, so spraying is way easier. Also, don't forget to seal coat them with another layer or two of mod podge!
Now, on to the hip tassets!
These were made entirely out of foam, I didn't use a worbla layer for them because it wasn't really necessary. The base is EVA foam, and the raised sections are craft foam.

I cut the EVA foam with a craft knife and then used my Dremel with a sanding bit to smooth out the rougher parts. For the craft foam, I mostly used scissors, and then an exacto knife for the holes in the center.

To get the etched design into the foam, I traced the pattern onto my EVA foam, then sliced into the foam with my exacto knife. It's important not to cut too deep or you'll weaken the foa too much and risk it tearing. Once the foam has the cuts in it, go over the areas with your heat gun and the cuts will become little channels. You'll also want to heat up the whole thing so you can curve it to fit around your hips.
You'll notice that each layer of the foam has the panel cut out of it, that's so the lights can be installed, which is our next step.
To help make the panels as bright and properly-diffused as possible, I used aluminum foil to reflect the light. You can use E-6000 to glue it around the opening in your EVA foam layer.

Once the glue is dry on our foil, it's time to install the lights themselves. I used strings of moon lights like these because they work well for cosplay, having small battery packs. You'll take your string of lights, and make a bar that is as long as your opening is wide. You can use other small pieces of wire to keep it together, or clear tape will do the trick too. Make sure to leave some wire at the end near the battery pack.


I realize you can't really see anything with the foil, but you want to tape down your bar of lights with packing tape along the bottom edge of the foiled foam. Sorry he photos don't help here, it's hard to get a clear picture of it so if you're trying to do this and need help with how, please send me a message and I'd be happy to walk you through it a little better!
The next step is to make a backing for the lights. You'll take annother piece of craft foam and add foil to it. Then youll glue the piece of foam with the foil facing inside to the back of your hip armor piece. That way, any light hitting the foil will be reflected out the front where you want it.
For the front, we're going to add some bits of white plastic grocery bag to help diffuse the light.


Now that we have our diffusion layer, we'll glue on the first detail layer of craft foam... unfortunately I don't seem to have a photo of that anywhere.
Once our first craft foam piece is on there, we'll want to add our outer panel layer. I used a translucent pink plastic folder for this. It filters the light rather well.

Obviously you'll want to cut it first, this is just to show you how it's layered.

Once you glue the pink plastic layer and the top piece of craft foam on, you're almost done!
The diamond-shaped pieces on the sides can be easily added with craft foam if you just want the shapes, but I wanted them to be more 3-dimensional and actually be prism-shaped, so I made a little daimond-shaped prism out of cardstock and made a silicone mold of it. Once the mold had cured, I cast the daimond-shaped pieces in liquid plastic. Once they were all cast, I attached them with contact cement.

Now it's time for mod podge! Paint on a bunch of layers and then you can start painting. I sprayed the white sections and brushed the black. If you spray any part of this, you'll want to be careful to cover the top part so you don't get paint on your glowing panels.

I don't have any photos of the underside, but I added loops of webbing/strapping so that they can be worn from a belt.

And that's that!