The Two Week Prop Challenge: Part 1
Michael MacWolff
If anyone had ever told me I'd be trying to make an oversized prop for someone in only two weeks, I probably would have just started laughing maniacally and just dismissed them. However, when a friend of a friend asked me to do just that, I decided it was worth taking up the challenge. Now to be fair, I did just end my job working at Joann Fabrics at the end of last week (which I've already felt the intense pain of not being able to use my employee discount any more), so I'd have significantly more time & energy to work on my prop commissions; had this not been the case, I likely would not have even considered it. Coupled with the fact that I'd have no solid income otherwise over the two weeks leading up to Tekko, I said "What the hell (or something along those lines)."
And just what was I asked to make? Well that's the best part! I got asked to make a rocket launcher in the shape of a shark. HOW THE HELL COULD I TURN DOWN THE CHANCE TO MAKE A SHARKZOOKA?!?

I don't even play this game but I want to make one of these for myself!
This absurd weapon comes from League of Legends (which my friend Josh keeps pestering my to play and I keep reminding him that my computer want to kill itself when I watch Netflix so I can't imagine the game would run smoothly... Also how could I make this thing in two weeks if I was playing that game?). Its name is appropriately "Fishbones" and is wielded by a character named Jinx, who I understand is kind of a poster child for the game, and is also more than a little bit nuts. All the more reason to blow people to smithereens with a giant shark.
Well, needless to say, this was a first in my propmaking career from both a scale and a design standpoint, so I got to work figuring out how I was going to construct this thing.

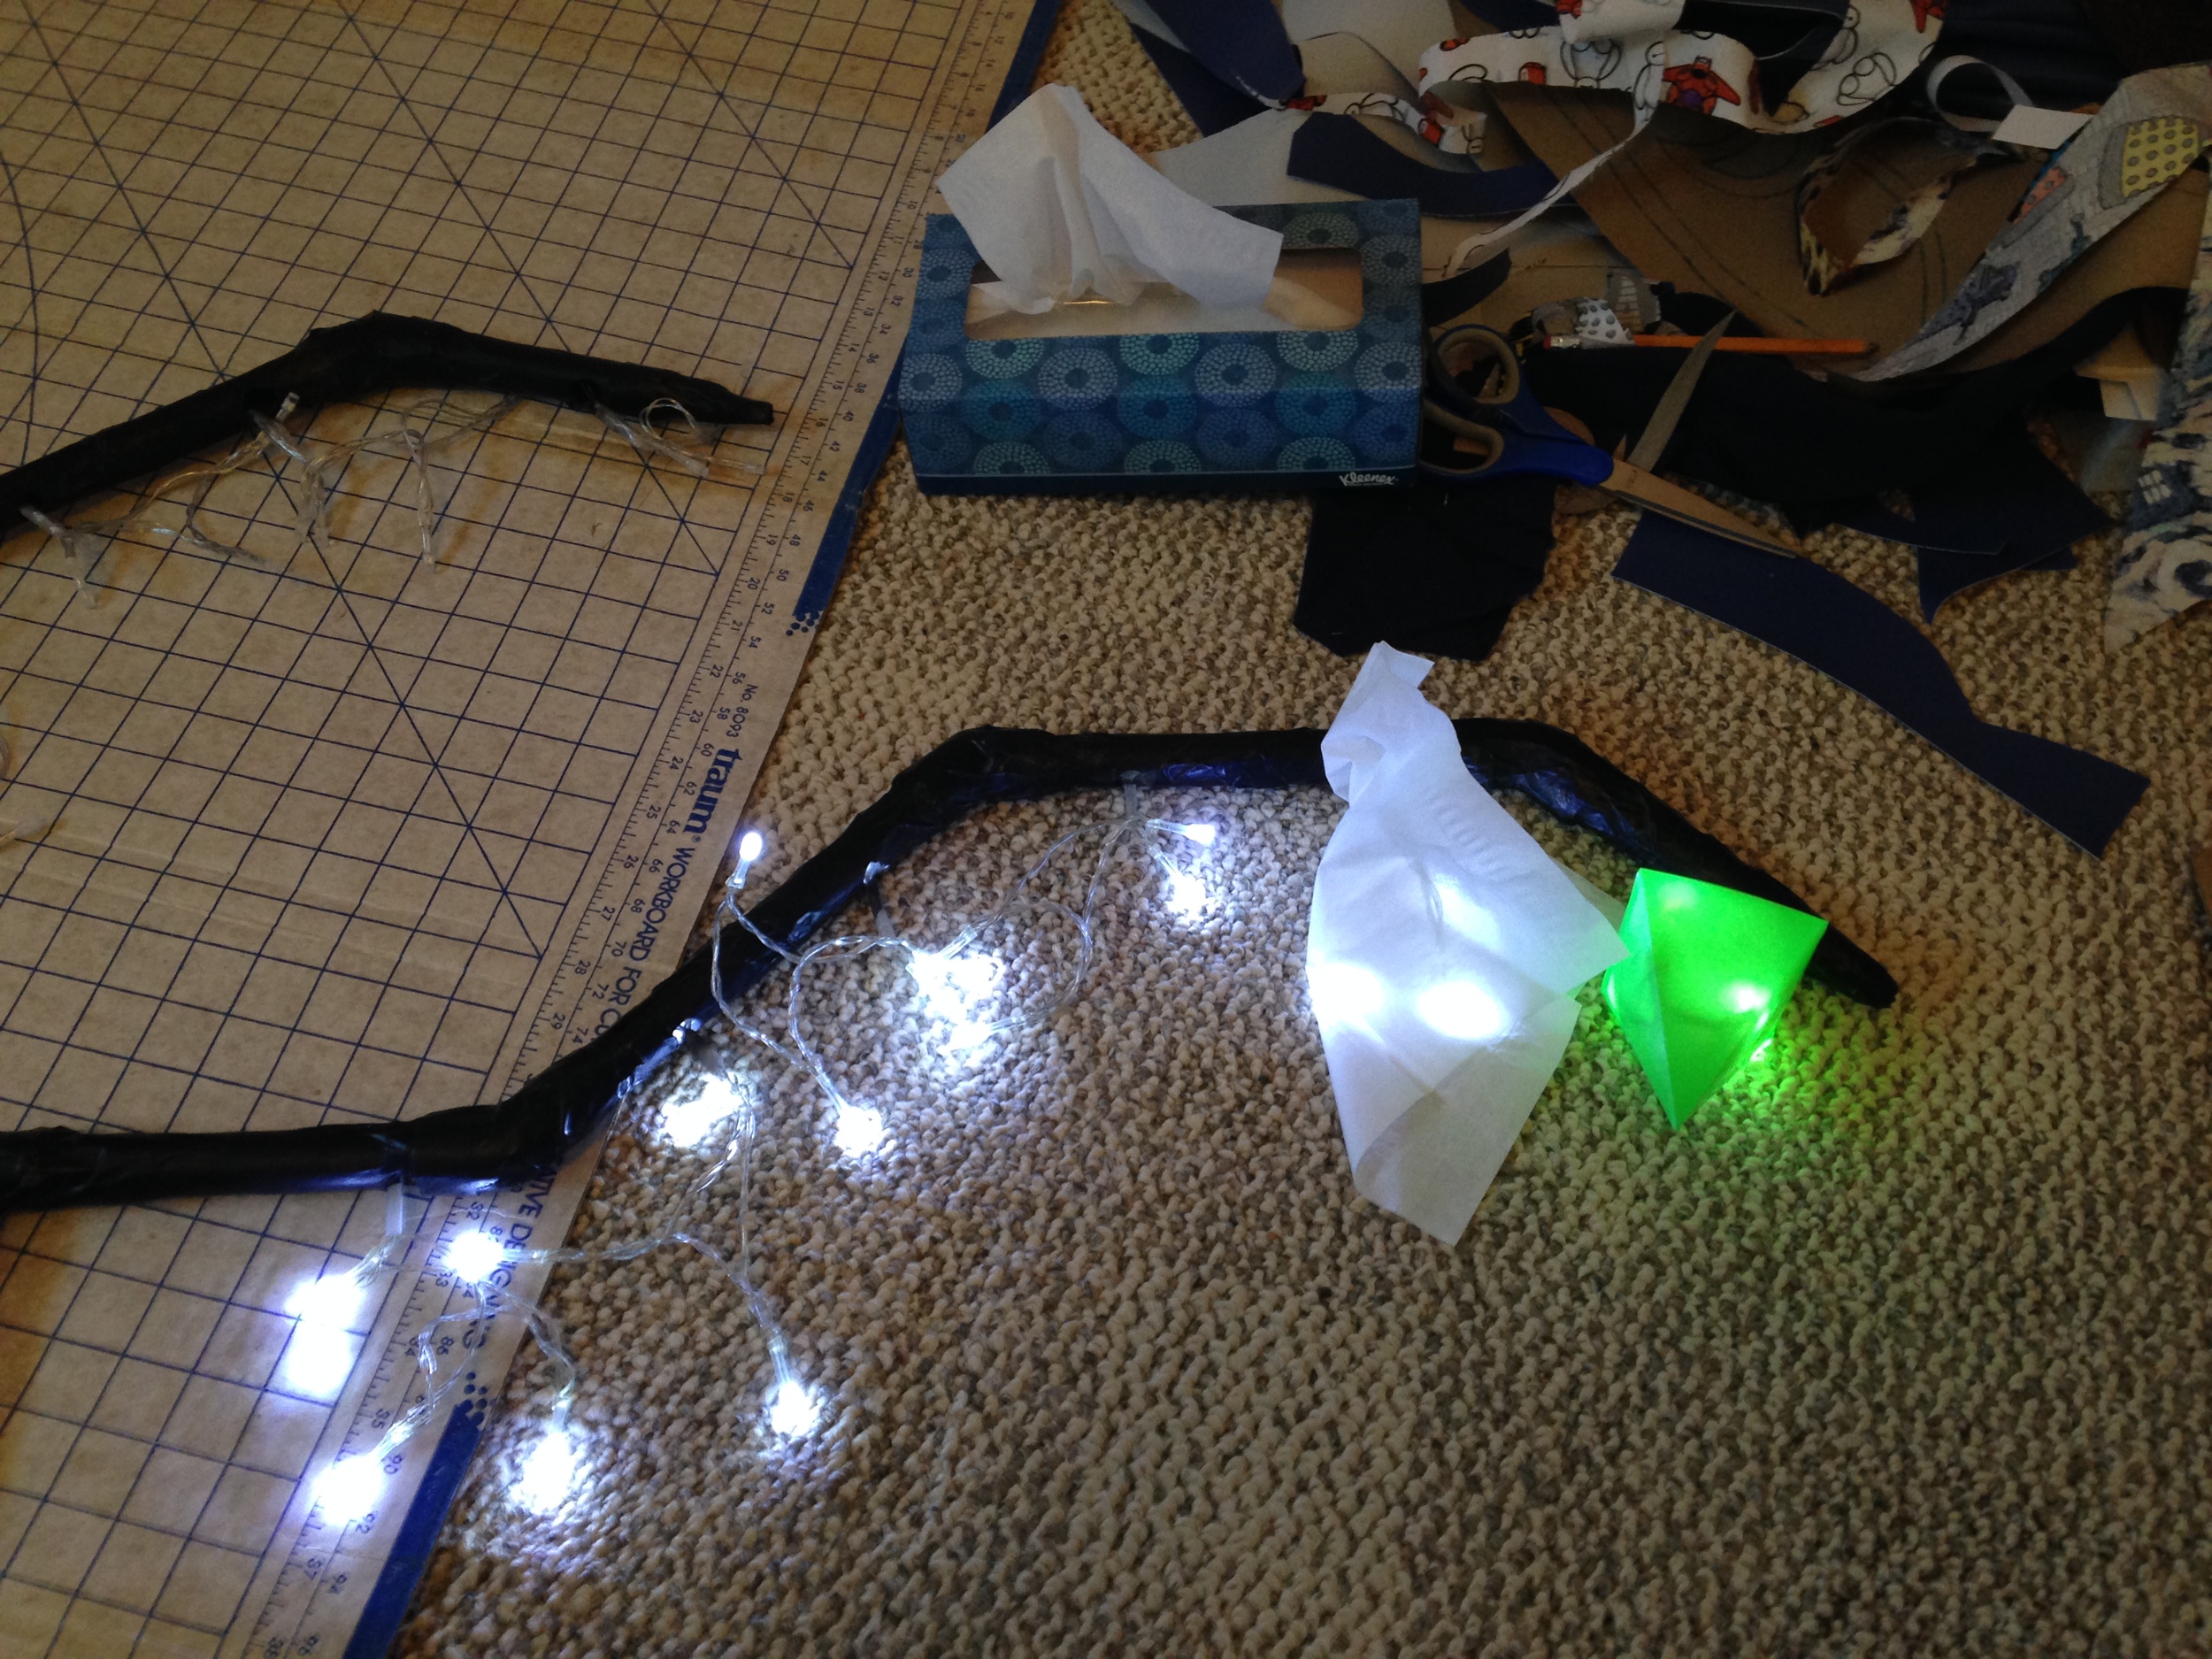
It all started with a mailing tube, that thanks to our good friend Matt, I just happen to have lying around after having the lovely lithograph that was gifted to us in it framed. Also, quite fortunately, a few weeks before I left I got that lovely blue cup from work. It was a promotional type thing for the new All-Access Aisle and it fit pretty perfectly on the end so voila! instant rocket tube.

See look, isn't is pretty? Wee love you Matt <3
Next there were all of the interesting rounded blue plates that were suspended from the inner tube. The most logical materials to use for those were cardboard & craft foam: carboard for the base layer to help keep the curve around the barrel and give it some rigidity, then the craft foam to give a nice smooth outer layer and add to the thickness of the plates.

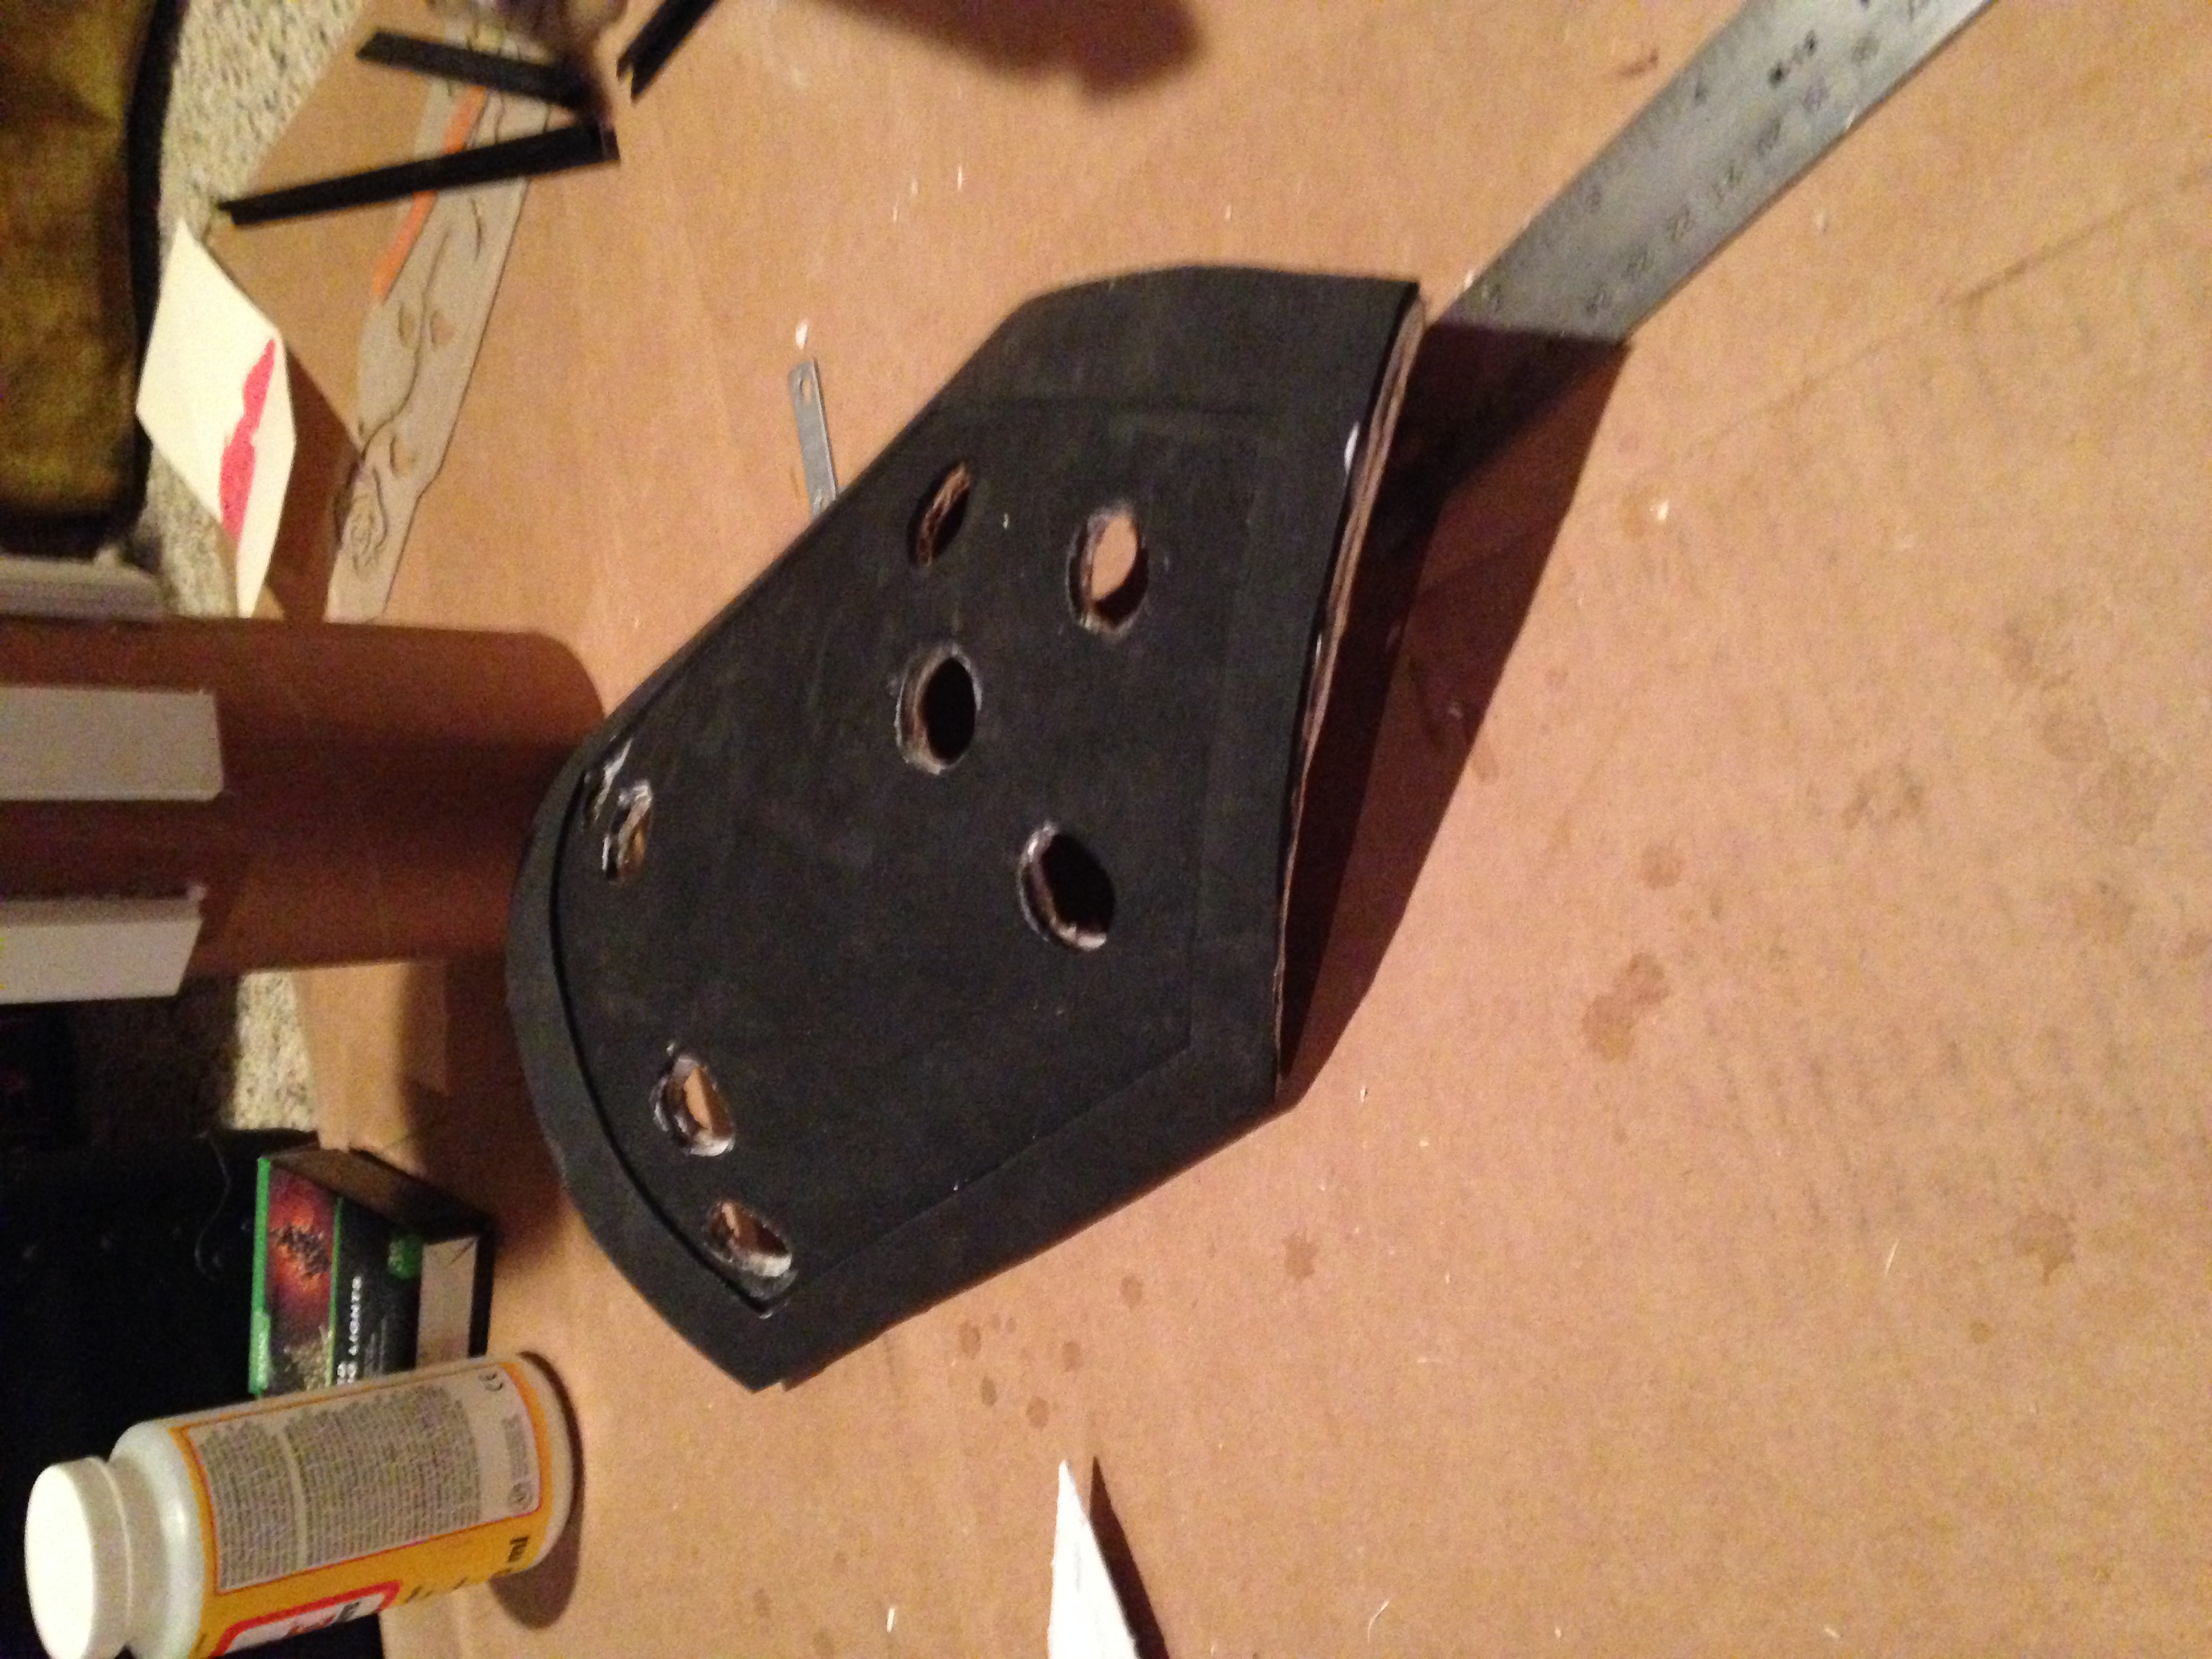
The raised edges around all of the plates were also done with foam.

The jaw pieces are a bit more interesting of shapes, but are made in the same way as the other pieces.

It definitely took some time to get all of the individual pieces finished, because there are a lot more of them than it seems at first glance! But eventually I managed to get all of them put together, primed, sealed, and all of that other good stuff. The white pieces (including the rectangular ones attached to the tube) are all foamcore board. I've been using foamcore a lot and I love it because it's pretty east to cut with a knife, you can put putty on the ends of it to seal off and solidify the foam, which you can then sand so it's nice and smooth! It can also be beveled nicely so I used it for the teeth, the handle, the shoulder rest, and all of the fins!
Once all of the individual pieces parts were ready, it was time to glue the whole thing together, which was no small task. The end result is this beauty right here:

I realize there's some weird stuff hanging off and the mod podge on the tail is still drying so it's not the cleanest picture ever, but I was just so excited it was all in one piece!
Also, yes I did in fact cut that box up specifically to serve as a stand for this gun. It's certainly not fragile, but it doesn't really sit easily anywhere with all those pointy bits sticking out everywhere so I needed something that would keep it still (this should also come in handy on my drive to Pittsburgh next weekend for the convention).
This is all the work I got done in week one, but obviously it's not finished, there's no paint yet! That part is probably the most time consuming but I'll be spending most of my waking hours this coming week toiling away at it, and probably watching several movies/TV shows as I do. If anyone has any good suggestions, leave me a comment or send me your idea by clicking on the little envelope up in the top right corner! The only stipulation is it has to be in English cause I can't paint and read subtitles at the same time.
Thanks for checking in and I hope you're all as excited as I am to see this thing finished! Next week (either pre- or post-con) I'll be following up with Part 2, but in the mean time, au reservoir, my dahlings!